Whilst I'm waiting for my Spitfire body shell to be collected, I've got on with a few other small jobs...
Headlights:
Before cutting holes in my bonnet, I wanted to make sure everything I had would work together.
I'm using a mixture of Spitfire donor parts, brand new headlights & 2nd hand cowls for my Cordite.
I'd already given the outer headlight shells a coat of Hammerite. but the inner shells were also a mess.
( A spring holds the inner shell, which is attached to the headlight itself, to the outer headlight shell )

But they needed a little bit of modification work before I could start painting them.
My new headlights have a side/parking light built in, unlike my donor with its separate side lights.
So the inner shells needed a hole in them so they could be fitted over this extra bulb.
I simply drilled lots of holes & made them bigger until the metal came out, then filed the edges.
A quick test fit showed the hole was is the right place, so they were ready for painting.


I'd made a school boy error when I was in a rush to paint the outer headlight shells.
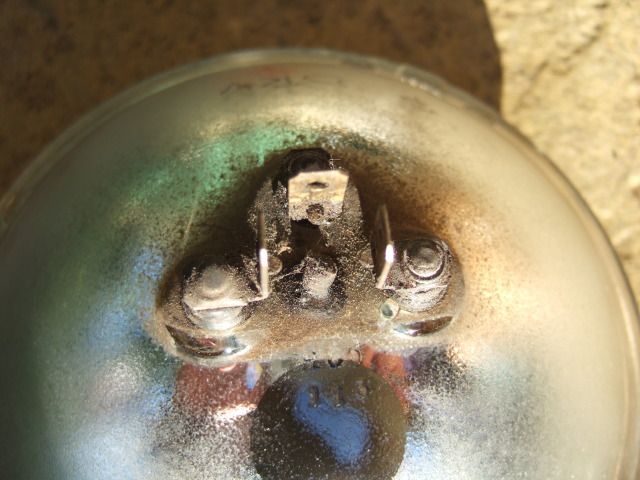
I'd simply unclipped the wires from the 3 point headlight connector without noting what went where.
I'm sure there was a good reason why I didn't just pull the wires through the front of the shell???
After a quick test I
think the connections at the back of the headlight are wired as follows:
Left = Blue/White (High Beam) Top = Black (Earth) Right = Blue/Red (Low Beam)
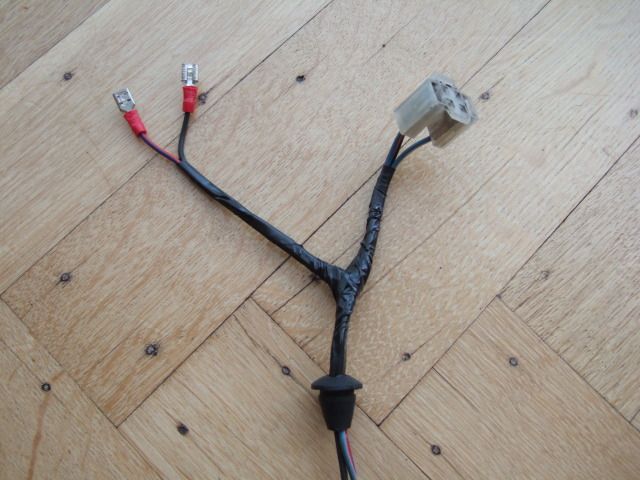
That wasn't the only headlight wiring issue to resolve as the side light needed wiring too.
The problem was the outer shell grommet was already a bit of a tight squeeze with 3 wires.

I wanted to reuse this if possible rather than drill another hole in the headlight shell.
So I warmed the grommet in hot water in an attempt to pull the wires out (they were jammed in).
This was
almost a good idea until my gentle encouragement pulled a male connector off.

Still the other wires came out intact and this allowed me to drill a bigger hole in the grommet.
( I applied a little bit more patience on the other headlight's grommet and it worked a treat.)

I just need to run one extra wire through, as earth can be linked to the main light within the shell.
I used surplus Red/Blue wire from my loom as the side light feed & will update the wiring diagram.
All 4 wires went back through the enlarged grommet hole with no problems.
I then spliced a Black wire (again loom left overs) into the existing headlight earth connection.
Then it was a case of wrapping everything up so that it looked like I knew what I was doing!
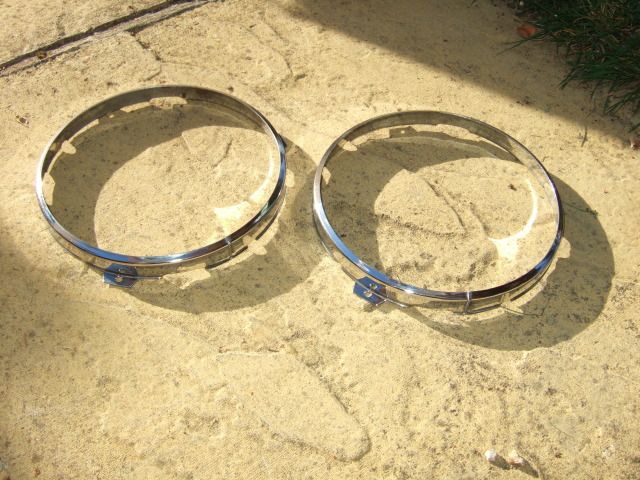
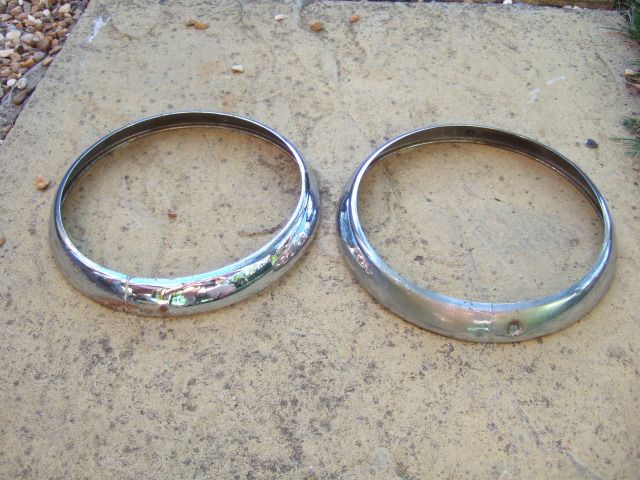
Next up were the original chrome headlight retaining rings that attach to the inner shells.
Whisper it, but I had to remove some
over spray left by the previous owner.

A quick rub with paint cleaner & a bit of a polish with some Autosol, job done,
simples.
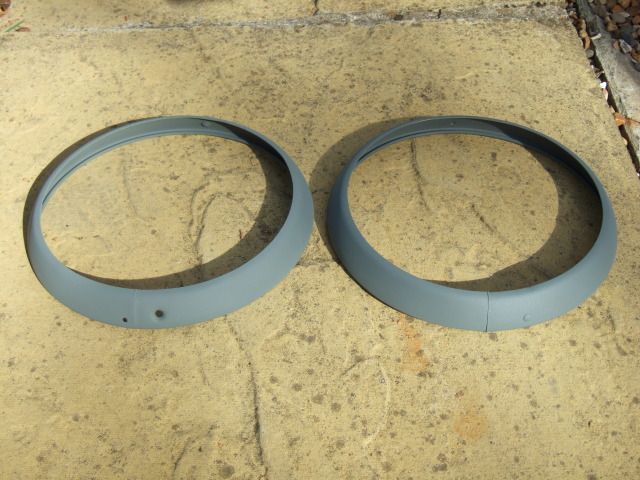
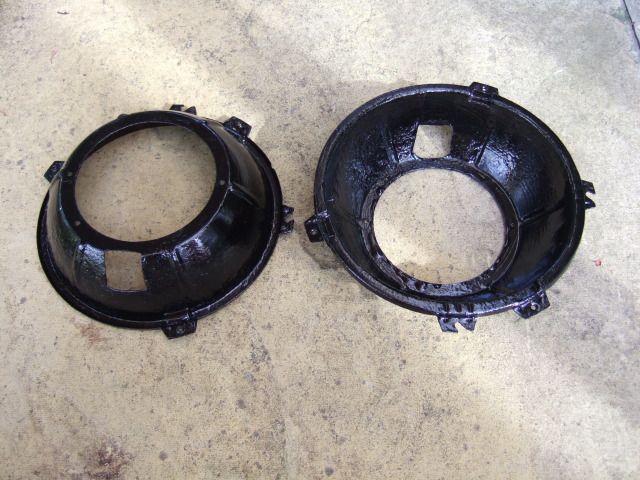
The two 2nd hand headlight cowls from Spitfire Graveyard are not identical, but both fit.
One has a hole in the bottom, although I'm still not 100% what keeps these in place.
I gave them a rub down with steel wool & sand paper, before a couple of coats of primer.
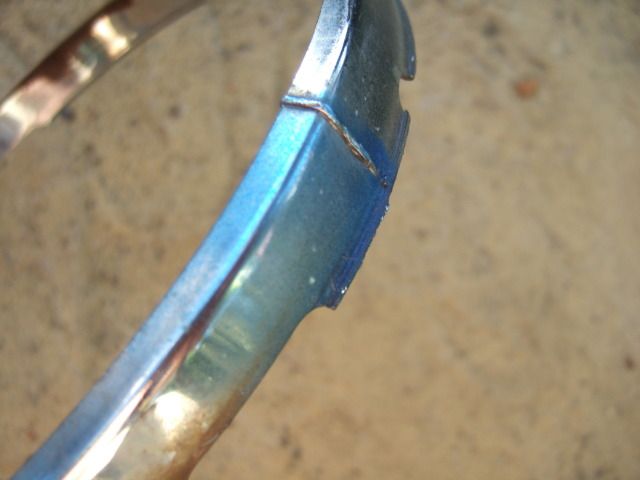
Then a light sand, before a couple of coats of Halfords 'Gadget Blue' enamel paint.
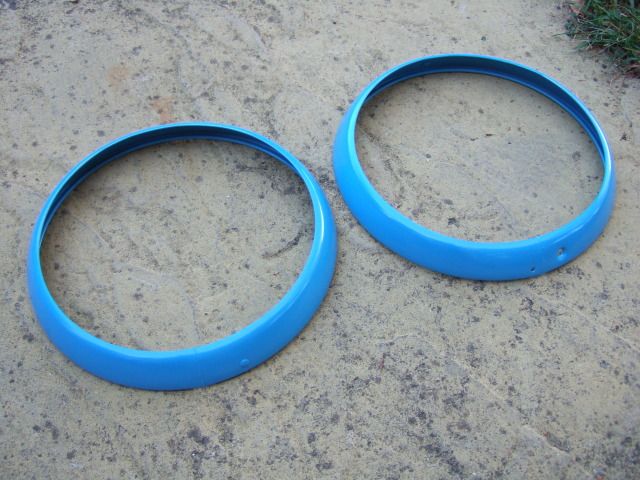
So far, so good, but there is a slight technical hitch, this is the wrong colour.
It not is easy to see in the photos, but the paint is definitely significantly darker.

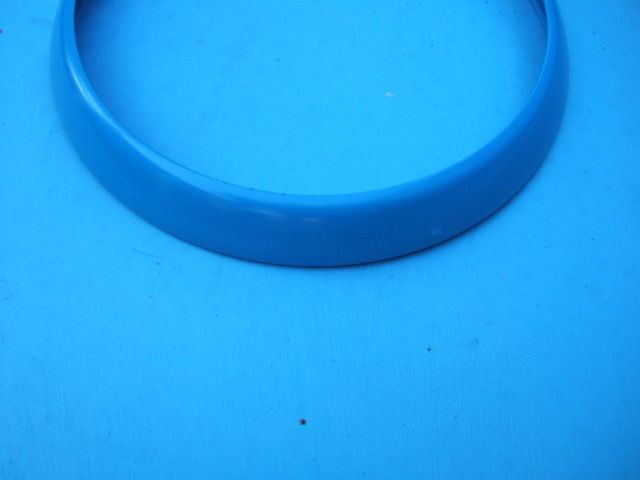
I used the colour
AndyP57 suggested, so something has gone amiss somewhere.
Its not a big deal, I'll just do a bit of research to find a better match in a light shade.
( Perhaps I shouldn't have used enamel paint? I was rushing & that the only can of "Gadget Blue" they had. )
On the bright side, the Hammerite on the inner shells came out the right shade of black.
With all the pieces now finally ready I was able to put them all together.
I just needed to bend the connectors for the side light so they didn't foul the other shell.
I know it isn't much, but it is still nice to see a part of the finished car.
( And it is simply a case of "tucking in" the rubber gasket to hold the cowls on? )

I will need to dismantle everything again to drill the matching holes in the bonnet.
Although I will wait until I've fitted the 'beer crate' grill before I finally fit them.
I think I've reached the limit of photos, etc. I can put in one post.
It has been quite a hectic weekend as I tried to make the most of the weather.
So I will leave it at that for now and cover the other stuff in a day or so.
And with a bit of luck, the body shell is being collected tomorrow evening.
Take care, Paul.
