Unfortunately, life just got in the way today & the sun was fading as I finally got a chance to go outside.
More Welding Practise…
After fixing the earth lead, I tried welding at the bottom of the garden again, just to see if it would be OK.
As dragging everything up & down the garden to set up, weld, then pack up & store would be a major pain.
Viatron's MIG guide talked about moving the torch in either a "zig-zag", or circulating, movement.
Also, from what I'd seen & read I was now convinced I was moving the torch too quickly while welding.
The other thing I changed was the angle I face the weld at, to hopefully involve my line of sight.
The earth lead fix has transformed the welder and I now have to re-calibrate the previous settings.
I was able to make some welds with good penetration, both on the sheet metal & box section.

Not easy to see clearly as my test piece is now covered in welds & joins, this is some box section...

This is the top of the sheet metal and the bottom two welds were done today.
The weld on the right actually went through too deep, a first for me.

As you can see when I turn it over (which of course now means the blob on the left).

This is good news for me, as I didn’t want to modify the frame until happier with my welds.
I will still get some more practise in before I start working on the frame for real.
And talking of mods, here are some of my ideas for sorting out the area behind the dash board...
 Doors - A Start:
I'm starting with the passenger side door to see what I am up against, before tackling the driver's side door.
And the first job was to remove the inner door structure from the outer door skin.
This inner section was already coming apart in places, but I didn't want to use any real force to separate it.
( In my nightmare scenario, I would break the outer skin while leaving the inner section unmarked! )
However, I needn't have worried as it only took gentle pressure with a screwdriver to separate everything.
I still need to clear off the old bolding material from the outer skin, but by now it was pretty dark out.
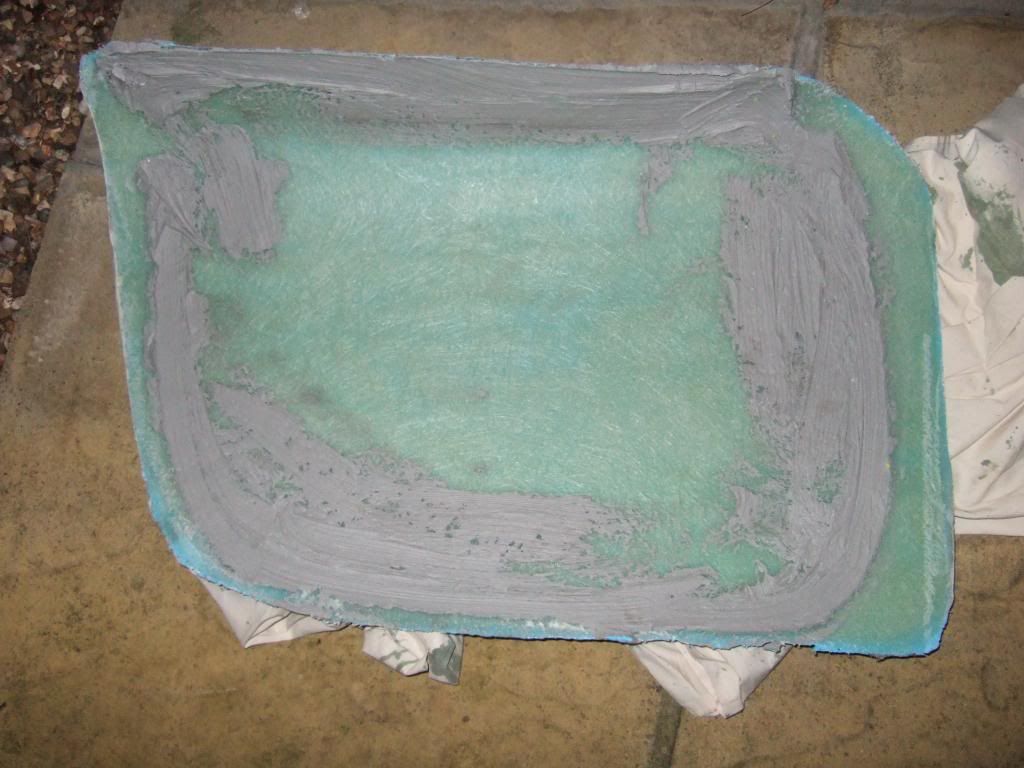
Outer Door Skin:
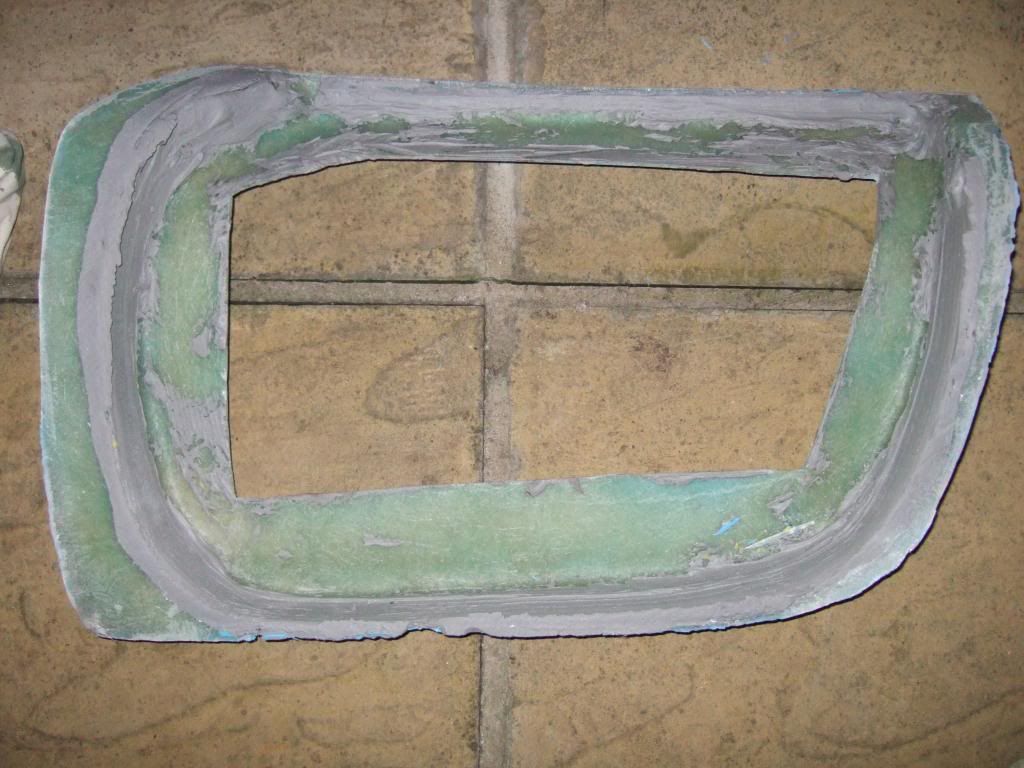
Inner Door Section:
Bonding & Fibre Glass is all new to me, but I assume the bonding stuff should go all the way out to the edge?
To me, there appears to be nothing holding the outside edges of the two sections together?
( Which I guess explains why it was so easy to prise them apart. )

I also noticed
TriTone posted a picture of one of the Speedster's doors...
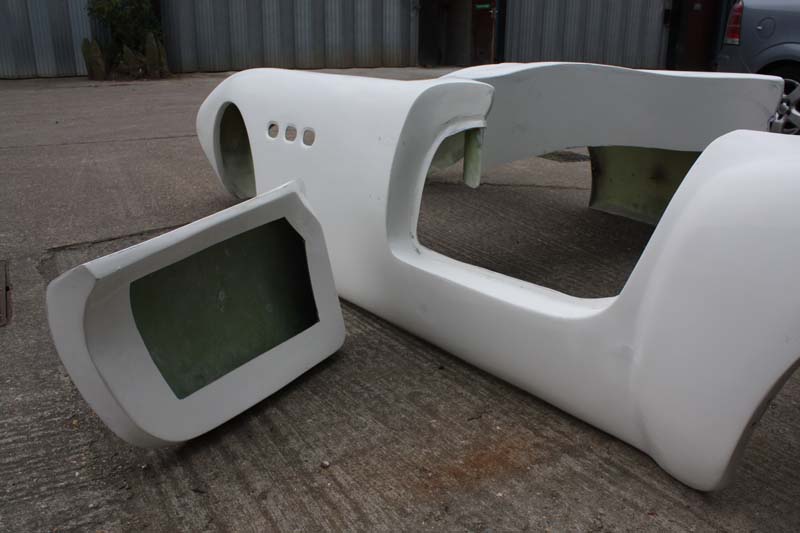
This is the first time I've seen how
Mike has build his doors and clearly they fit.
They have significantly deeper inner sections than mine & the inner sections match the door cut out.
So, still a lot of work to do on this door, but I have made that first step.
Certainly no where near the amount of work I was hoping to do today, but better than nothing.
Cheers, Paul.
