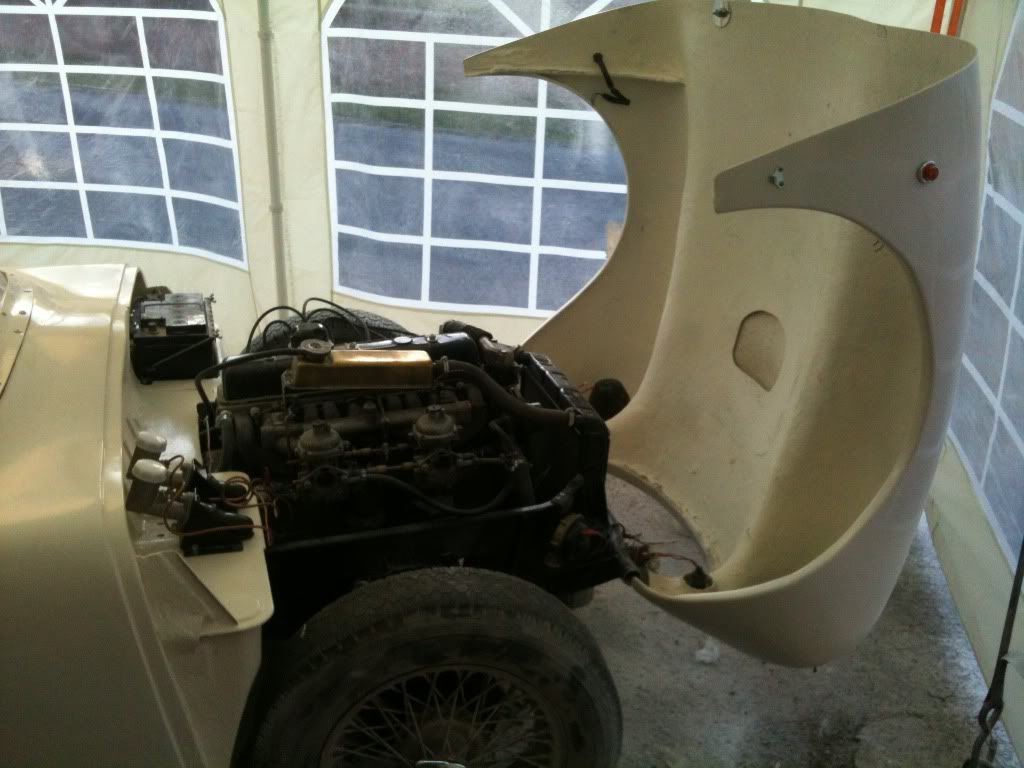
Dave - Cheers, I know it has taken me a long time to get this far, but the bulkhead does give me hope.
You're right about things like grommets, as all the little "bits & pieces" required to build the car soon add up!
- - - - - - - - - - - - - - - - - - - - - - - - - - - - - - -
Here is round up of what I've managed to squeeze in over the last few days...
Wiring Loom - Part 2:
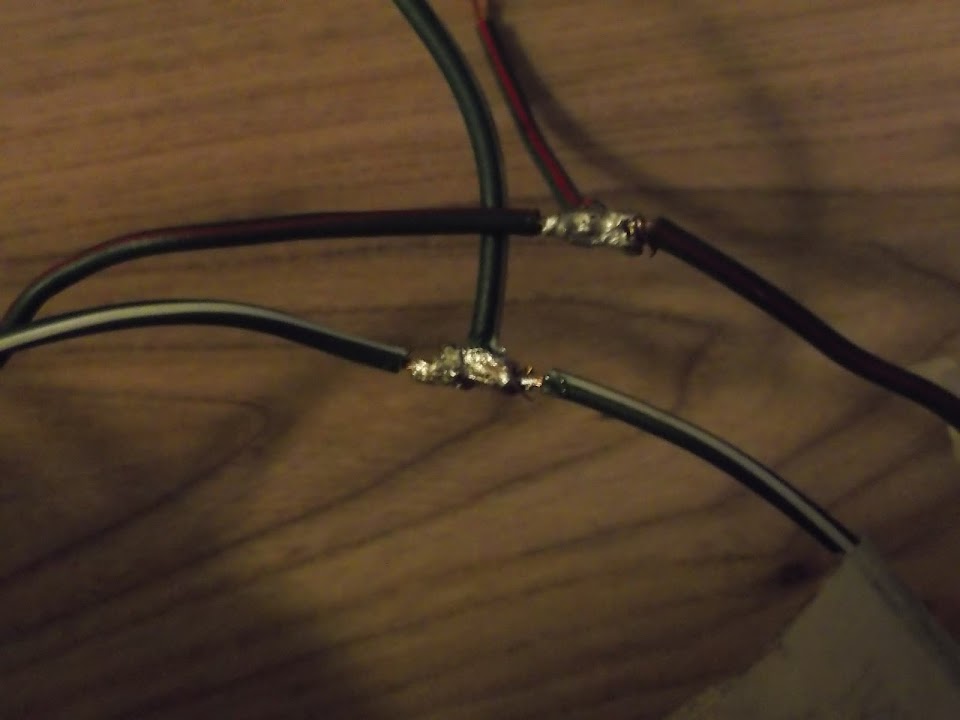
I'd found the two "power" wires I needed for my side repeaters running from the indicator switch through the wires behind the dash.

I plan to fit the side repeaters to the main bodywork, rather than the flip up bonnet as seen here on
tlrtone's build.
( Don't get me wrong, they look good there, but it seems like a long wiring route to me. )
Rather than cut these power wires, I simply "skinned" a small section of insulation off them.
Then I could wrap the ends of two small lengths of "spare" wires in matching colours to each wire.

I just needed to add some solder before wrapping the "T" junctions

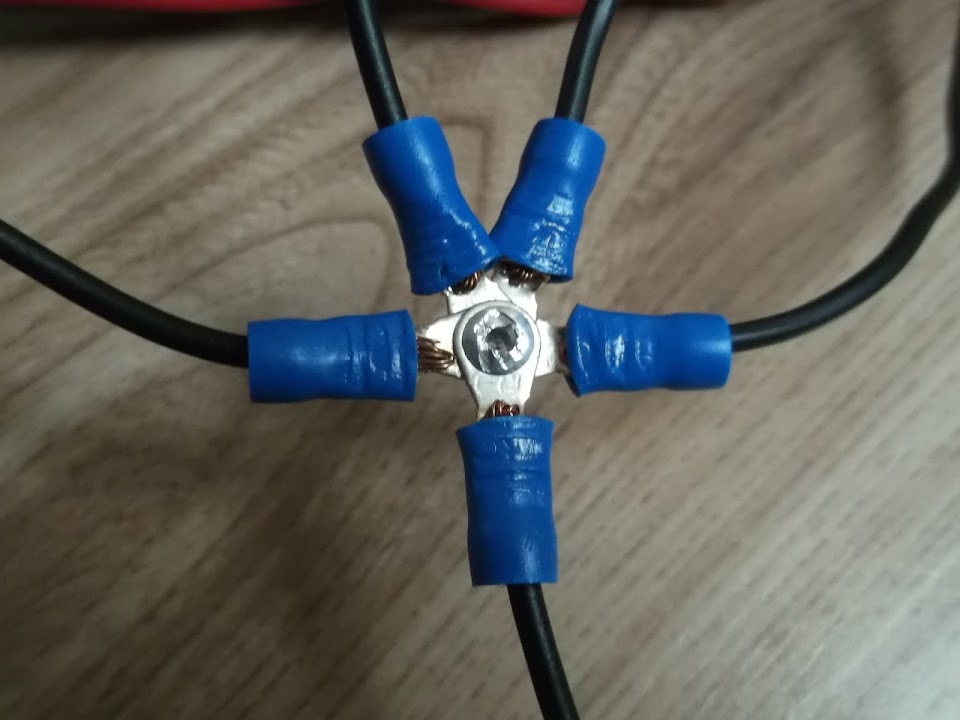
With the "power" wires for the side repeaters wiring taken care of, next up was providing then with an earth feed...
- - - - - - - - - - - - - - -
There was a "spare" earth wire running through the loom behind the centre of the dash, originally used for the old heater.

But I wanted to add three extra lengths of wire to it at this point.
- Two to correspond with the left & right side repeater wires I'd just set up above.
- Plus one more to connect with the earthing point I'm using for the new micro heater.
I figured trying to wrap lots of wire together would just make a big mess.
So instead I used 5 of the small ring/eye connectors that came with my crimping tool.

Together with my new pop riveting skills, I could now make a five way connection like so.

The wiring behind the centre section of the dash now looked like this.

With the new earth wire and the previously connected green fan speed switch wire coming straight down.
But before I could finish wrapping up this section of the loom there was another job to finish first...
- - - - - - - - - - - - - - -
When I first stripped my donor, there were two "random" wires in the engine bay not connected to anything.
Later on, when I started thinning out the wiring loom, I discovered both these wires ran to the oil warning light.
But after looking at more wiring diagrams, it turns out one of these wires is actually for a PDWA switch.
( Pressure Differential Warning Actuator )
This is linked to the fact I am running the dual (tandem) brake system from my late model 1500 donor.
The "plug" end of the cable looked like it had seen better days & may never have been used at all.

Also the PDWA wiring does not appear on any of the UK wiring diagrams I have, only the USA ones.
Plus the corresponding warning light on the speedo is simply marked "Oil" & makes no reference to brakes.

So I have decided to remove the PDWA wiring altogether to keep the wiring I do want much simpler.
The only problem with this "master plan" was one end of the wire was in the engine bay section of the loom.


So I unwrapped this a section at a time, adding tape back to hold the cable routes in their original positions after I'd removed the wire.

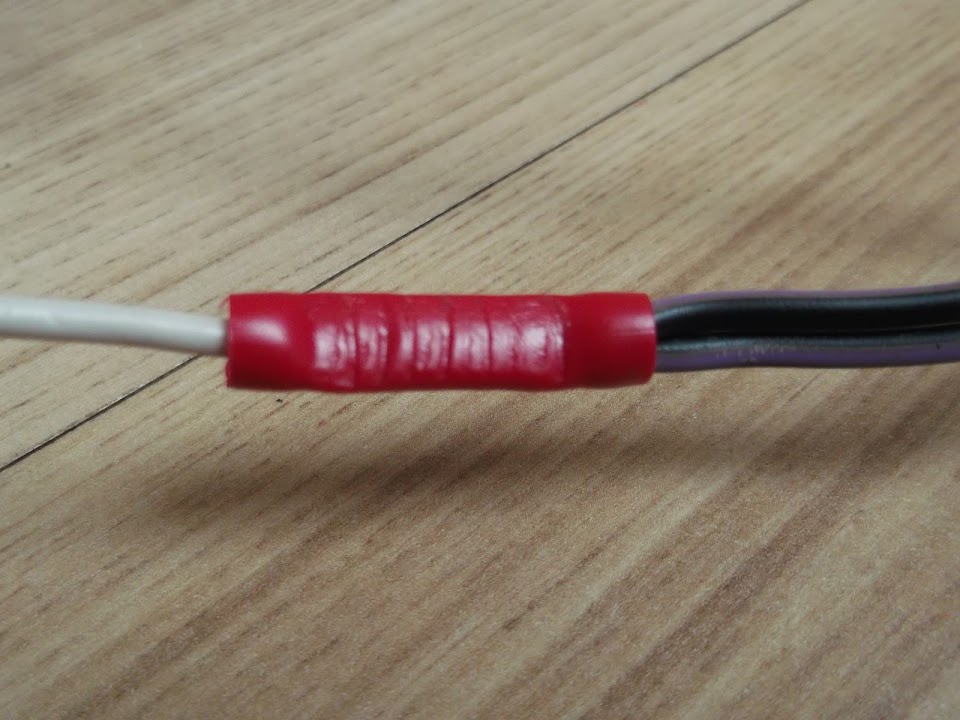
Eventually, I had all the surplus wires I wanted to remove in one place.

Just one of these two black/purple cables needed to be connected to a single white wire in the loom.

But just to be on the safe side I joined them both to the white wire.
( It has taken me a while to start using these crimp connectors that came with my pliers, but they are handy. )
This was the pile of spaghetti for the area behind the steering wheel before I removed the PDWA wires.

But before I started to tackle the rest of this mess, I went back to the centre dashboard wiring...