Mac - I know you use air tools, but can you suggest any electric sanders for me to buy?
At the moment I have nothing to tackle the filler with other than my grinder & belt sander.

- - - - - - - - - - - - - - - - - - - - - - - - - - - - - - -
Driver's Side Corner:
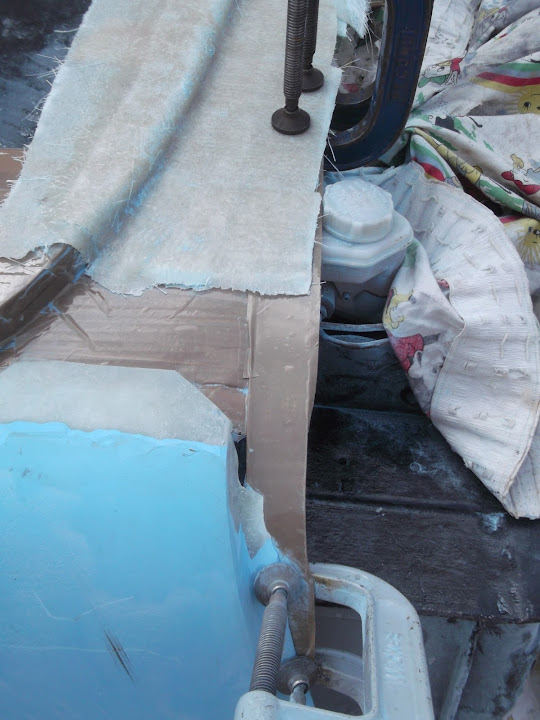
Only had time to do one job today, so I stuck with the scuttle base and tackled this area of the driver's side.

As you can see in this photo, there is also a "lump" that needs to be removed.

Its removal will allow for a better line across the top of the door / body shell.
But I can't remove it all just yet as that is where the body shell brace is attached.
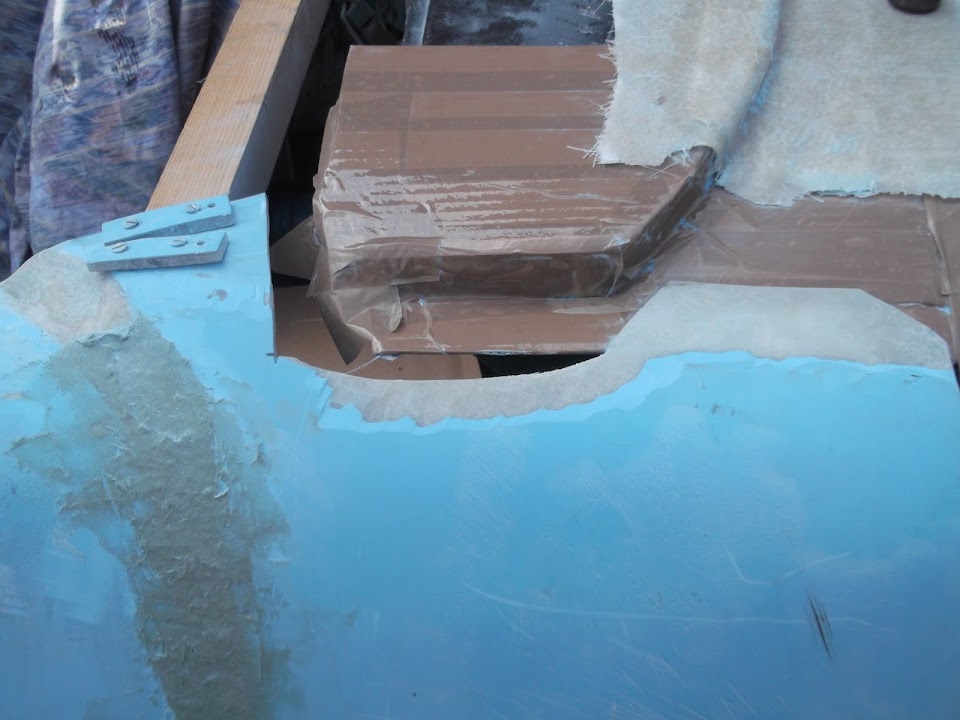
So first job was to tape up the bulkhead and a layer of cardboard I cut to fit on top of the corner I was working on.

The cardboard represents the fact that the bonding paste will "lift" the body shell off the bulkhead a fraction.
I also put more cardboard along the length of the bulkhead to get an even (ish) gap all the way across.

I had a thin off cut of metal from the lowered floor pans to play with.

So that was also covered in tape and then clamped into position.

Thus forming the bend required for the existing and new body shell bonnet lips to join up.
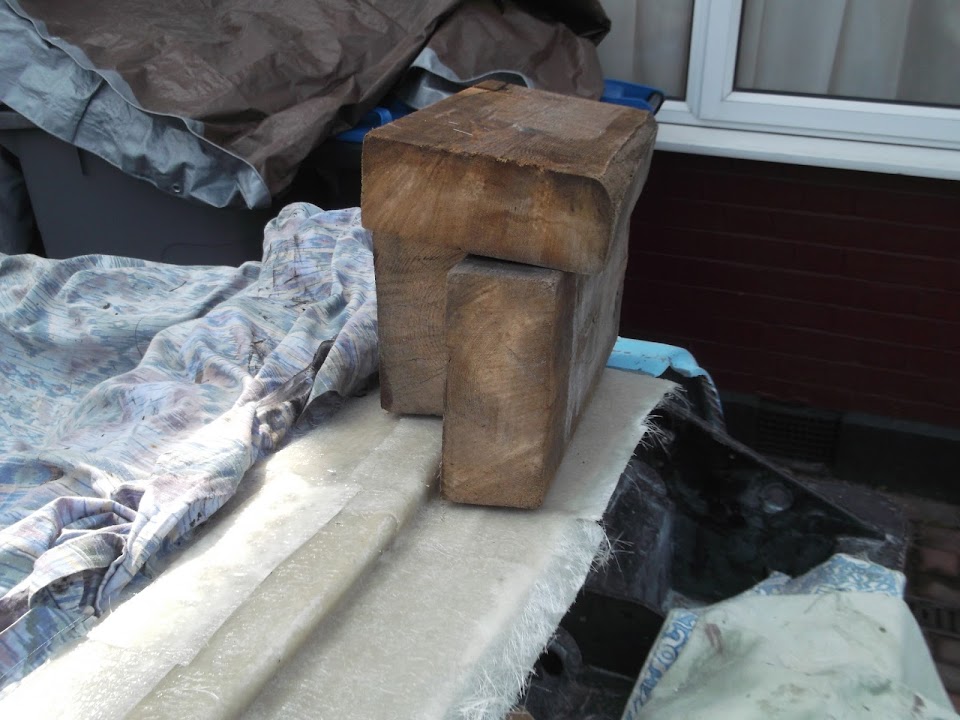
I used some of my "skip" wood to weight the rest of the scuttle based down.
Then I removed a section of the body shell and cleaned off the gel coat to reveal the fibreglass below.
After two sessions of fibre glassing, the corner now looked like this.

I must say I am really pleased with how this has actually worked out.

Just remember this is the
base of the scuttle and all the real sculpting work has yet to come.
You can also see the work still required to get a decent line from the back of the cockpit to this area.


At least once the "lump" has been removed the line will look a look better and give me a base to work with.
I will leave all this to cure for as long as possible before I cover it up for the night.
- - - - - - - - - - - - - - - - - - - - - - - - - - - - - - -
I only other thing I did today was to pick some uPVC cable trunking.

I will use this to form the bonnet shut line as it should give me the right depth when covered in fibreglass.

With all the wood resting on the scuttle, I couldn't really position this properly.
But hopefully this photo gives you the general idea on the passenger side.

I will also be using this to measure across the bonnet lip to see if I need to 'cut & shut' this side of the body shell.
- - - - - - - - - - - - - - - - - - - - - - - - - - - - - - -
Whilst I have too many other things to do today, this was still a very good session.
Got to go, so take care, Paul.
