Scottie - The boot lid was another "leap of faith" job, where I didn't know if I could do it when I started.
But as more filler goes on (see below), I am very pleased with how it is actually turning out.

- - - - - - - - - - - - - - - - - - - - - - - - - - - - - - -
Slow, but positive, progress...
After two days of looking (on & off) I finally found the silicon spreader I ordered a while back and then put "somewhere safe".

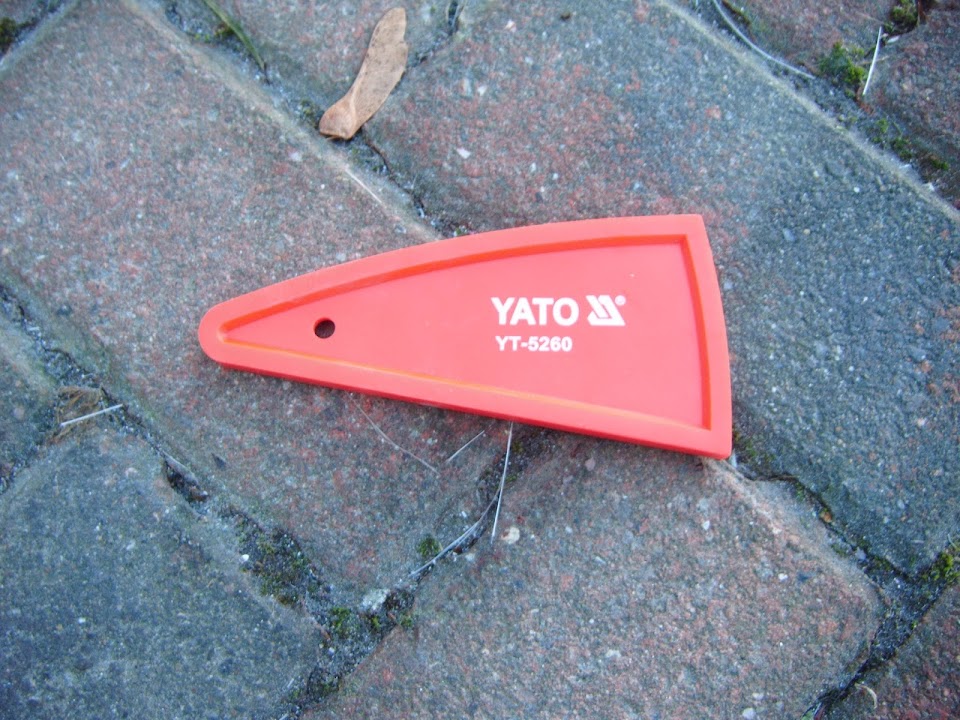 Mac
Mac was singing the praises of his baker's tool when doing his body work & this was the closest thing I could find.
I started the day sanding and tidying up the edges of the body opening and one "inside" surface of the rain channel.
This was one of those jobs that was time consuming for only a marginal improvement, but that is what I needed.
Then I used my new spreader on the body filler I added to body shell humps and it gave a pretty smooth finish.
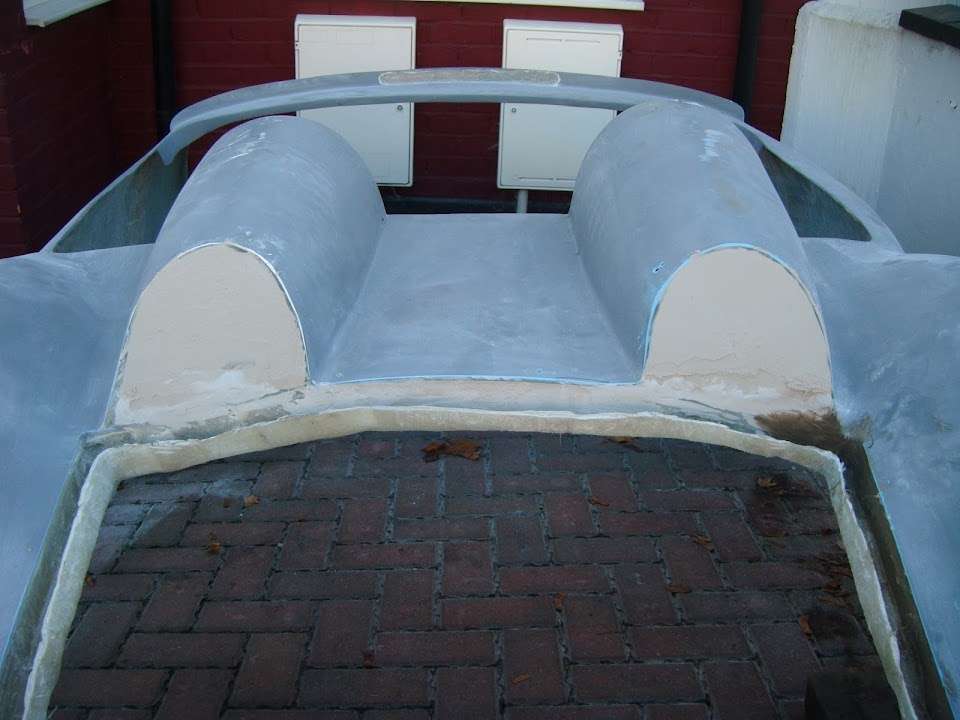
The lip humps don't look at good as I was desperately trying to use up the last of the filler mix before it set.


My driveway is North facing, so staying pretty cold in the winter, so I'd added a healthy amount of hardener to the filler.
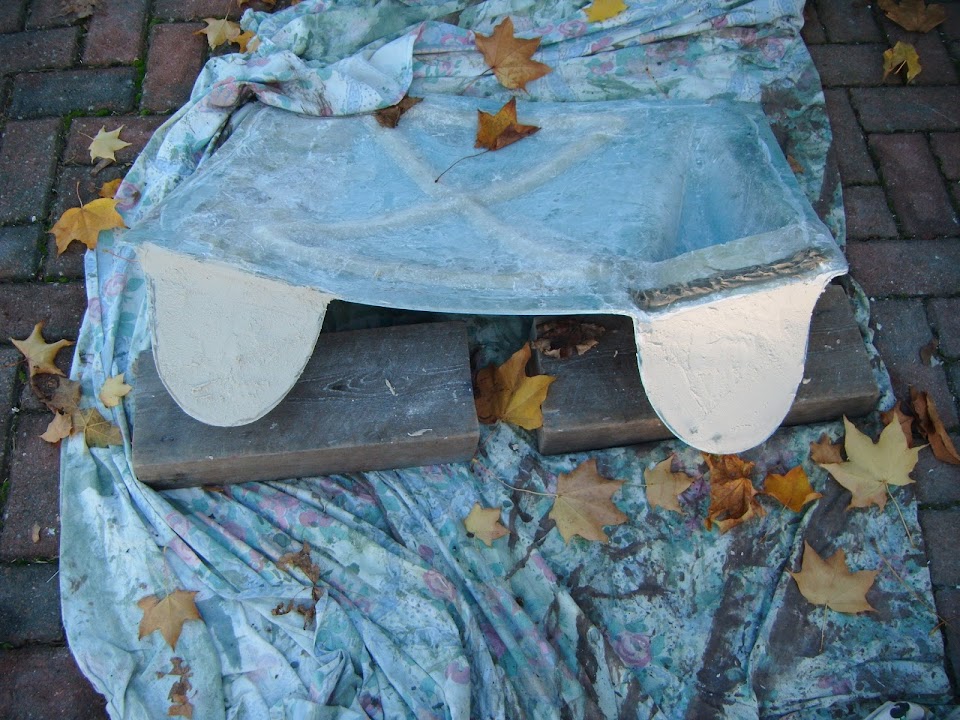
Next I used some "normal" fibreglass filler along the bottom edge of the boot rain channel.
( Where the plastercine repair had been. )

I then used was was left over on another section of the rain channel to improve the strength / finish.

That was the end of "Round 1".
It was the afternoon, before I got another chance to mix up some more filler and start Round 2...
But first of all, I countersunk all the holes in the body shell where the fixing brackets had been.

Then i used fibreglass filler along all the remaining inside edges of the rain channel.

So there is now a smooth flow from the body shell into the rain channel.
Notes:
- I will add filler to the bottom of the rain channel when the body shell is back on the frame.
( As I want to ensure than any water collected will flow in the right direction. )
- I need to re-work some sections of the lip that will support the seal.
( So I'll leave adding any filler until that work is done. )
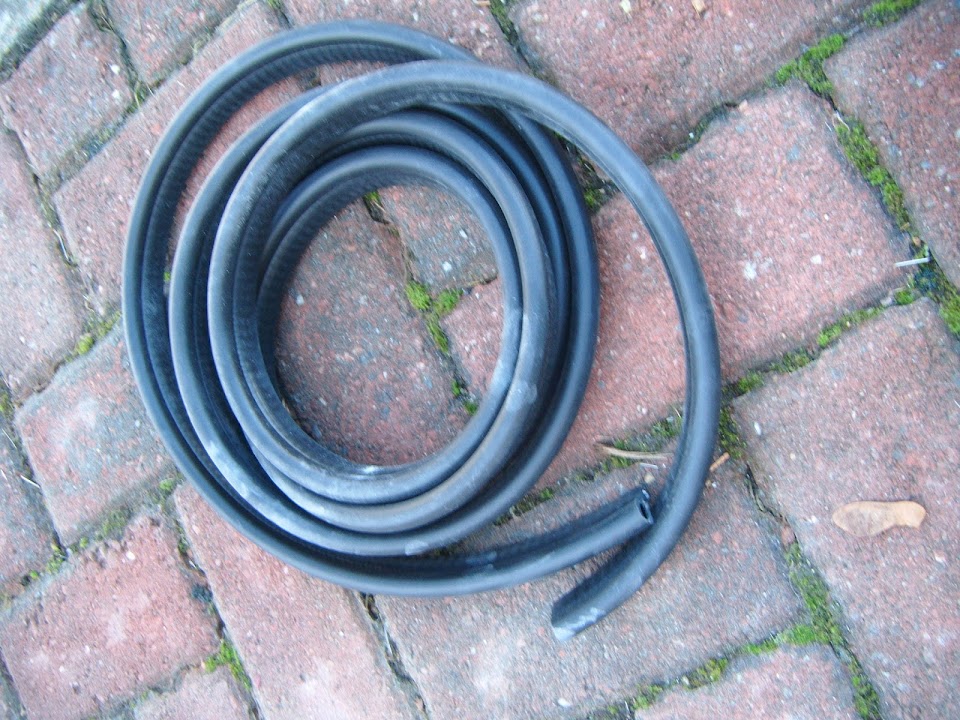
Talking of the boot lid seal, top marks to CBS, as the seal arrived today and I only ordered it yesterday afternoon.
When I have finished tidying up this side of the rain channel, it will sit here.

I also added some fibreglass filler along the "bridge" in the driver's lip hump.

This will be ground down to match the contours of the rain channel beneath it, before getting a skim of body filler.
The last bit of this batch of filler went into both sides of the fixing holes, which is why it is a bit messy.


Then I mixed up some normal body filler for both sets of hump faces.

Then I just needed to leave all that to set for a while, before coming back out to do some more sanding.
End of Part 1...