Bonnet Work - Part 2:
I left the first round of fibreglass to set for a while before returning to the bonnet.
Then I turned it over, making sure there was no weight on the lower valance.

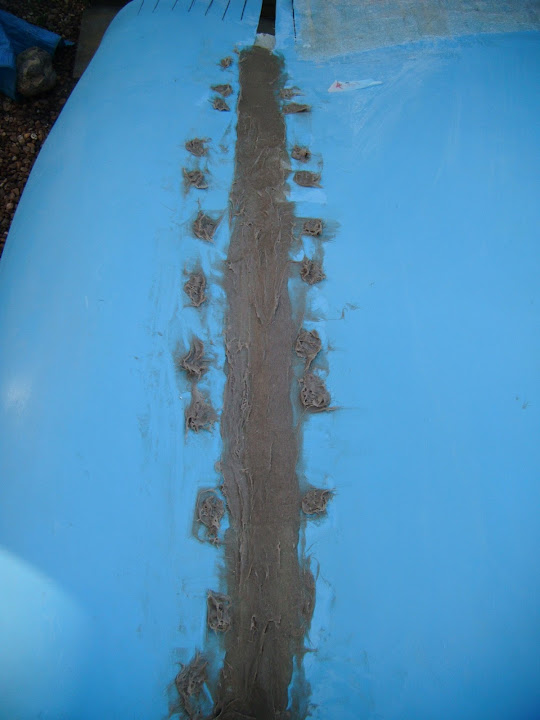
I then countersunk the remaining screw holes, & roughed up all the fibreglass & gel coat around the join.
Unfortunately, just as I had finished that work I felt a drop of rain.
So I quickly protected the fresh fibreglass work.

Before covering the rest of the bonnet & retreating back inside.

- - - - - - - - - - - - - - - - - - - - - - - - - - - - - - - -
Once the rain clouds were gone I headed back out, just in time to see this flying overhead.

Then I mixed up some fibreglass filler & made a start.

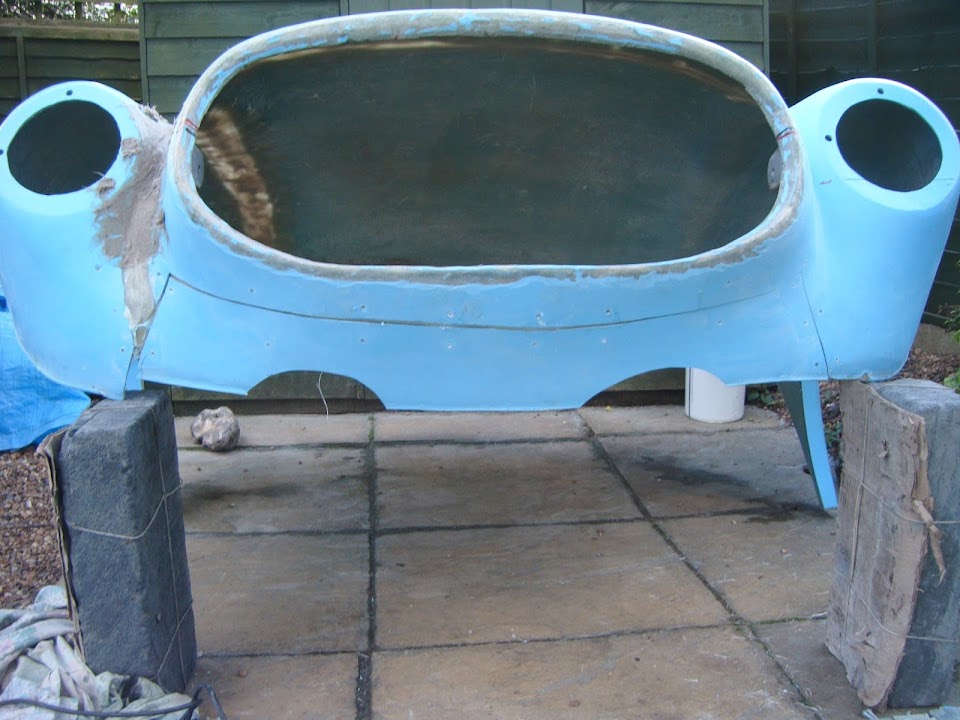
While that was setting I propped the bonnet up so I could get access to remove the lower valance brackets.
Then I crawled inside the bonnet to grind the area around the back of the screw holes.

This was quite a tight space to work in, but I got a round of fibreglass matting over the screw holes.
I also put an extra strip along the length of the join while I was at it.

I left that to start setting before eventually coming back out for the final job of the day.
Which was to sand back the filler.

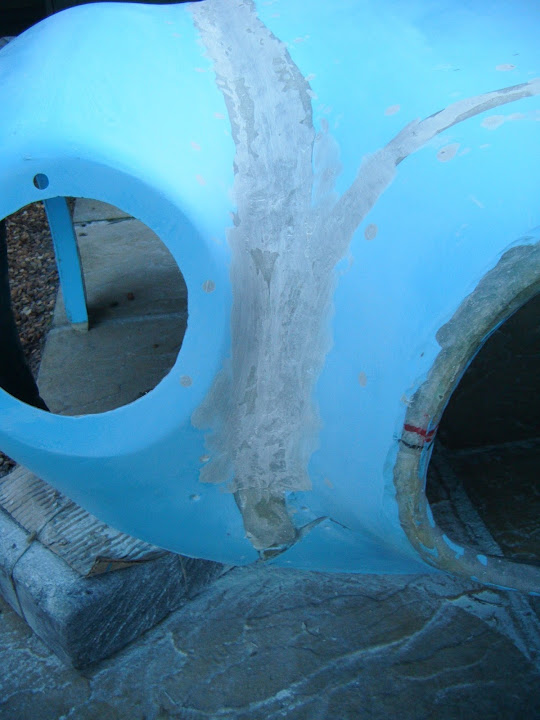
I've left it a bit rough between the headlight and the nose cone, as I need to build this area up a bit more.
( I wanted to get the headlight area sorted out first, then I can bring the nose out to meet it. )
There is a definite dip between the bonnet and the wing.

Although, obviously, this dip is definitely not a mirror image of the other side.


But I'll be happy as long as I can set a smooth transition across the repaired area.
It was too late to start any more work, so I packed up and called it a day.
So until next time, take care, Paul.
