Scottie - These days I'm quite jealous of your tent too!
Jerome - Cheers, I went back to have another look at inner bonnet.
Which also reminded me that I really like your twin exhaust pipe shield design.
- - - - - - - - - - - - - - - - - - - - - - - - - - - - - - -
A Good Start - Part 1:
Finally got a good run at the car today and managed to get quite a few small jobs done.
Although as
Scottie often points out, just because they are small, doesn't mean they are not time consuming!
So I will group the jobs together, rather than follow the strict timeline of the day.
Petrol Cap Base Ring:
Cleaned off the excess bonding paste that had been squeezed out along the inside edge.

Note: I will come back and file the straight section you can see on the bottom right at some point.
Quickly fitted the rubber seal and thankfully that sits nicely in place.

So when the petrol cap is fitted, everything works as it should.

- - - - - - - - - - - - - - - - - - - - - - - - - - - - - - -
Rear Valance & Number Plate Plinth:
Sanded off any excess filler from the bottom edges of the plinth (& around the tail pipe exits while I was at it).

Also tidied up the outside edges, where the previous "cut & shut" repair work has been.
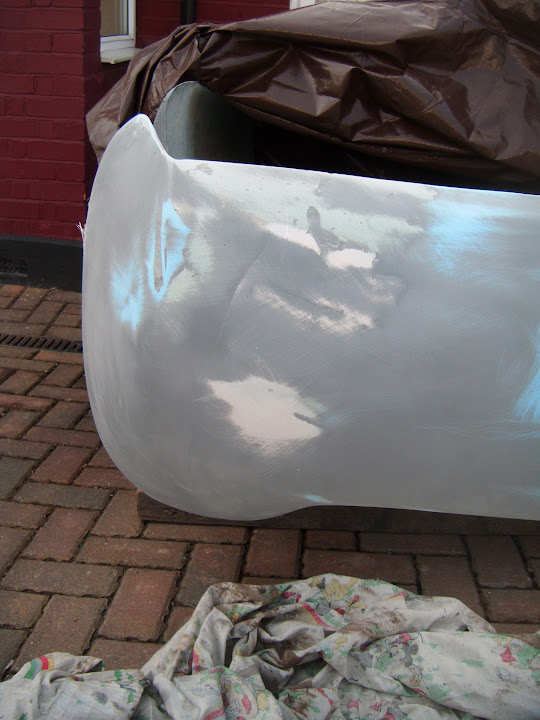

Gave these areas a skim of normal body filler.


Which was later sanded down to give a smoother, if still somewhat undulating, surface.


Followed by a quick dusting of etch primer just to get a better feel for progress.


I will have to add a dab of stopper filler "here and there" at some point.
- - - - - - - - - - - - - - - - - - - - - - - - - - - - - - -
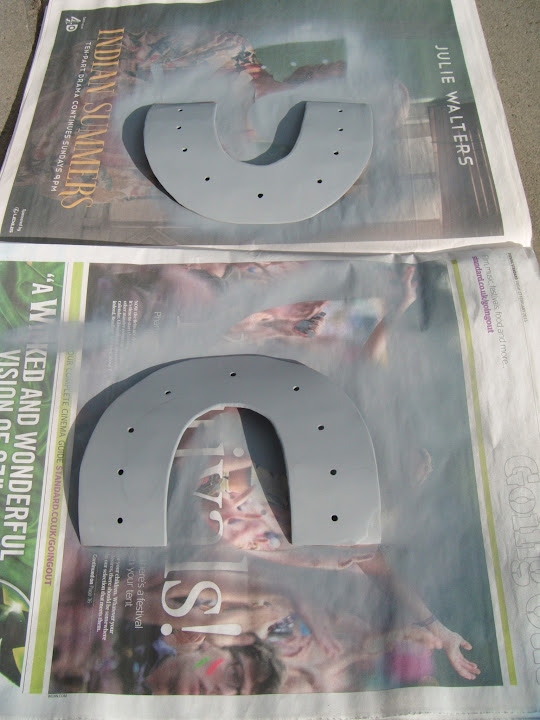
Exhaust Tail Pipe Shields:
These needed to be bent into shape.

So my trusty block of wood and a selection of hammers were used to get the shape required.

Which was actually quite a tricky curve to achieve.

Then the inside edges were trimmed to match the two cut outs, which are not identical.


Notes:
- I will trim the back edges flush with the body shell when these have been fitted.
- I also flatted the shield's curve underneath the number plate plinth to create a bit of a visual gap.
After drilling some holes for the rivets (these will also be bonded on), I cleaned them up.

Before giving the inside edges a coat of etch primer.

Thankfully the weather held and so there was time to do the "outside" too.
- - - - - - - - - - - - - - - - - - - - - - - - - - - - - - -
End of Part 1...