Ed - I have certainly spent far too long thinking about, & working on, this boot lid, but at least it is nearly done.
Thankfully, most people will only every see the outside of the boot lid and not the rather messy boot area underneath.
I really hope to make Stoneleigh this year, especially given the number of forum members (& their cars) going.
However, at this point, I still can't 100% guarantee I will be able to go, so I will keep you posted.
As it would certainly be good to meet up and have a chat.

- - - - - - - - - - - - - - - - - - - - - - - - - - - - - - -
One of Those Days:
Rather than follow a strict time line, I'll start with the simple job...
Frame/Arches/Floors:
Thankfully it was warm enough to spray two coats of Stone Guard over the "filled in" gaps.
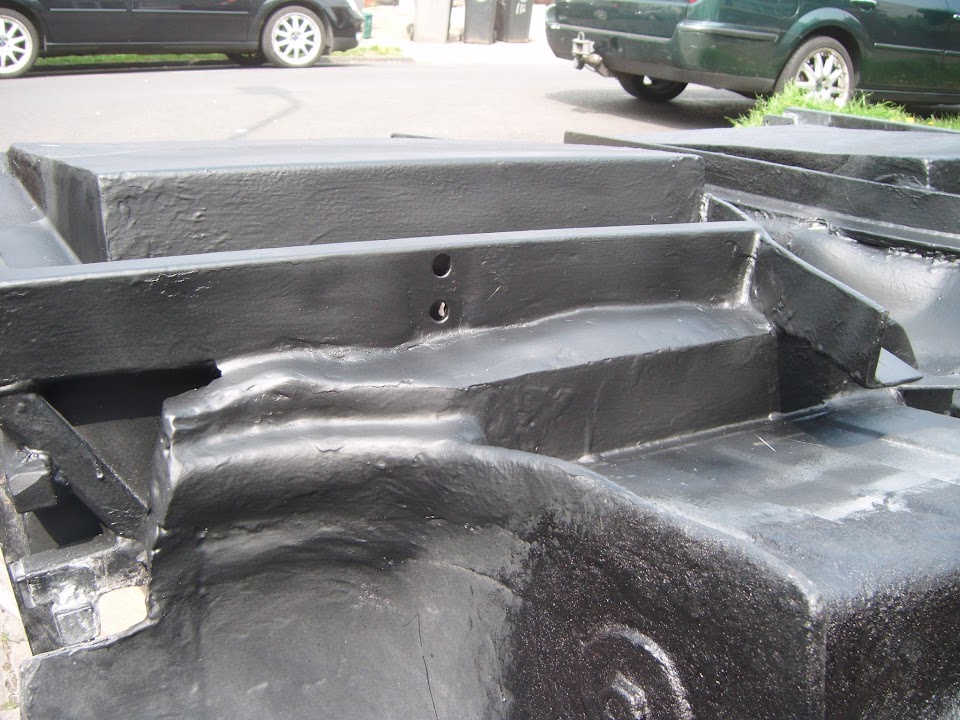


The photos were taken after the paint had started to dry to its matt finish.
But I will wait until next week before covering this in a layer of Tetroseal.
( As the forecast for the weekend a bit too wet for painting. )
- - - - - - - - - - - - - - - - - - - - - - - - - - - - - - -
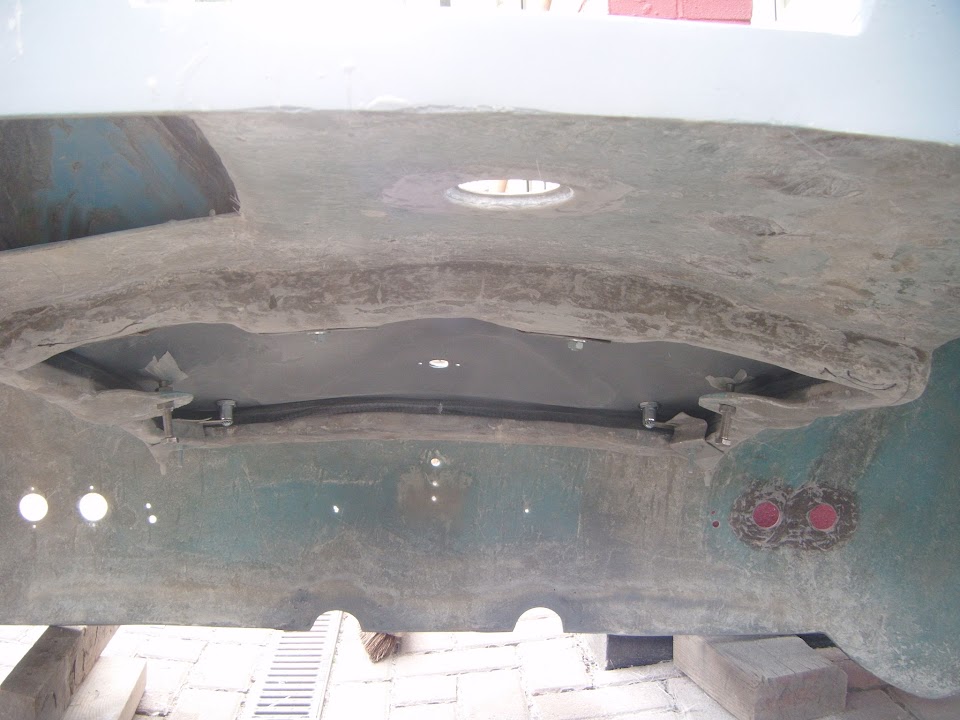
The next job involved literally hours of crawling around under the body shell and almost drove me mad...
Boot Lid:
Trimmed & tidied up the mounting plates.

Then locked the lid back into place.
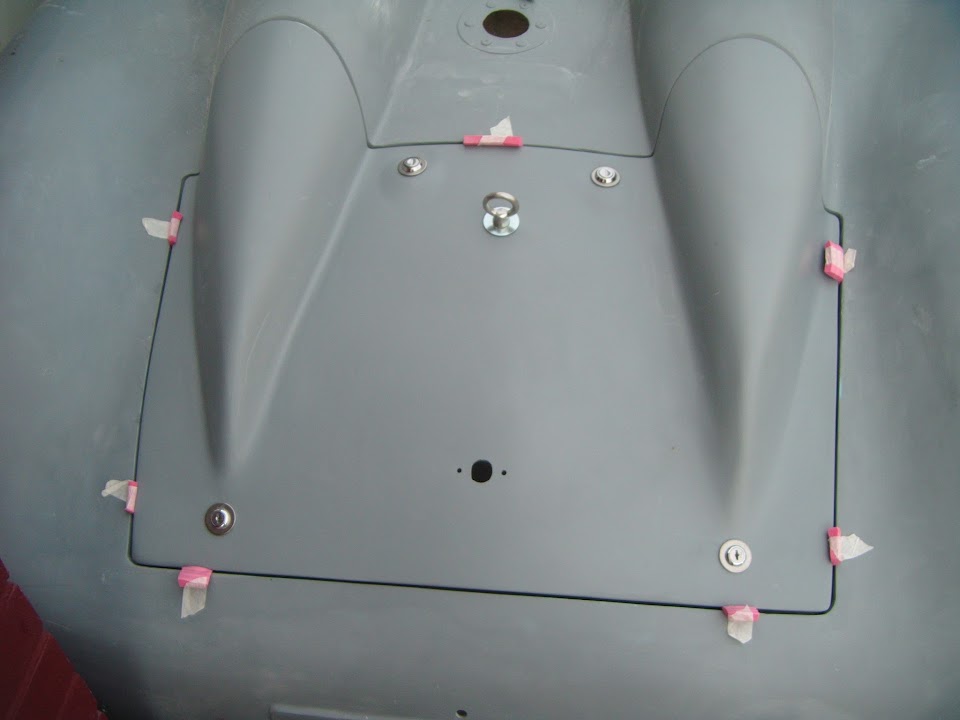
Started to mark up where I needed to drill the holes for the locating pins.

Then realised, to my absolute horror, that I had made the same school boy error as before.

Yes, the mounting plates have been fixed into position "square" to the fibreglass mounds.
Whereas, they should have been mounted horizontally, so they would be square to the lid being lifted up & down.

This discovery resulted in a significant bout of swearing, followed by some serious
beard scratching.
I even had to resort to making cardboard "models" of the lid & the bolt angles to see how I could make this work in practise.
Previously I planned to have cone shape leading to the pin hole to provide a bit of "wiggle room" when fitting the lid.
Well, in a classic case of "luck rather than judgement" this wiggle room was all that was needed to fix the problem.
I started by drilling the holes in the fibreglass mounds and fitted the locating pins.
Sure enough, when I unlocked the boot lid, it could not be removed due to the outward facing angle of the pins.
So I removed the pins from underneath, added the wiggle room to the holes.

Re-fitted both of the locating pins (OK, they are just bolts with the thread ground down

).


Now the lid could be lowered into place and the pins slid home preventing the lid from moving up & down, or side to side.

To say I was relieved would be a massive understatement, as I just couldn't face scrapping the work I'd already done & starting again.
With the position of the lid now fixed, I did a bit of work on the panel gaps.

The next step will be to add some filler to build a smooth transition across the gaps in the humps.
But at this point I just couldn't face doing any more car work and packed up early for the day.
( I had planned to do some more work on the gearbox cover & start preparing the rolling chassis. )
Until next time, take care, Paul.

PS
This was the view out of my bedroom window last night as the Wembley Arch marked the St.George's day.
