Gary & Ian - Good luck with your fibreglass work.
Based on my experience as a complete novice, my top tips for starting out would be:
Only mix up a very small batch of resin (100ml) to begin with.
I was all "fingers & thumbs" at first & the resin was setting in the pot before I finished applying it.

Apply the resin to the matting before putting it where you need it.
I lay out the matting on some newspaper and brush in the resin there.
Again if you are just starting out, apply the resin to both sides of the matting before putting it on.
After it is in place, use your brush / roller to ensure the matting is full of resin & firmly stuck.
Even now, if I have lots of fiddly matting shapes to play with I do it in small stages.
In fact, I never mix more than 300ml at a time, even if I have big sections of matting to apply.
I find this avoids a stressful "race against time" to get everything done.
And remember, if it all goes horribly wrong, you can simply grind it off & start again.
- - - - - - - - - - - - - - - - - - - - - - - - - - - - - - - -
Thurcroft Flyer - There is no shame in having better priorities than car building.
I lost time on my build when reading 'Harry Potter' to my children, but would never trade that time.
As for where to start, pick a small / simple job, even if it isn't a major issue.
If you haven't done it already, even just cutting out the holes for the headlight & grille would work.
This really makes a difference to the way the car looks, which in turn helps motivation.
- - - - - - - - - - - - - - - - - - - - - - - - - - - - - - - -
Wind Chill:
I was happy to be doing other stuff this morning as the rain was lashing down outside.
I did get another limited effort on the car in the afternoon, but the wind was biting!
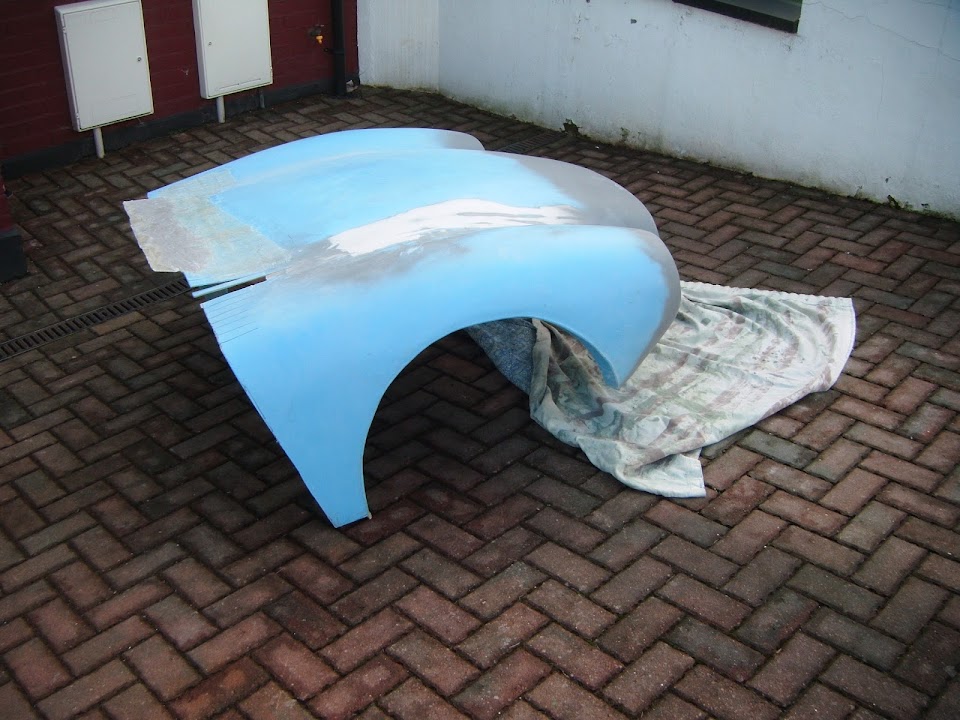
I trimmed back any fibreglass matting that extended beyond the bottom edge.


Then I carried the bonnet to the front drive as the wind tried to blow me (& it) into next door's garden.

Notice my rather fetching hinge protectors that stop the waterproof cover getting ripped.
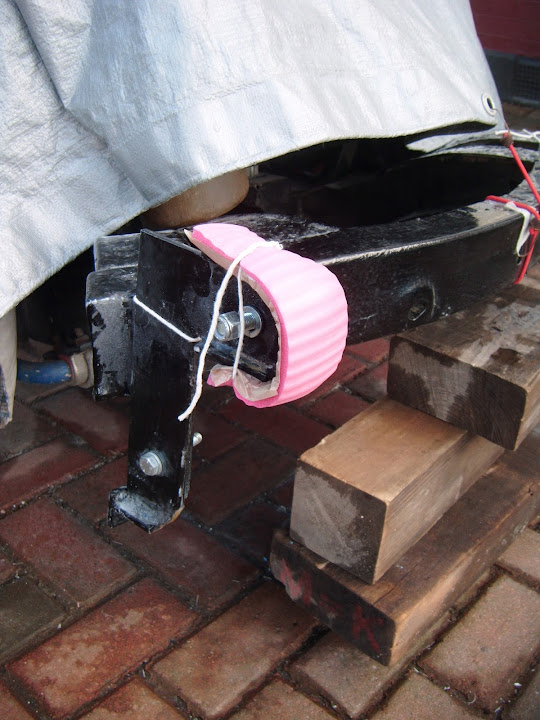
I then drilled out the hinge pivot holes from M10 to M12 so I could fit my new beefy bolts.

I think it might be worth adding a splt pin / lock wire to make sure the nyloc nut does not work loose.
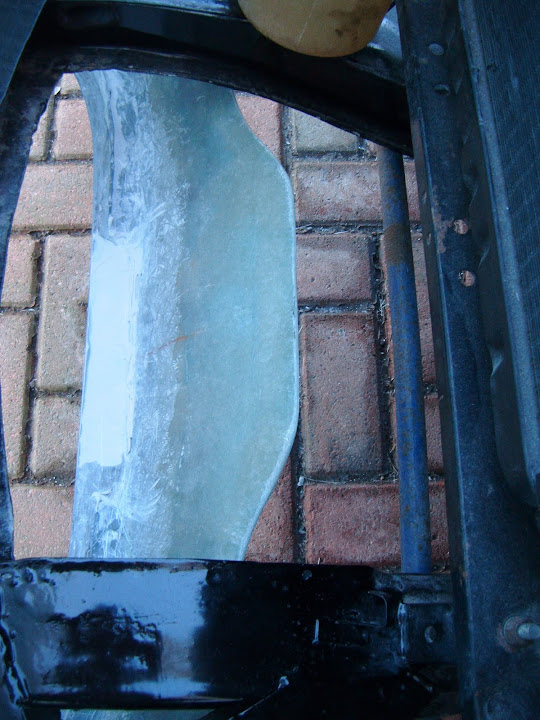
Then I attached the bonnet back to the hinges and checked the chassis clearance with the bonnet up.

I am really pleased to see that my "wavy line" approach has worked a treat.

In fact, I am really happy with all the improvements I've made to the bonnet.
These photos were taken on the 11th of January.
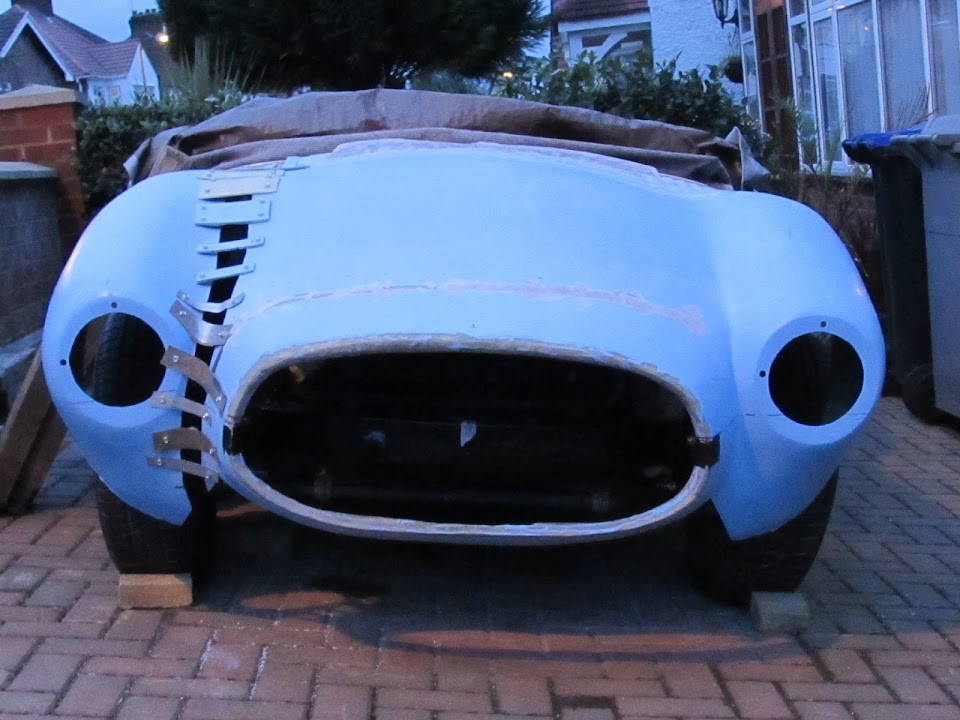

And these were taken today.


Even if this doesn't amount to a lot of
new work, seeing the bonnet tilt still makes me smile.


Then everything was put back under the covers.
Until next time, take care, Paul.
