Roadster - Cheers.

Whilst paint is still a long way off, the grey primer improved the car looks, so BRG should really transform it.
Thanks for posting those photos, as I had forgotten about leaving room for the "stick on" front number plate.

I think the bulge will prevent me from putting the number in the centre, so perhaps something like this?
( Yellow tape representing the nose band, plus the stick on number plate and racing number. )


Or the yellow band could be a bit thicker / deeper.

Clearly there are various options, but I am not going to play with this for a while now, see below..
- - - - - - - - - - - - - - - - - - - - - - - - - - - - - - -
Critical Path - Part 1:
I have been trying to work out what are the jobs that
have to be done before the body can be bonded on.
So things like problems with the front wiring loom can wait, as the rear loom is working fine.
Even the drain pipe exit for the boot lid rain channel can wait, after it dawned on me there is an easier way to do this.
As there will be a gap to fill between the end of the boot floor and the rear of the body shell.
So I can fit the black pipe into this "fill panel", rather than drill holes in the body shell itself.
However, now would be a good time to add the brackets required to zip tie the hose out of the way.
So I made another two of these.

But before I fitted them, there was a bit of general tidying up to do on the body shell.
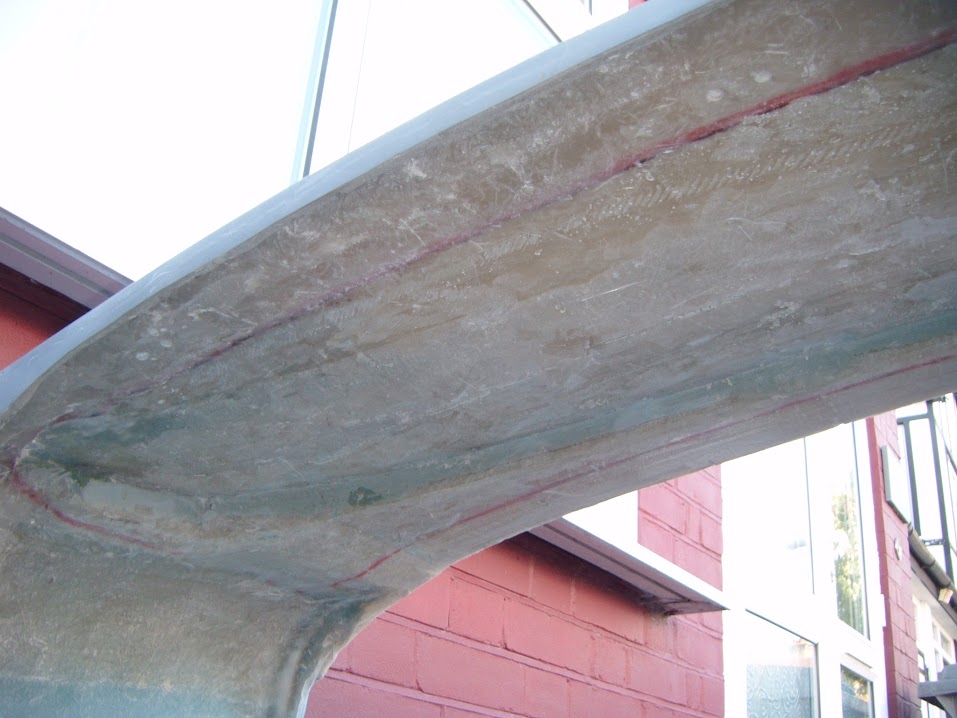
There are a few points on the underside of the scuttle that "catch" the bulkhead below.

So I've now cleaned up all of the underside, in preparation for bonding it to the bulkhead.
Using fibreglass filler to fix the brackets in place was miles easier than using fibreglass matting.

I also added some fibreglass filler to various other small holes that needed filling, plus behind the dash edge.

It is not easy to see in this photo, but this lip has rough fibreglass underneath/behind it.

So I've added a layer of filler to form a "wedge" from the lip back to the scuttle.
( The line is where the Spitfire bulkhead starts. )

That way anyone, including me, who runs their fingers along the edge of the dash "overhang" will not pick up any splinters.
When the filler was set, all the various areas were then sanded down.

The next area I wanted to play with was the boot lid locks, which meant I needed the keys.
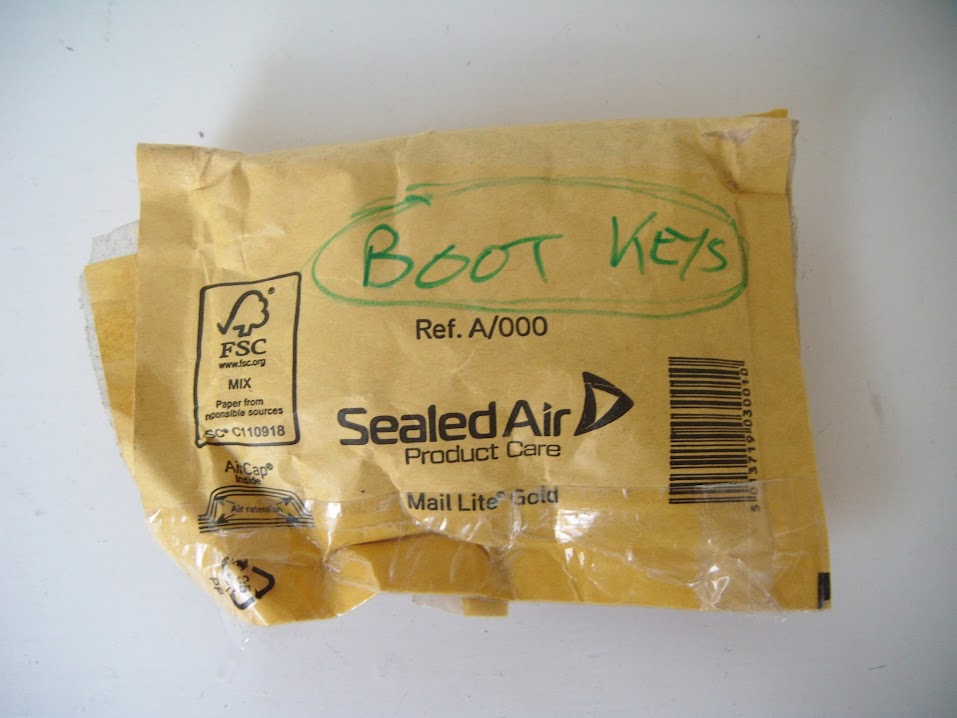
Note:
There is no point in marking the outside of the envelope, if you can't remember which box you put the envelope in.
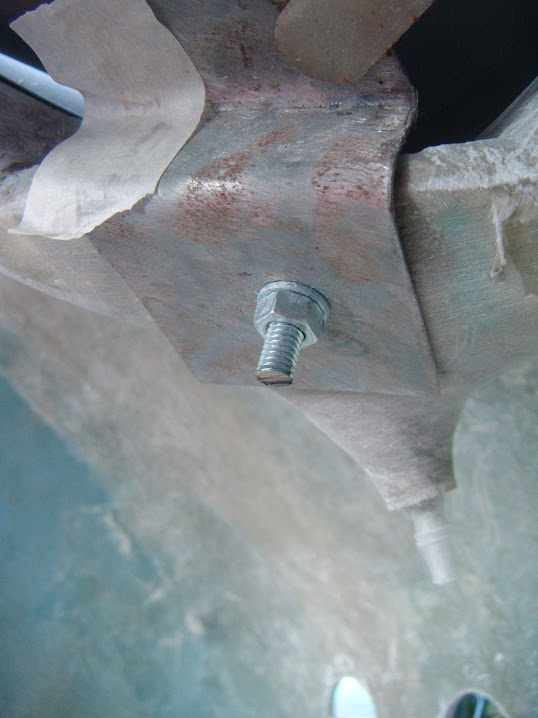
Then I trimmed down the oversized bolts.

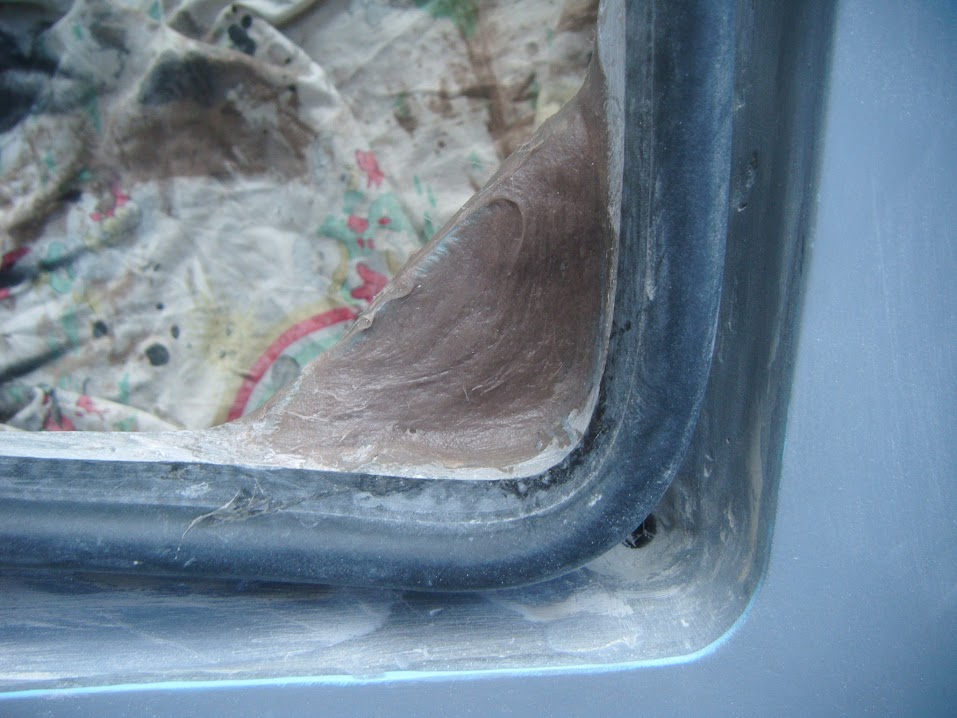
Note:
The "daylight" you can see is because I moved the rubber seal when doing the filler work earlier.
It was only when I removed the newly shortened bolts that I remembered the mounting plate was a mess.
( Following my numerous attempts to make the boot lid work. )

So there was another round of fibreglass filler work on both bottom corners.
End of Part 1...