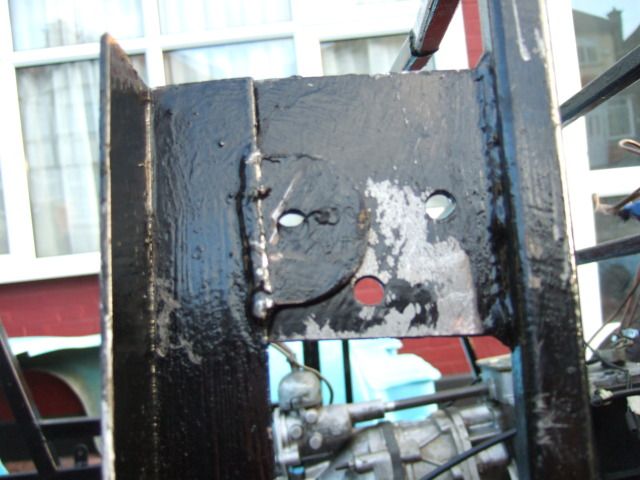
Pedal Mounting Plate:
Although I still don't know what I'm doing with my brakes yet (see update below)...
I'd looked at this plate when I was painting the tops of the pedals & knew there was an issue.
There was one hole missing and two of the existing holes didn't quite line up properly.
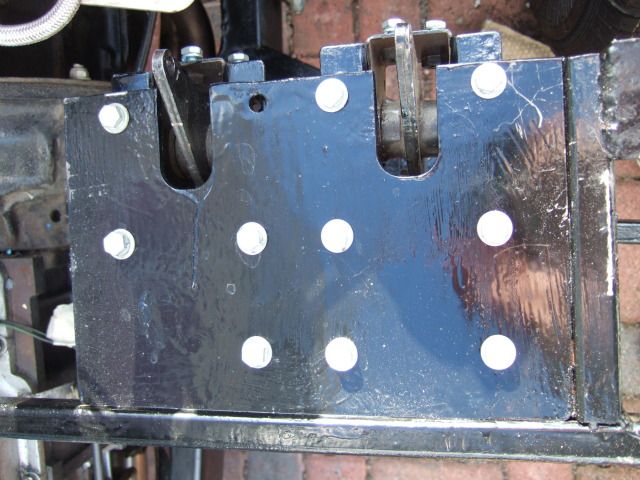
Even I am capable of drilling a new hole and enlarging the other ones, so another job done.
I am just grateful I remembered to fix it
before fitting the body.
 Internal Framework Fitting - Take 2:
Initially I just zip wired the frame to the chassis to temporarily hold it in place to "tidy up".
This time I removed all the bodywork resting on top to have a proper look at what was required.
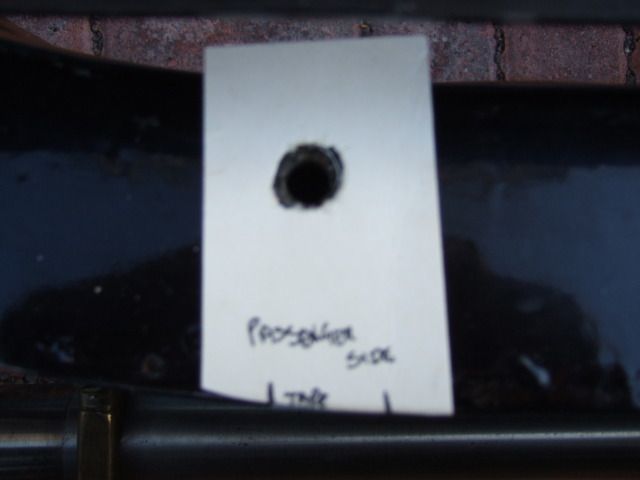
First job was finding a way of locating the seat belt mounting points on the chassis with the frame on.
Unfortunately, the frame covers these holes completely, so you can't tell where to drill the frame.
This needed nothing more than tape on the edges of the chassis & a simple cardboard template.
( Sorry the photo is a bit blurred

)
These seat belt mounting points will also fix the location of my hand brake mounting panel too.
But I will not start drilling the holes in the frame until I have got all the other fixing points sorted.
So the next job was comparing my chassis bolts to the holes in the frame & enlarging where required.

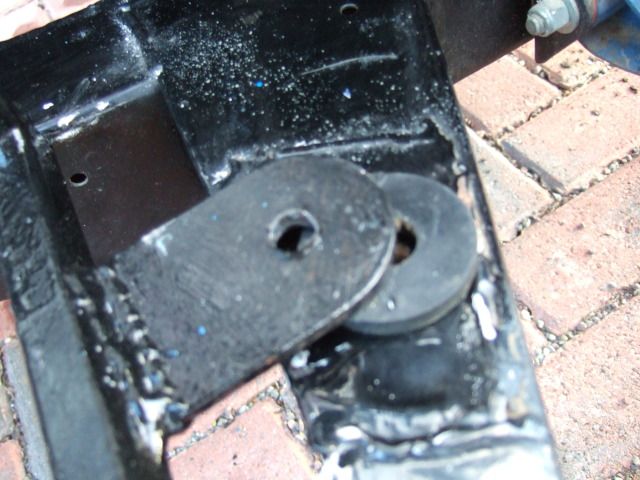
I started with the rear frame and managed to get both the rear chassis bolts in place.
I am re-using the rubber washers from my donor during this test fitting, still don't know if I should.
Next it was time to join the two halves of the framework together and this was a little confusing.
The bottom sections of frame work seemed to join up OK (this is the passenger side)...
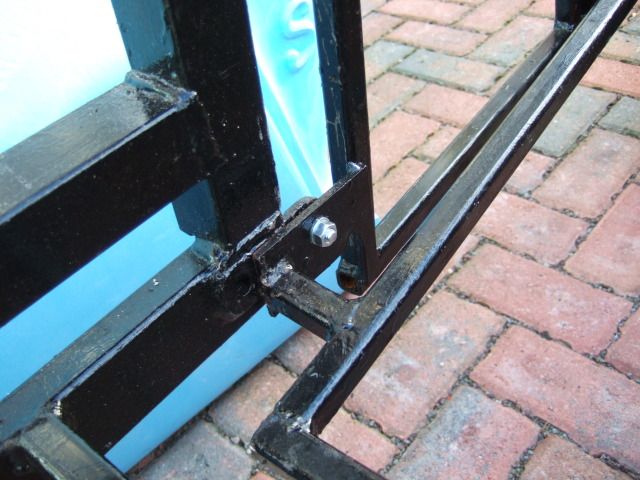
Where the tops of the two frames should align and be joined together is less clear.
On the passenger side I assume the two edges line up and a hole is drilled in the rear frame.
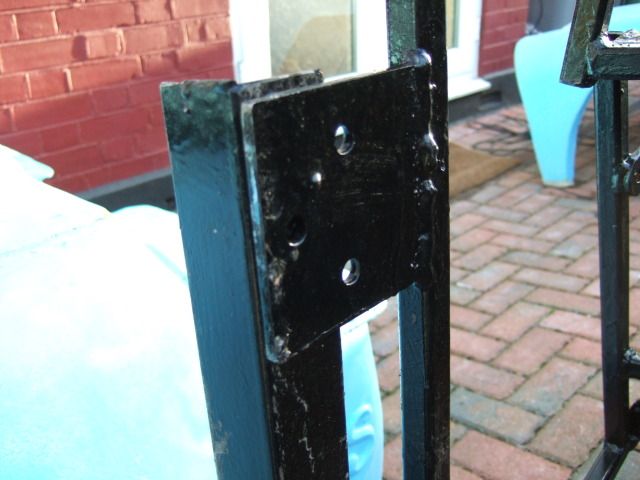
But on the driver's side there is an additional bracket that is not on the other side.
So is this where the two halves should be bolted together instead?
As it currently stands the hole in this extra bracket doesn't line up with any other hole.
Obviously I could simply line up the two edges (as per passenger side) & drill a hole.
Rather than do something wrong, I moved on to bolting down the front half of the frame.
I got both the bolts at the cockpit end of the frame in place which was a good start.
But I came up a little short when I tried to fit the front end of the frame in place.
This is why knowing how the top halves of the two frames join together would help.
I could make the front frame close to the chassis hole if I "hinge" it forward a bit.
But I don't want to get the bottom of the frame work in if this messes up the middle.
Despite following
Misted Towed's advice of 'beard scratching' I am a little lost.
I know getting the frame in square (ish) is important, but square to what?
It is not that I don't like jigsaw puzzles...
Its just that is would be nice if I could actually see the photo on the box now & again.

As my time was limited that is as far as I got with fitting the frame today.
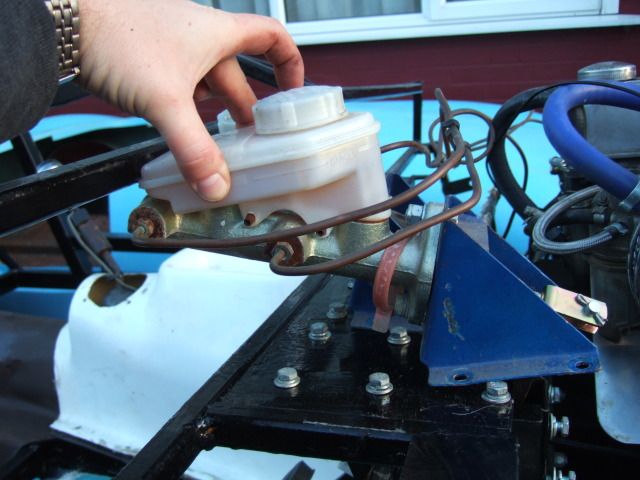
Brake Master Cylinder:
I knew I had some issues with fitting this in the fibre glass bulkhead.
But today it became clear that I'd missed another problem which is the frame itself.
If the pedal mounting plate stays where it is the back of the M/C will hit the frame.

 Internal Panelling:
I did take some approximate measurements for the initial panels I need to make.
- Front foot well surrounds x 2
- Cockpit sides with door cut outs x 2
- Cockpit rear wall x 1
I will do some rough sketches to scale to give me an idea of how much ply I need.
Unfortunately the best value sheets (2440x1220mm) don't fit in the back of my car.
And the local store doesn't cut them on site, so I might have to go to one that does.
But I would need to know the sizes to cut it down to before I do.
So I think it might be 'Blue Peter' time again to layout scale paper templates.
These would give me a 'tailor's pattern' on the scale equivalent of the big sheets.
Project Timing:
In a few weeks time my project will pass the 6 months mark.
I still feel that I have made good progress given the limited time I've had available.
However, what is clear is that progress will continue to be slow in the months to come.
I have now simply accepted this and will not get frustrated by it.
I will keep chipping away and see how what happens.
Off for a family lunch with "granny" tomorrow, so not sure I'll get anything done.
So until next time, take care, Paul.
 Replies:
Dave Cymru
Replies:
Dave Cymru - Thanks for the feedback & the link.