Oxford & Dave - Cheers guys.

I am actually going to send the nice man in the DVLA a thank you card this weekend.
As I am so pleased to have reached this key point of the build.
- - - - - - - - - - - - - - - - - - - - - - - - - - - - - - - -
Anti-Climax:
To be honest, after this morning's post, my normal update may appear quite dull by comparison.

It was another ridiculously cold start to the day, which meant that the first job was more sanding.
Thankfully after a night in the Summer House the normal body filler was set solid.
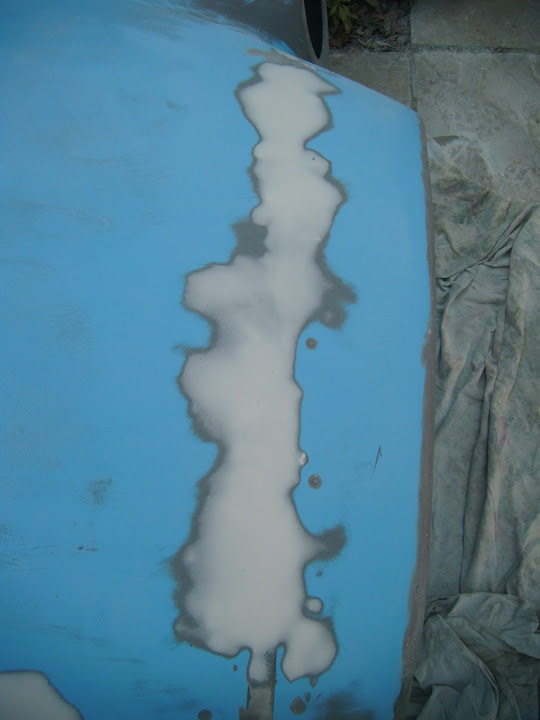
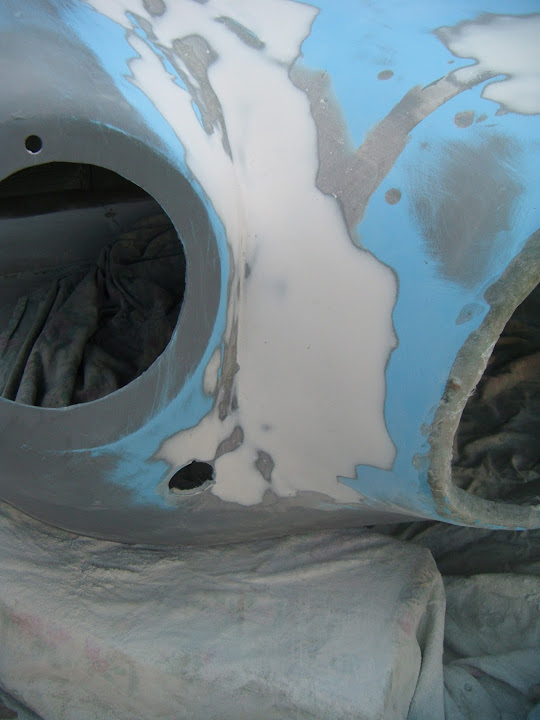
So the "nose job" repair area now looks like this.
Here is the area between the headlight & nose.
And finally the main bonnet join.

I need to do a bit more work on this join, but I am not going to attempt to mirror the other side.
As long as I can create a smooth flow across the bonnet I will live with the symmetry "quirks".
Whilst the sanding was hard work, at least it was helping to keep me warm.
When I removed my jacket steam was rising from me like I was a thoroughbred seaside donkey.
- - - - - - - - - - - - - - - - - - - - - - - - - - - - - - - -
Yesterday I was mainly thinking about the angles around the edge of the nose opening.
However, as I looked back on the photos, I realised the "height" of those angles mattered too.
As it would be nice to get a
vaguely even depth all around the inside when viewed from the front.
So using the size of the top edge as my guide, I marked up the "home brew" filler in a few places for a further trim.

- - - - - - - - - - - - - - - - - - - - - - - - - - - - - - - -
But before I started to trim this from the top, I had another look at tidying up the inside "vertical" face.
I found it very hard to grind this
down to a flat and even surface all the way around.
However, it occurred to be that it would be a lot easier to build
up the surface instead.
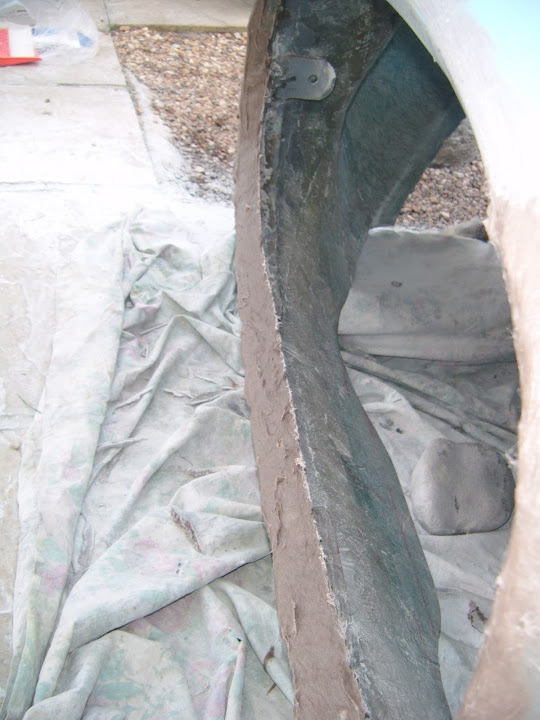
So I taped my cardboard grille template to the grille itself.

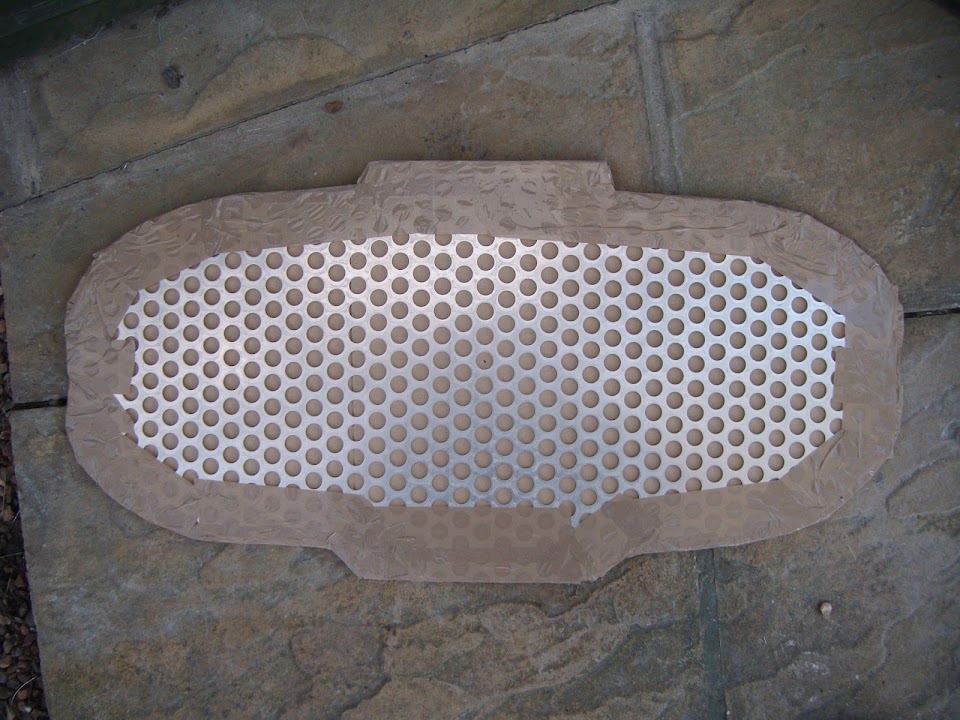
Before mixing up some fibreglass filler and spreading it around the whole inner lip.
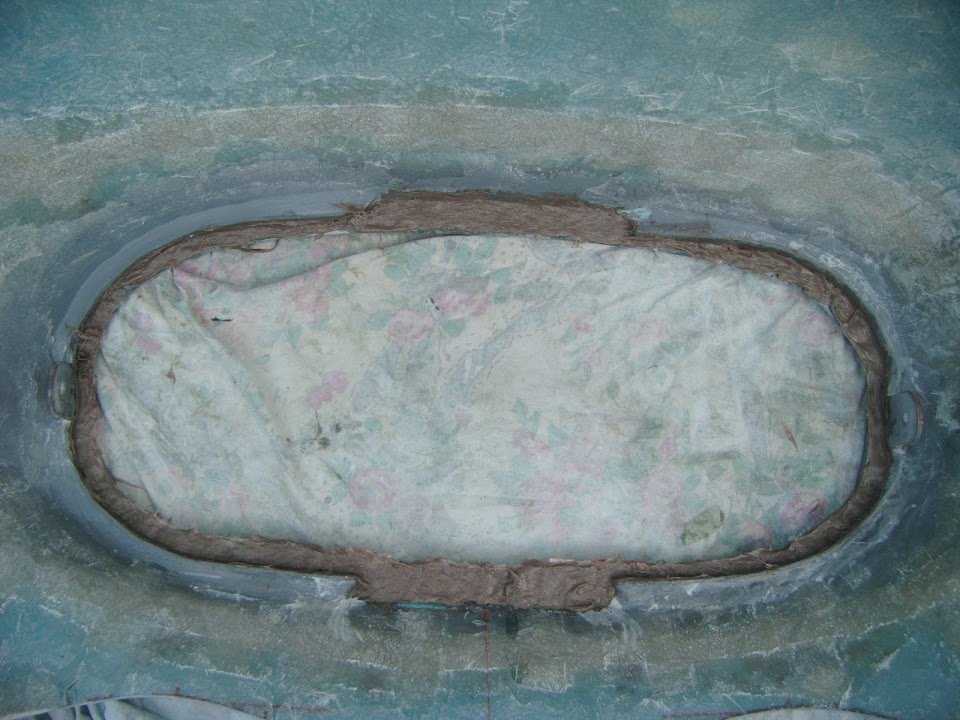
I pushed the cardboard/grille combo firmly into place to, hopefully, create a flat/even edge.
Then added a few rocks to hold it in position.

By this point I was so cold I was happy to come back indoors while I left that to set.
As you will have read above, that was when I found out my V5C had arrived.
- - - - - - - - - - - - - - - - - - - - - - - - - - - - - - - -
Whilst I added extra hardener due to the cold, I don't think I added enough.

So it was a while before I could use a Stanley knife to trim off the filler squeezed out by the grille.
( I did this on both sides. )
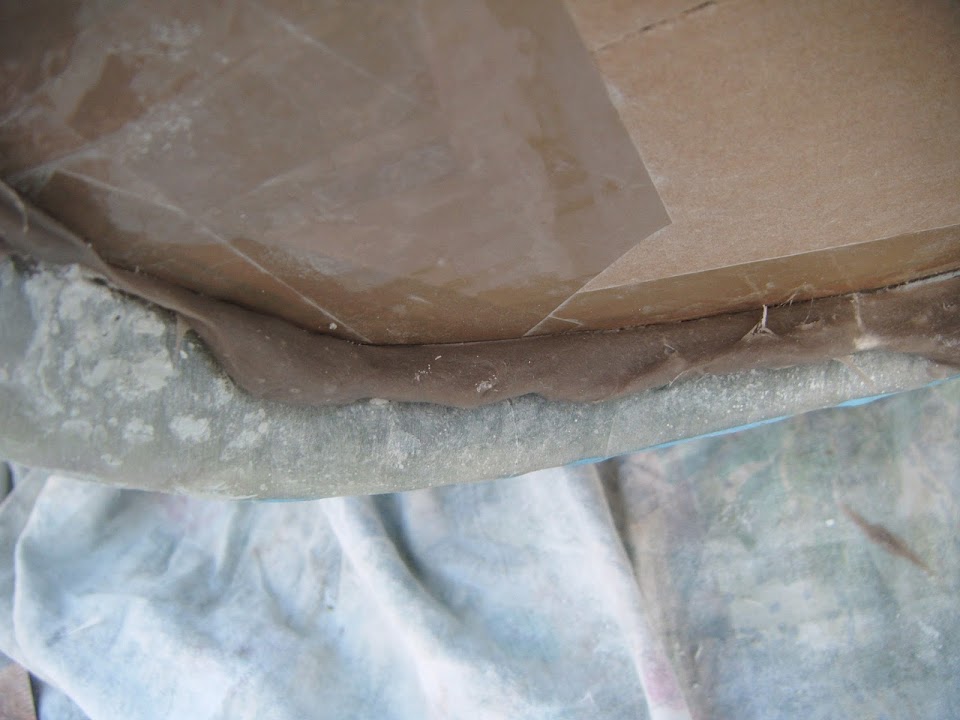
Then I could carefully remove the grille and trim down the previously marked "home brew".

I may have added too much hardener in the next batch of fibreglass filler, making it a race against time to apply it.
At least I got the remaining parts of the nose opening covered, I also pushed the grille back in place to give me a nice edge.
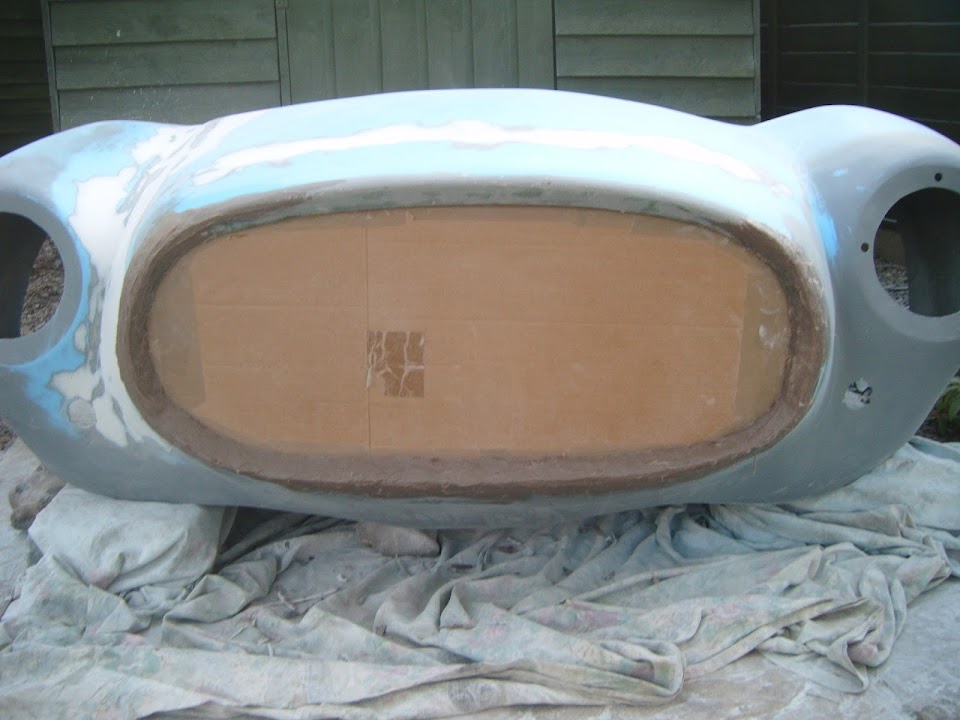
Note:
The end of the grille came away from the middle of the far edge when I took the photo.
I left that for a while before removing the grille again.
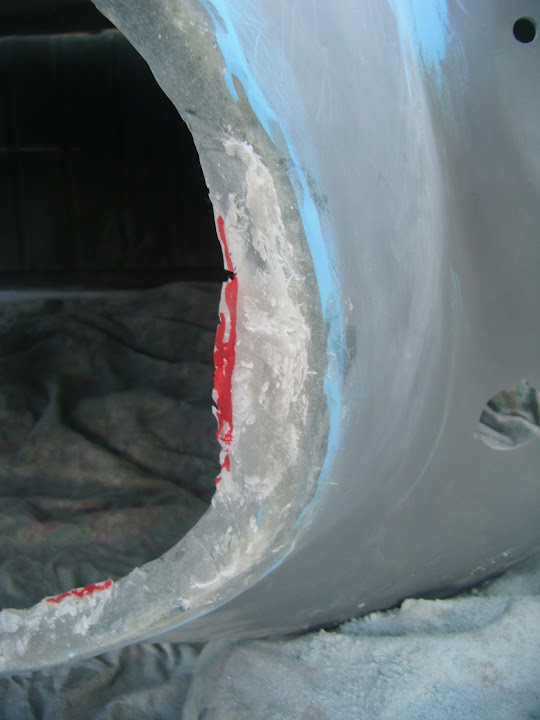
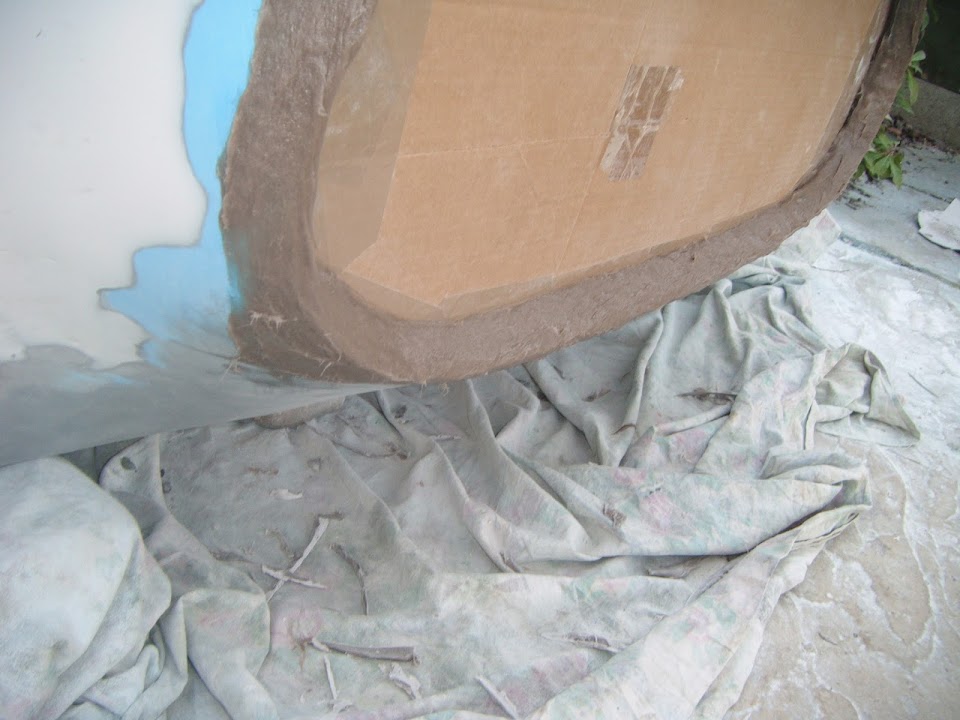
Note:
There is already a big improvement in the vertical face of the internal edge.
And obviously the whole thing will look better once I have sanded everything down.
But at this point I called it a day and tucked the bonnet away for the night to give the filler more time to set.
So until next time, take care, Paul.
