Roadster, Rene & RedRatBike - Thanks for all the feedback, comments & suggestions, I really appreciate it.

The step in the bonnet opening is linked to me trying to fix more than one problem at the same time.
Originally, the Cordite body shell was supplied with an integrated bulkhead.
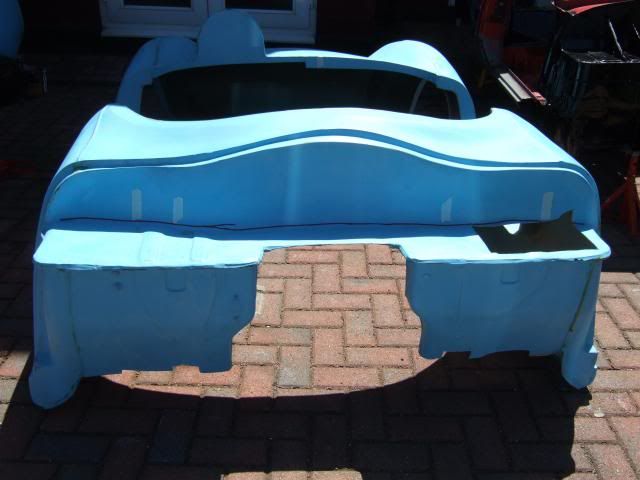
I cut this fibreglass bulkhead out completely as part of my decision to use a Spitfire bulkhead instead.
However, this means there is currently nothing to tie in the sides of the body shell with the bulkhead.
So the horizontal cut is there to allow me to tie the sides of the body shell to the "shelf" in the bulkhead.

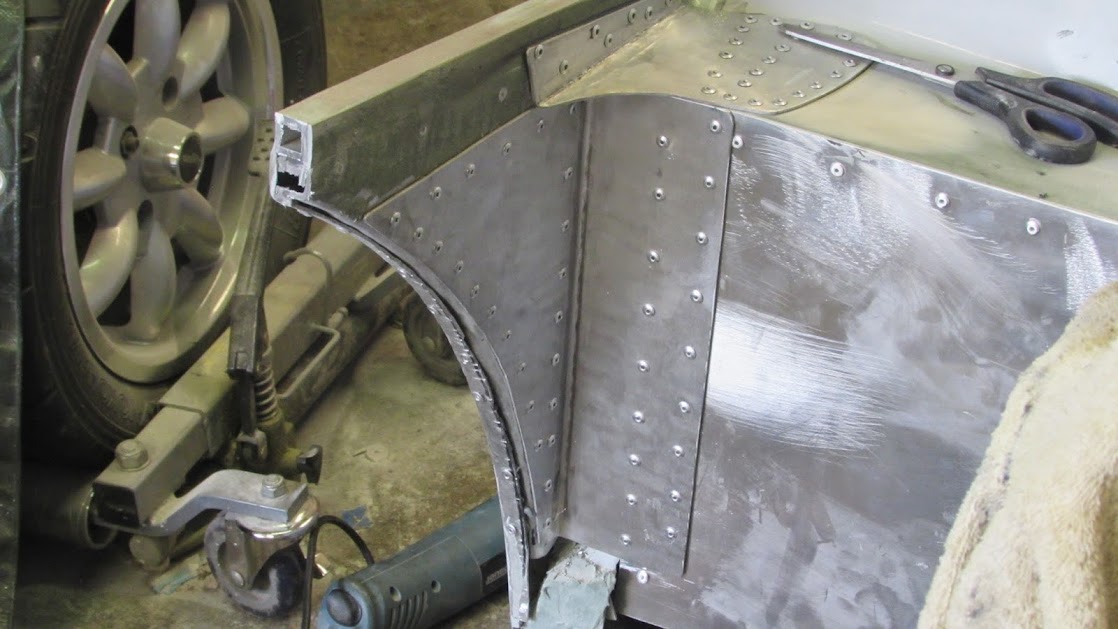
The next part of the puzzle is transferring part of the bonnet to an extension of the body shell.
Mac actually built his extension out of alloy and then firmly fixed it into position like this.
Whereas if I follow the sketch for the line from the bulkhead shelf to the wheel arch...
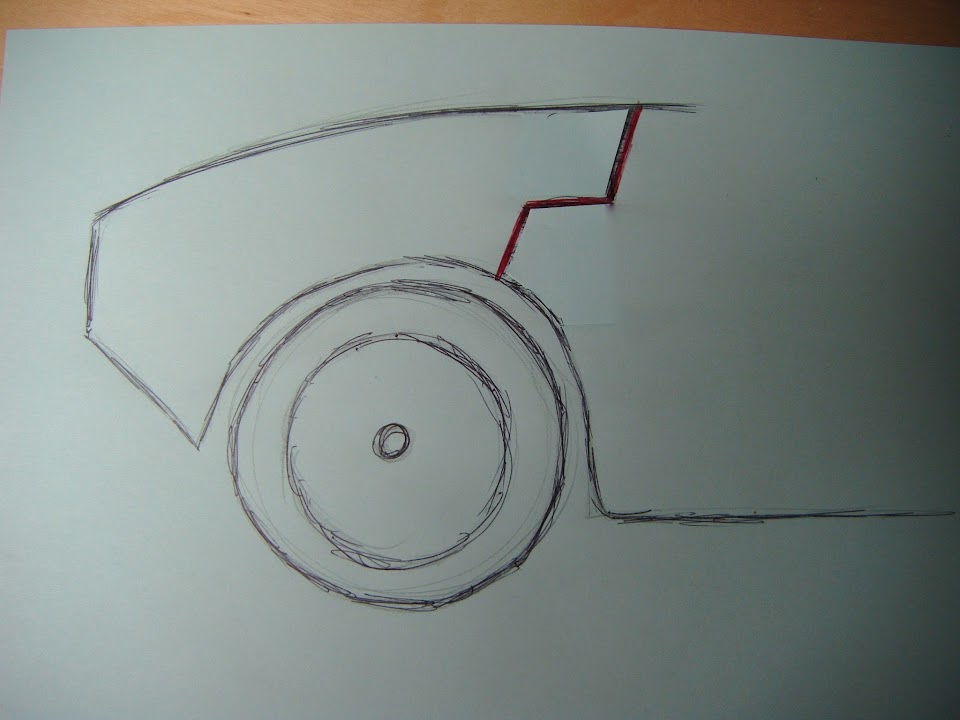
Then I will only need to support the extension for an inch or so beyond the vertical face of the Spitfire bulkhead.
Therefore there should be no flex in the front sides of the body shell.
So I guess that is a very long winded way of saying the design of the bonnet has more to do with the body shell, than the bonnet itself.
However, by the time I actually get this built, the cut angles in the sketch will be replaced with some gentle curves.
A bit like the cuts through the outside edges of the aero humps.
I really hope this makes sense and that the finished design doesn't look too bad.
- - - - - - - - - - - - - - - - - - - - - - - - - - - - - - -
Saturday's Bonnet Work - Part 1:
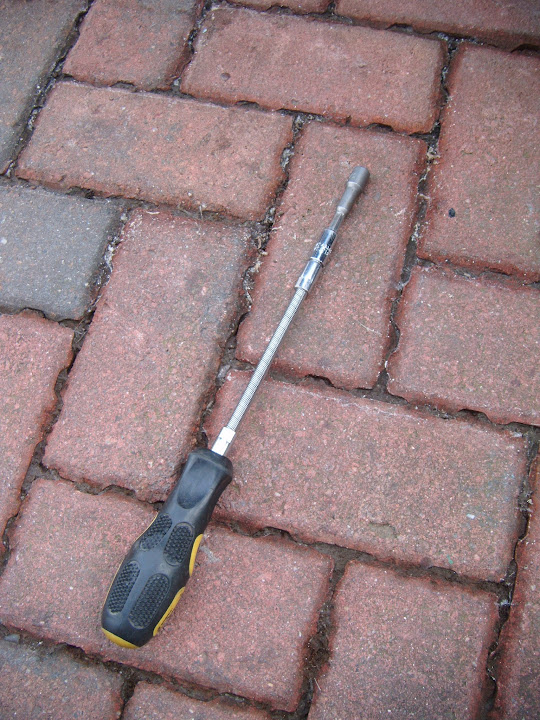
Thankfully I was able to undo the tek screws holding the bonnet to the body shell with a screwdriver.
( Which meant I didn't have to make any noise first thing on a Saturday morning. )
Working around the screws holding the two sections together is a very fiddly process.
As it requires lots of small strips of matting in various sizes to fill in the gaps.
This was round one.
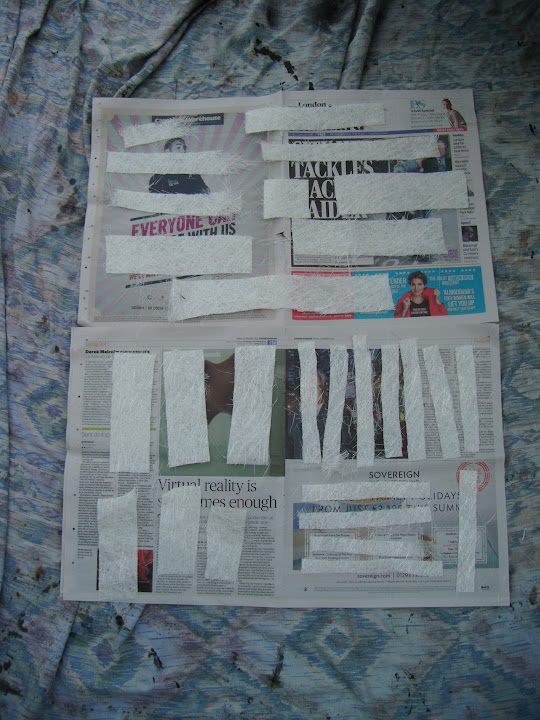
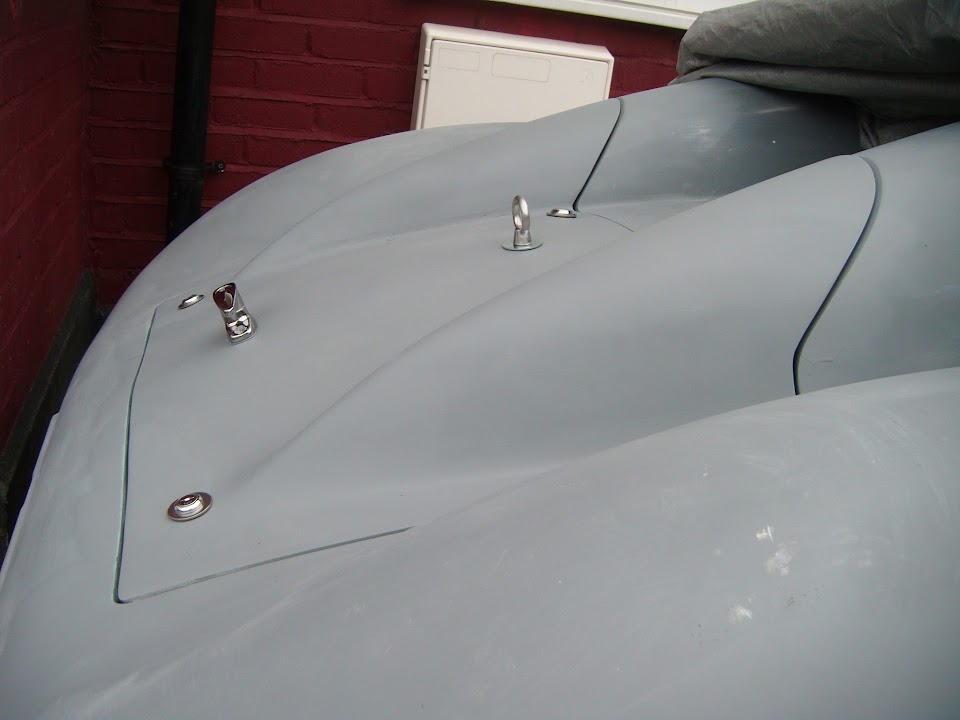
This was my waste pile after round three.

And this is how I have left the bonnet to set for a while.
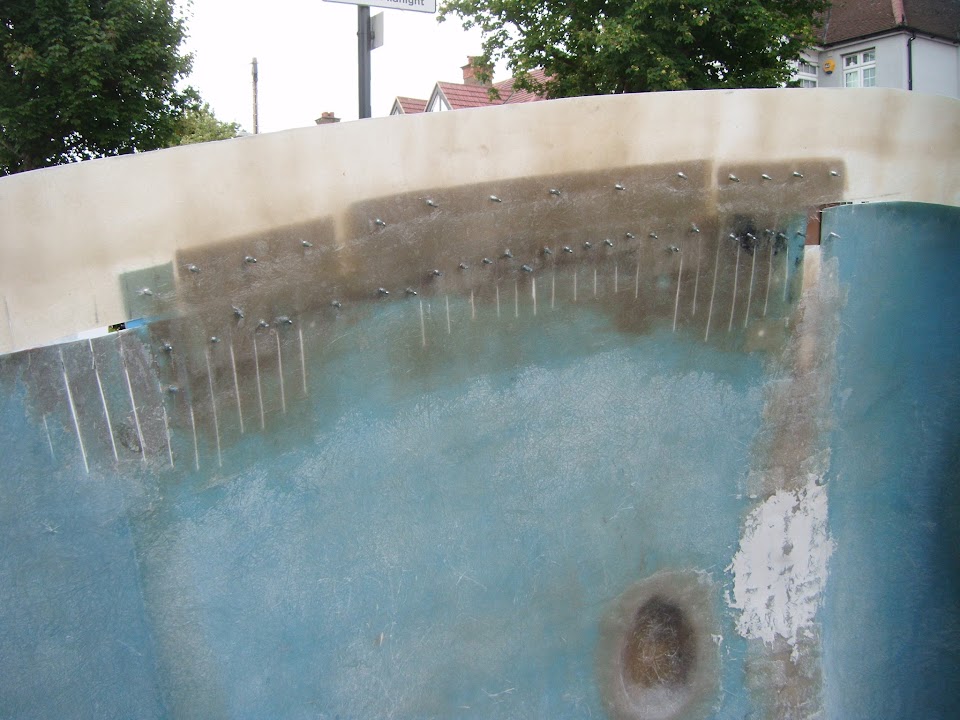
Once it has cure sufficiently, I will start removing the screws and adding some more layers of matting.
I really hope I can get this middle section completed (on one side) before the rain promised for this afternoon arrives.

I'll be back with Part 2 later on today, Paul.
