A Better Day:
Thankfully the fibreglass that I finished applying in the rain (under a tarpaulin) has set nicely, with no issues.

So with the outside of the wheel arch curve fixed, I could make a start on the inside.

Ground back one corner of the new edge as it was curved inwards.
Added matting to the inside of the wheel arch curve and bridged the joins on either side of the current "gap" in the bonnet.
When that was set, I removed the brackets from the outside of the wheel arch curve, but left the supports in place at the sides.

My attempts to put the rest of the passenger corner back together neatly, ended up looking like a complete mess.

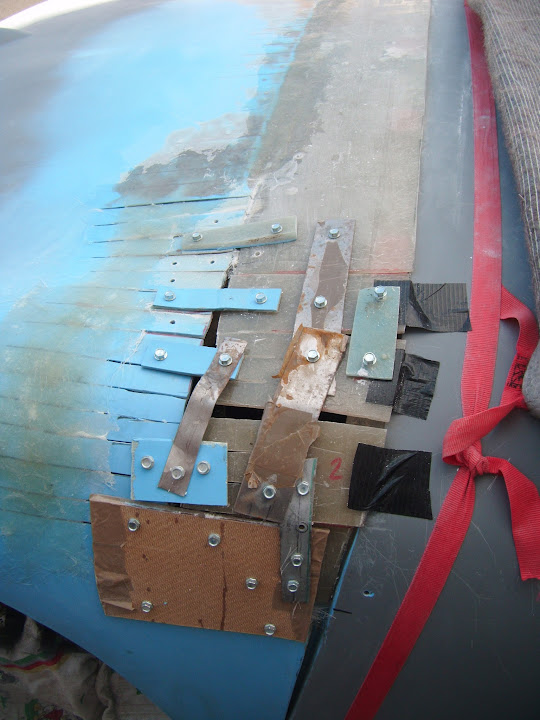
But at least it gives me a starting point to work on the underside.

As long as I can get the basic shape in place, I know I can fine tune the detail later on.
I cut out all the strips I would need to start joining this mess back together.
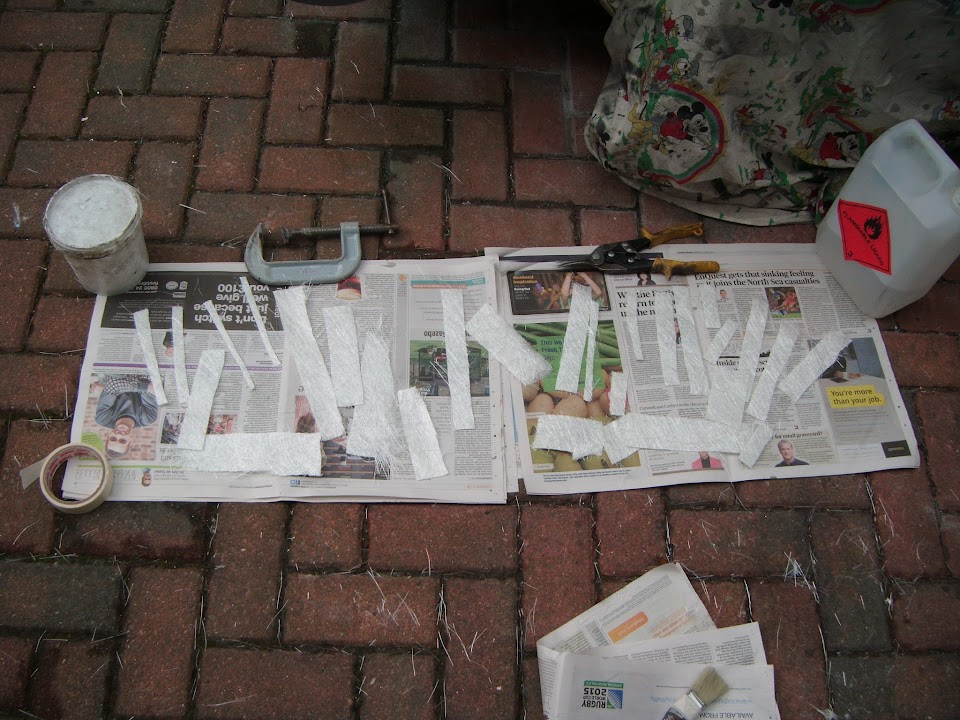
But was getting frustrated that the wind had picked up and was blowing everything around.
However, as I looked up I realised the wind was the least of my problems.
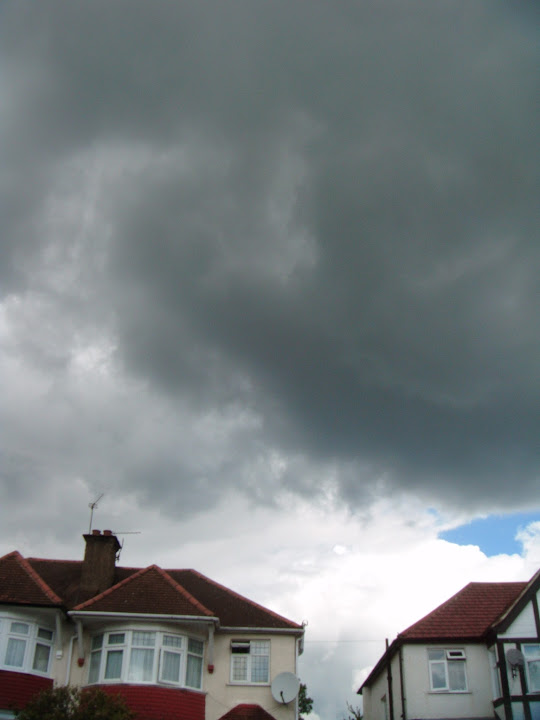
Given yesterday's debacle, I just packed everything into the front porch as quickly as possible.
I even had time to get the washing in off the line before the rain came.
- - - - - - - - - - - - - - - - - - - - - - - - - - - - - - -
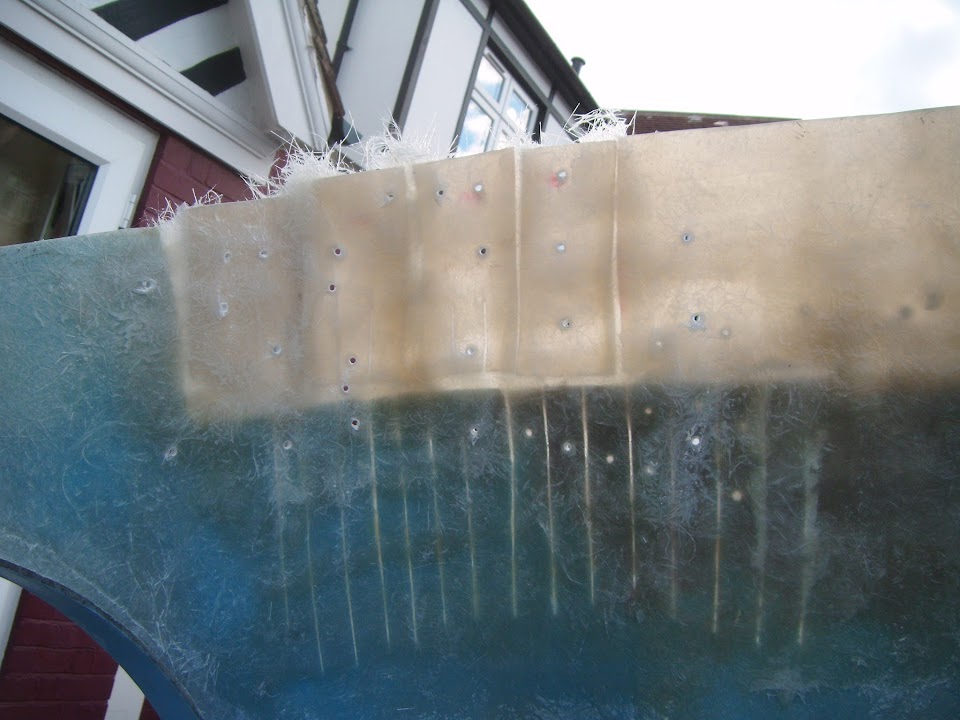
It was quite a wait before it was safe to return outside and add the fibreglass matting.
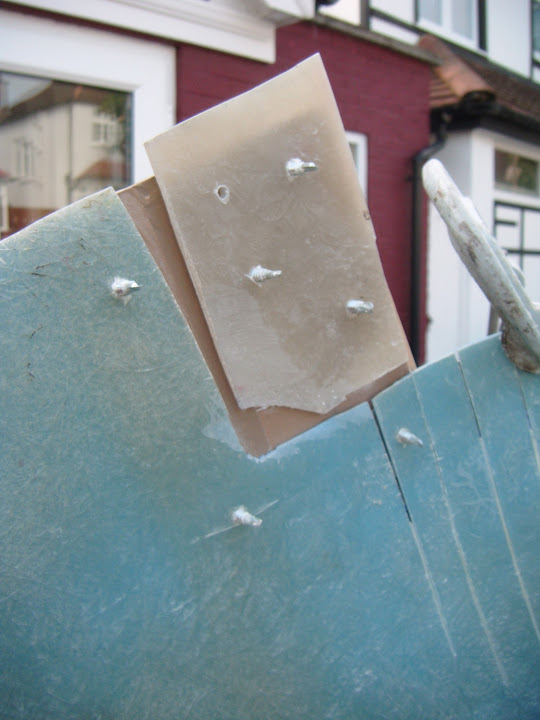
While that was setting, I sanded down the sunny side of the join at the bonnet centre.
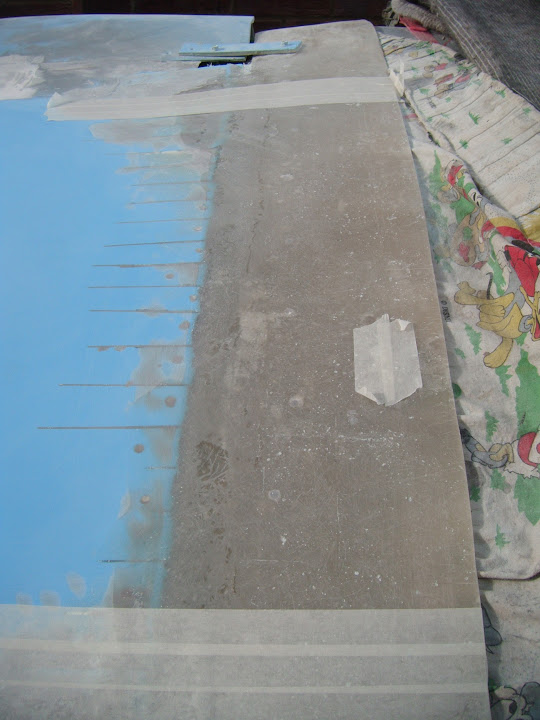
Note:
The masking tape "patch" is to remind me where a fibreglass bubble needs to be sorted out.
As I wanted to get a better look at the overall shape by giving this area a quick dusting of etch primer.
( Sorry the photo is a bit blurred. )
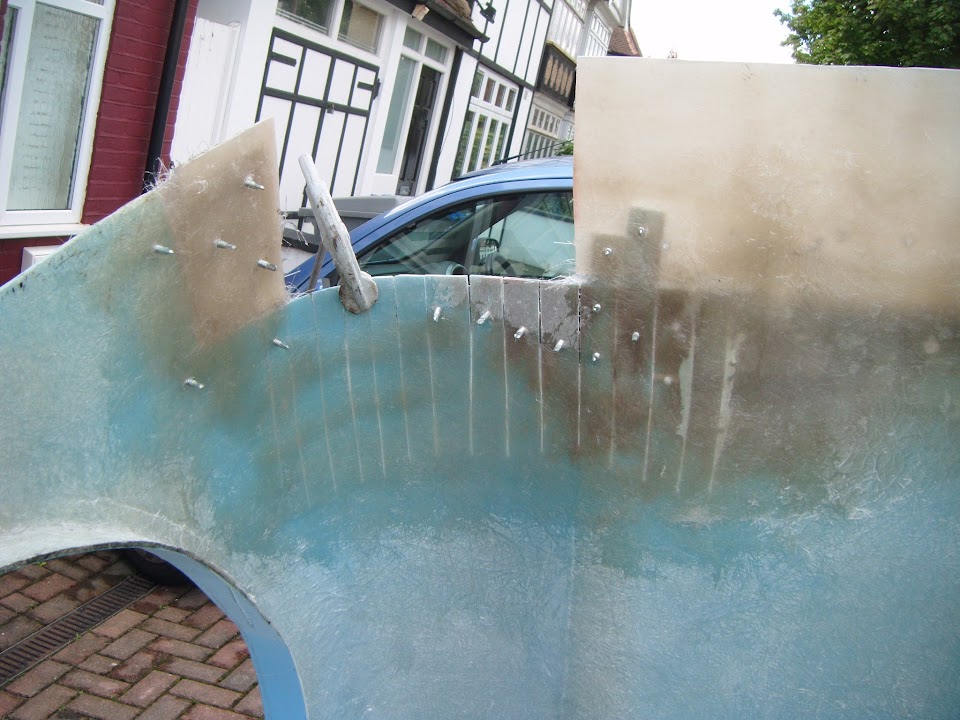
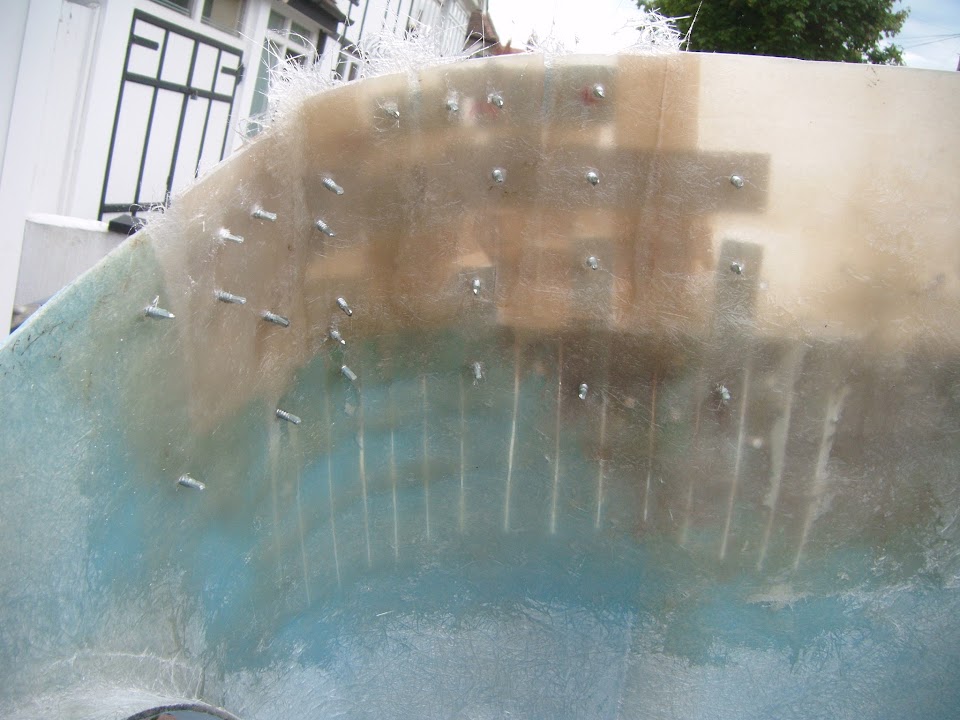
Then I removed the assortment of brackets holding the passenger corner in place.
( And sanded down the areas around the screw holes. )
Note:
The other side is such a mess, I will be not showing it until after I have attacked it with the grinder.
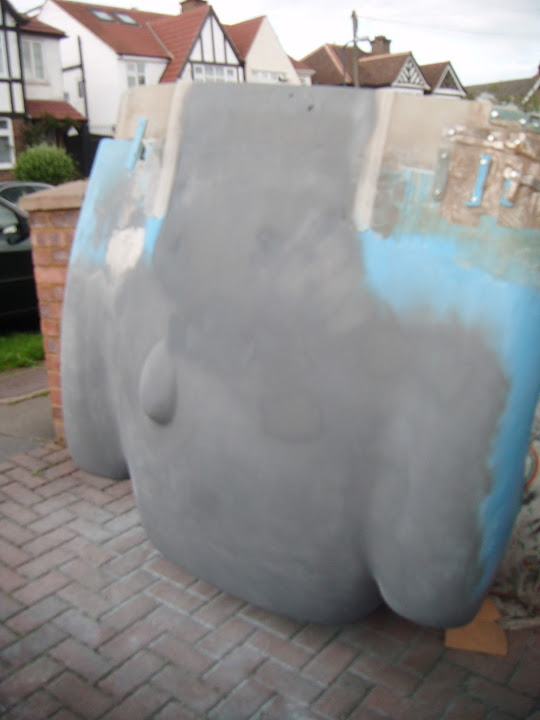
This allowed me to lower the bonnet and have a look at the centre section, although the photos are not very clear.
( And the bonnet is still sitting higher than the scuttle at the moment. )
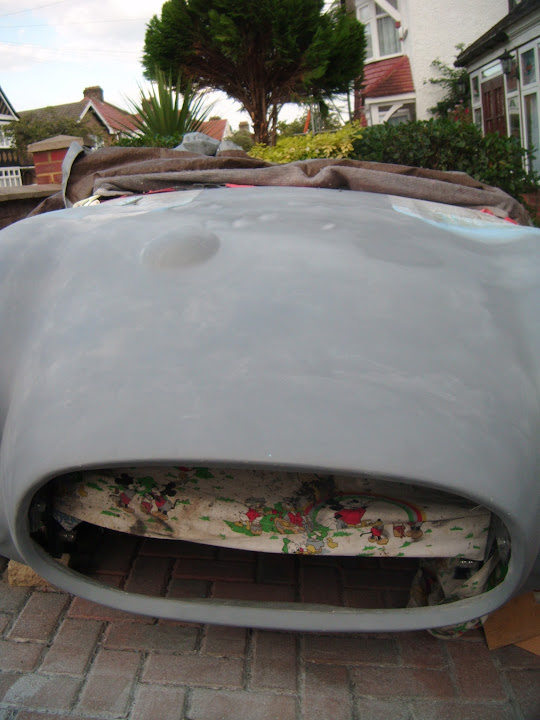

Clearly, there is still a lot of work to do, but it is definitely getting there, albeit slowly.
Final job of the day was to add some matting over the screw holes and extra matting across the joins.

I'll leave that to cure fully overnight before I start to tackle the sunny side of this corner section.
So until next time, take care, Paul.
