Slowly Getting There - Part 2:
Connect the heater control dial to panel and attached to control value
Thankfully this switch could be fitted on the first attempt.


The photo above shows the dial in the fully off position.
This corresponds with the cable being attached to the control valve like so.

Then as the dial is turned to the fully on position...

The valve moves like so.
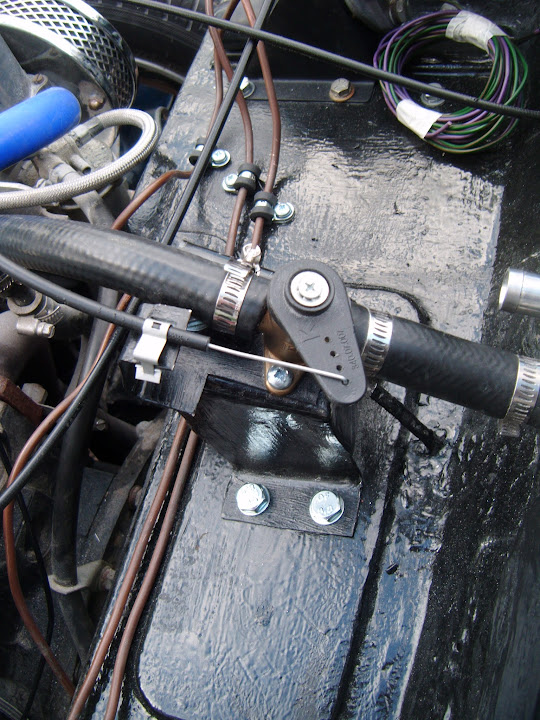
For the on & off positions to tie in with the red markings on the dial, the cable would have to attach to a different hole on control lever.
However, when I tried to do this, I could not get the cable to line up nicely, so have left it as it is.
( Thankfully this build has killed off most of my old OCD tendencies.

)
- - - - - - - - - - - - - - - - - - - - - - - - - - - - - - -
Which now leave the centre section of the dash looking like this.
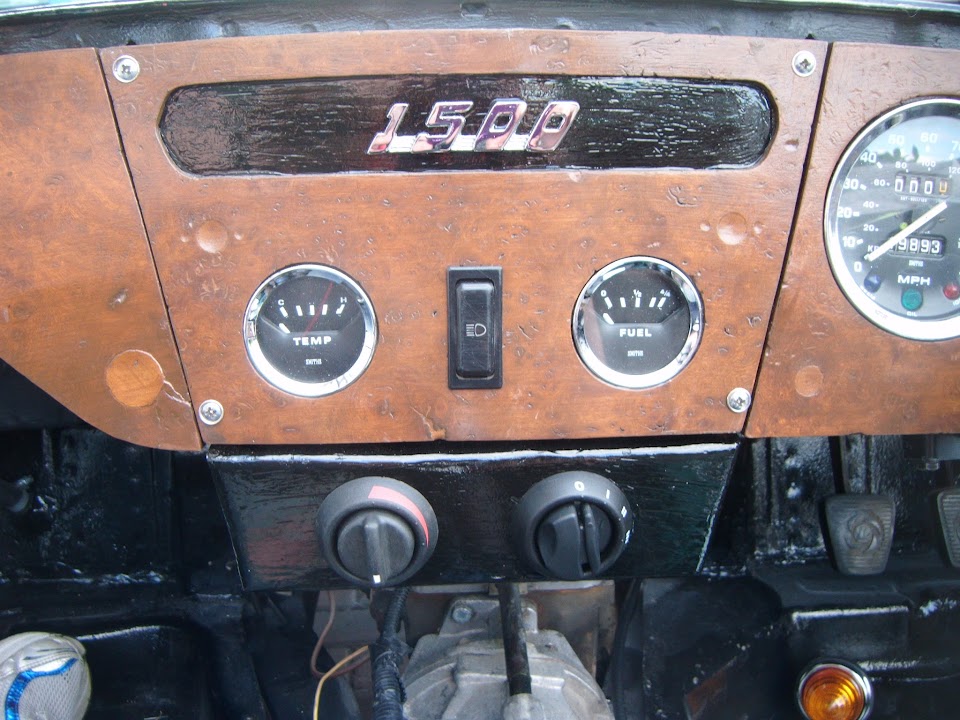
The plan was to make it look like the heater was a new, modern, addition to an old racing car.
( Well that is my excuse anyway.

)
- - - - - - - - - - - - - - - - - - - - - - - - - - - - - - -
Which just leaves
Seal off space for wiper controls on steering column cover & re-fit on my "To Do" list.
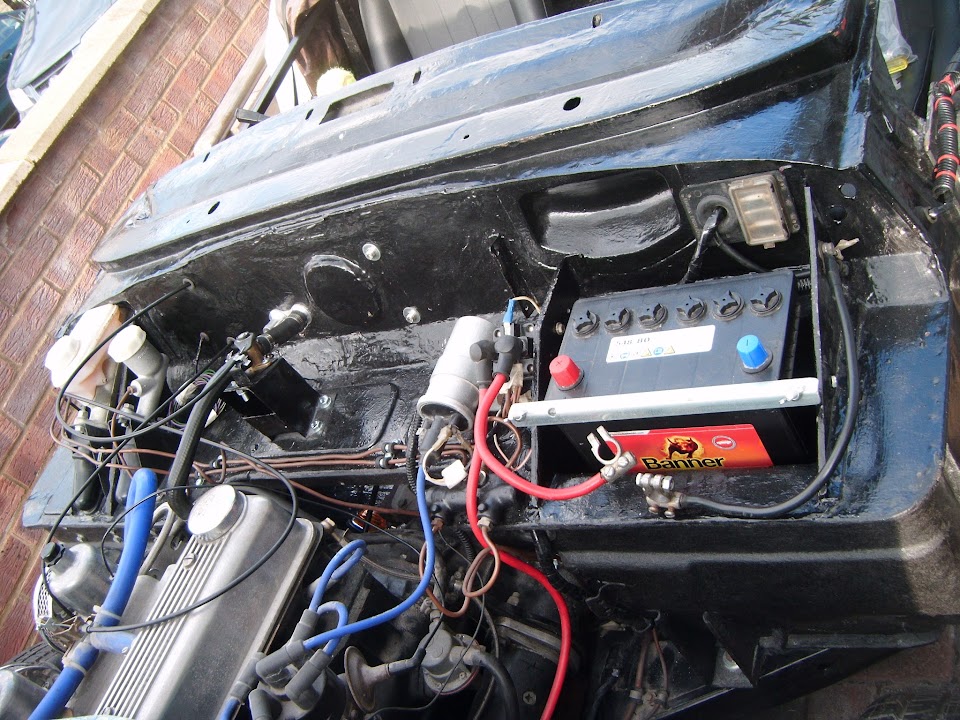
But for now, I will leave you with this photo showing how the bulkhead "shelf" is now looking.
- - - - - - - - - - - - - - - - - - - - - - - - - - - - - - -
Until next time, take care, Paul.
