Weekend - Part 1:
There were two small(ish), and inter-connected jobs, that I wanted to tackle, which were the seats and steering column.
But I'm really struggling to find "any car" time at the moment, despite the run of nice weather we have been having.
Luckily I managed to make use of a "gap" between a "Dad's Taxi" drop off and pick up on Saturday that at least allowed me to do some prep work.
When I was digging out the steering column brackets the other day, I knew one part was missing / stored in a different place.
So the first job was to find the box with these bits in it.

I've ended up with two sets of brackets to seal the steering column to the bulkhead, as I've had two body shells.

So I just need the one I've painted black, plus the new rubber seal I'd bought from Rimmer Bros.
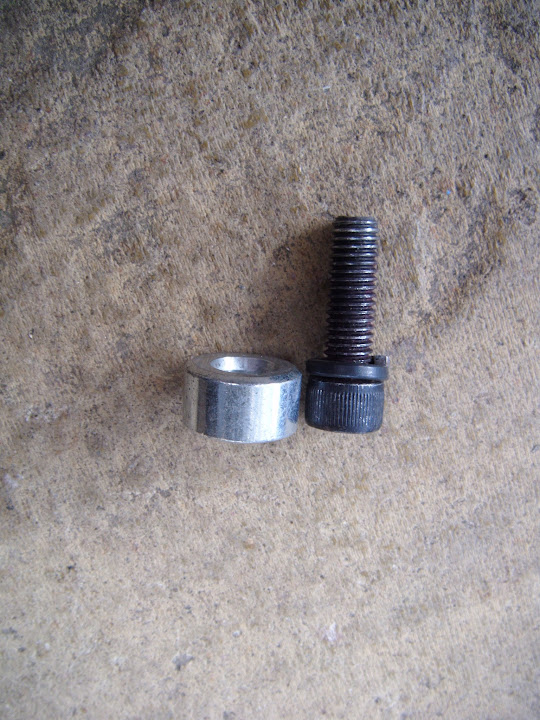
Then I spend a bit of time finding a matching sets of small washers for the two fixing bolts, rather than use the odd collection originally fittied.
Next up were some minor modifications to the cardboard seat bolt templates I'd made last week.
I marked up some "cross hairs" on the "sunny side" of both templates.
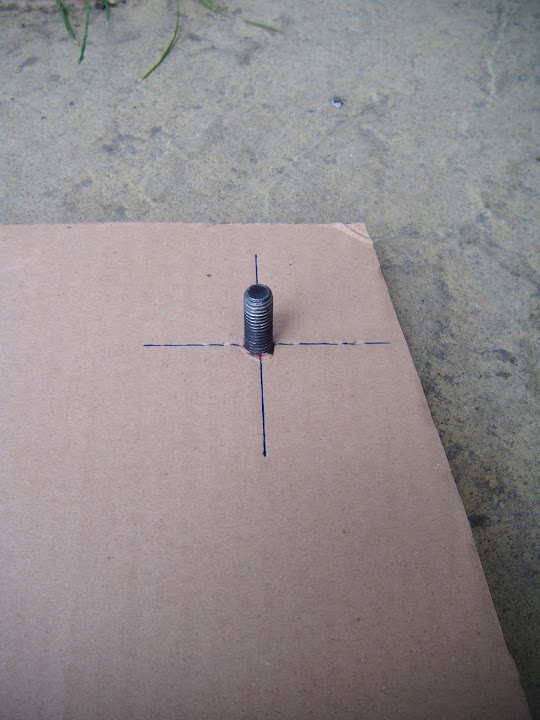

Which allowed me to increase the size of the holes from bolt to bolt head size.

Which in turn will allow me to remove the seat, but leave the template on the floor, rather than have it still bolted to the seat.
The bolt heads will act as a rough match for the height of the seat spacers.
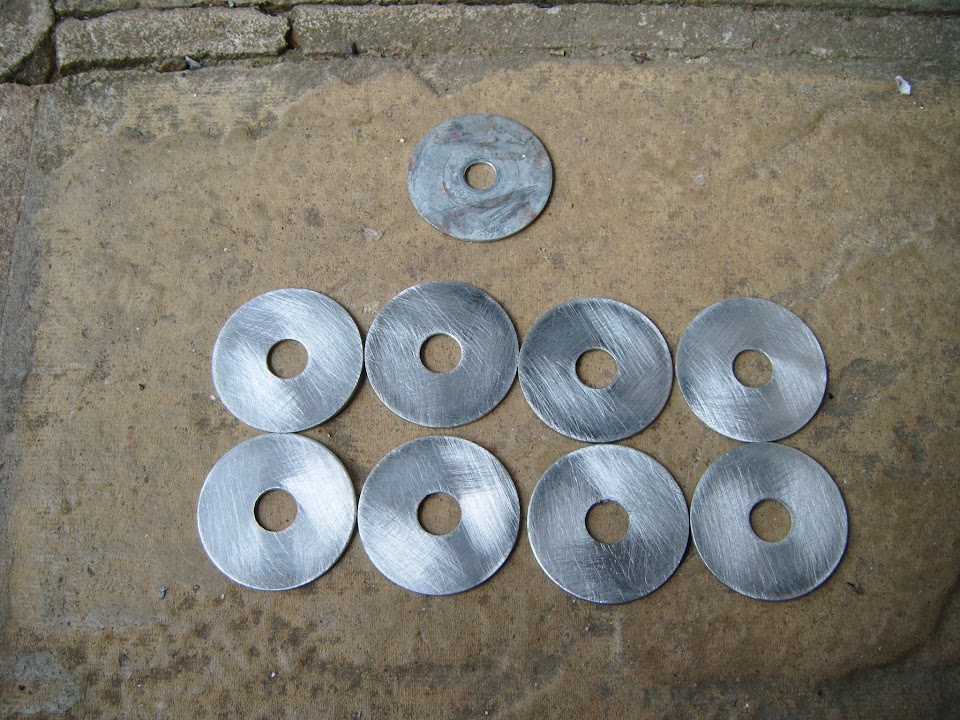
I then cleaned up a bunch of penny washers that were originally used during my various boot locking experiments.
( And were covered in bits of filler and/or etch primer. )
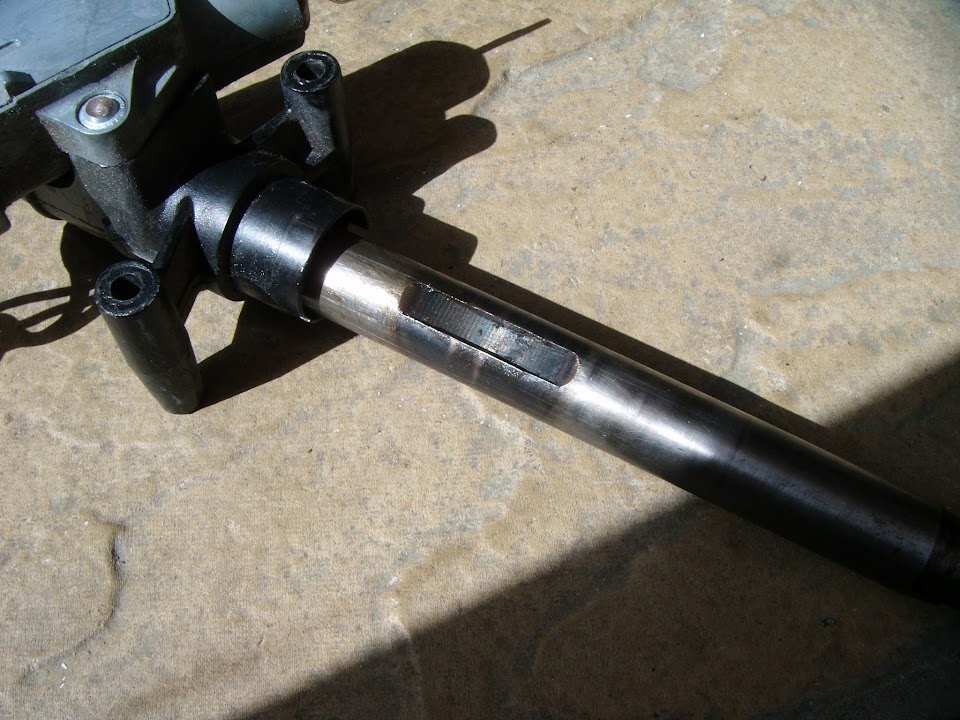
Next I removed the steering column cover and indicator/horn/high beam switch.

Note:
At some point I would like to make a new cover to replace the plastic one, but this will do for now to at least get me on the road.
I just need to have a quick read of the Haynes manual before I re-fit the column to ensure I line everything up correctly.
It was early evening before I could finally take the covers off and do a bit more.
So I put the passenger seat into position.
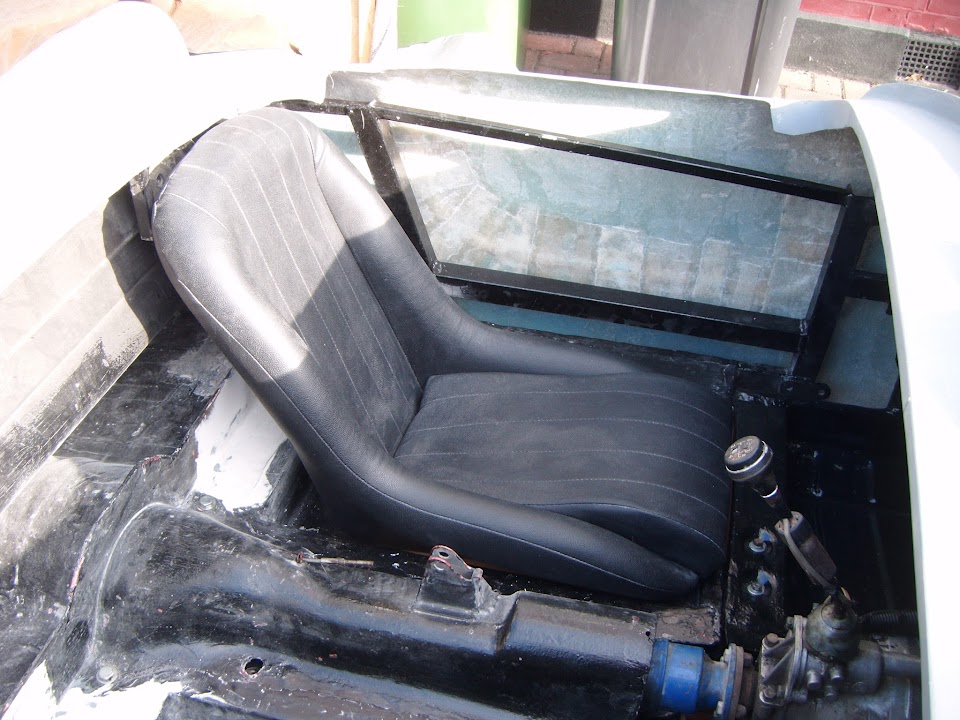
Given the angles of the lowered floor pans and the back of the seat, there is no space at the back.

So when the rear cockpit wall is in place, the back of the seat make be squashed a bit.

Before I went any further, I thought I'd better double check the seat belts too.
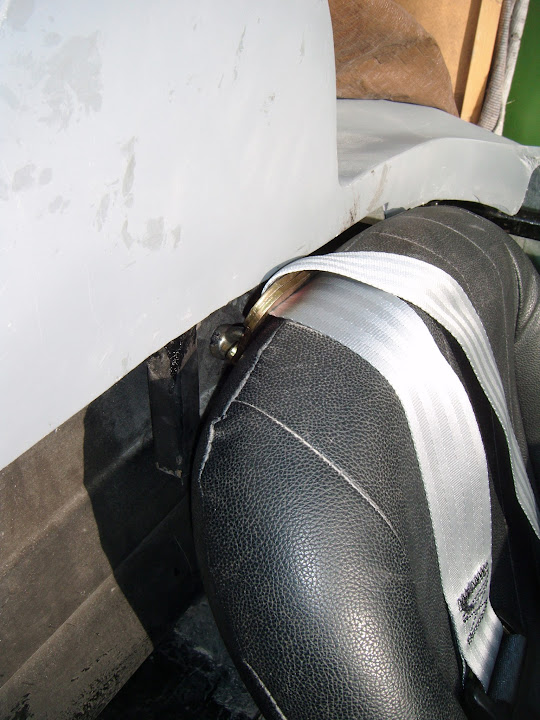
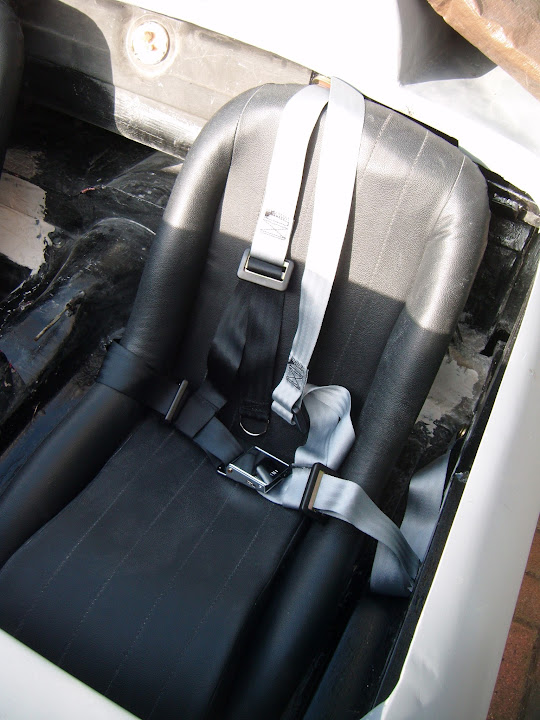
From my previous tests, I knew the rear mounting point would not line up with the centre of the seat back.
But this does not seem to cause a problem when the belts are over your shoulder (excuse dodgy selfie).

So now that I was happy with the position of the seat, I could take the template to the floor.

Then mark the hole centres onto some masking tape I'd put underneath.

By now, even though it was still daylight, it was a bit too late in the evening to start drilling.
So I had a quick look at the possibility of adding some washers to the bolts at the rear of the seat.


This does actually gives a very marginal improvement to the gap behind the seat, so I've ordered some longer seat bolts.

End of Part 1...