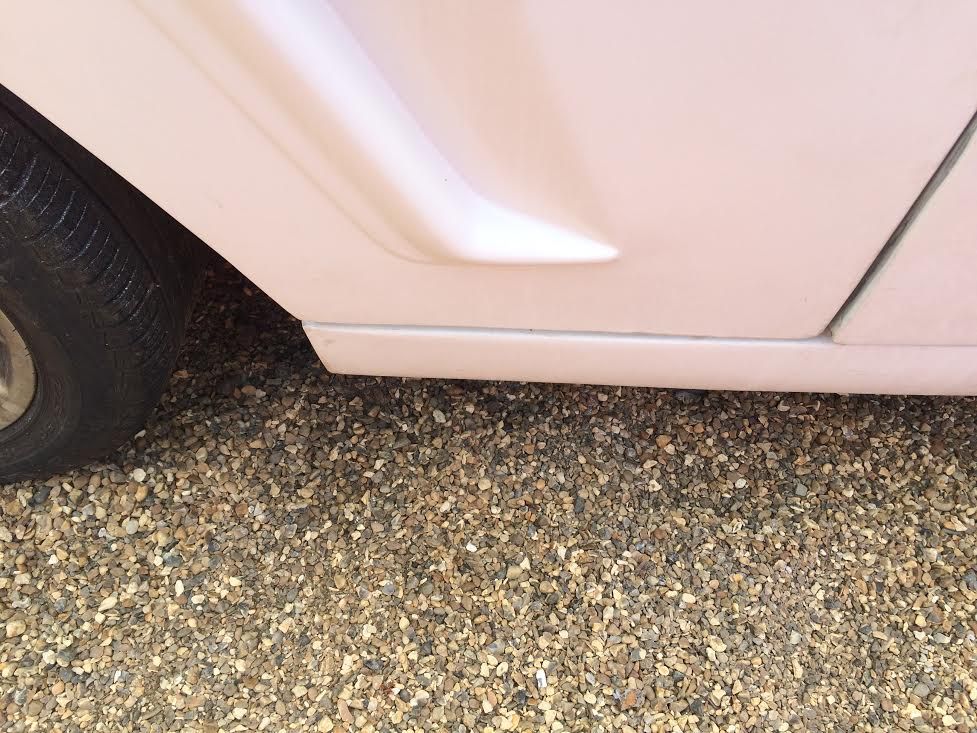
The bonnet cut.
The bonnet sits about 1cm proud of the sill at the bottom edge. I wanted to avoid the 7cm cut method as I thought it might cause too much stress on the bonnet.
I tuned the bonnet upside down and measured across, 1695mm at the rear and 1680mm at the front. Cut two slots on each side of the bonnet with a 2mm cutting disc. Don't plunge too deeply or you will catch the vent on the other side. Take the slot right to the ends.
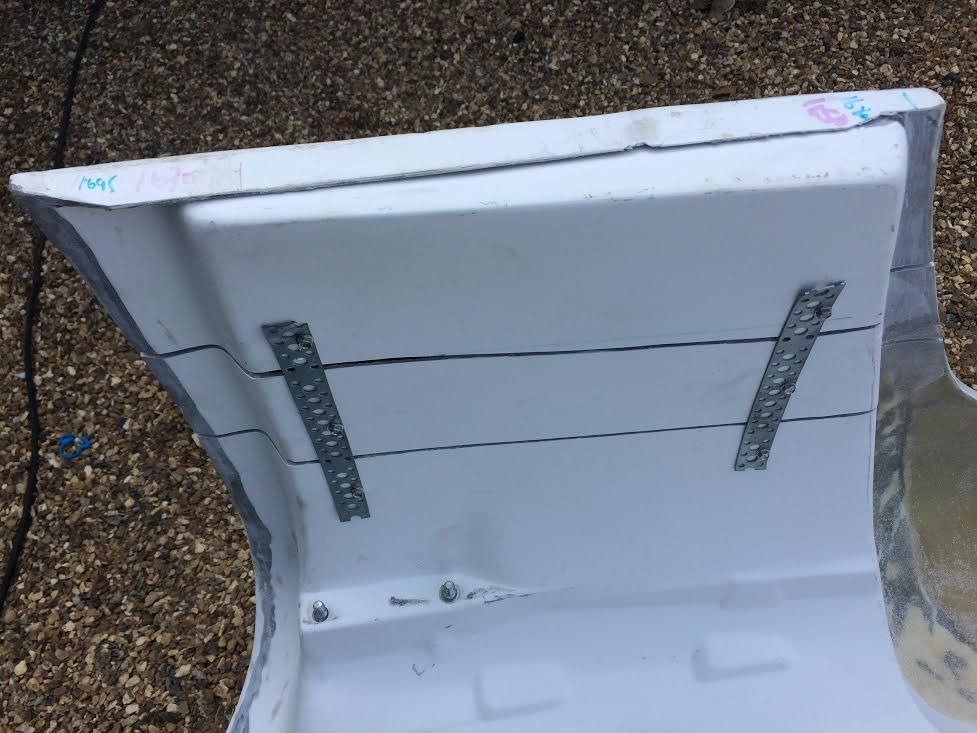
Then put a ratchet strap on it to curve the bottom inwards, just a little pressure takes it in a long way,I was surprised how much. Release some tension and measured across again, tried 1670 at the front and 1680 at the rear, simply because this is what it came too with a little tension. Attach some builders band across the slots front and rear with self tappers.
Trial fit and adjust the bands if necessary, I was lucky, it was just about perfect, I thought if I tried to improve it I would only make it worse. If you look closely at the gaps you will see that I have had to close them up only slightly, next time I would start with a 1mm cutting disc.
Apply some CSM between the builders bands
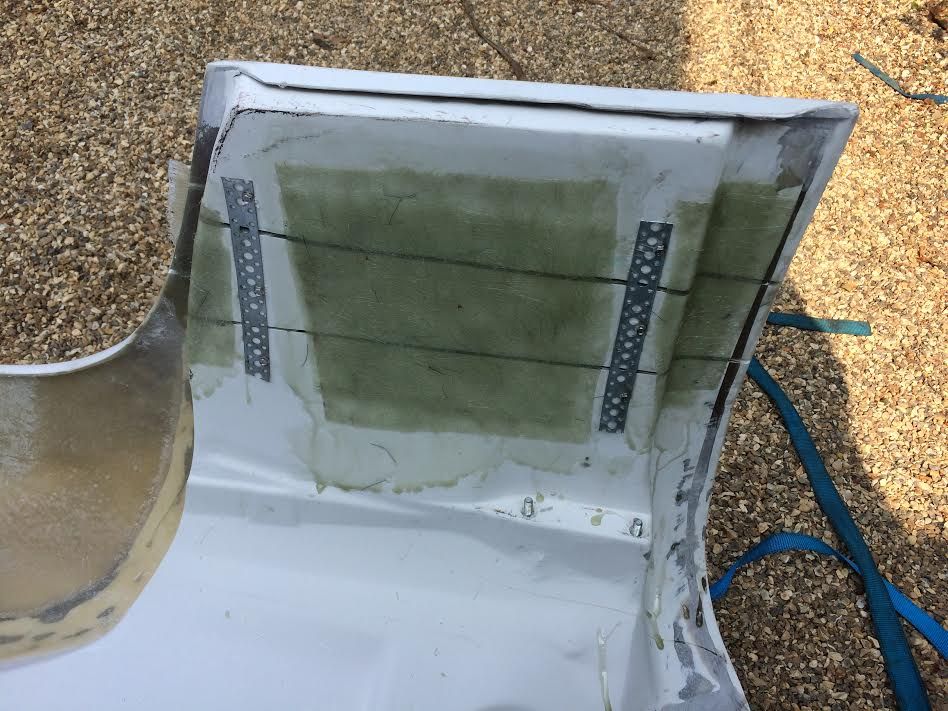
Let it dry and remove the builders bands and apply more CSM to the gaps.
I find 4 pint milk bottles ideal for mixing the resin, use disposable brushes and use the last brush used which will have gone hard for mixing the resin.
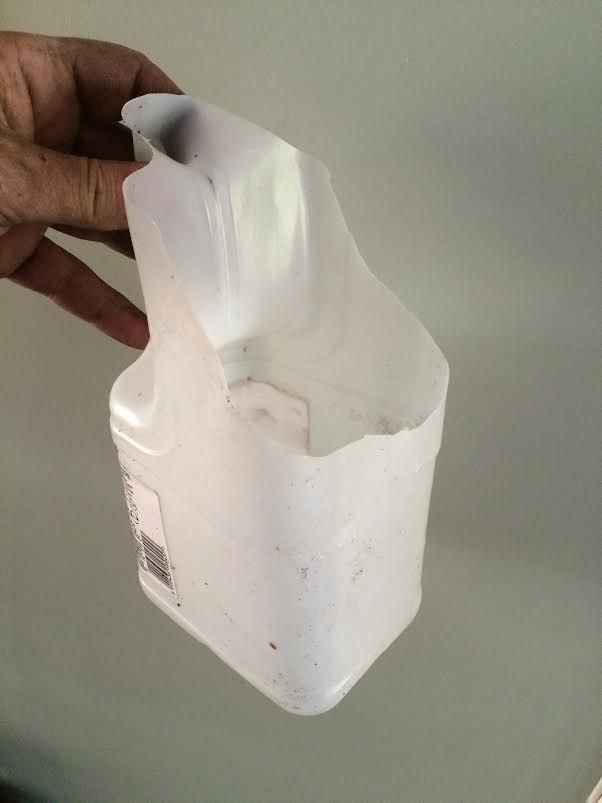
Gloves are for pansies!
Refit the bonnet and check the line, you can fine tune the fit by putting pressure at the hinge when tightening the fixing nuts.
Almost perfection if I must say so myself.