Oxford - The finish is called 'stucco' and these were left over sections from a building site.
( Think the air conditioning ducting that Bruce Willis always seems to find himself in.

)
My hope was that this surface would 'absorb' the lumps in the cockpit walls better than milled alloy.
Check the post below to see if you think this has worked in practise.
- - - - - - - - - - - - - - - - - - - - - - - - - - - - - - -
Piguin - Cheers and I was able to take a big step towards getting these panels installed today.

- - - - - - - - - - - - - - - - - - - - - - - - - - - - - - -
Tuesday
Confession time…
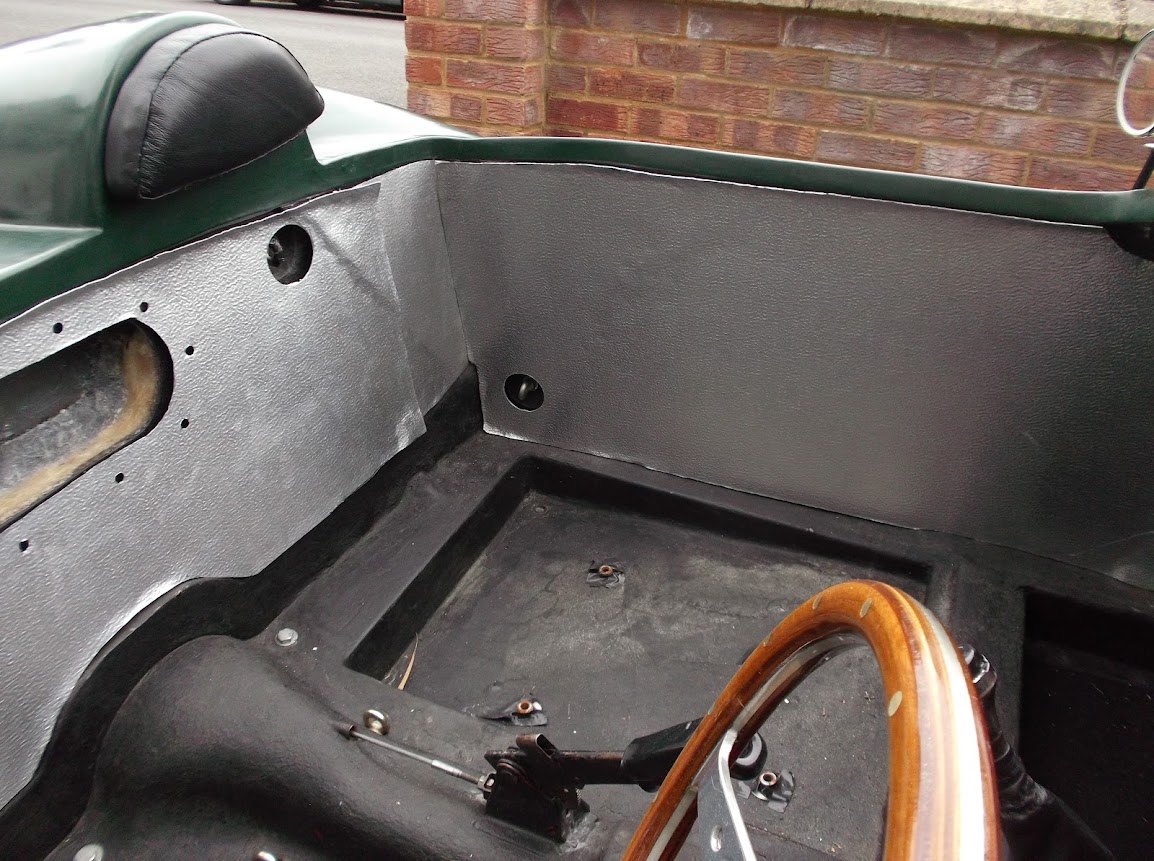
The back of the cockpit wall has a small unfinished section, see the grey strip in this photo.

This is because when the car was in primer, I was planning to paint this section BRG.
But when I started painting, I realised it should be part of the cockpit walls and be painted black.
Unfortunately, by this time, the seats were fitted and I didn't want to remove them to get some black paint on.
( As fitting them almost broke me at the time.

)
So I need to touch up the black paint (Tetroseal) before the panels are fitted.
However in the meantime, I make a start on fitting and shaping the rear panel.
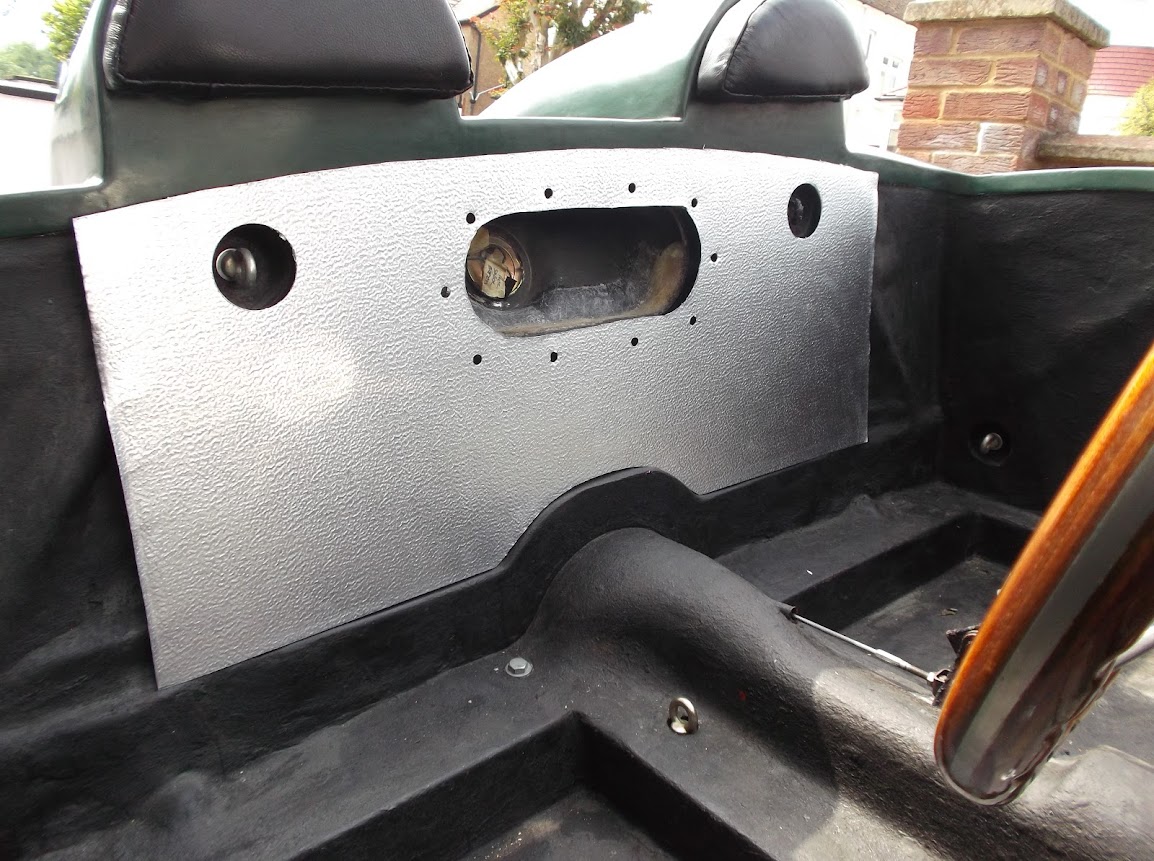
This involved testing/marking/trimming/hammering/etc.
Here is the work in progress along the top edge of this panel.
Which will tuck in under the painted edge of the cockpit.
( This photo is from the passenger side. )

Obviously, I can't get a tight fit until the panels are screwed into place, but this gives you the general idea.
Hopefully, the black Spitfire edge at the bottom of the rear cockpit wall matches the start of the Spitfire bulkhead at the front.

Note: I still need to make access panels for the side mirror bolts.
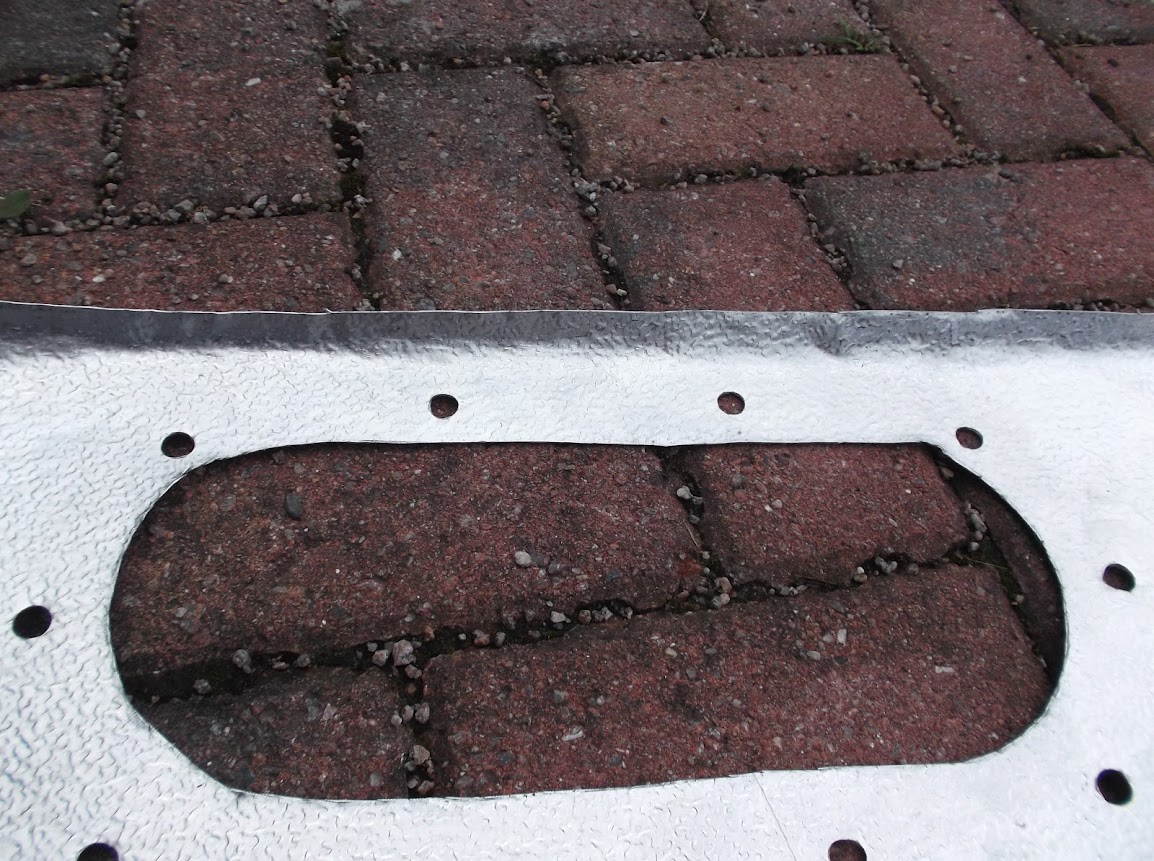
These two photo show the lumpy nature of the rear cockpit walls.


And this gives you an idea of the alloy trimming required.
The next step for these panels is to tidy up all the edges, but that is a job for another day.
So until next time, take care, Paul.
