A Tactical Withdrawal...
Stepped outside this morning and was just about to peel off the covers when it started to rail.

So it was the afternoon before I could finally continue with the sanding down of the new locking pin "mounds".
Although it doesn't look like it in this first photo, the top edge pins are now vaguely straight.

A photo taken "head on" shows the angles a bit better.
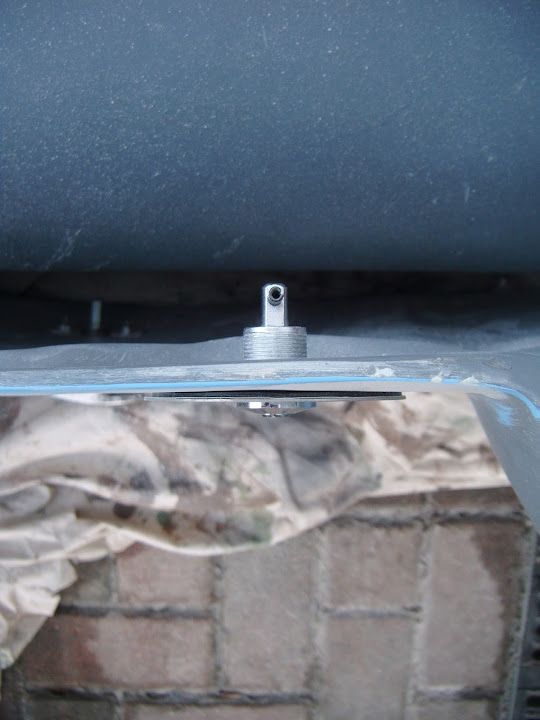
Note: I still have to work on the inside edges of the boot lid.
And these are the bottom edge pins.
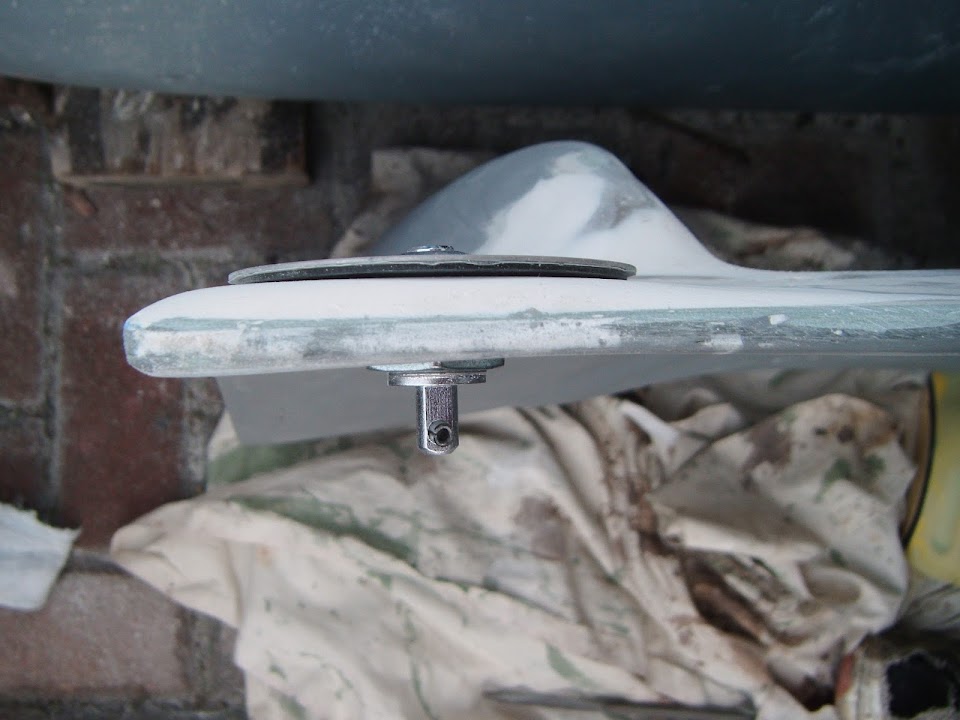

So far, so good.
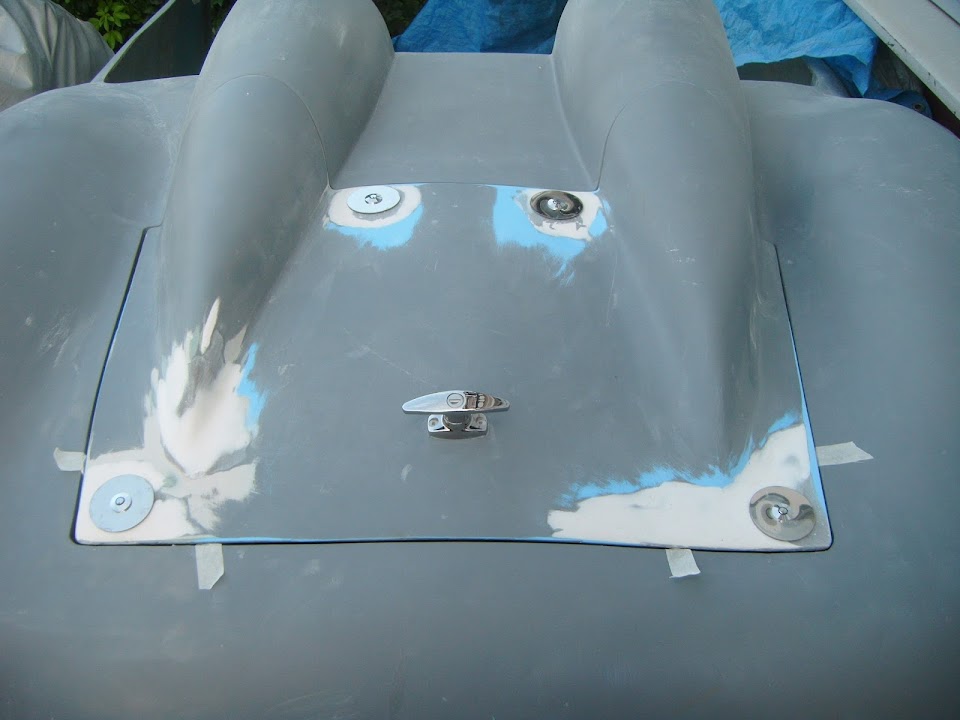
Then I removed the pins and re-marked the bolt plates.

Thankfully all the original holes were pretty much in the right place, so I was just removing the excess filler from the other day.
I then spend a long time crawling back and forth under the car to see if I could get the bolts set up properly.
I did some fine tuning to the angles of the bolt holes which helped a bit.
But it now seems that the rubber seal is still sitting a little too proud.
I managed to set the bolts in the "locked" position and tighten them so the lid was pulled down flush(ish) with the body shell.
But at this point, there was so much pressure on the locks, I could only undo 1 out of 4, for fear of breaking the key.

So I need to trim a little bit more off the rain channel so I can finally see if these pins will actually work.
However, to be brutally honest, I am seriously fed up with working on this part of the build, as it is doing my head in.

So, as per today's title, I am making a tactical withdrawal and simply walking away from the boot lid for a while.
( Although I will loosen the bolts tomorrow if I get the chance. )
Obviously I will come back to this and finish it off, one way, or the other, at some point, but for now I need a break away from it.
To end on a slightly more upbeat note, while crawling around under the body shell I finally remembered to take a photo of the drain hole.
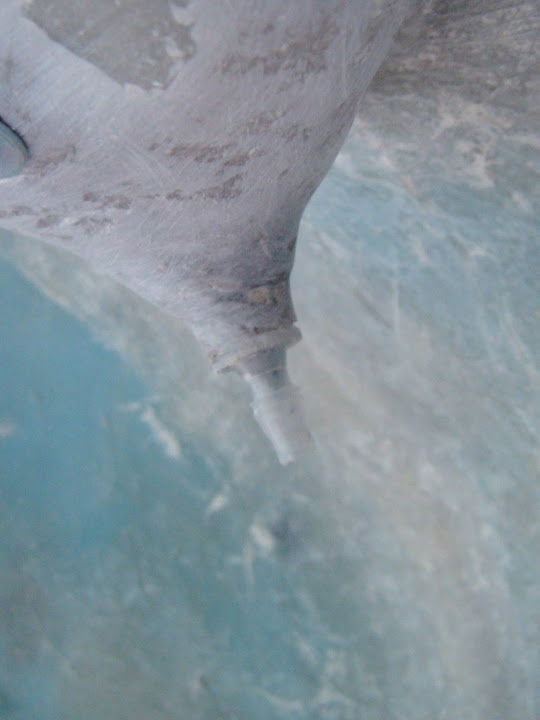
I just need to give this a final skim of normal body filler and then it will be ready to connect the drain tube to.
Until next time, take care, Paul.
