Unexpectedly due a last minute change of family plans I suddenly had all day on Sunday working on the car. So I thought I'd have a go at fitting the clutch and gearbox back on the engine.
I started by preparing the gearbox, clutch release lever and bearing. I replaced the little spring clip as the old one was broken.
 Clutch
 by
Sabrebuilder, on Flickr
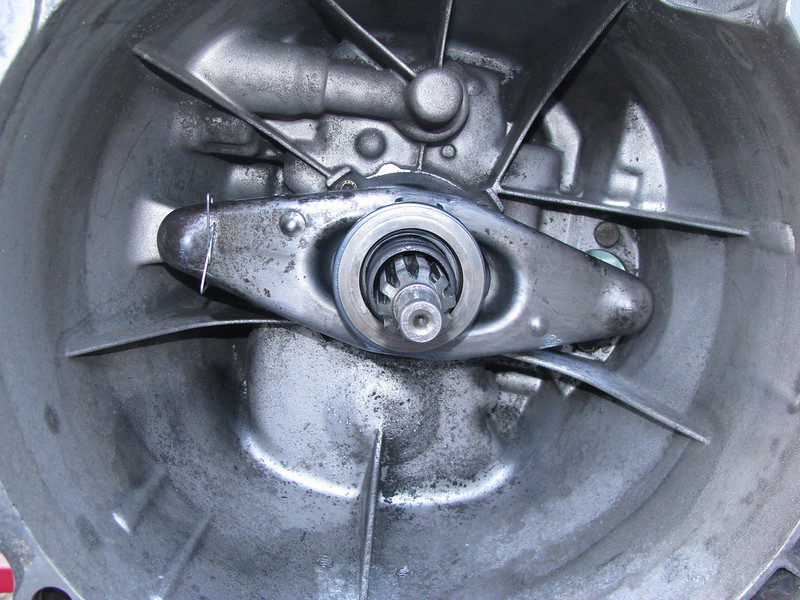
I then checked the new clutch plate fitted the splines and spread the HMP grease supplied on the spindle.
 Clutch
 by
Sabrebuilder, on Flickr
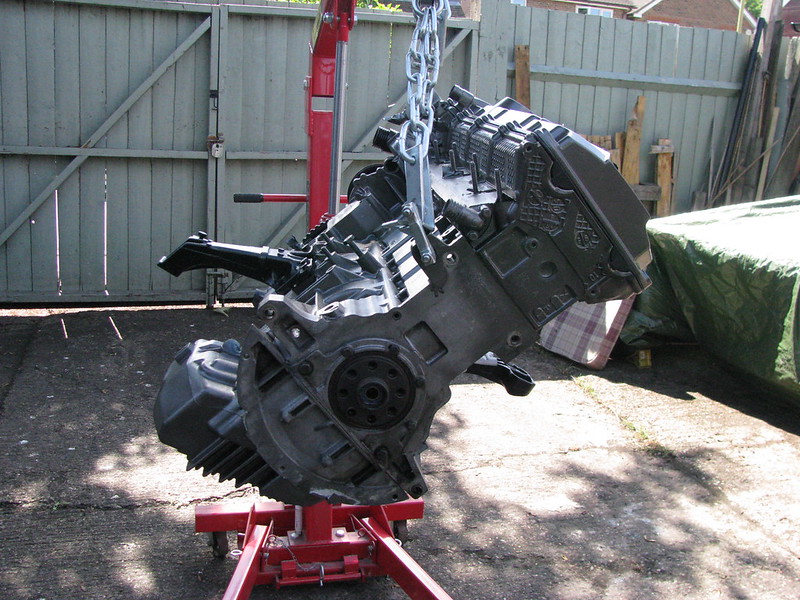
I then removed the engine from the engine stand where it had been for the last few months.
 Engine
 by
Sabrebuilder, on Flickr
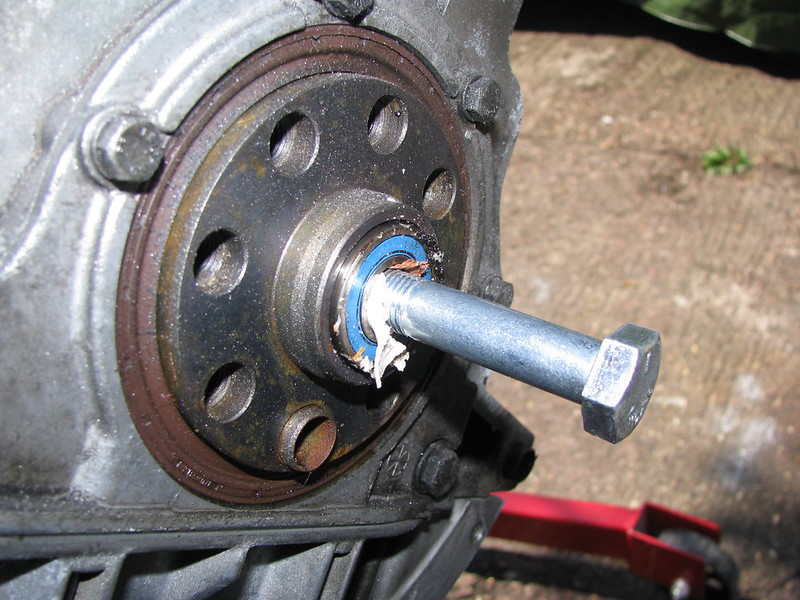
I then removed the old pilot bearing using the bread method. (check it out on Youtube if you've not heard of this method). Basically, you pack the back of the bearing with soft white bread and hammer a bolt in the hole. The force on the bread pushes the bearing out.Here you can see the bearing starting to emerge.
 Pilot bearing removal
 by
Sabrebuilder, on Flickr
And finally the old bearing is out. A quick clean up and the new bearing was tapped in with a socket.
 Pilot bearing replacement
 by
Sabrebuilder, on Flickr
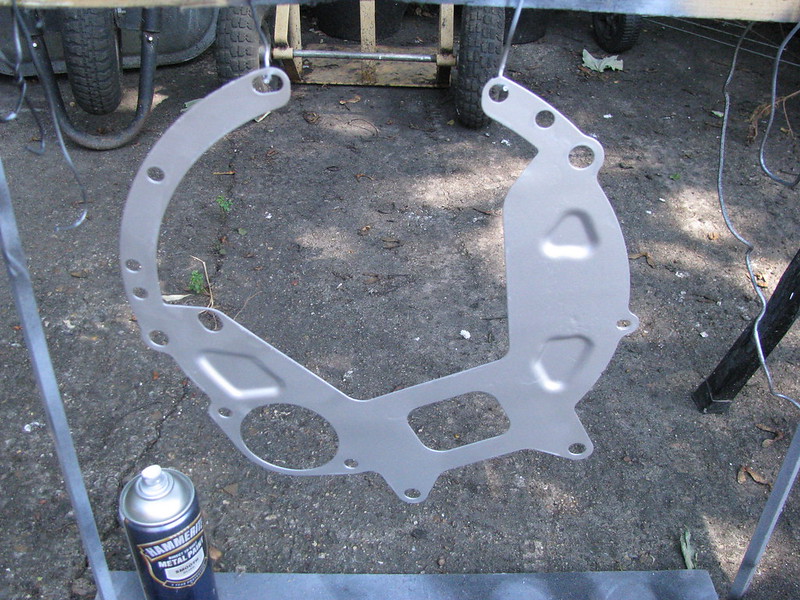
The plate that goes between the engine and gearbox had already been de-rusted, cleaned up and painted.
 Gearbox closing plate
 by
Sabrebuilder, on Flickr
Plate in position before fitting the flywheel.
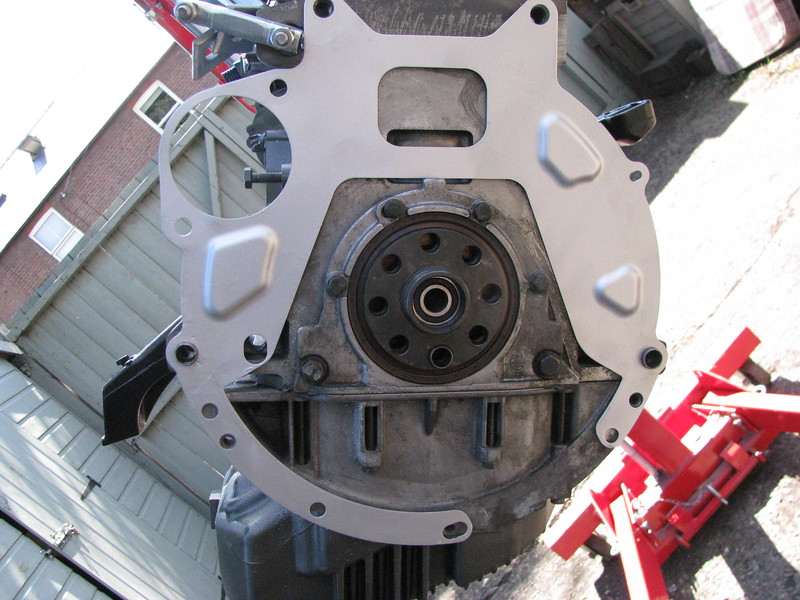 Closing plate
 by
Sabrebuilder, on Flickr
The flywheel was refitted with new BMW bolts. The old bolts cannot be re-used as they are stretch bolts. They have to be tightened to 105Nm so I made up this locking tool. (The long bolt actually bent a little but it served it's purpose)
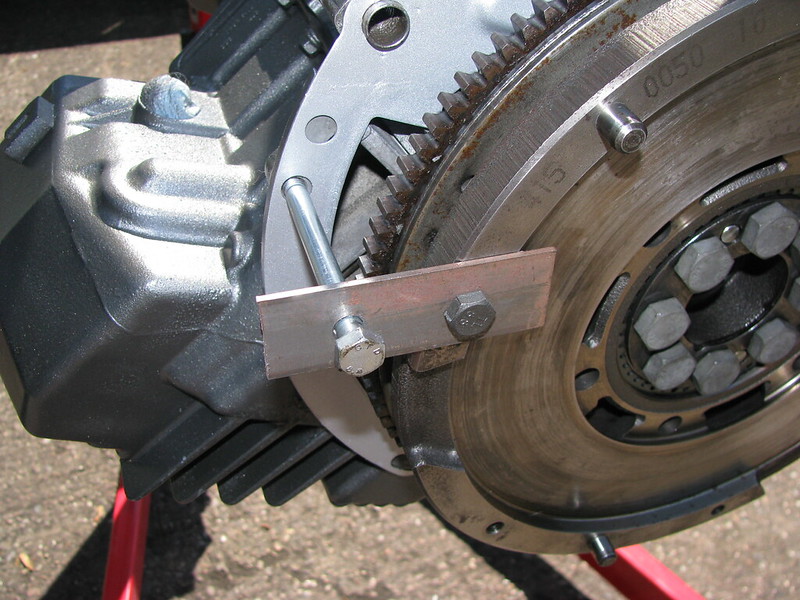 Flywheel
 by
Sabrebuilder, on Flickr
Clutch centering tool used to align the clutch plate with the cover assembly. Clutch cover then bolted to the flywheel with new 10.9 HT screws.
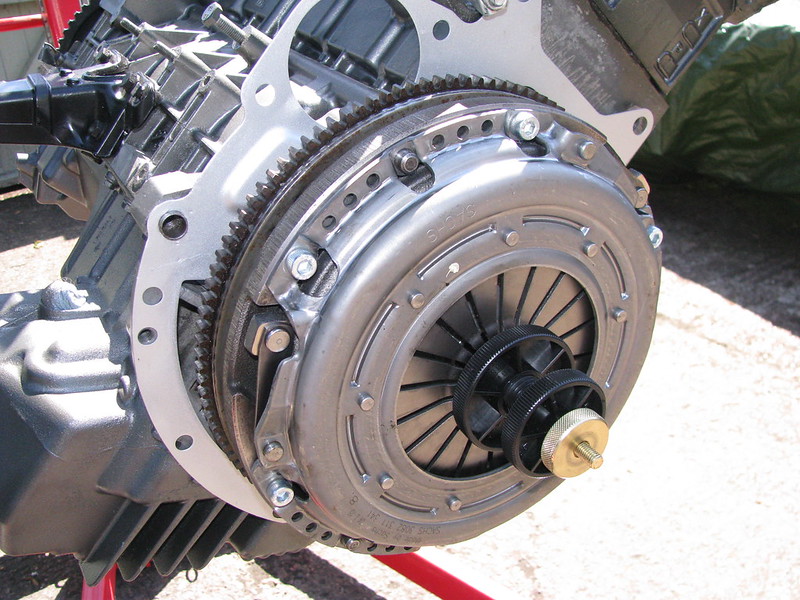 Clutch
 by
Sabrebuilder, on Flickr
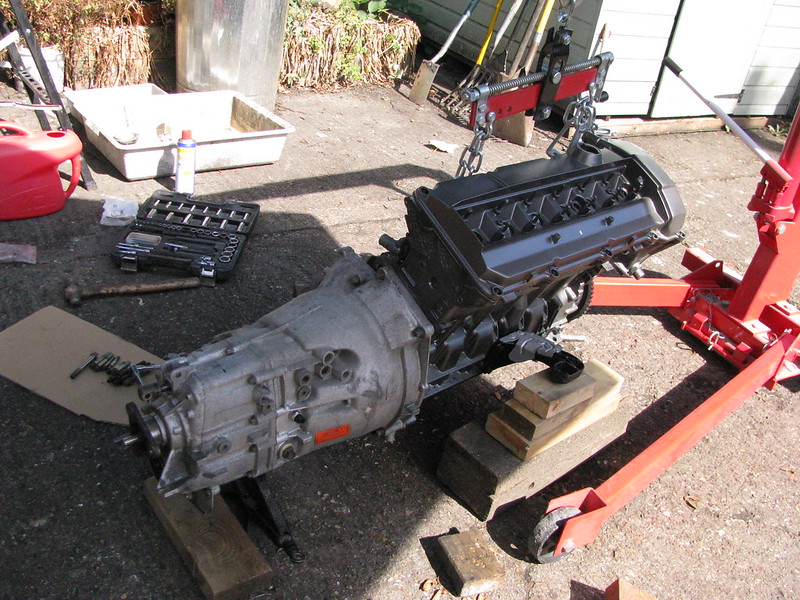
The engine was then lowered to the ground and supported on blocks of wood.
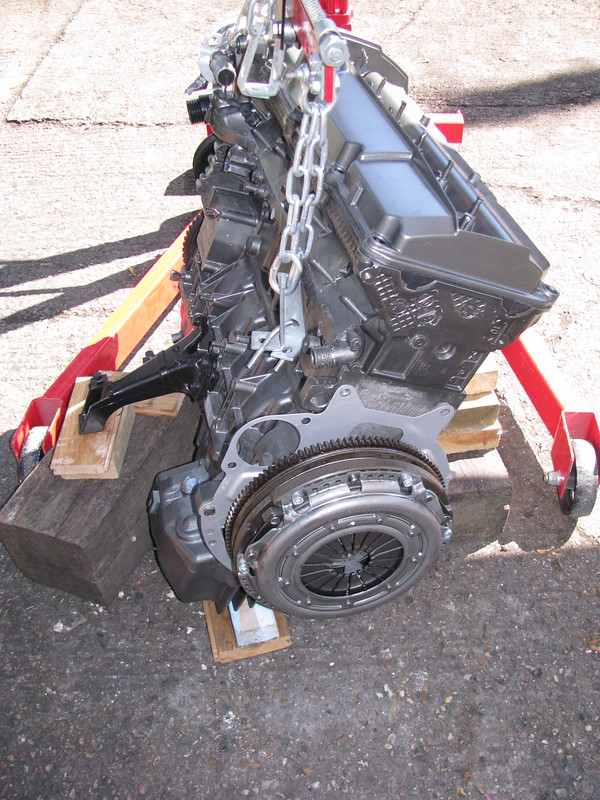 Gearbox fitting
 by
Sabrebuilder, on Flickr
The gearbox was then supported on blocks and a scissor jack to allign it with the engine and then with a bit of jiggling it slotted home. Gearbox bolts then fitted and tightened to the correct torque.
 Gearbox fitting
 by
Sabrebuilder, on Flickr
The engine and gearbox was then refitted to the chassis.
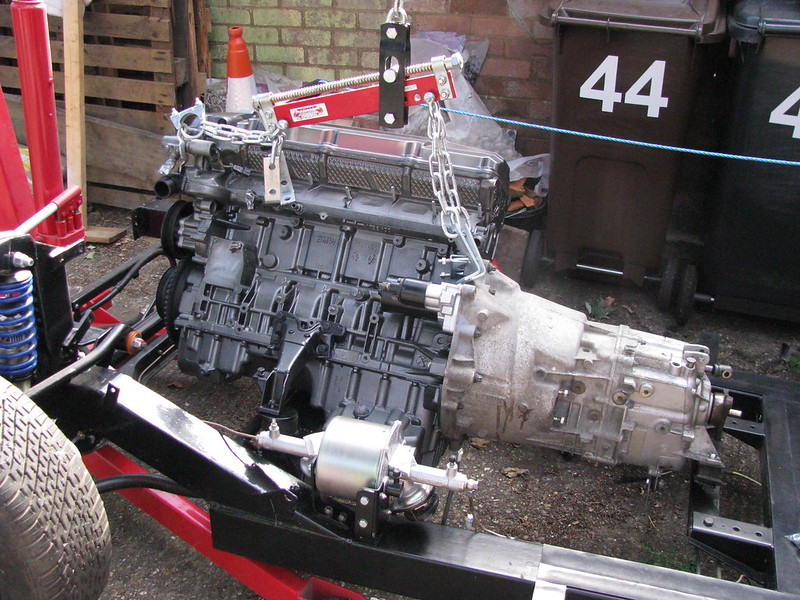 Engine fitting
 by
Sabrebuilder, on Flickr
Despite the the 30 degree heat it was a very enjoyable day followed by a nice cold beer

...peter