
19th April 2017, 05:59
|
|
Senior Member
|
|
Join Date: Nov 2012
Posts: 845
|
|
 More Tank & Boot Floor
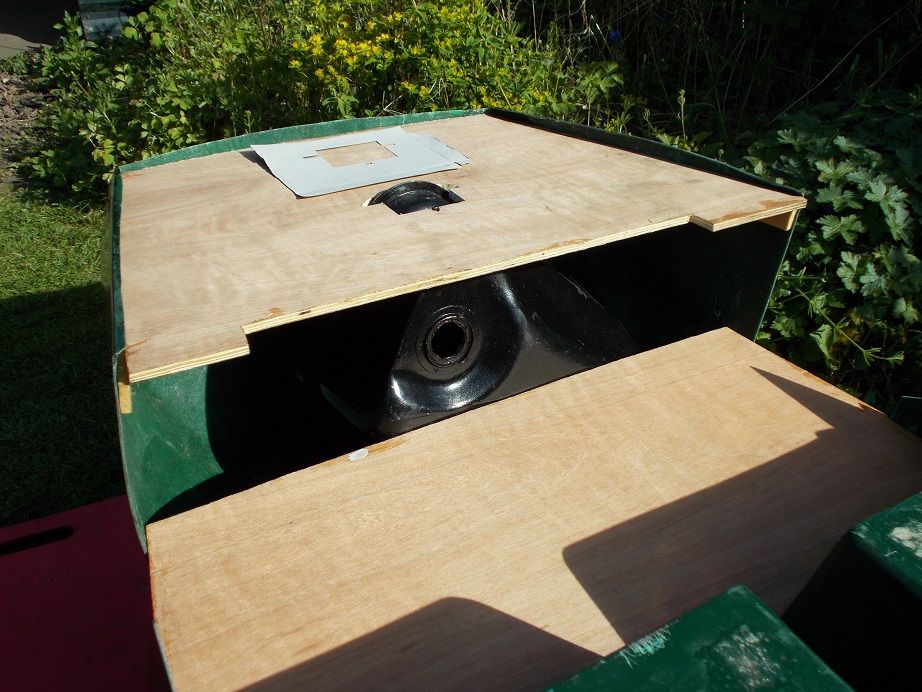
Yesterday I set to and offered up the tank and boot floor to the inverted body. I decided that, on my previous attempt, I hadn't optimised the tank's orientation in regard to the outlet, which wasn't quite as low as it should have been. This slight angle would also have compromised correct operation of the fuel gauge sender.
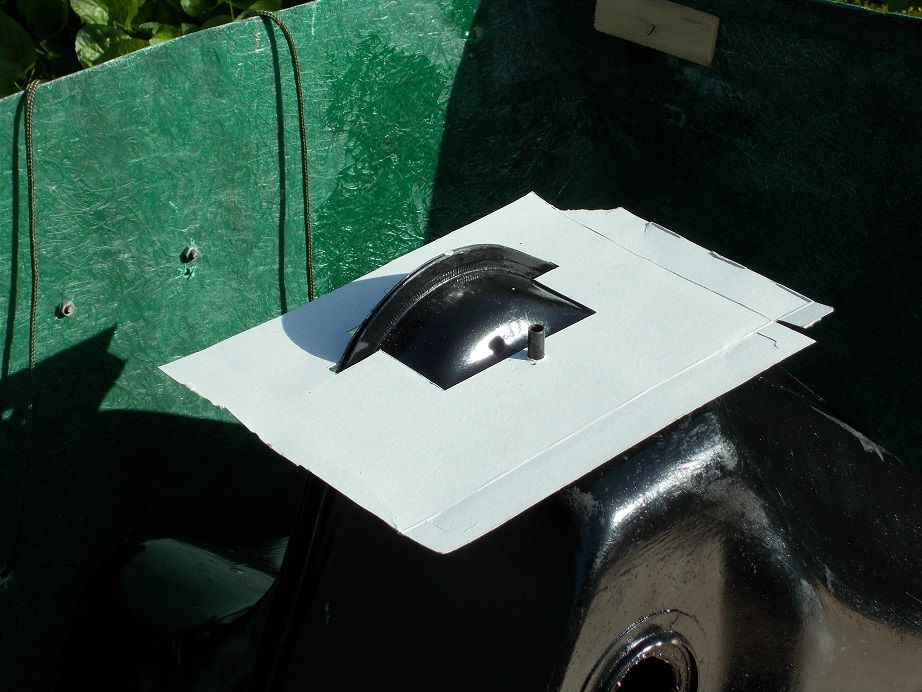
After a bit of jiggling I realised a new neck hole would be needed in the body. Its new location would be almost perfectly central, so I marked the new position, drilled a pilot hole and used my hole saw from both sides to ensure a clean cut. This I hadn't achieved the first time  as I'd used the 'ring of small holes' method, which was ugly, to say the least! This will obviously need to be glassed over! as I'd used the 'ring of small holes' method, which was ugly, to say the least! This will obviously need to be glassed over!
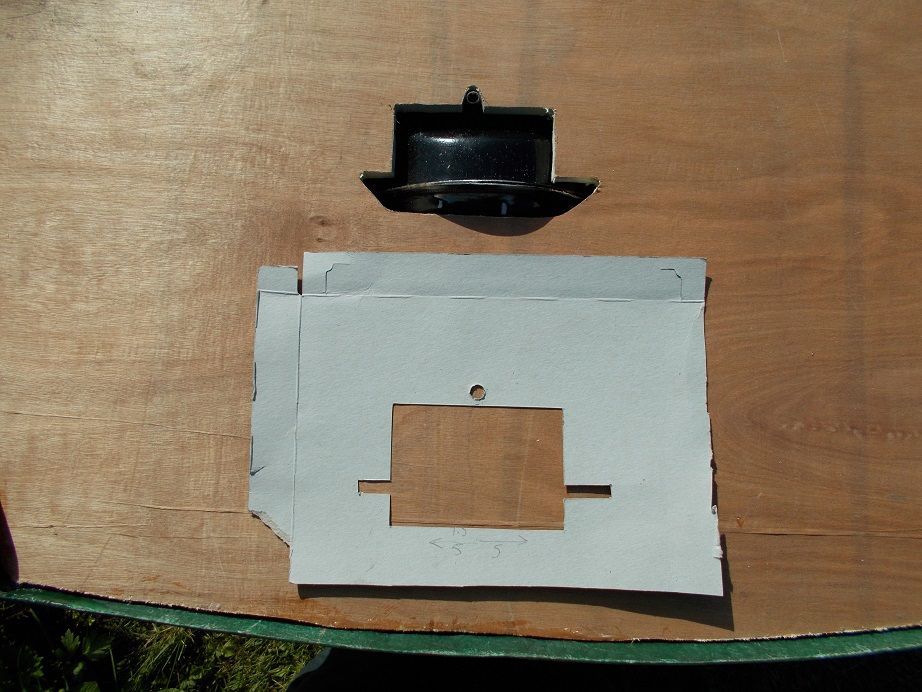
The very bottom of the tank and the middle of the plywood floor now occupied the same space so, using Cardboard Assisted Design, I made a template, transferred the outline to the floor, and cut the hole. It needed a bit of tweaking with my jigsaw's angled cutting facility coming in very useful. After three or four attempts the floor and tank mated perfectly.
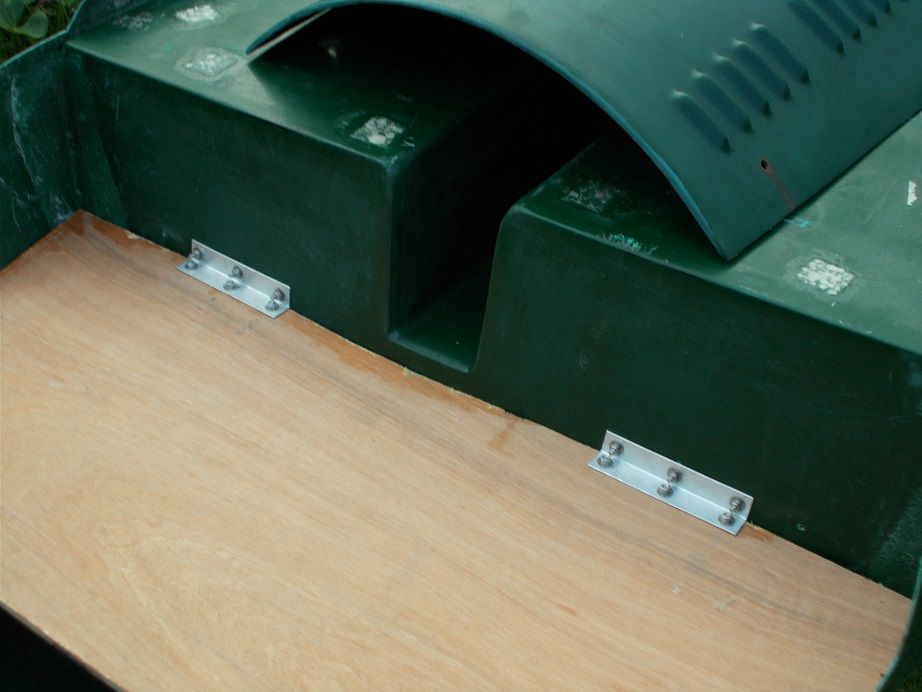
The nice man had delivered the large headed rivets I intend using for my demon rear floor section supports, but not the aluminium strips that they'll fix to the body. Last job of the day was to cut and drill the short lengths of aluminium angle which will support the front edge of the forward boot floor section and temporarily bolt them in position. Regular readers will notice that the access hole for the spring mounting has miraculously healed itself. My first attempt wasn't measured accurately enough but luckily I had more than enough spare ply from my gate building to make another which is just a little longer 
Regards, Mick

|