This is the sticky from Rovertech. You may know most of this Craig, but an interesting read on how they do it anyway.
For some reason, 200s, 400s and coupes suffer badly from sticking rear calipers. This leads to poor handbrake effort, overheating brakes and the need to replace the pads every 4 months. For the relative noob this can be quite a daunting job but it really isn't that hard and to show it I have compiled this little tutorial. Hope it is useful.
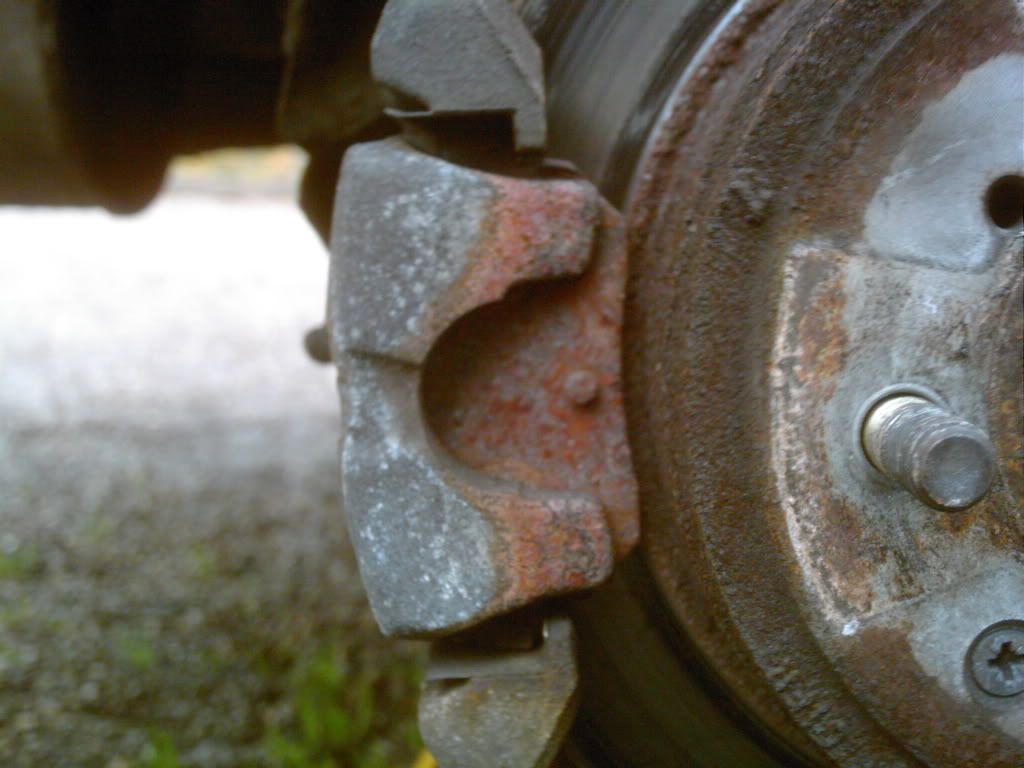
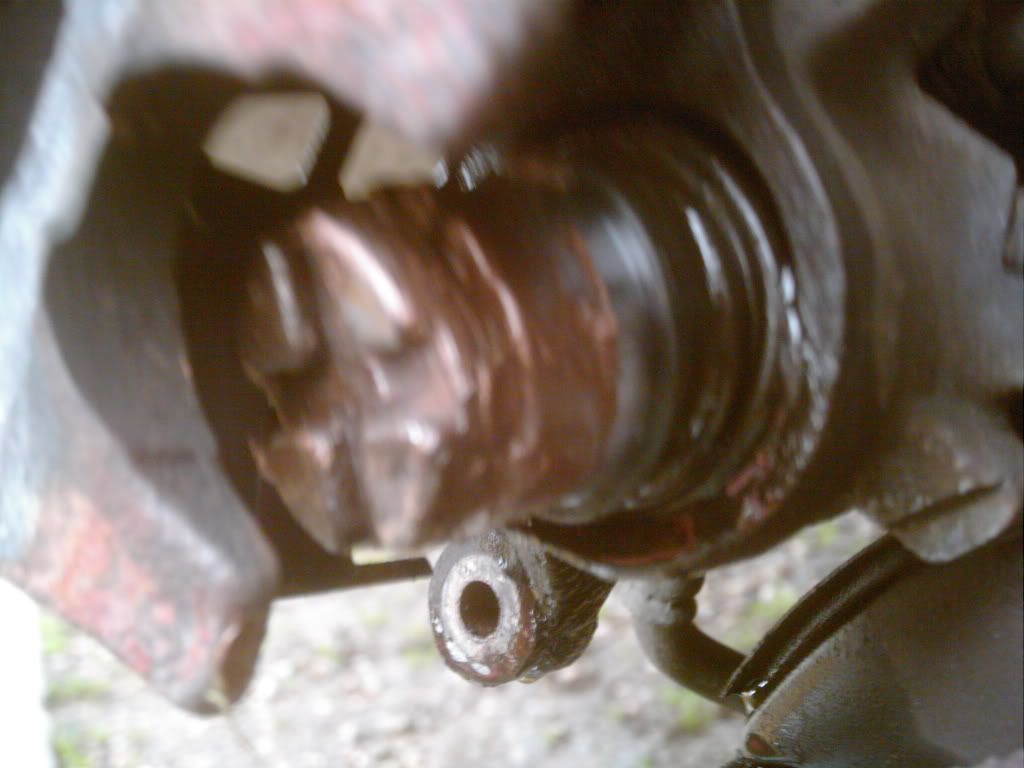
Due to the extreme heat a sticking caliper produces you might see something like this
Put the car into 1st gear and leave the handbrake off. Chock the wheels and crack the wheelnuts. Jack the corner of the car up and support the car on axle stands. Next remove the two 8mm bolts holding the dust cover.
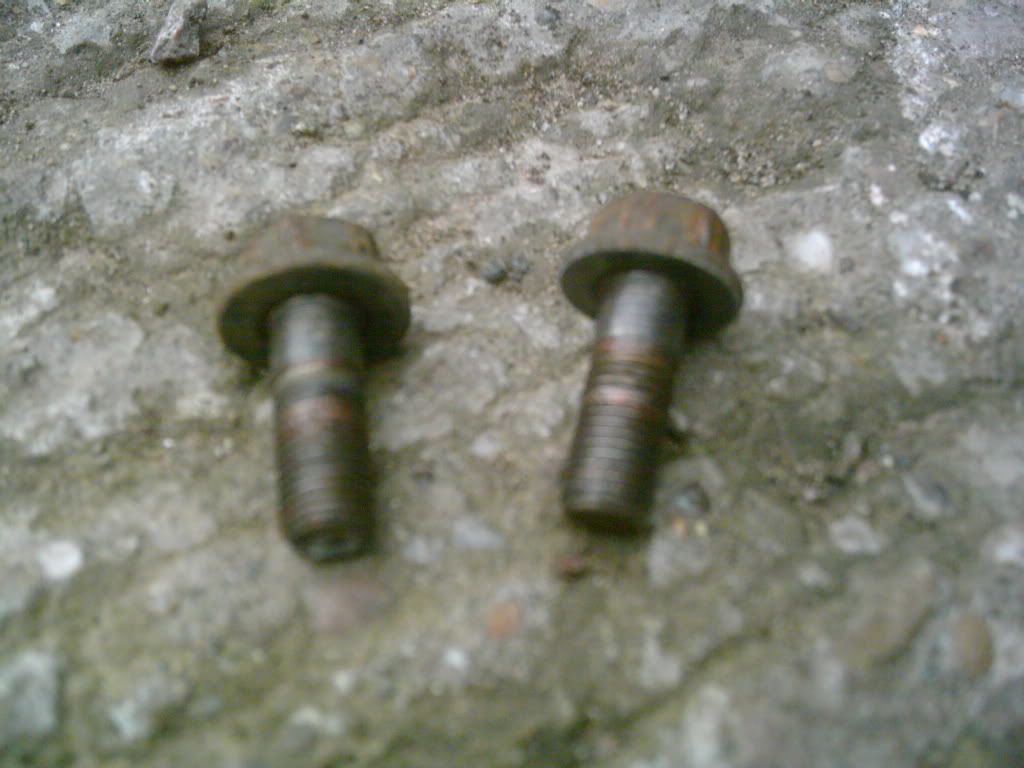
Remove the two 12mm caliper retaining bolts.
Note the copper grease on the threads. As this area is exposed to heat I always reassemble with copper grease to protect the threads and to prevent seizing.
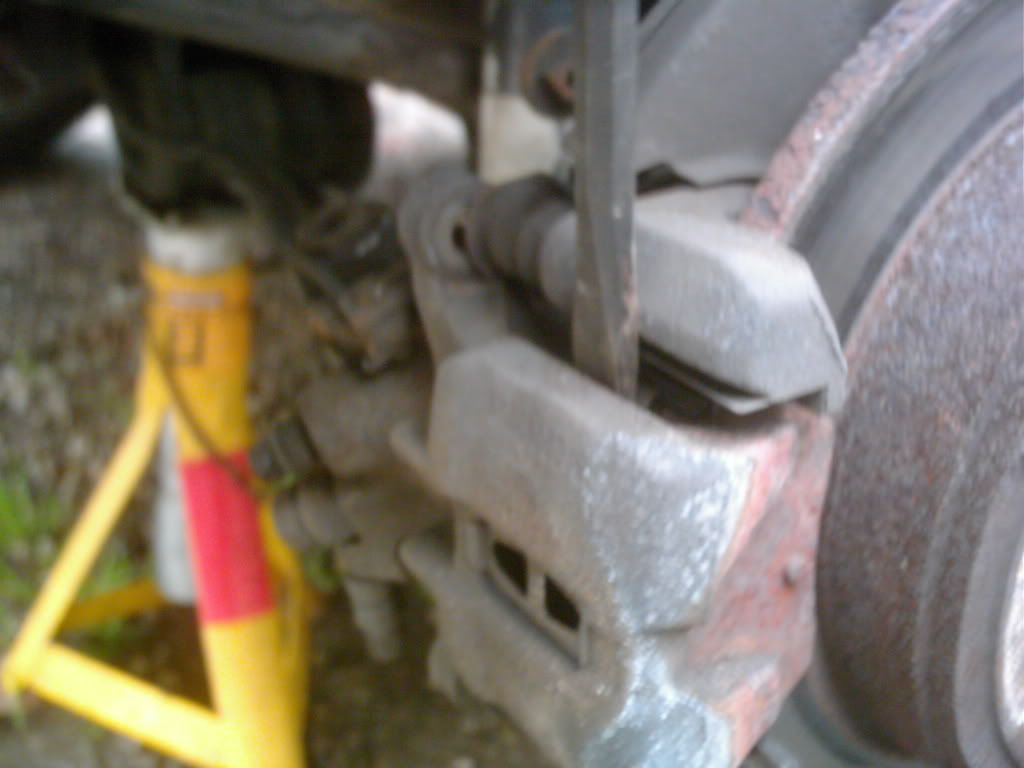
Lever the caliper away from the carrier as below.
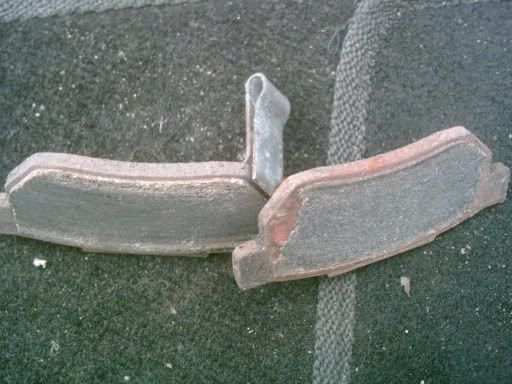
These pads have covered less than 3000 miles
It is important to find an appropriate tool for this next job. It must be a lever with a flat edge as it is used to wind the piston in and out. I use a steel chisel. Place the lever in the groves in the piston and turn the piston anti clockwise until it just turns without coming out anyfurther. Unwinding the piston can be easier said than done as they can be quite tight.
To fully remove the piston just press the brake pedal a couple of times. Go back to the piston and pull the piston free from the seal. NOTE, the piston will need cleaning hence why I remove it. You can leave it in but I recommend removing it to give it a good scrub with a scourer.
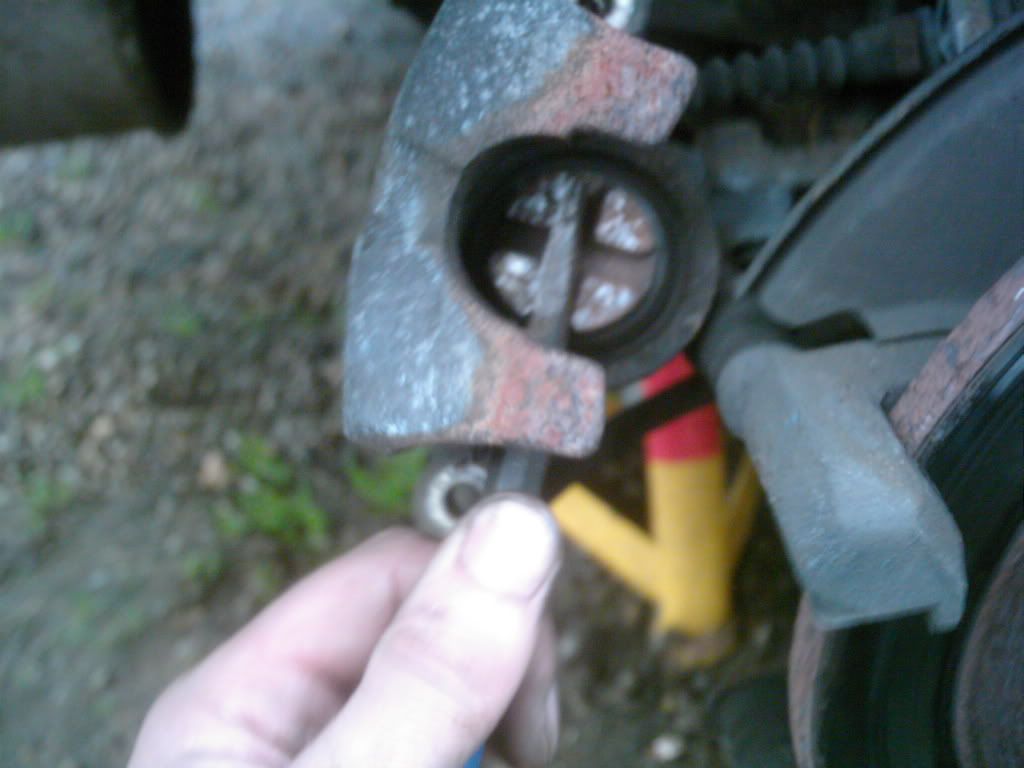
You can see why this caliper was seized.

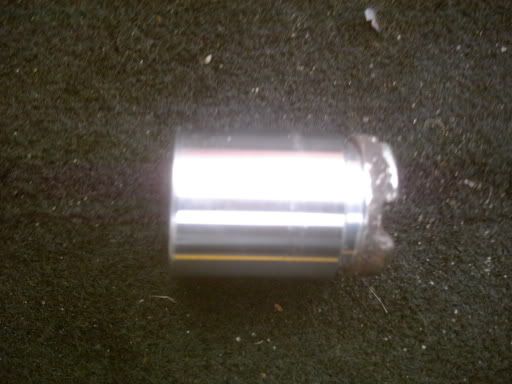
After a bit of scrubbing with a scouring pad and brake cleaner this is how it looks. There is some minor pitting but nothing to worry about.
The next bit can be a bit tricky but comes with experience. You need to pul the boot over the base of the piston. I find the best method is to hold the boot over one edge of the piston with one finger and then run a small screwdriver under the seal to pull it over.
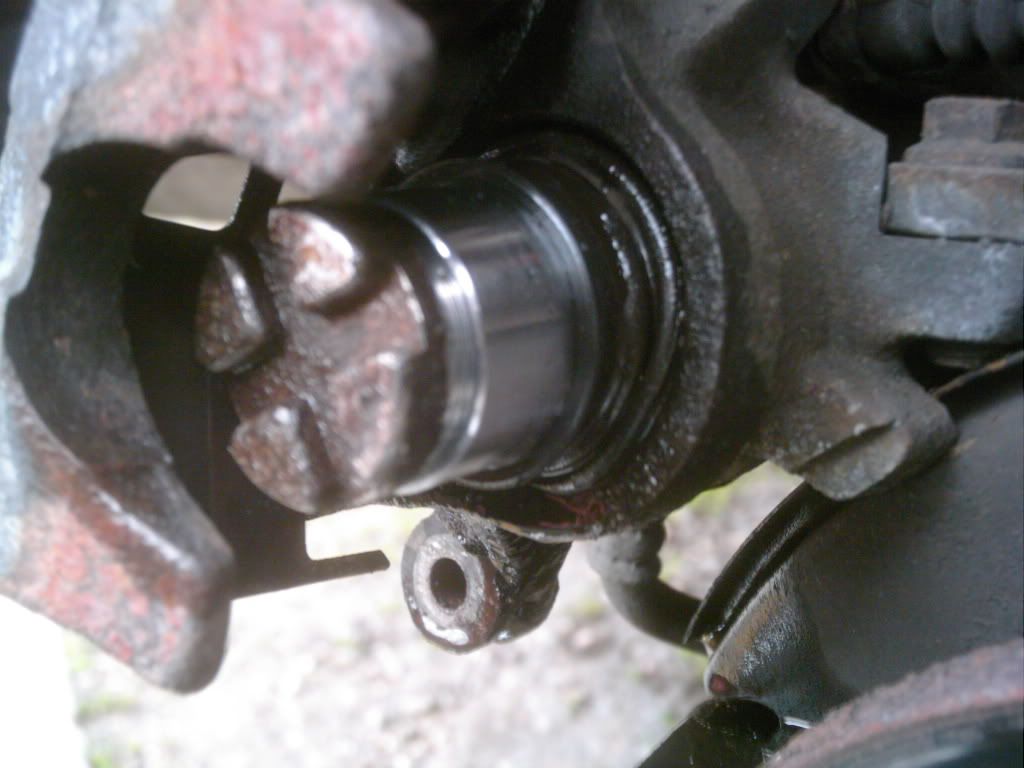
Apply pressure to the piston while winding it in clockwise. When it bites and starts winding in apply some copper grease around the ridge as so.
Wind the caliper all the way in. It will keep turning when it is all the way in too. I like to apply copper grease to the piston face and seal to try and prevent future water ingress.

Next lever off the slides.

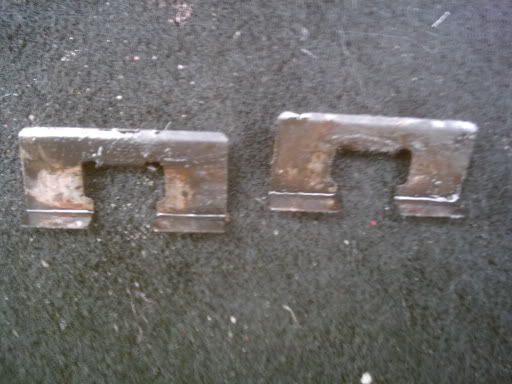
Clean them up with a sharp implement as there is usually corrosion and a build up of crap on them. Failure to clean the slides will lead to the pads sticking.
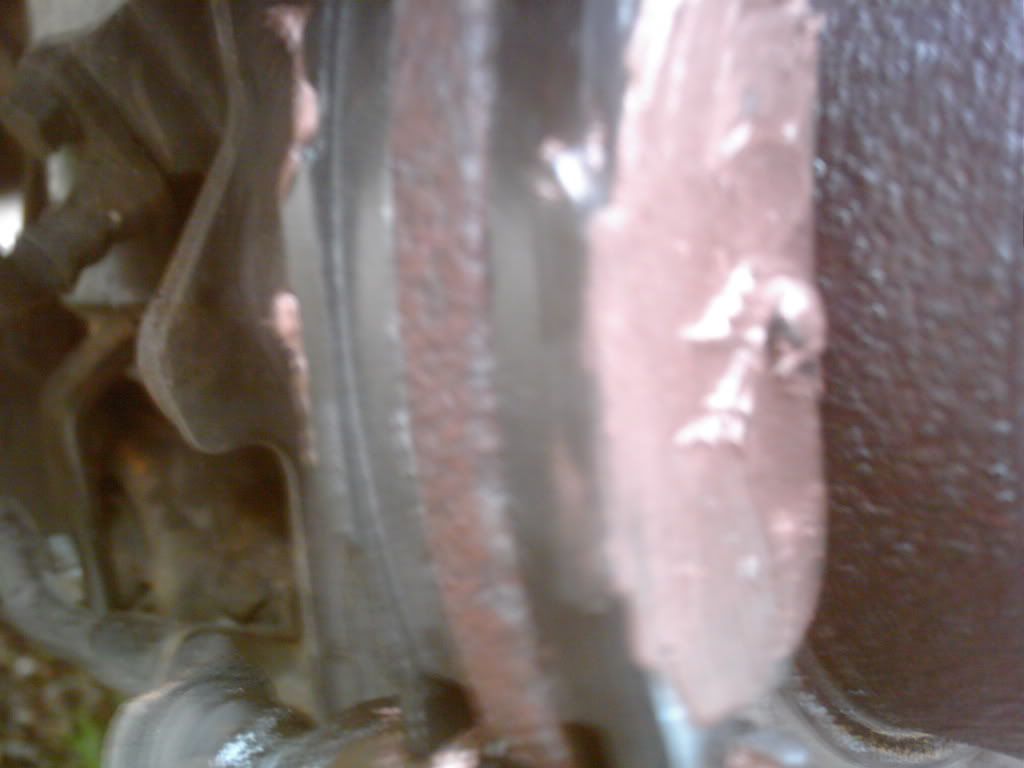
Loverly!

Put the new pads in with plenty of copper grease on the back of the pads.
Reassemble the caliper and dust cover.
Using an 11mm ring spanner, undo the bleed nipple and ask a helper to press the brake pedal until you get clean brake fluid with no bubbles in. Once you have clean fluid coming through, nip the bleed nipple up during the down stroke to stop any air getting back into the system.
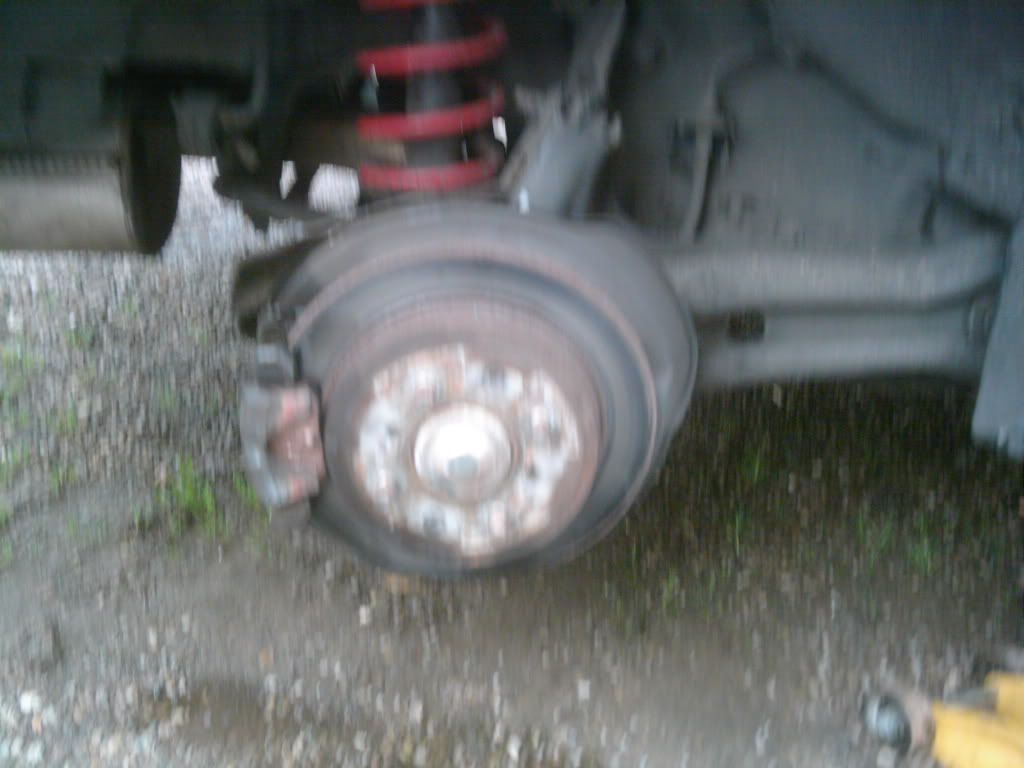
Put the wheel back on and go for a rag. Remember to pump the pedal before you drive off.