Swifty - Thanks.

I hope that having the occasional nice line in the body work will distract from the other wobbly ones.
 Scottie
 - Cheers, I don't think my daughter spotted the turtle likeness.
- - - - - - - - - - - - - - - - - - - - - - - - - - - - - - -
Bits & Pieces:
Lots of fiddly little jobs today, the first of which involved lying on my back underneath the body shell.
I wanted to mark out the edge of the rain channel on the lid.

I assume the rubber seal gets "squashed" by the lid in order to be water tight.
It looks like there will be plenty of room for this along the top edge.
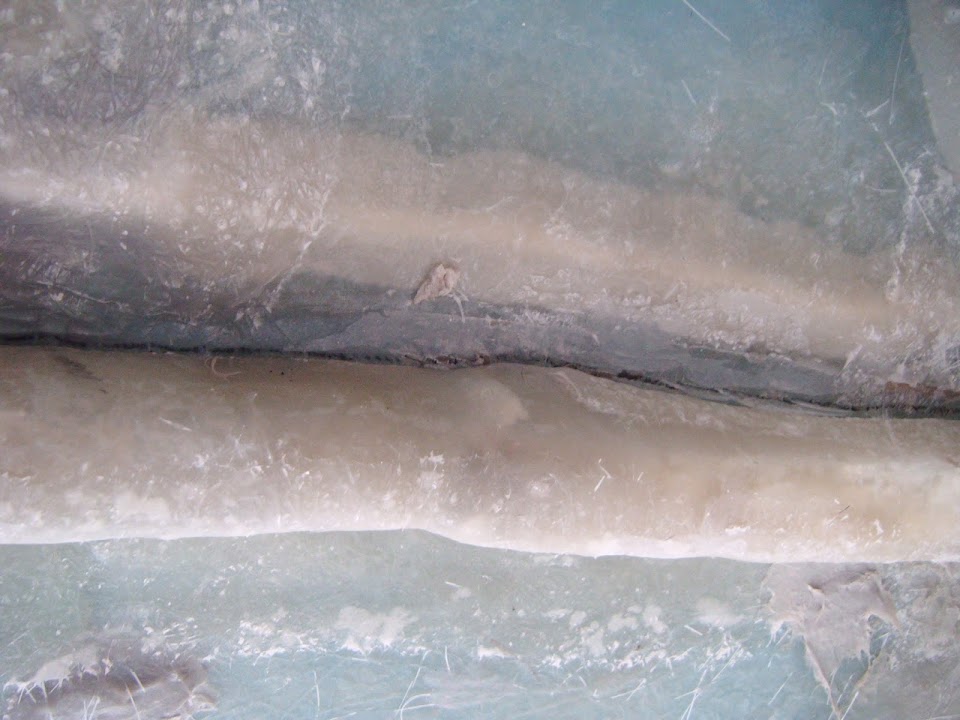
But the rope re-enforcement might be a bit too close on the bottom edge.

With the lid removed, you can just about see the black line.

Removing the lid also confirmed two things, the first is that the body shell covers still leak.

But the other is that the rain actually got collected in the rain channel, so it actually works.
Obviously when I fit some drains, the water will not just sit in the channel.
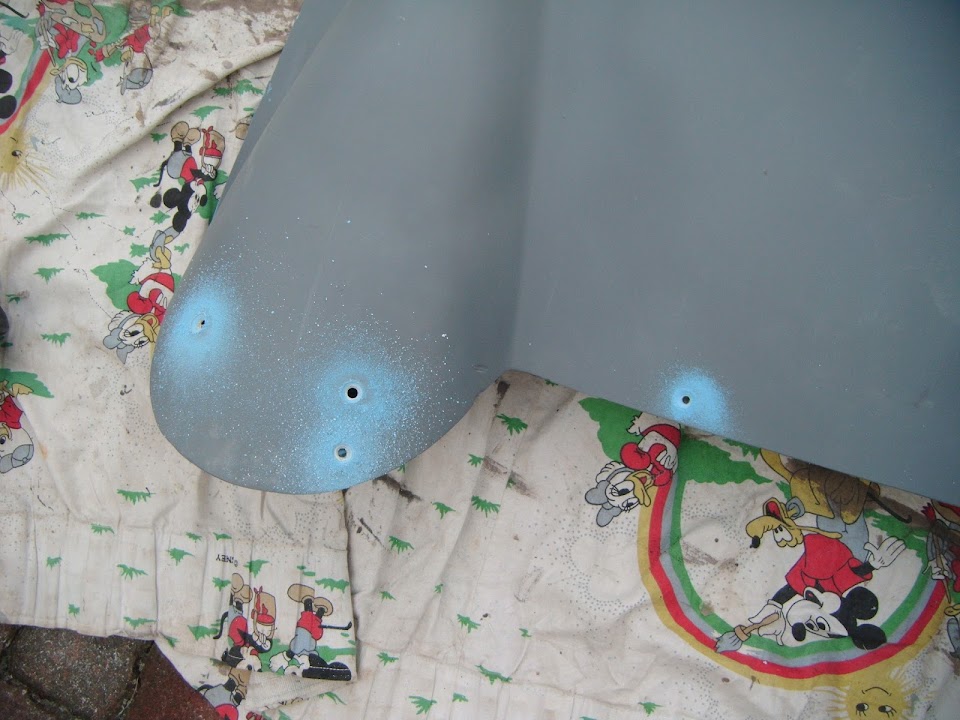
I countersunk the fixing holes on the lid.
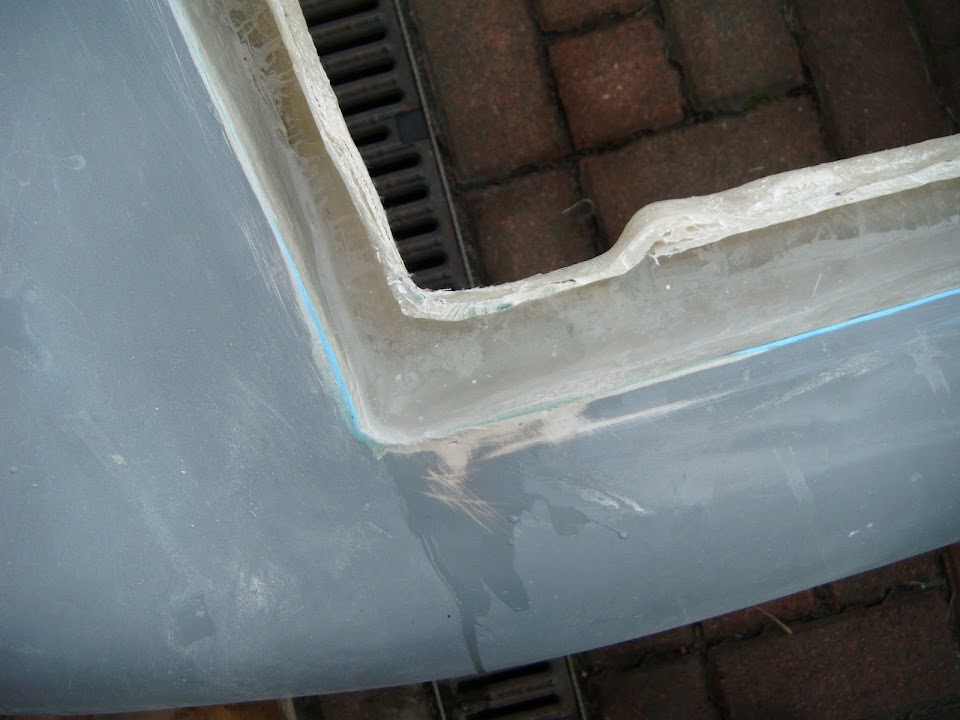
I also cut up some of my fibreglass off cuts to allow me to "fill in" the rest of the driver's hump.


But before I started on that, I got some fibreglass filler mixed up and applied.
I started with the fixing holes.

I also sealed up the edge of the face panel on the inside of the driver's hump.
( Couldn't get a better photo of it.
)

Then I applied the filler around most of the perimeter of the boot lid.
( Leaving the area I was going to fibreglass later on and part of the bottom edge. )

End of Part 1...