My Humps... My Humps... My Lovely Hillbilly Humps...
Too wet to get anything done yesterday & I didn't win the £150m lottery jackpot either.

Thankfully I made a bit of progress today...
I applied some Kurust to the brackets on the inside of both sections of the passenger hump.
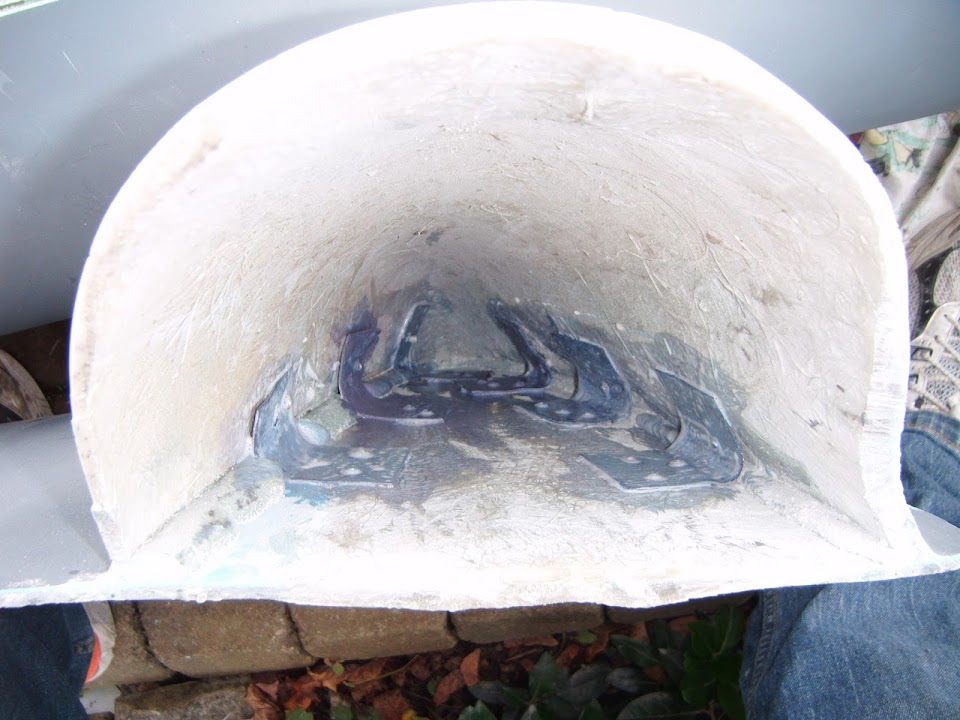
As the time the hump filled with water due to a leaking tarpaulin didn't help much.

The good news is you can see how well the fibreglass filler stuffed inside the edges of the hump worked.

So I am pretty confident that the passenger hump is not going anywhere.
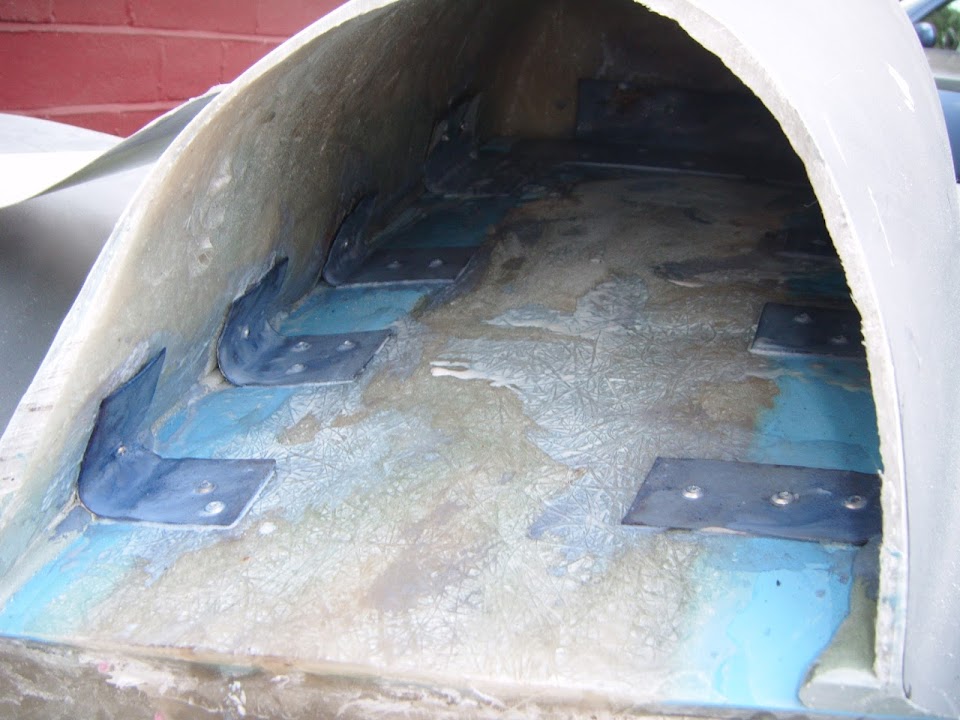
Later in the day, when that had set I covered the insides with a coat of stone guard.


Looking at that last photo on my computer screen, it does appears that I may have missed at bit.
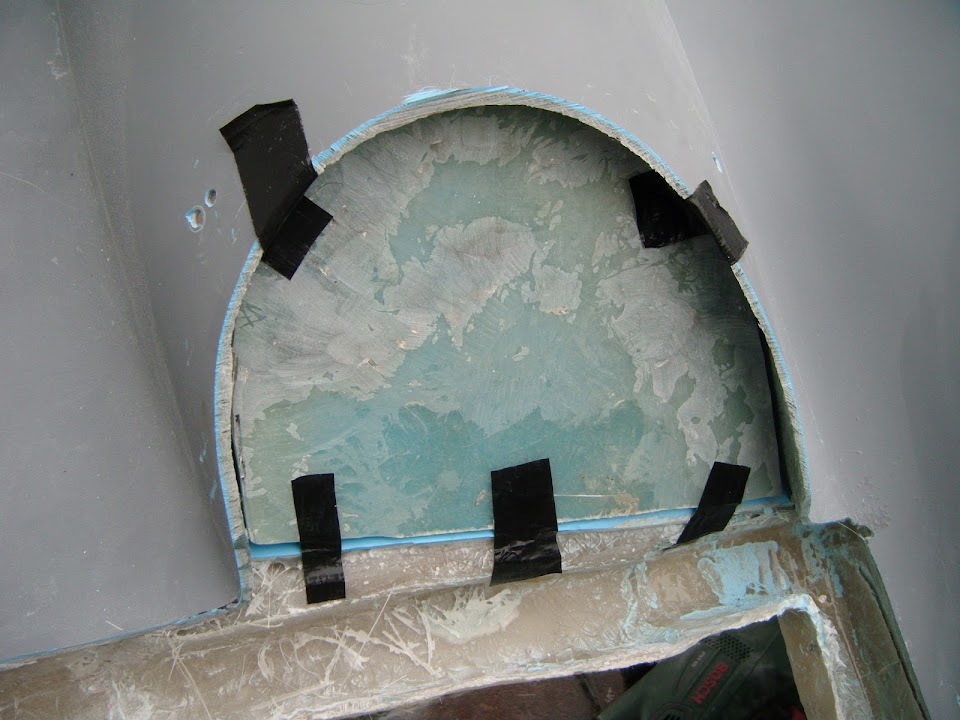
I did use some masking tape along the edge i was going to apply fibreglass to.

In the meantime, I worked on the driver's side hump "face" panels, starting with the lid.
I trimmed my cardboard template so it matched the inside profile of the hump.
Then I marked it these up on the fibreglass piece I'd removed from the bonnet grille opening.

Although as soon as I did, I remembered I want the rough face, not the gel coat, facing outwards.
So I turned it over and started again.

I then ground off the excess bonding paste and took these deliberately oversized panels...

And tested / marked / trimmed / repeat until I got a best fit & held them in position with some tape.
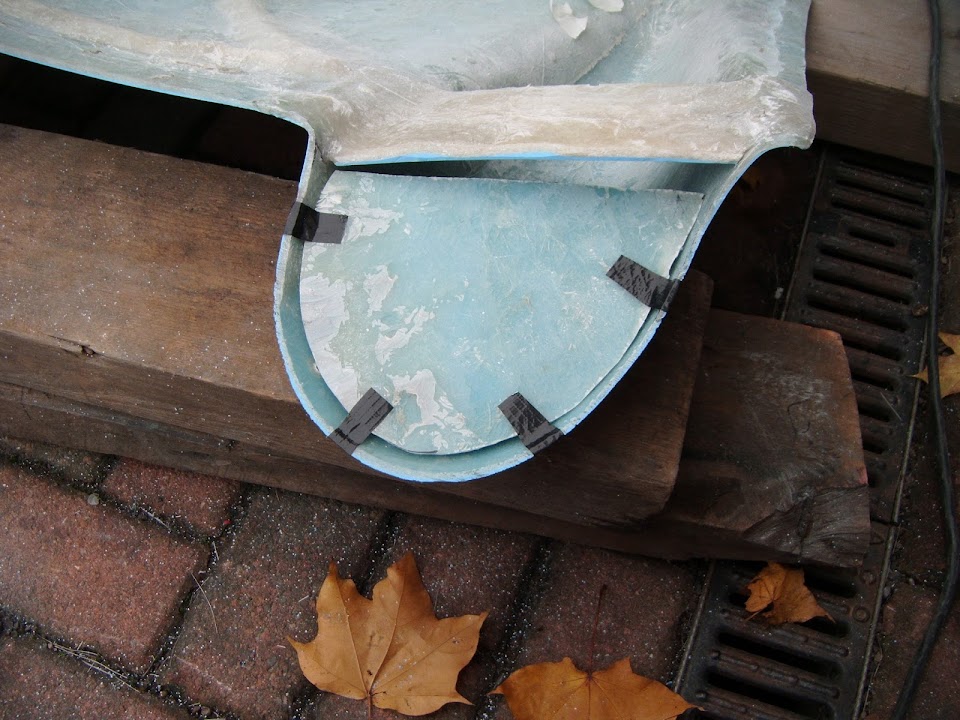
I then repeated the process for the passenger side.


By the time the stone guard was dry, I was ready to add some matting along the edges, avoiding the tape.


End of Part 1...