A Frustrating Day - Part 2
But the real problem was that I didn't have the brackets in the right place to begin with.

I was expecting the brackets to be pulled in tight to the hump, but it was the other way around.
So after doing one side completely, the hump had moved in close to one line of brackets, but in turn too far away from the other.
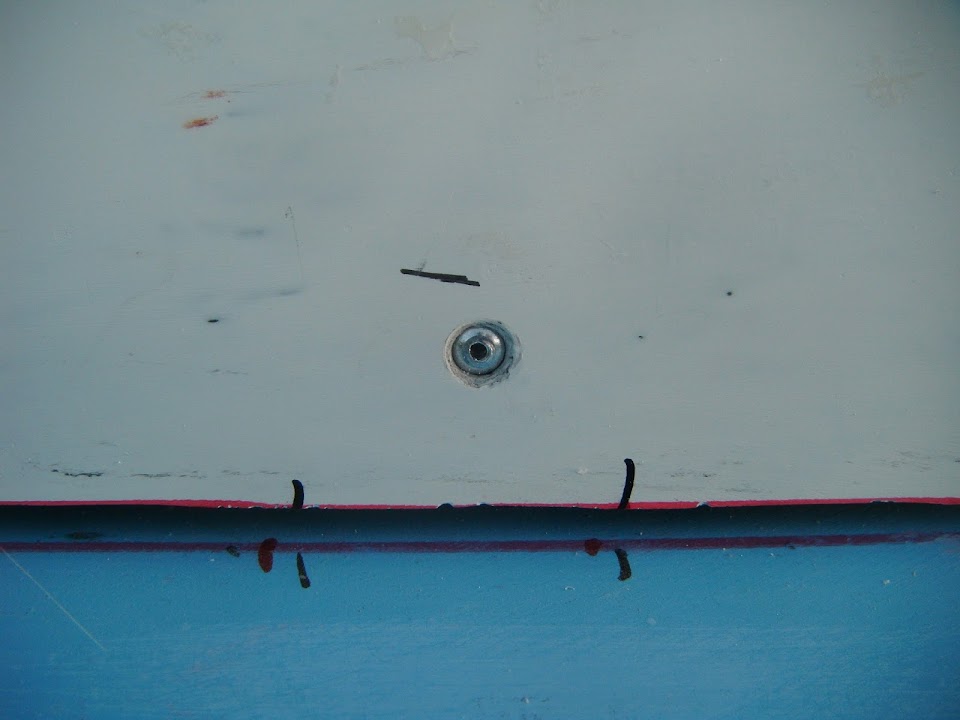
I thought I had taken a photo of this, but it must not have come out.
Although at this point I really was having a bad day and started contemplating whether I could get away with just fixing one side.
( It was remarkably solid at this point. )
But deep down I knew that I had to do the job properly, or at least as good as I could.
So I had to drill out all the rivets and start again and I was not a happy bunny to say the least.

Especially as I was still having drill bit problems meaning some rivets made a complete mess of the holes in the hump.
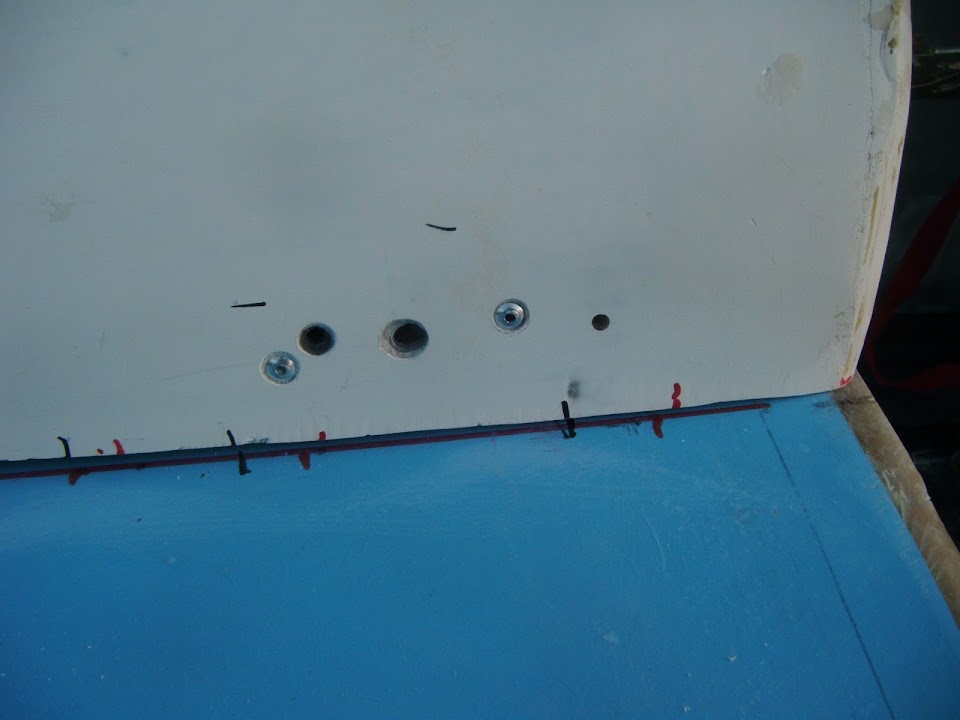
Then I had to re-bend almost all of the brackets and then add extra rivets to some.

This was the bracket layout "Take 2".

Just to add insult to injury, this is what the sky now looked like.

So I was forced to pack up and take shelter while the rain came down.
But I just couldn't face ending the day on such a low point, so I went back out when it stopped raining.
By the time I had broken my 10th drill bit of the day I noticed the drill itself seemed to be wobbling, so that might be the problem.
Thankfully I had one bit left to do the last rivet and the hump was finally fixed in place.
I've love to say that all the rivets looked as nice as this.
But this is a "warts and all" build thread, so these rivets tell the real horror story of this job.

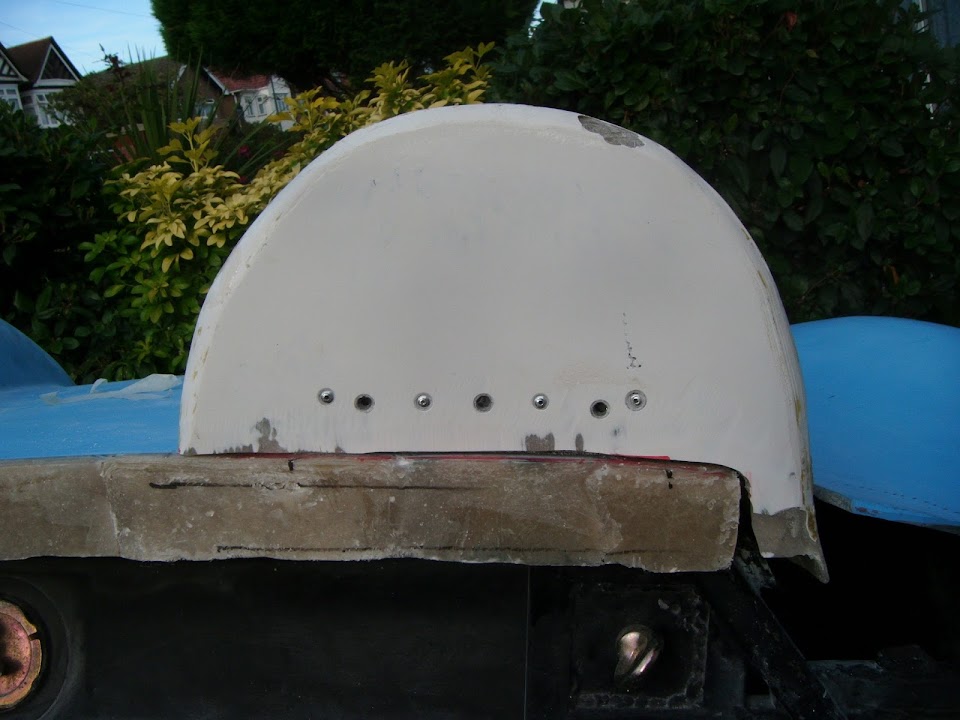
The only good news was that at least the hump wasn't going anywhere.


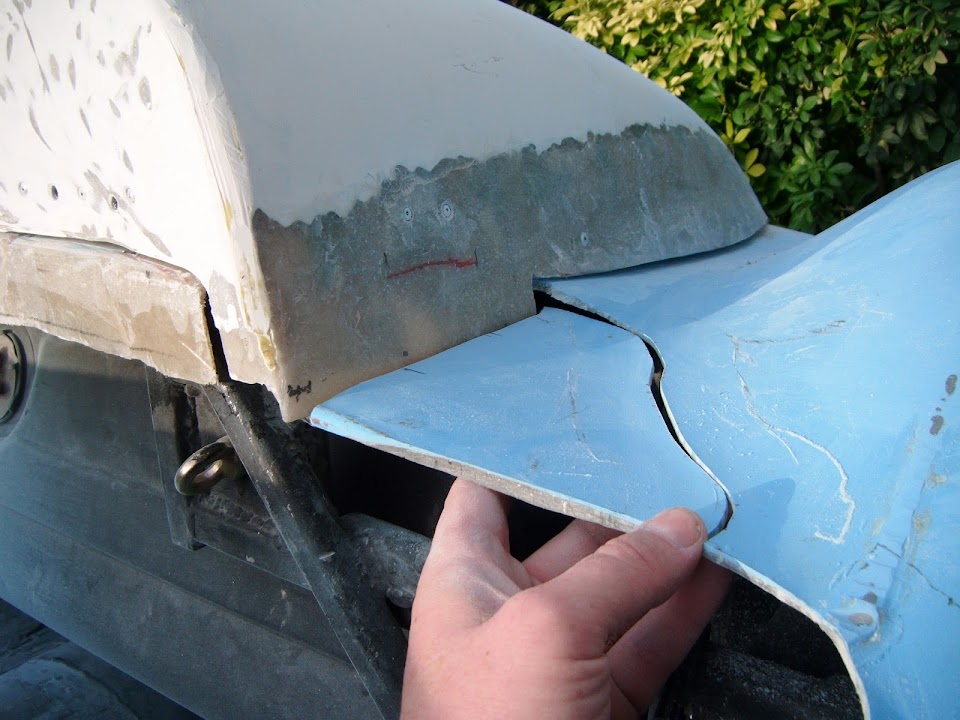
It really is rock solid and I still have to add fibreglass filler into the gap and over the join.
In preparation for that work, I roughed up the gel coat on both hump faces.


And along one side of the hump itself.

I also did the area next to the driver's hump as I want to build this area up a bit to match the passenger side.

The last job of the day was to cut out this section of the body shell.

Which I need to re-attach somewhere around here.
Hopefully, this should improve the balance between the two sides when viewed from the front.
Clearly there is still quite a bit of work to do before I can say the hump is finished.
But this was a big, if somewhat painful, step in the right direction.
Until next time, take care, Paul.
