One Of Those Days - Part 2:
When I started doing the drilling work for the headlights, I was just sitting on the driveway as usual.
Unfortunately, it took a while for me to notice that my jeans were soaking up a lot of moisture.

Then I remembered this photo I had seen
EricHolm post on his 250SWB thread next door.

A quick trip to the Summer House later and I had what is left of the yoga mat to sit on.

I can't believe what a big improvement this made, or why I didn't think of this before.

- - - - - - - - - - - - - - - - - - - - - - - - - - - - - - -
The postman delivered the reducing connector I ordered.

So I set about joining the two different sized radiator hoses together and this took ages too.
As initially I used a short section of the thinner pipe like so.

But no matter what route, or length of pipe I used I couldn't get a nice bend in the thick pipe.

So I switched tactics and used a short length of the thicker pipe instead.
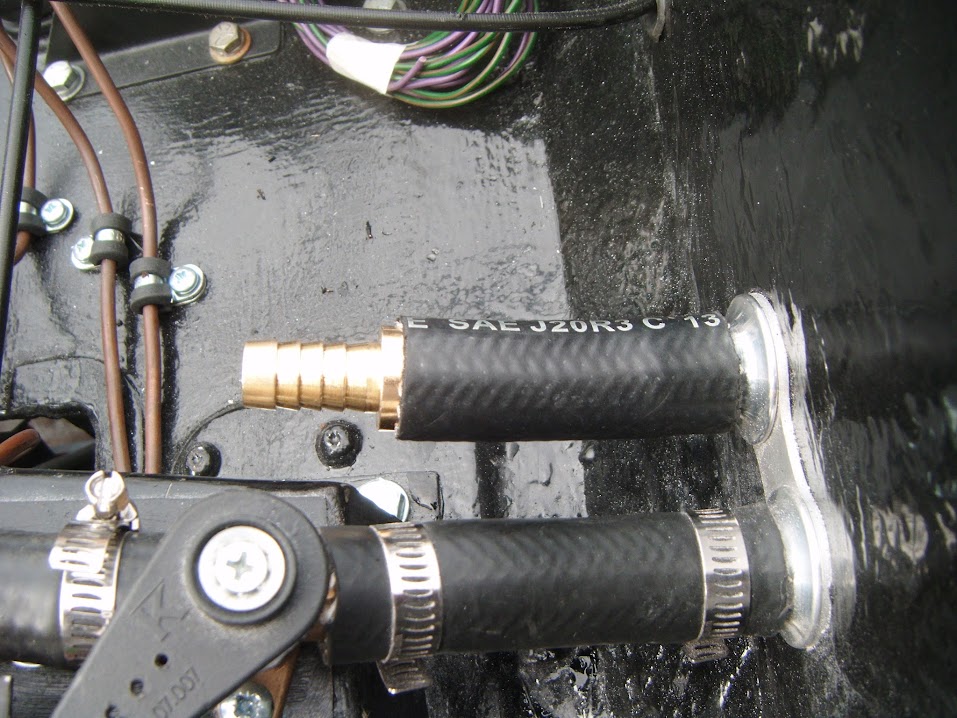
This allowed me to put a better bend in the thinner pipe.

- - - - - - - - - - - - - - - - - - - - - - - - - - - - - - -
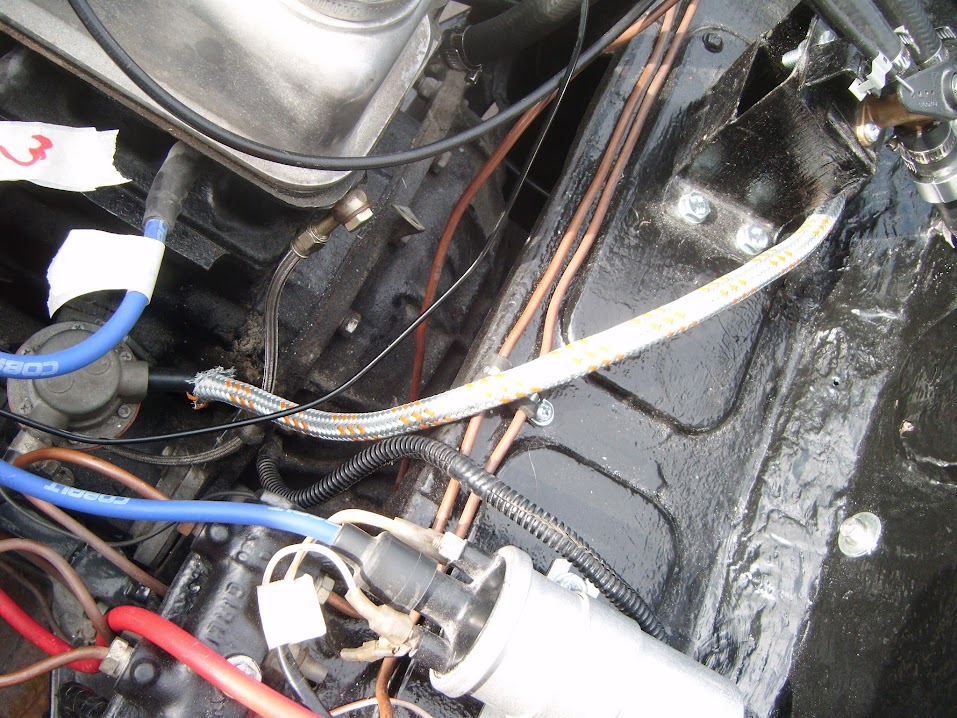
Then I rigged up a glass fuel filter on a temporary basis, just so I can visually see if fuel is reaching the carbs.
( When I am finally ready to restart the engine. )

Notes:
- I need to order some new jubilee clips for these sections of fuel line.
- I also need to finalised how I am permanently going to run the fuel line in this area.
- - - - - - - - - - - - - - - - - - - - - - - - - - - - - - -
During the next task I really did lose the will to live, as what should have been a simple task took forever.
Now I know I don't have the best record of sticking to a KISS solution, but I could not work out a better way...
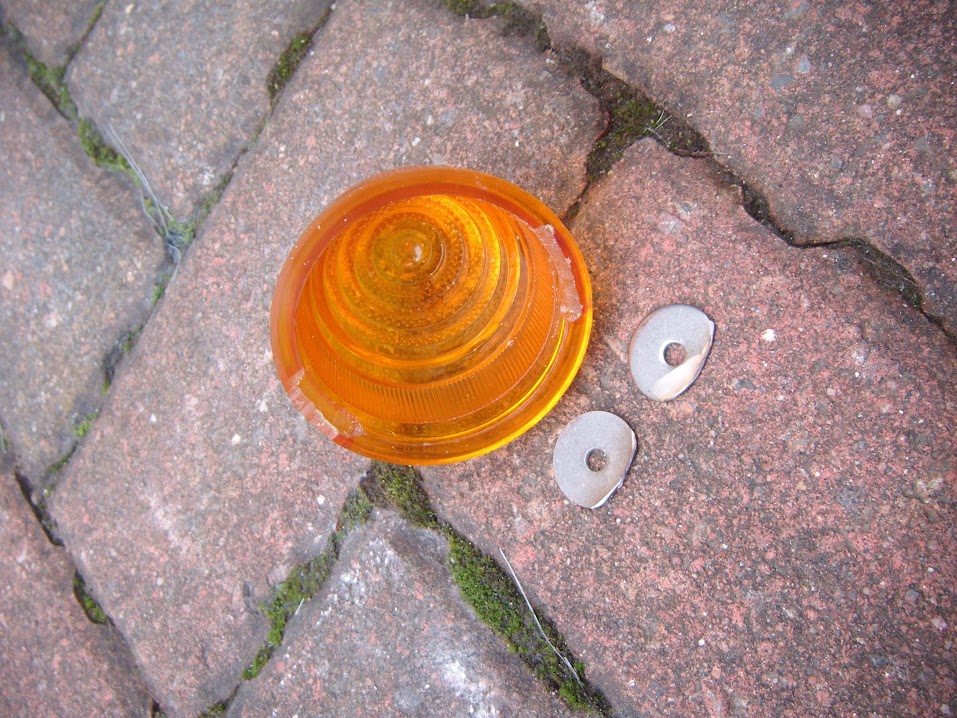
All I wanted to do was fix the front indicators into position.
I had used one of the bolts supplied to earth the indicator.

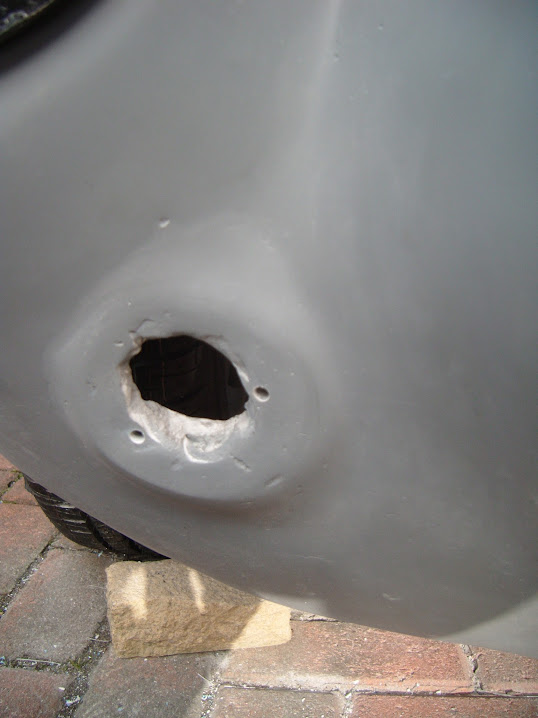
But these three bolts were too close to "hole" required to thread the indicator wires through the bonnet.

Excuse the blurred photo, but if I put a bolt through a bit further out...

The indicator lens wouldn't sit correctly.

So I decided to use some bigger washers to move the bolt in a bit.

Initially, this approach seemed to work, so I drilled the corresponding holes in the bonnet.
Note:
Tidying up the hole is on my "To Do" list.
Then the wheels came off as when the indicator was pressed into the bonnet, the lens stopped fitting.
In the end I had to grind down the washers and file a couple of notches on the inside of the lens.
End of Part 2...