Rene - Sorry, I should have said the other ends of the cables were NOT attached when I connected the switch.
( As I'd only temporarily put them in place to set the length of cable required through the bulkhead & take a photo. )
In fact, until I finish all my electrical tests, I have been disconnecting the battery before putting the covers back on.
- - - - - - - - - - - - - - - - - - - - - - - - - - - - - - -
A bit more, but still not a lot:
The clip for the accelerator pedal arrived.

So that was fitted.

The post has also brought the new stop/tail light and some 35 amp fuses.


I'd also ordered an overflow pipe to the rear carb, which sits inside a section of "normal" fuel line.
( Which I then forgot to take a photo of.

)

Started the engine without any easy start spray.

Then promptly forgot that I was supposed to be testing the battery cut off switch.
So disconnected the old battery earth lead and attached the new leads to the cut off switch.
The first test was to turn the ignition on & see what happened when the switch was turned "off".
The red ignition light went out, so this seems to be doing what it is supposed to be.
Then I put the switch into the "on" position.
( Note: The battery cables still need to be zip tied into position. )

And once again the engine started up, although it now has a seriously loud mis-fire/back fire.

So I decided to turn the engine off before the police were called due to the sound of gun fire.

With the new fuses fitted I decided to run a few more electrical tests:
- Blue high beam warning light - Pass
- Front side lights - Previously a pass, now a Fail
- High beam "flash" - Did the Spitfire 1500 have this option? As I can't get the headlights to flash when they are not switched on.
- Heater - Managed to get to Position III before blowing the fuse this time - Epic fail
- Temperature gauge - Noticed that this is not moving at all - Fail
- Rev counter - Has gone back to not working again - Fail
So I've still got a bit of work to do to sort out the wiring loom.
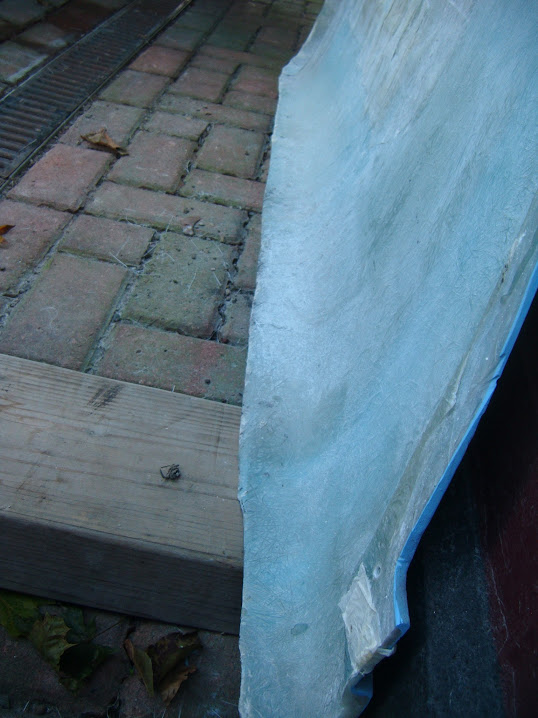
But at this point I covered up the
Moon Rover and turned my attention to the body shell.
This is not a great photo, but some sections of the outside of the bottom edge of the body still have a bit of the moulding lip.

So tidying these edges up has been on my list of things to do for a very long time.

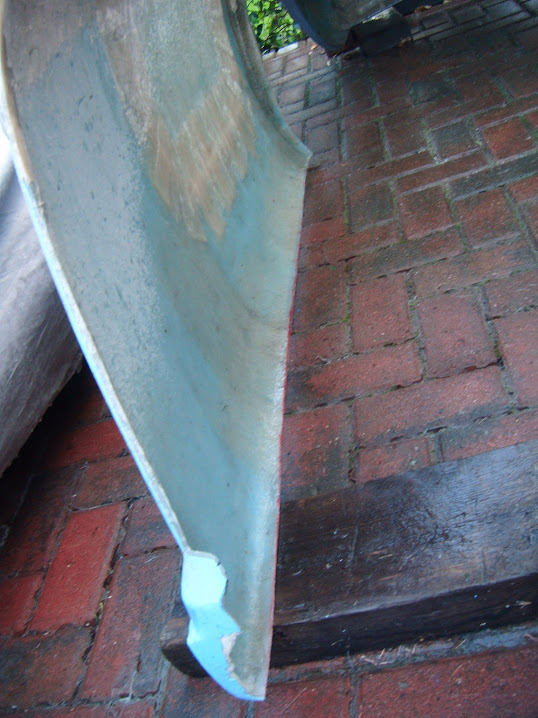
I marked up some straight(ish) lines that would remove what was left of the lip.
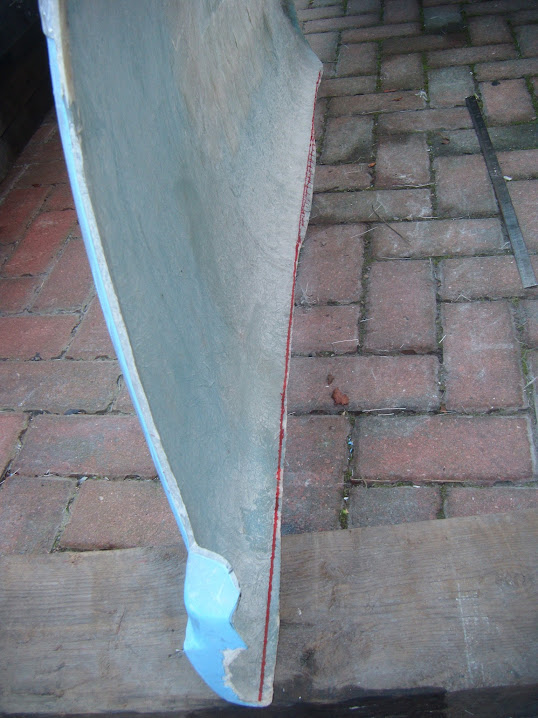

Then trimmed the edges, so there are at least a bit better than when I started.

End of Part 1...