Roadster & Gary - Cheers chaps.

After so long spent trying to work out how to build this car, it does feel good to be actually putting parts back on.
- - - - - - - - - - - - - - - - - - - - - - - - - - - - - - -
Slowly Getting There - Part 1:
A slight change of plans today, as two nice days in a row saw me oiling the garden furniture before the real bad weather arrives.
I also ended up mowing the lawn and doing a number of other domestic chores, but at least I did get some car time...
I actually managed to work my way through most of the "To Do" list I posted yesterday:
Plumb the heater into engine
This should have been straight forward, as I had previously just by-passed the old heater like so.

I cut that hose down so that I could re-use it to connect to the heater control valve.
( Having previously double checked old photos to ensure I knew which hose went where. )

Then the wheels came off as I realised I had a mis-match in pipe sizes / hoses.
After a lot of time spent trying to make a 13mm ID hose fit a 16mm ID fitting I had to admit defeat.
So I have now ordered a reducing connector that will allow me to joint the heater pipe to the engine pipe.

As this was the first job of the day, I wasn't happy with how long I'd spent
not completing the task.

- - - - - - - - - - - - - - - - - - - - - - - - - - - - - - -
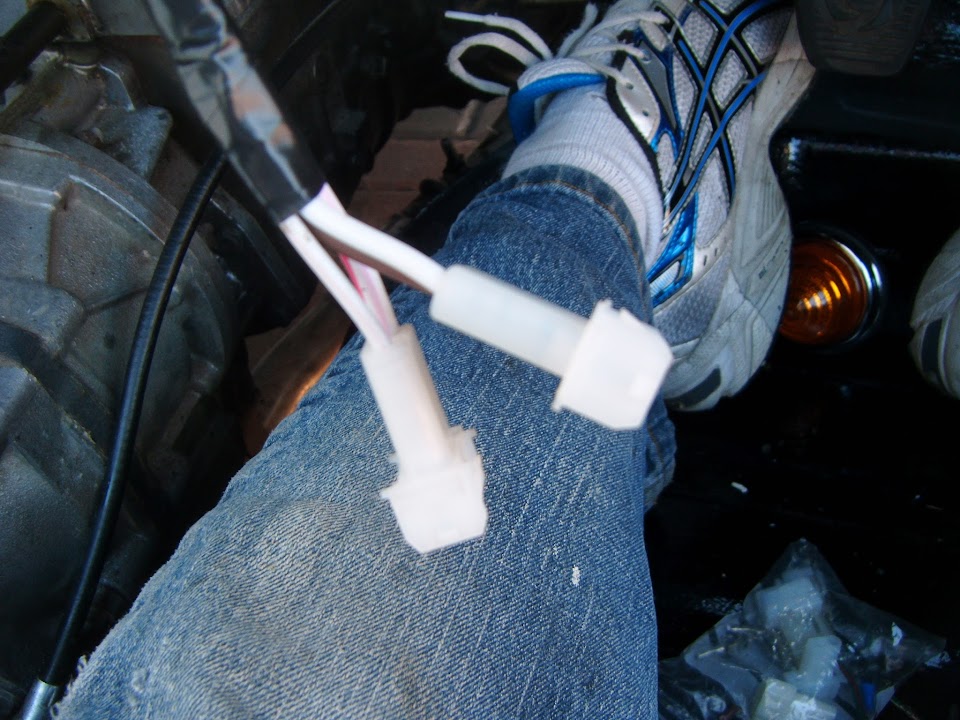
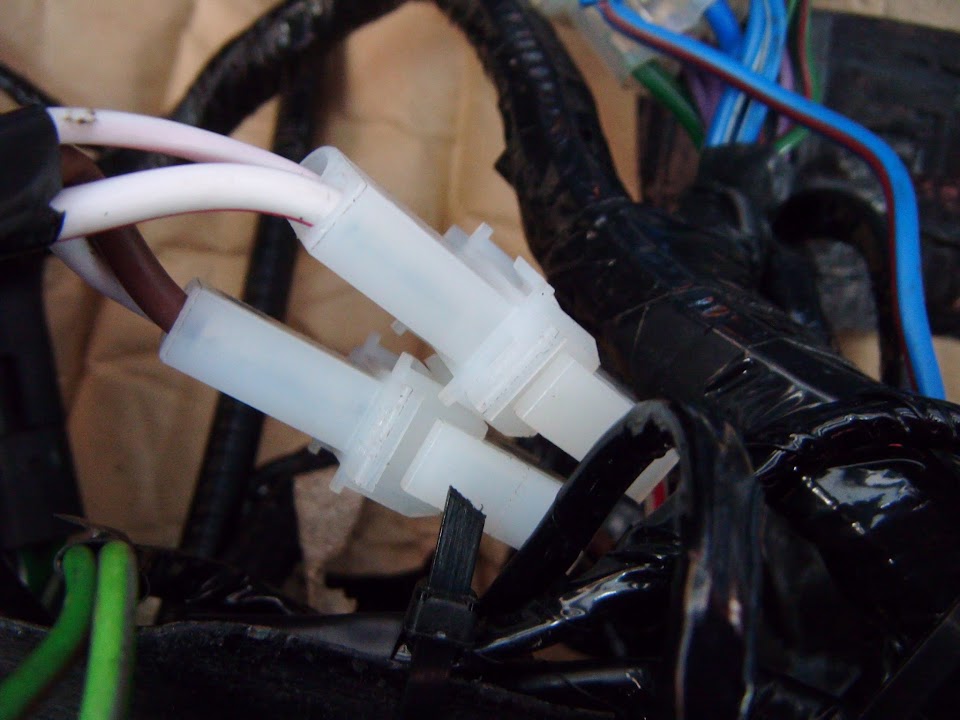
Fix the mis-matched ignition wiring connection
I went through my various electrical "spares", but could only find "double" connectors, rather than "fours".
So I simply used two "doubles", although this first photo is blurred.
Note:
The front indicator was there to remind me which way round the connectors needed to be wired.
With both ends changed, the ignition wires could be joined and tucked up out of the way with the rest of the loom.
- - - - - - - - - - - - - - - - - - - - - - - - - - - - - - -
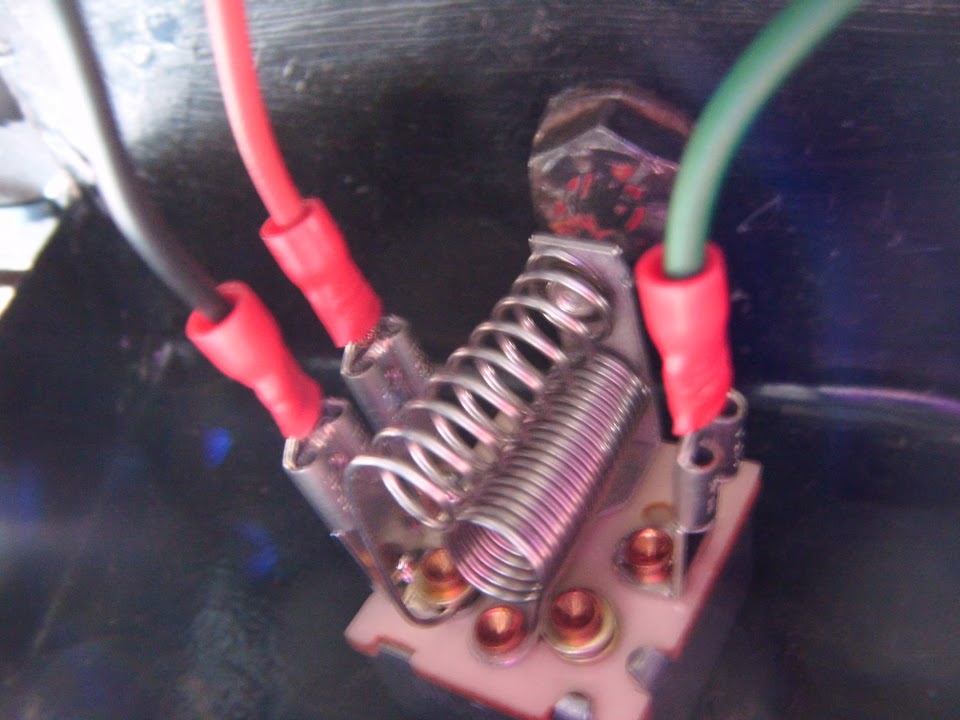
Sort out the wiring for the heater fan speed switch
I needed to join up the wires from the loom, the wires from the heater and some earth wires.
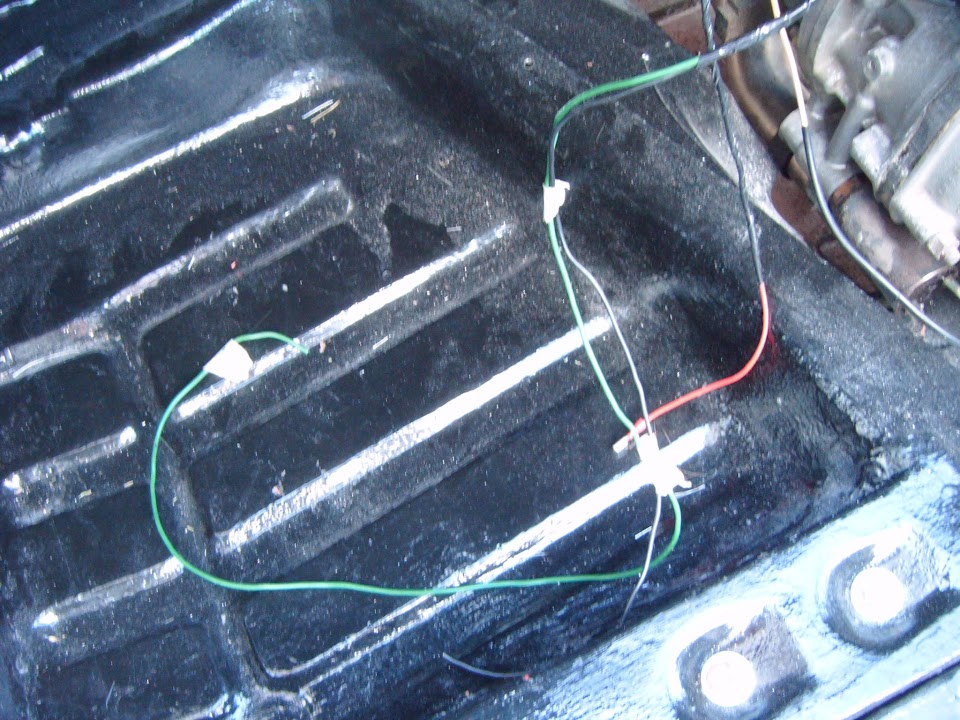
Once I had shortened everything to the right size and added the appropriate connectors, it was time to fit the switch.
At which point, my second problem of the day appeared, which was a mis-match between the fixing holes in the panels.
( Two small holes for locating pins and one big hole in the middle. )

After spending some time hand filing the gap to fit, I then realised I actually needed a bigger hole.

Once that had been sorted out, the switch could be fitted with ease.


And then wired up.
I also drilled a small hole in the metal dash board support for the three earth leads.
( Main loom, heater & heater switch. )

- - - - - - - - - - - - - - - - - - - - - - - - - - - - - - -
Attach end of choke cable to carbs
The most straight forward job of the day.

- - - - - - - - - - - - - - - - - - - - - - - - - - - - - - -
End of Part 1...