Time for a small update from the last few weeks....
I had an issue with the original donor car's front hubs that came with my kit. They had a lot of play in the bearings and changing the bearings (twice!) made no improvement. My conclusion is that the hub casings had become oval through accident damage. My Sabre kit was started in 1994 and the donor Sierra was registered in 1992 supporting the hypothesis that it was an accident damaged donor. I have bought some brand new hubs that are not genuine Ford parts but have been manufactured using Ford tooling.
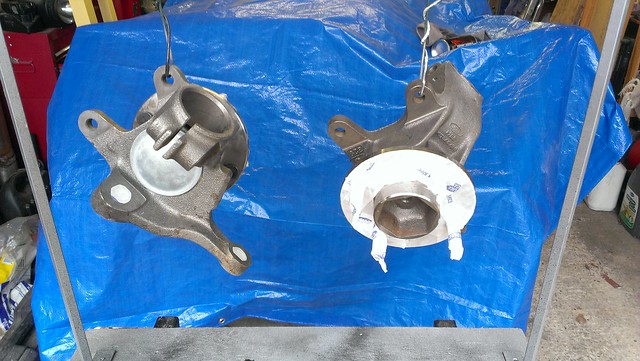 New front hubs 1
 by
Sabrebuilder, on Flickr
They were then given three coats of chassis black to prevent rusting...(which at my rate of build is quite likely!!)
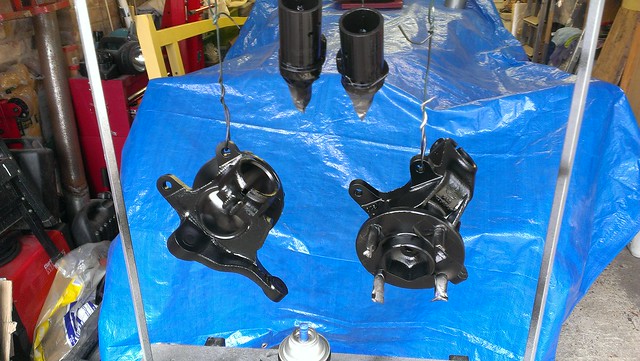 New front hubs 2
 by
Sabrebuilder, on Flickr
And here they are fitted...
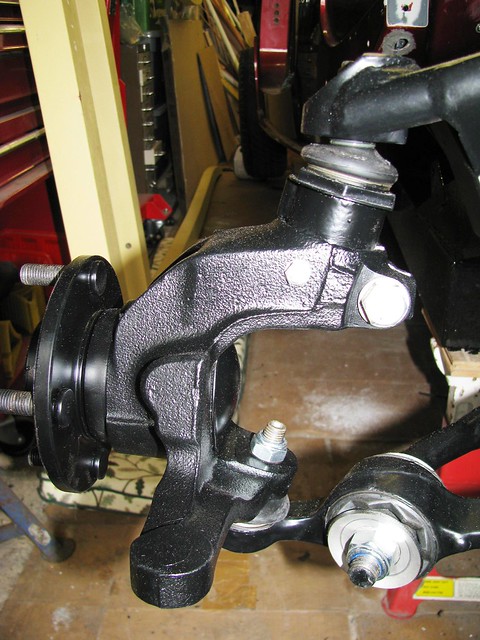 New Front Hubs
 by
Sabrebuilder, on Flickr
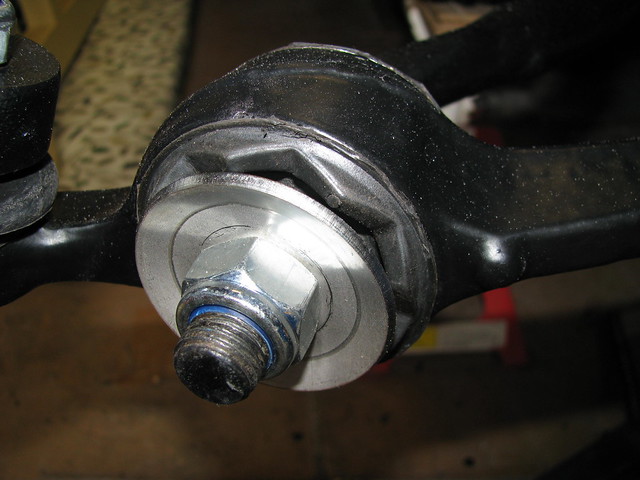
The front hubs and ball joint adaptors were drilled to take an m6 retaining bolt. This is to prevent the adaptor coming out of the hub if the m10 fixing bolt should become loose. This is an IVA requirement.
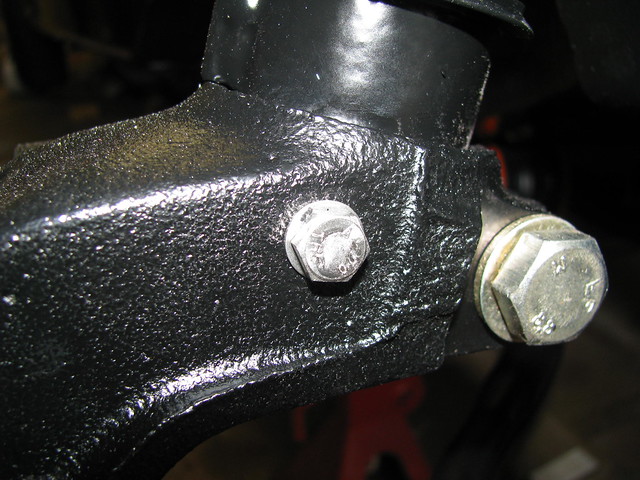 Front HUB - IVA fix
 by
Sabrebuilder, on Flickr
I've reverted back to the original design of the ARB rubber bushes as recommended by Ford. Ford issued a Technical Bulletin stating that the so called Heavy Duty bushes should not be used. According to Ford the original bushes were designed to distort and change the suspension geometry under heavy braking. ( I have also fitted some nice looking stainless steel washers available on ebay.)
 ARB bushes and washers
 by
Sabrebuilder, on Flickr
I noticed that when I stripped down the suspension the original silicon grease had dried out and the bushes and ARB were stiff, so during re-assembly I used this PTFE loaded silicone grease.
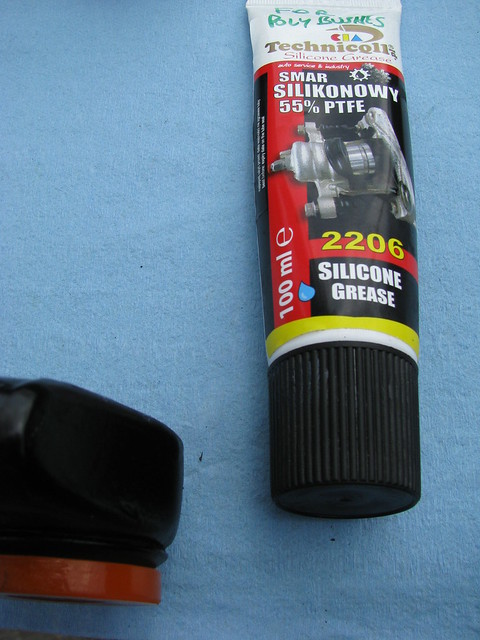 Polybush grease
 by
Sabrebuilder, on Flickr
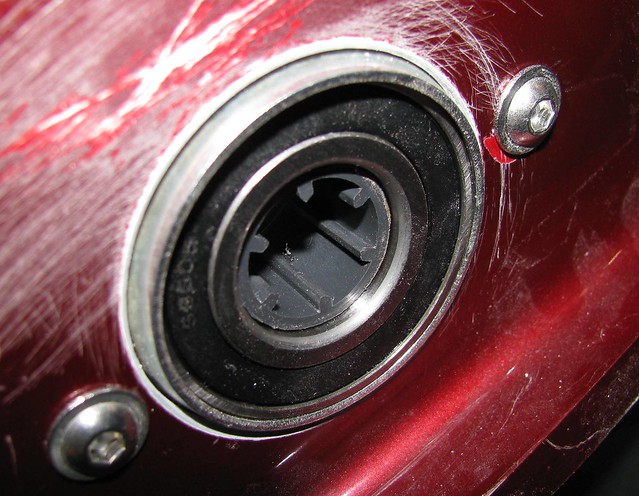
It is a well documented upgrade on Ford based kit cars (and TVRs) to replace the Ford plastic steering column bush with a 'proper' bearing. This pressed steel housed bearing from Simply Bearings is commonly used.
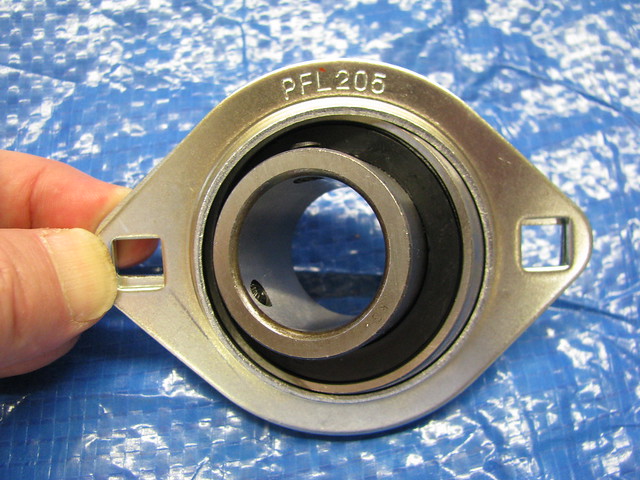 Steering column bearing
 by
Sabrebuilder, on Flickr
The first step is to fit the triangular plastic part from the Ford bush to the bearing and fix it in place with the two grub screws.
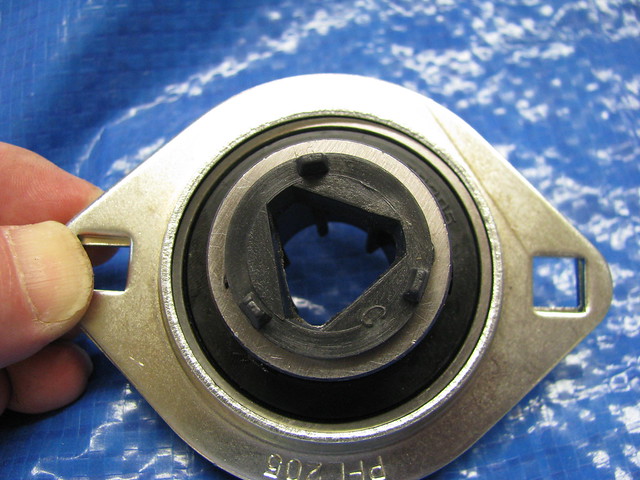 Steering column bearing
 by
Sabrebuilder, on Flickr
I needed to open up the bush hole in the body to match the new bearing. I made up this alignment tool made from a scrap of mdf and a socket the same diameter of the existing hole.
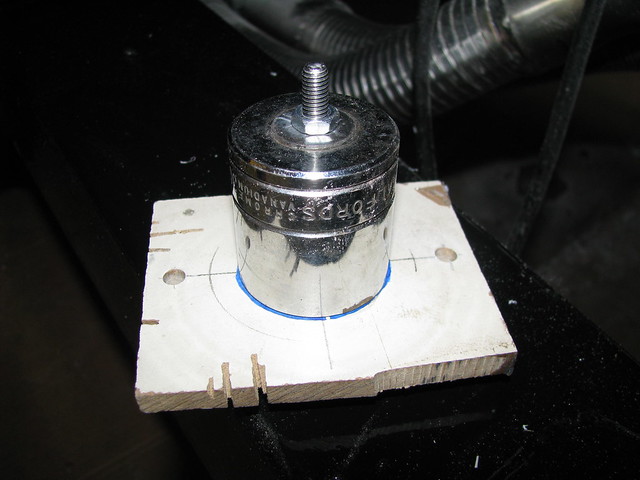 Steering column bearing
 by
Sabrebuilder, on Flickr
The alignment tool was first inserted in the existing hole and the two mounting holes where drilled through the bulkhead.
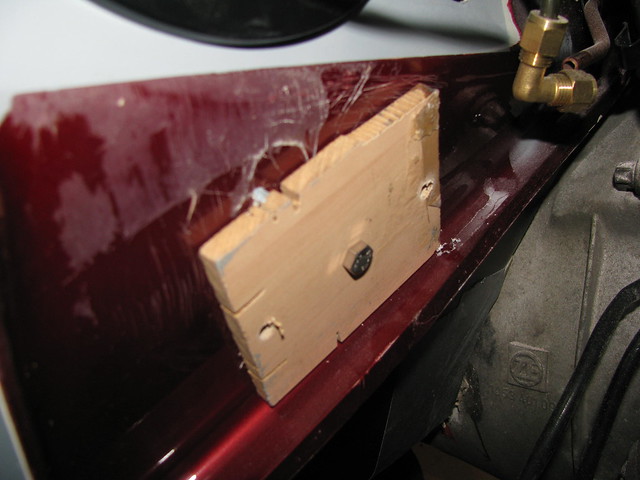 Steering column bearing
 by
Sabrebuilder, on Flickr
The MDF template was then bolted to the inside of the bulkhead
 Steering column bearing
 by
Sabrebuilder, on Flickr
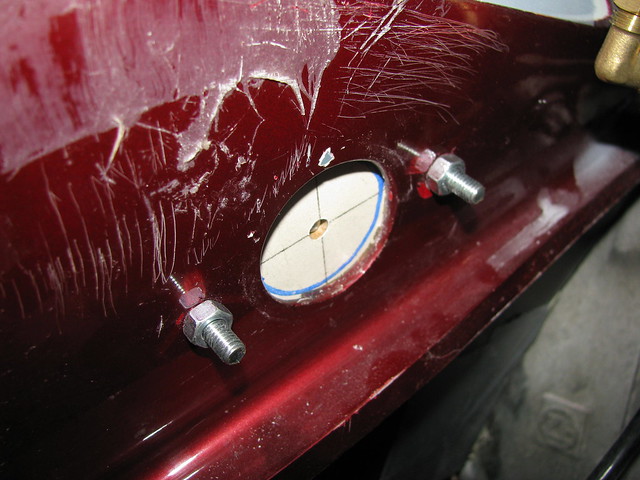
I then used a hole saw to cut the larger hole concentric with the original.
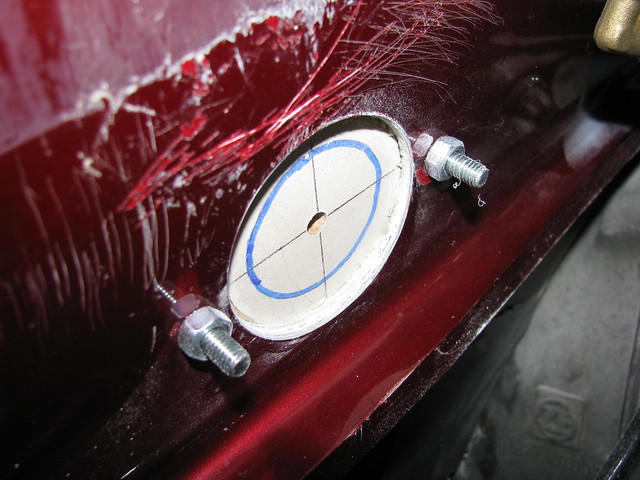 Steering column bearing
 by
Sabrebuilder, on Flickr
Bearing mounted loosely initially to allow the bearing to take up its natural angle.
 Steering column bearing
 by
Sabrebuilder, on Flickr
New bearing from inside the car. Nylock nuts will be used on final assembly.
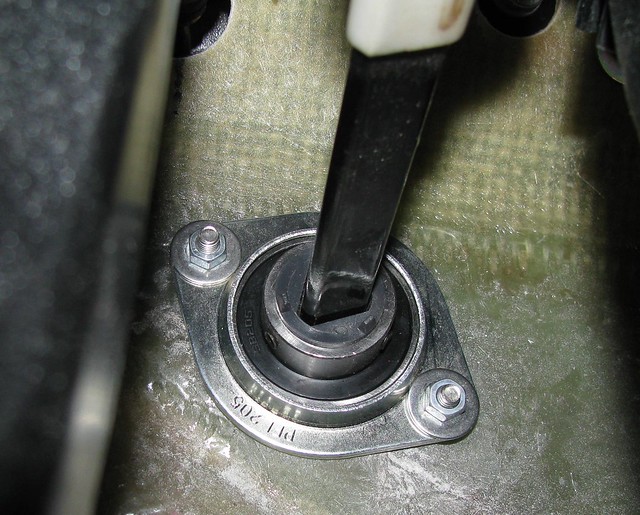 Steering column bearing
 by
Sabrebuilder, on Flickr
Next on the list is to finalise the steering column and couplings.......
....peter