Molleur – My apologies, after re-reading my last post I realise I should have been clearer…
When I wrote ‘trim’ the bottom corners of the plywood, I actually meant ‘round off’ the bottom corners.
As these bottom corners are definitely trying to poke though the leather at the moment.

So I will be taking my angle grinder to the plywood at some point to fix that little issue.
(All the other edges of the plywood were sanded smooth after I cut the shapes out.)
Effectively, the shape of the leather, when fully sewn up, now determines the final shape of the plywood.
Which means the final headrest will not actually be a perfect match to the original cardboard template.
But,
hopefully, the shape will still be close enough and that is certainly good enough for me.

Based on what I learnt from making this first one, I am going to make one key change for the second…
As I’ve decided to join the two edge pieces at
both ends before I start sewing them to the face.
I need to be very careful about how I measure the length of material required, but it
should work.

This will also allow me to position the two edge joins symmetrically along the bottom of the headrest.
As I messed up the position of these joins along the bottom edge of the passenger side.

This was mainly due to the fact I forgot that both edge pieces had extra length added to them for ‘pinning’.
(So I shouldn’t have joined them together the first time at the very ends/edges of the leather.)
Unfortunately, I only remembered this after spending a long time sewing and I couldn’t face starting again.
The good news is that very few ‘normal’ people will ever notice the difference in the real world.
And anyone who wants to point out this design fault in the headrest will be told where to shove their own head.

Finally, I went through my original build thread to check how I joined the passenger hump to the bodyshell.
I’d forgotten that it took me two attempts to get the fixing brackets lined up properly at the bottom.

Which accounts for the surplus holes in the face of the hump.
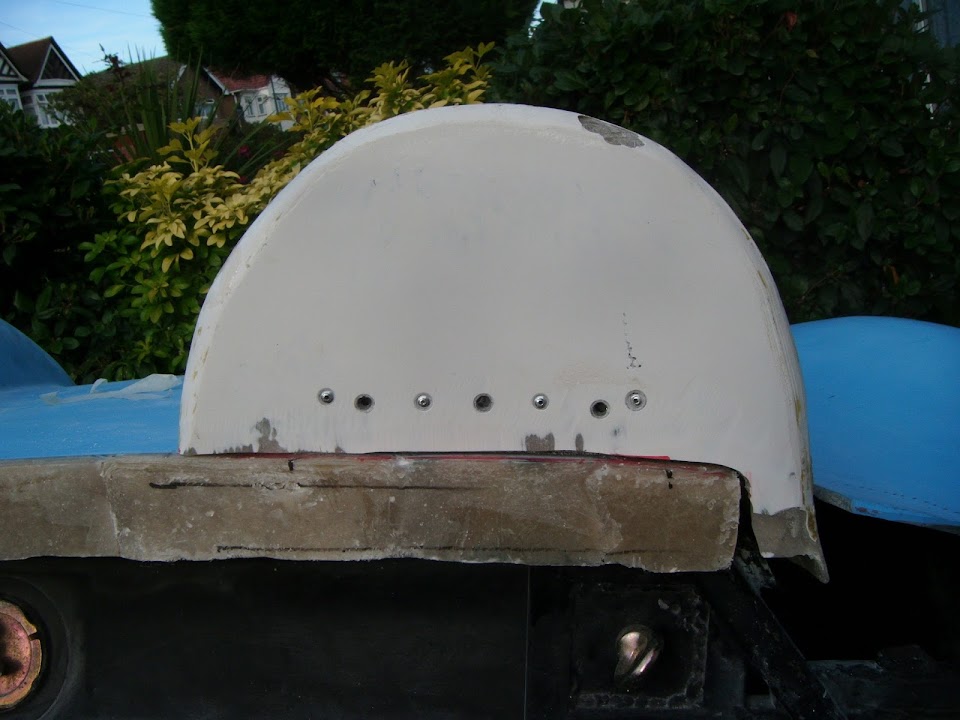
Thankfully, there are no brackets behind the upper section of the face where the headrest is going.
At some point I need to do some testing of hole sizes for the ‘fir trees’ in both the plywood and fibreglass.
Luckily, I have plenty of spare stuff to practise with.
Cheers, Paul.

PS
Looking back at all the
Frankenstein cutting and shutting I did on the bodyshell is scary!

Those brackets are either side of the 'scar' left after I cut the whole rear shell in half.
I'd also left a gap in the brackets for the cut through the humps I was planning for the boot.
In fact, I still can't quite believe that I actually got this car on the road at all!