
5th October 2017, 06:05
|
|
Senior Member
|
|
Join Date: Nov 2012
Posts: 845
|
|
 Getting There
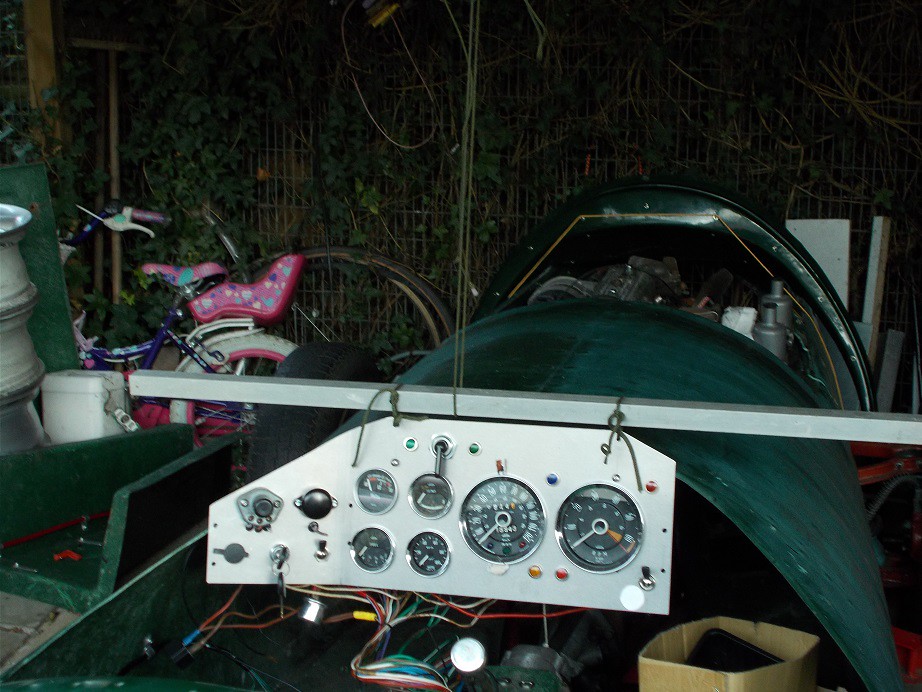
Yesterday I set to with organising fitting the front portion of the loom. I first hung the dash with the loom attached from the cave roof in a close approximation of its final position - where would I be without Paracord! I offered up the section that connects (with a multipin) to the previously fitted rear loom, cut it to length, crimped it together and bound it with self-amalgamating tape. I could see that I'd shortly run out of this tape so whizzed indoors and bought a couple more rolls. Ten metres sounds a lot but it soon vanishes....
Every wire now unconnected runs forwards so I popped everything back on the bench and began organising them into two sets. The first and larger part will service the lights; indicators; horn; water and oil gauge senders; alternator and starter solenoid. I loosely cable tied these together and lay them out of the way. What remained are those that connected to the now redundant voltage regulator, fuse box and starter solenoid. I unthreaded the thin brown/green and brown/yellow wires which feed the ignition light, cut them to a suitable length and crimped them together. All the remaining thick brown voltage regulator wires have to be joined in a bundle. It was at this point that I remembered that I'd run out of both blue and yellow straight crimp on connectors which I'll also need for the fuse box wires. Another quick sortie to the computer for some Ebay-ing, paying the princely additional sum of 50p for 1c postage should ensure their arrival today.
As I'd reached an impasse on the wires themselves I dug out the remains of my galvanised 1mm steel sheet and cut some sturdy P clips to locate the chunky section of loom which will run forwards on the side of the passenger footwell. That was it for the day 
Regards, Mick
Last edited by Mick O'Malley; 8th November 2017 at 06:31..
|


 Threaded Mode
