|
|
| Tribute Automotive Builds Discuss your Tribute kit build |

17th September 2013, 19:48
|
 |
Senior Member
|
|
Join Date: Oct 2010
Posts: 1,622
|
|
Quote:
Originally Posted by fatbloke

Quick question guys, for those who have made the convertible. Have you put filler across between the Frankenstein bolts to raise the body work up to the same height as the kit or left the original panel there and worked around it?
|
I feathered the filler out behind the Frankensteins on the demo car. Post up a pick for me to look at. |
30th September 2013, 10:14
|
|
Senior Member
|
|
Join Date: Jan 2013
Posts: 429
|
|
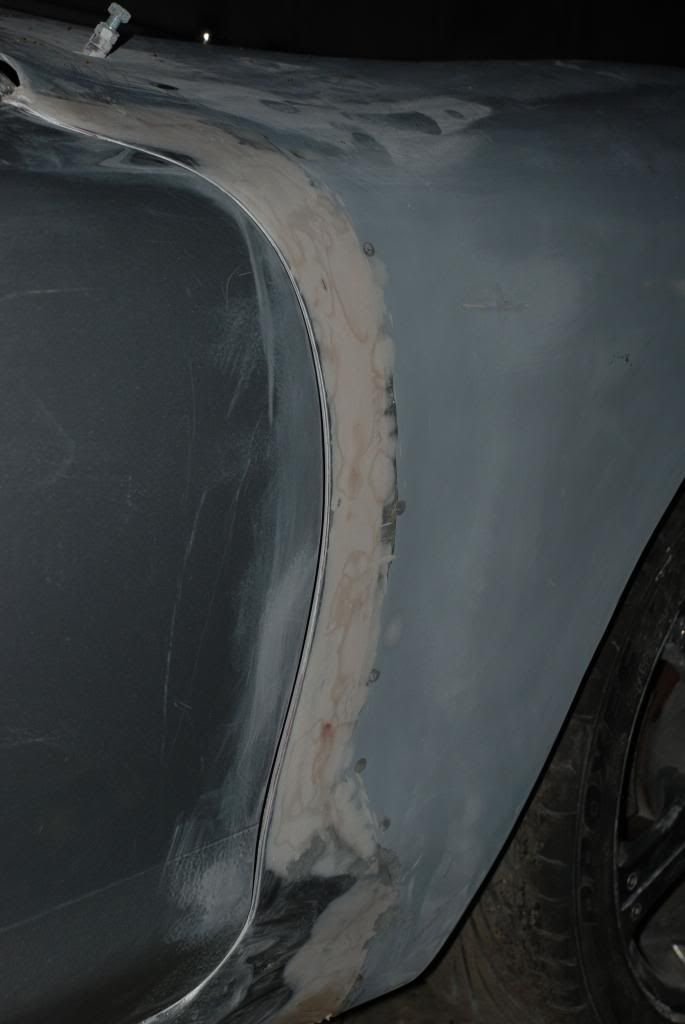
A little help please, the filling is coming along quite well but getting the area between the edge of the cut wings of the kit and the filler I'm using to blend is very tough. It feels smooth but with some paint on there is an obvious lip where the two materials meet.
Any advice on how to make the blend invisible? I'm toying with putting a small vee between the two and then filling again but I wonder if this will just move the join.
Chris - will post pics of the back shortly.
|
30th September 2013, 17:38
|
|
Senior Member
|
|
Join Date: Mar 2013
Location: Coventry and the Limousin
Posts: 549
|
|
I skimmed the whole section with diluted filler. Obviously then requires sanding back and probably more filling.............
|
1st October 2013, 08:17
|
|
Senior Member
|
|
Join Date: Jan 2013
Posts: 429
|
|
Thanks, I'll give it a try.
|
3rd October 2013, 20:13
|
|
Senior Member
|
|
Join Date: Oct 2010
Posts: 1,622
|
|
Quote:
Originally Posted by fatbloke
A little help please, the filling is coming along quite well but getting the area between the edge of the cut wings of the kit and the filler I'm using to blend is very tough. It feels smooth but with some paint on there is an obvious lip where the two materials meet.
Any advice on how to make the blend invisible? I'm toying with putting a small vee between the two and then filling again but I wonder if this will just move the join.
Chris - will post pics of the back shortly.
|
Hi Patrick.
Sorry for the delay, been away for a short break. I will give you a call on Friday with some pointers. |
13th October 2013, 17:47
|
|
Senior Member
|
|
Join Date: Jan 2013
Posts: 429
|
|
Not posted for a while but thought it time for an update. Sorted some electrical problems, turned out to be a dodgy relay, so now the side lights work.

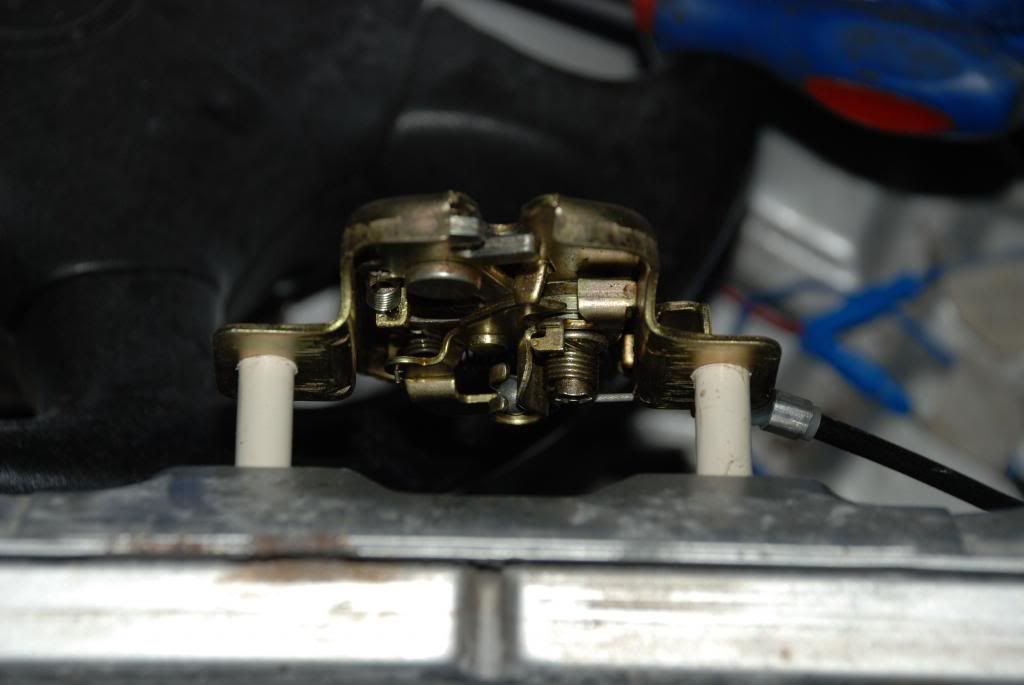
Fitted the boot lock with some extension tubes (note to self, check the mechanism isn't stuck before shutting the boot).
After some advice from Chris more filling and sanding on the wing joints and they're pretty smooth now.
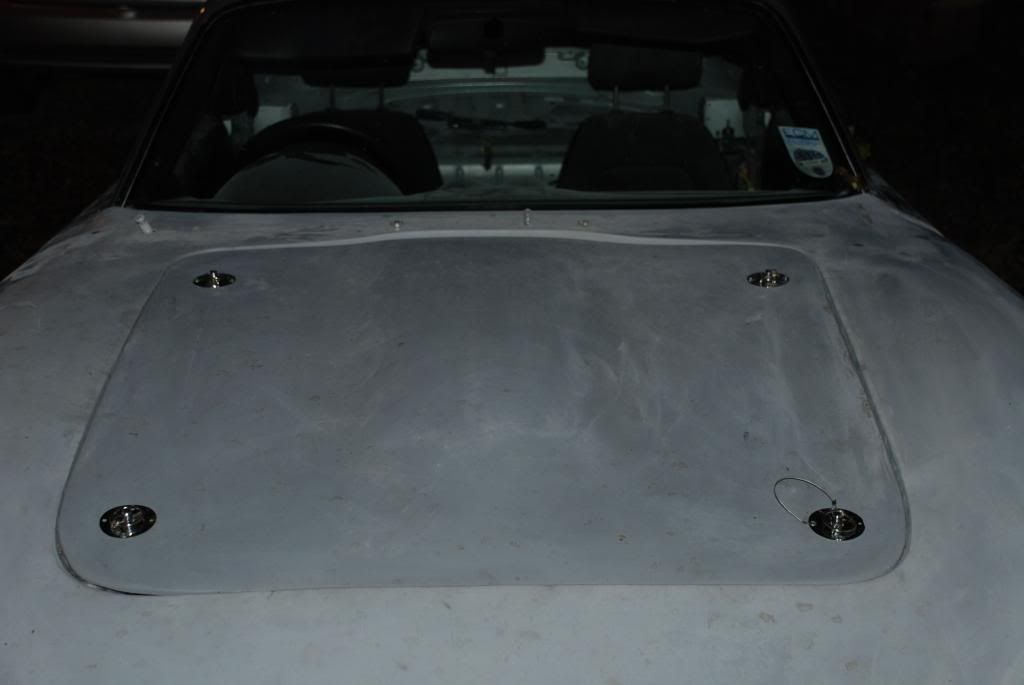
Bonnet pins fitted.
and wheels freshly powder coated.
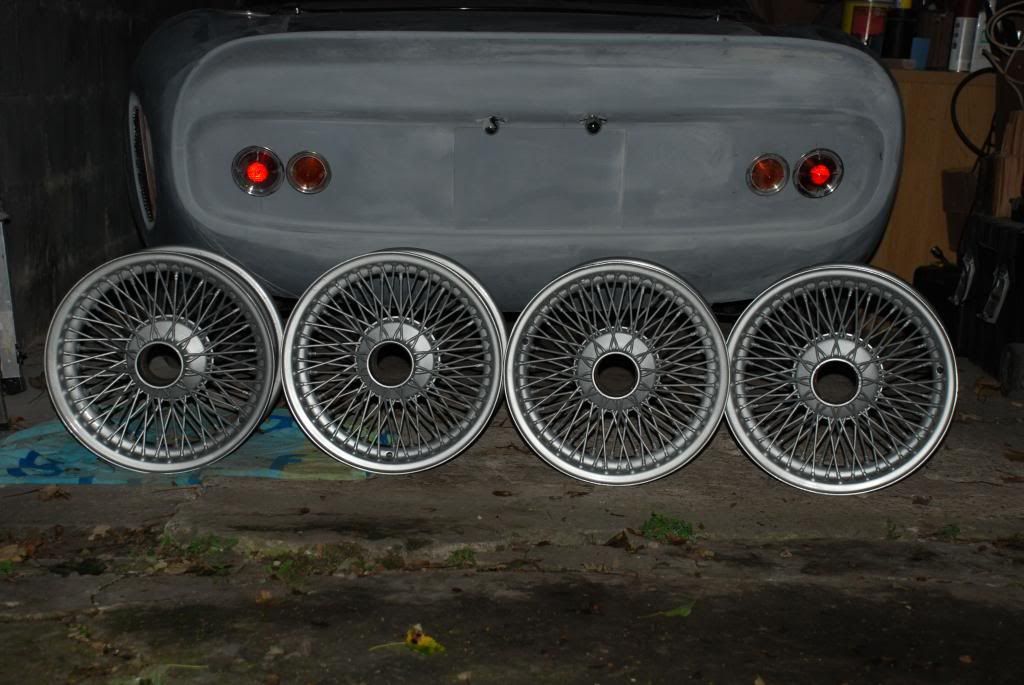
More filling and sanding over the next few weeks until I can get the cash for the hub adapters and exhaust and then, hopefully, on the road in the New Year.
Last edited by fatbloke; 13th October 2013 at 17:51..
|
13th October 2013, 20:31
|
|
Senior Member
|
|
Join Date: Jun 2011
Location: birchington, kent
Posts: 1,769
|
|
Love the rear lights, wheels look great too. Coming along very well...
|
13th October 2013, 20:47
|
|
Senior Member
|
|
Join Date: Oct 2010
Posts: 1,622
|
|
I agree, all looking lovely. Can't wait to see those wheels in place Patrick.
|
25th October 2013, 20:36
|
|
Senior Member
|
|
Join Date: Jan 2013
Posts: 429
|
|
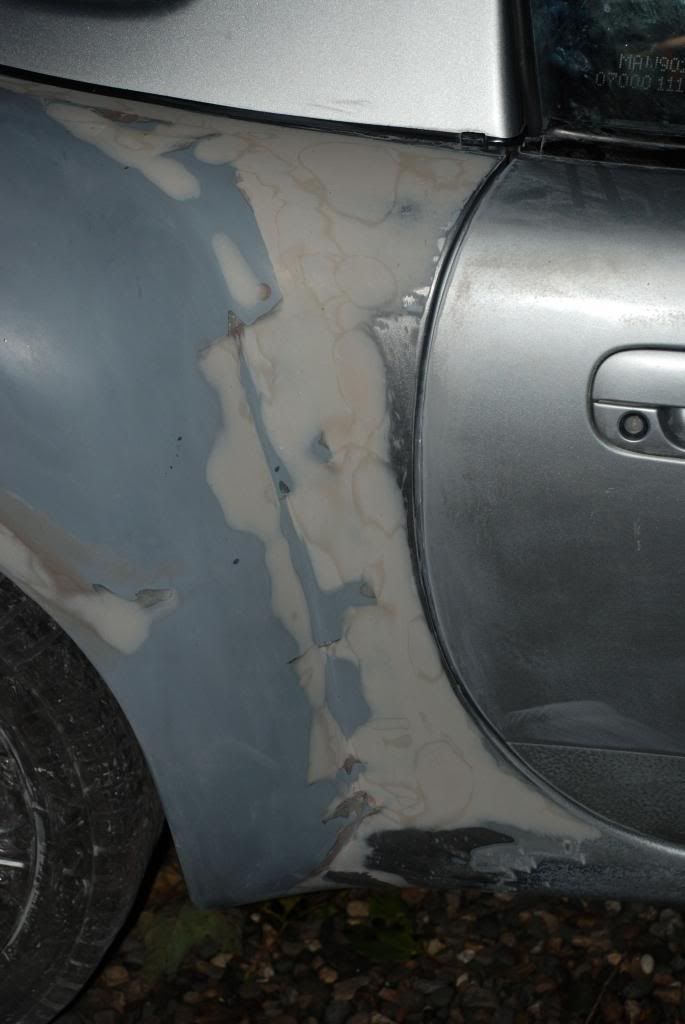
Amazing how a bit of primer can help you see how you're doing. Also makes you realise how much you still have left to do.
[IMG] 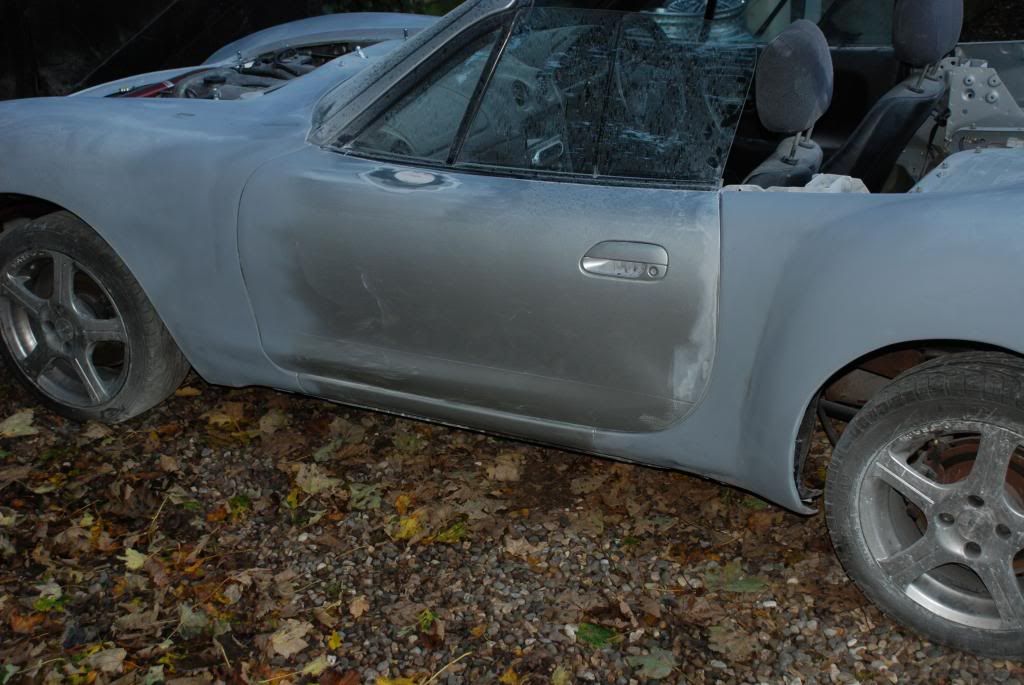 [/IMG]
[IMG] 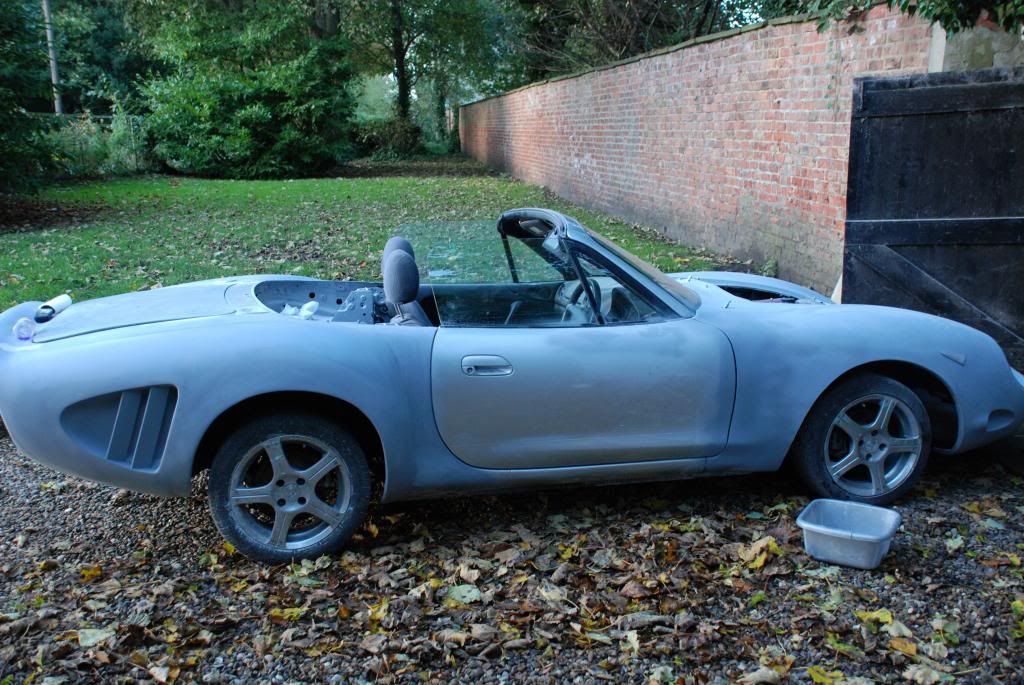 [/IMG] |
25th October 2013, 21:22
|
|
Senior Member
|
|
Join Date: May 2013
Posts: 2,161
|
|
Nice going F.B. starting to look GOOD!!
|
27th October 2013, 15:13
|
|
Senior Member
|
|
Join Date: Jan 2013
Posts: 429
|
|
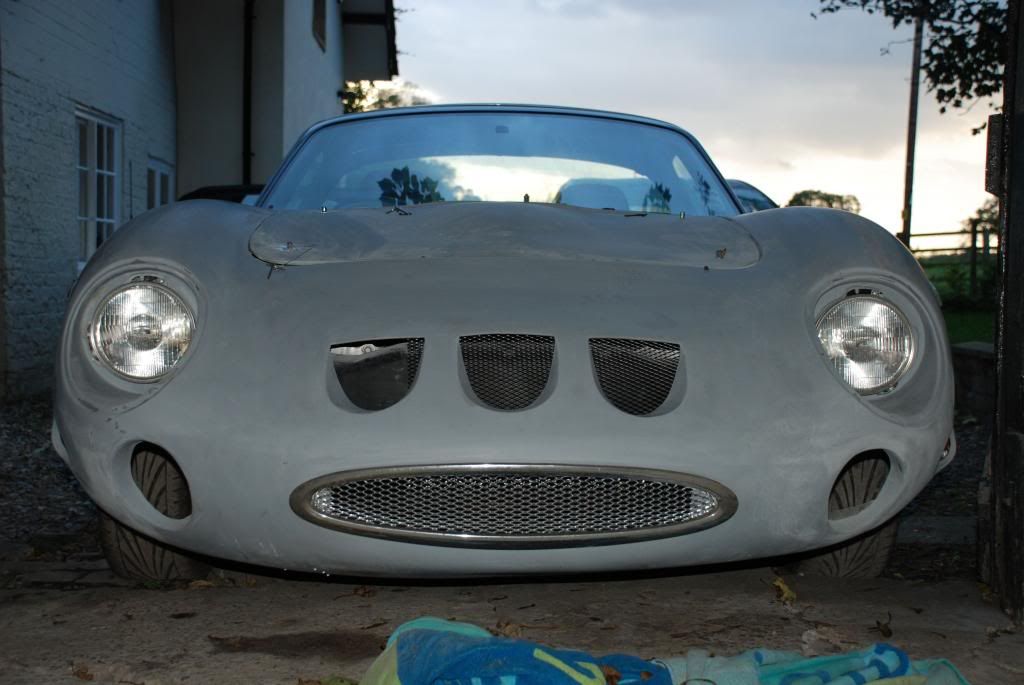
Little things really do make a difference. Fitted some mesh into the old Mondeo grill and bolted it in place. Starting to look like a car now.
 |
14th December 2013, 20:01
|
|
Senior Member
|
|
Join Date: Jan 2013
Posts: 429
|
|
Took the cam cover off to paint it and now the bloody thing won't start. AAARRRGGGHHH!
|
30th December 2013, 13:37
|
|
Senior Member
|
|
Join Date: Jan 2013
Posts: 429
|
|
Anyone considered putting wider wheel arches on the front of their MX? Just wondered if it might help the proportions a bit.
|
30th December 2013, 13:48
|
|
Senior Member
|
|
Join Date: Nov 2011
Posts: 3,558
|
|
Where did you get the wheels powder coated, any issues and what did it cost?
I have 4 spare wires in the garage waiting to be powder coated in the new year.
|
30th December 2013, 14:04
|
|
Senior Member
|
|
Join Date: Jan 2013
Posts: 429
|
|
Got them done at a local company in Hull. What I didn't know was that the previous owner had let the chrome get a bit crappy so when the guy blasted them the surface wasn't so good. They're okay from a distance but not so good close up. Should have been £160 but because he wasn't happy with the finish let me have them for £120.
Can't remember the name of the company but probably a bit too far North for you.
|
30th December 2013, 16:00
|
 |
Senior Member
|
|
Join Date: Feb 2012
Location: Wembley, London
Posts: 5,056
|
|
fatbloke - Your car seems to be coming together nicely. 
Is there any chance you could take a photo of how these bonnet pins are fitted/mounted?
Also what did you have to do to seal this bonnet panel?
I'm just looking for ideas for a possible boot area on my Cordite kit.
Cheers, Paul. 
|
30th December 2013, 19:59
|
|
Senior Member
|
|
Join Date: Oct 2010
Posts: 1,622
|
|
Quote:
Originally Posted by fatbloke
Anyone considered putting wider wheel arches on the front of their MX? Just wondered if it might help the proportions a bit.
|
Have a look at our old Mk2 unfinished demo car:
http://www.madabout-kitcars.com/foru...?t=3724&page=2
We made a mould, so we can make you a pair of the arches to graft on. |
31st December 2013, 12:51
|
|
Senior Member
|
|
Join Date: Jan 2013
Posts: 429
|
|
My solution for the bonnet pins wasn't very subtle. I bolted some steel bar across the engine bay and drilled through. They are out of the way of all bits of the engine I need to get at and will unbolt if they're in the way.
[IMG] 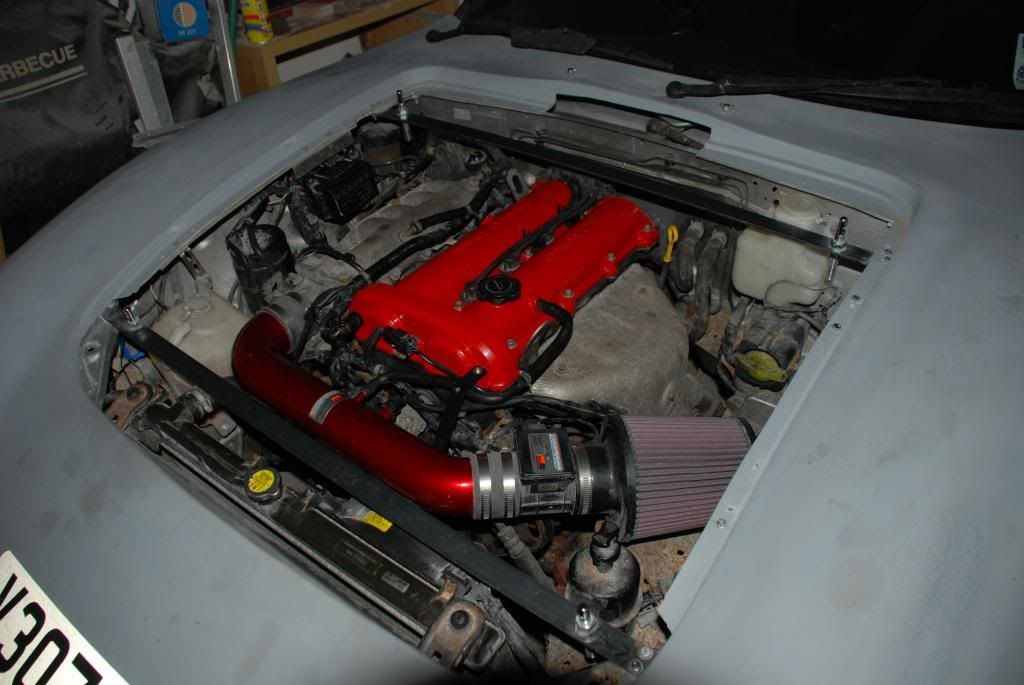 [/IMG]
Not sure how to seal it yet, was thinking or trying the sort of self adhesive draft excluder you use on windows as it's not too thick so will compress under the bonnet but should give a good seal.
Chris - can you drop me a PM on the cost for the arch extensions. Thanks, Patrick |
31st December 2013, 13:24
|
|
Senior Member
|
|
Join Date: Feb 2012
Location: Wembley, London
Posts: 5,056
|
|
Thanks for the photo & explanation. |
16th January 2014, 09:26
|
|
Senior Member
|
|
Join Date: Jan 2013
Posts: 429
|
|
Wish me luck boys and girls as my cars goes off to the garage tomorrow to get the motor running (think I've jumped the timing belt) have some welding work done (an MX5 with rust? Never!) and then an MOT.
All things being equal this means the beastie could/should/will be on the road shortly, albeit with narrow wheels.
|
|
Currently Active Users Viewing This Thread: 1 (0 members and 1 guests)
|
|
|
 Posting Rules
|
You may not post new threads
You may not post replies
You may not post attachments
You may not edit your posts
HTML code is Off
|
|
|
All times are GMT +0. The time now is 23:12.
|


 Linear Mode

