|
|
| Sammio Builds and discussions Sammio bodied car builds and specials |

8th February 2014, 22:03
|
 |
Senior Member
|
|
Join Date: Aug 2012
Location: Teesside
Posts: 234
|
|
Quote:
Originally Posted by Mister Towed

Very nice indeed, thanks for posting that. Wonderful to see your actual D24 taking centre stage on the podium. Where and when was that exposition?
|
Rétromobile in Paris (last week), picture was on Classic Car and Sport Car website, Lukas Hüni's dedicated Lancia display.
http://www.classicandsportscar.com/n...stuns-in-paris
Another page is http://www.lefigaro.fr/automobile/20...etromobile.php sorry its in French. |
9th February 2014, 16:15
|
 |
Senior Member
|
|
Join Date: Jul 2011
Posts: 5,328
|
|
Quote:
Originally Posted by mas123mas
sorry its in French.
|
Pas de probleme  |
16th February 2014, 14:58
|
|
Senior Member
|
|
Join Date: Jul 2011
Posts: 5,328
|
|

Nice sunny wind free day today - to be fair we've been luck enough to miss the worst of the weather here in East Anglia anyway - but I thought I'd make a start on one or two of the little fettling jobs that I should really have addressed when I built the car in the first place. 
First job is a drain for the battery tray which fills up with water in the rain. I didn't really have a plan, instead I just hunted round the garage for anything I thought I could use.
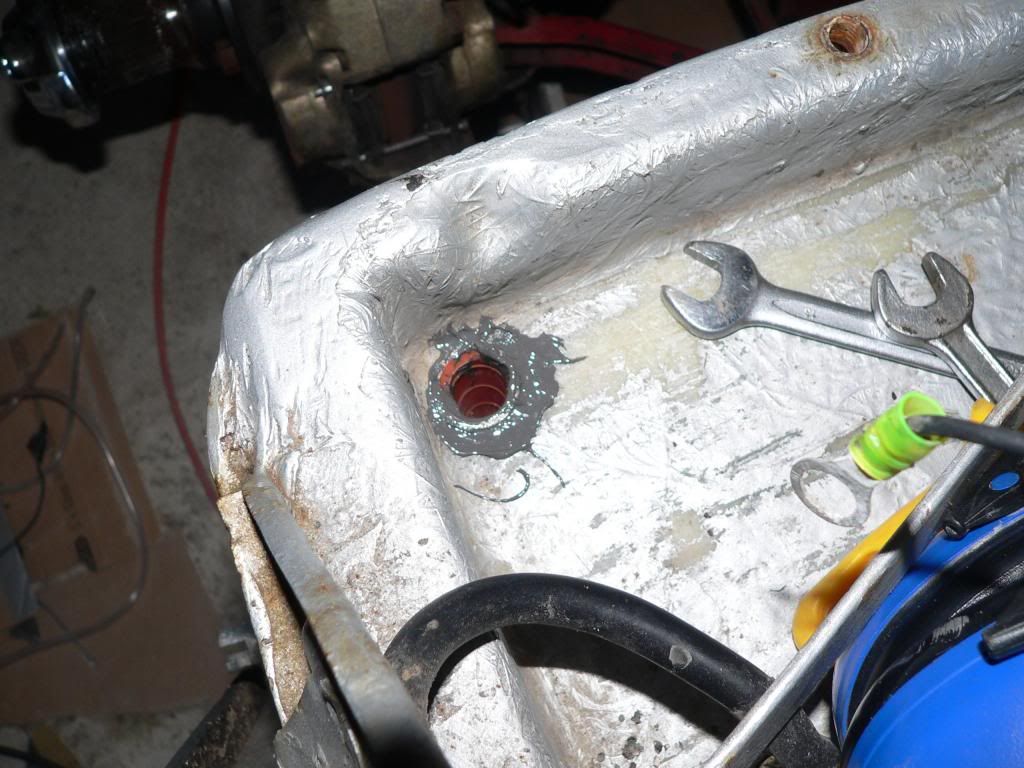
So, hole drilled through the tray into the passenger footwell -

Then cut an orange plastic funnel down to fit the hole and bonded it in -
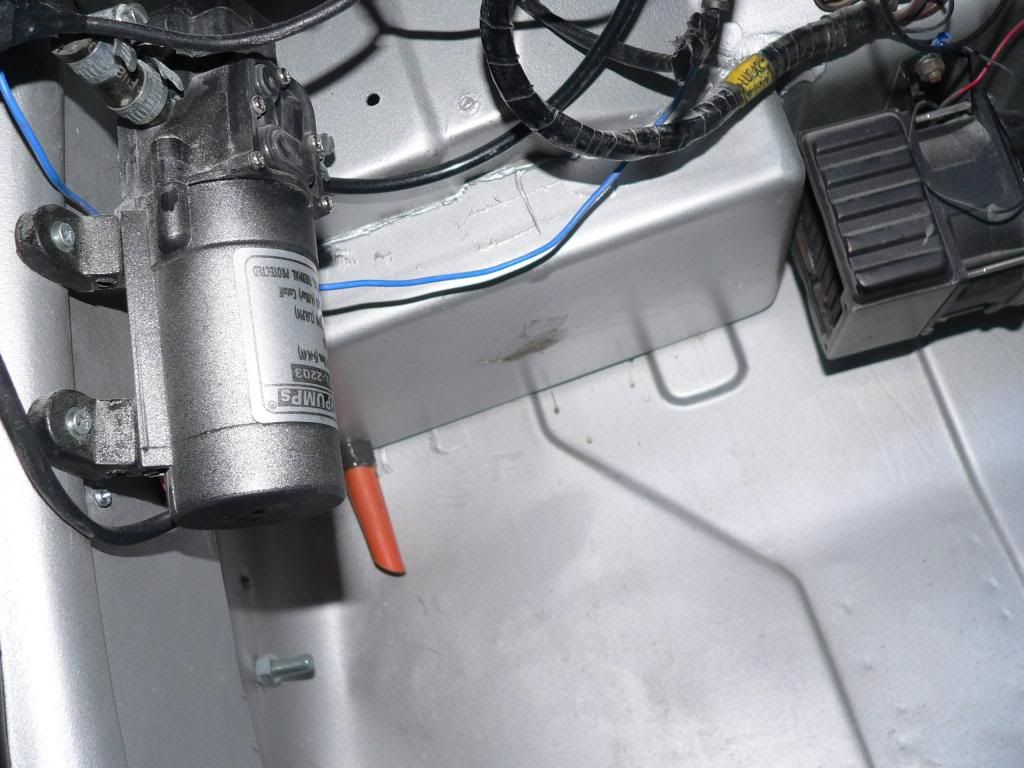
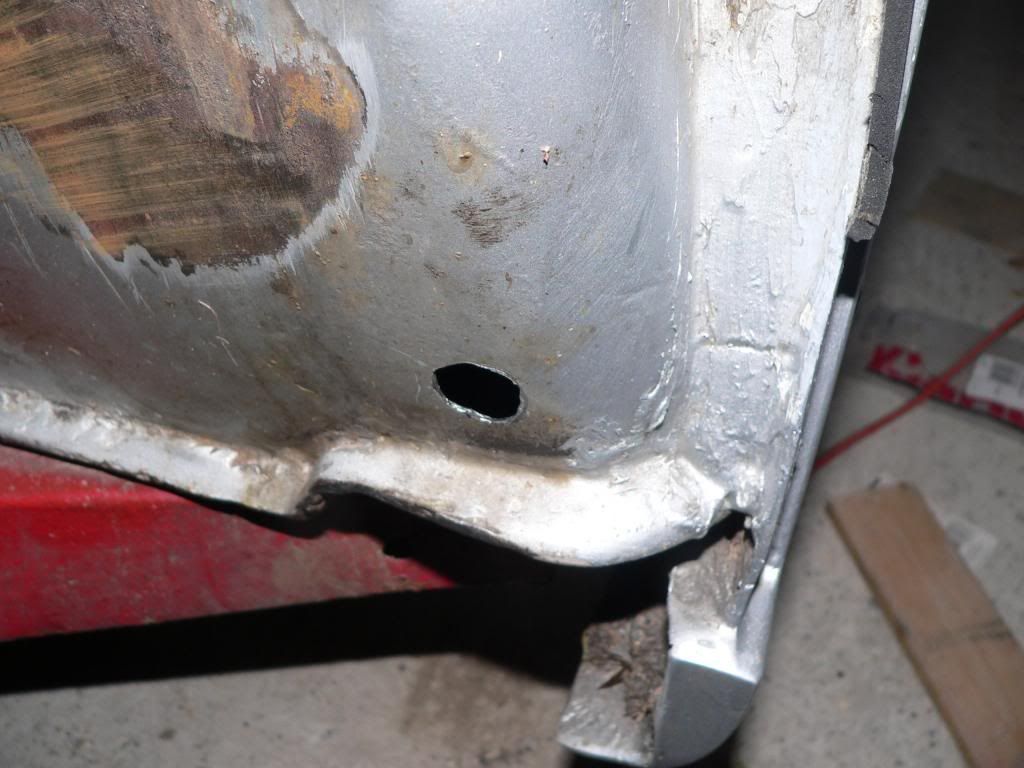
Next I cut a similar hole in the bulkhead where it won't be fouled by the tyres for a tube to take the water back to the road -

Still waiting for the bonding paste to set so I can connect the whole thing up but it's looks like it'll do the trick.
Interestingly, if you look at the last pic you'll see where the taller profile tyres have been scuffing the paint off the front bulkhead. Next job will be to set to with a blowlamp and lump hammer to give a little clearance, then give the bulkheads another coat of silver smoothrite once it's all cooled down. I have a few days off coming up at the end of the week so I should be able to tackle that job then.

|
16th February 2014, 15:18
|
|
Senior Member
|
|
Join Date: May 2013
Posts: 2,161
|
|
I know a song about bulkheads..........
I thought a lump hammer would sort out my problems too!
Hope you don't have to be as drastic as I did!
|
16th February 2014, 18:58
|
 |
Senior Member
|
|
Join Date: Feb 2012
Location: Wembley, London
Posts: 5,056
|
|
Mr T - Good to see you are still one step ahead of me, so I can follow your lead.
I've got the hole/drain in the battery box, but hadn't worked out the best place for the water to leave the bulkhead.
Good luck, Paul.
PS
I've also just noticed how you have earthed your micro heater to its own mounting point, so there is another idea I can "borrow". 
|
18th February 2014, 16:06
|
|
Senior Member
|
|
Join Date: Jul 2011
Posts: 5,328
|
|
Having shot a few in car videos of runs out in my Spyder, I was a bit pee'd off with the wind rush spoiling the sound quality at anything above a walking pace.
So, my camera now has its very own Cossack hat -
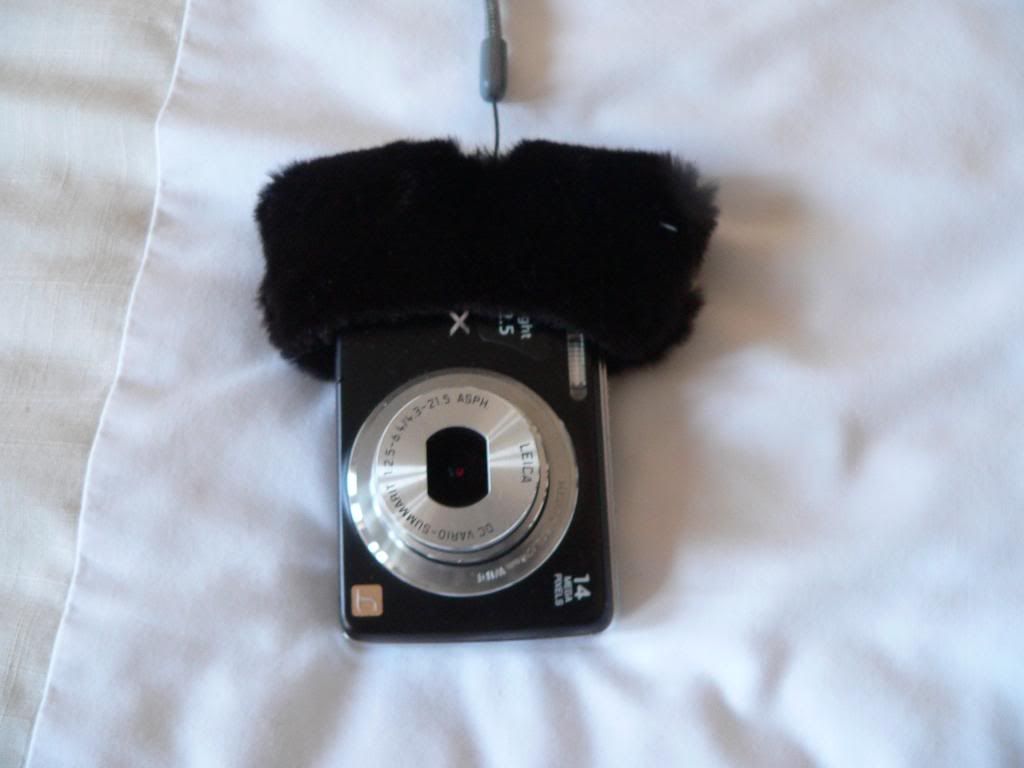
It's a low tech solution to the problem as used by the BBC with their 'dougal' covers for their mike booms, and so long as it stays of the Vodka I'm hoping for a better soundtrack on my next video, which will be when the weather dries out a bit.
Need to get the car back on its wheels first though so I'll be spending a few hours in the garage before work tomorrow.  |
6th March 2014, 15:55
|
|
Senior Member
|
|
Join Date: Jul 2011
Posts: 5,328
|
|
So, finally got round to sorting out a glitch that's been bugging me since I first got my car on the road -
Every now and then I'd turn the key to start the engine and get complete silence in return. No click, no whirring and definitely no engine starting.
This typically happened at petrol stations when there was a huge queue forming behind me for the pumps. I would have to push the car away from the pumps, open the bonnet, bang the starter solenoid with something heavy and try again, while a gloating crowd gathered round the car 
I'd already tried everything I could to fix the issue, including: cleaning up the earth contact; fitting a new solenoid; and even replacing the ignition barrel with a new one, but the fault persisted. Then I asked a chap I know who runs a Vitesse as an (almost) daily driver, and he said 'Oh, they all do that'. Apparently Vitesses, Heralds and Spitfires all suffer from a sticky starter solenoid.
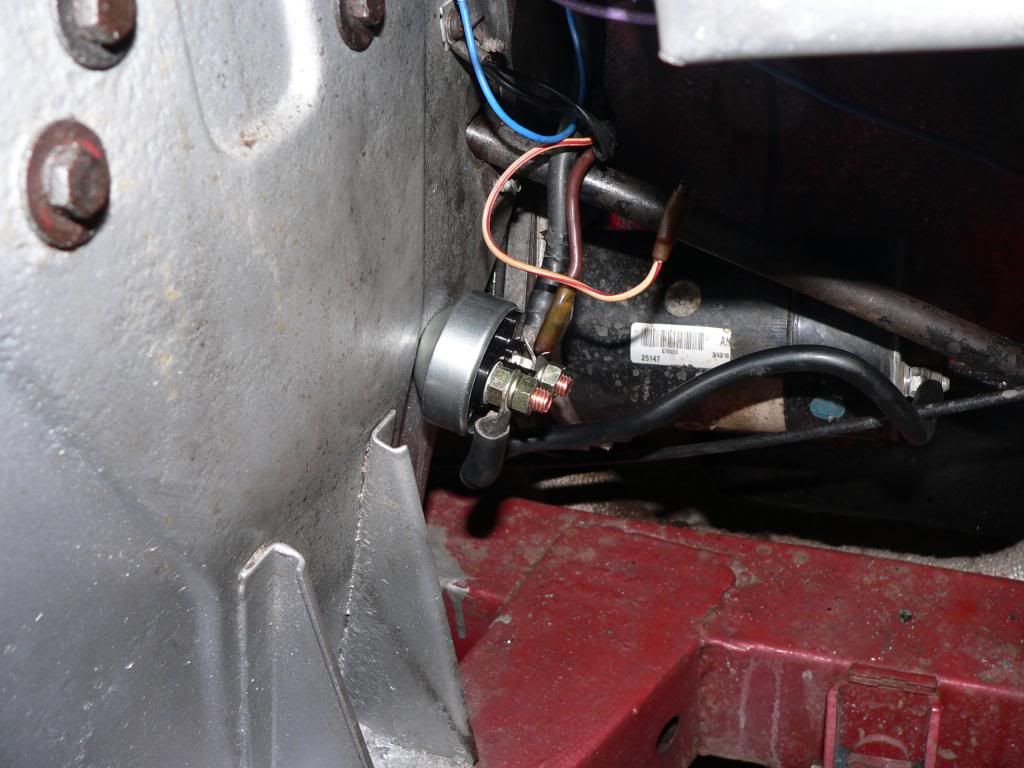
I decided that the best way forward would be to replace the electric solenoid with a manual one and started looking round for something suitable. The series one land-rover turned out to have the perfect solenoid for the job, and I sourced one from ebay for about thirty quid.
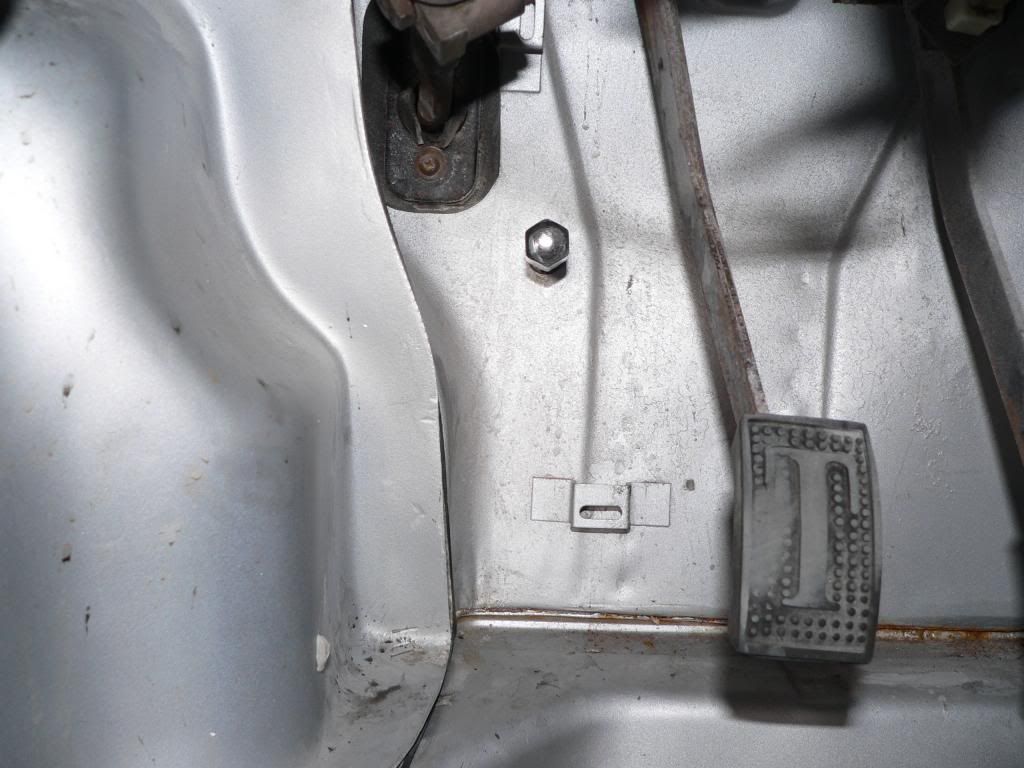
I've mounted it through the bulkhead so it now has a foot operated starter (the shiny thing to the left of the clutch pedal is a wheel nut that I've modified to fit the end of the shaft) -
It was quite a nice afternoon here, so I took my spyder for a blast for the first time this year.

It's running really well despite being laid up since before Christmas and now starts first time every time, so I'm a happy bunny. 
|
6th March 2014, 16:55
|
|
Senior Member
|
|
Join Date: May 2013
Posts: 2,161
|
|
What a brilliant idea Mr T !!!!!
Well done, good thinking.
|
6th March 2014, 17:54
|
|
Senior Member
|
|
Join Date: Feb 2012
Location: Wembley, London
Posts: 5,056
|
|
Mr T - Sorry for being a bit thick, but can you explain how this manual solenoid works?
Cheers, Paul.
|
6th March 2014, 18:05
|
 |
Senior Member
|
|
Join Date: Dec 2011
Location: Devon
Posts: 550
|
|
Quote:
Originally Posted by Paul L
Mr T - Sorry for being a bit thick, but can you explain how this manual solenoid works?
Cheers, Paul.
|
Manually! |
6th March 2014, 18:11
|
|
Senior Member
|
|
Join Date: Feb 2012
Location: Wembley, London
Posts: 5,056
|
|
Cheers froggyman, you are a great help. 

OK, let me re-work the question a bit...
Do you still need to turn the key as normal to give power to this manual switch?
Or is the foot button "live" and could it operate when you are driving along? |
6th March 2014, 18:15
|
|
Senior Member
|
|
Join Date: Jul 2011
Posts: 5,328
|
|
Quote:
Originally Posted by froggyman
Manually!
|
Actually it's footily.
Paul, Instead of an electric solenoid pulling or pushing a contact bar across the terminals to connect the battery positive to the starter motor input, it has a spring loaded plunger that you press in to make the contacts.
http://cgi.ebay.co.uk/ws/eBayISAPI.d...m=221367130599
I suppose I shouldn't have called it a solenoid as really it's just a heavy duty switch, which I've mounted with the plunger through the bulkhead.
It didn't come with a knob of any description for the business end of the plunger, so I screwed a stud into a leftover Triumph wheel-nut, cut it flush with the angle grinder, then drilled and tapped it to accept the threaded end of the plunger.
To start the car you just turn on the ignition with the key, check you're in neutral and press the wheel-nut with your left foot, releasing it when the motor fires. Simple and a bit bonkers, just like the car!
Just read your rephrased question Paul - the starter 'button' is permanently live so it will turn the engine over with the ignition off, or whilst on the move. I only have size 8 feet so I don't foul the switch whilst driving, if you had size twelves you might have a problem, but you'd also have a problem with the Triumph pedals anyway.
Last edited by Mister Towed; 6th March 2014 at 18:17..
|
6th March 2014, 18:20
|
|
Senior Member
|
|
Join Date: Feb 2012
Location: Wembley, London
Posts: 5,056
|
|
Thanks Mr T, I'll add this to my list of questions for my local Triumph specialist.
|
7th March 2014, 18:01
|
|
Member
|
|
Join Date: Dec 2013
Posts: 55
|
|
That sounds like quite a cool anti theft device as well! That's the same position as the MGB main beam headlight switch... always confuses the MOT guys |
14th March 2014, 07:48
|
|
Senior Member
|
|
Join Date: Jul 2011
Posts: 5,328
|
|
Bit of inspiration here for those of you with partially completed builds to GET ON WITH IT!
http://www.youtube.com/watch?v=-0suerSpewo
It really is every bit as exciting just popping to the shops the long way round in a Spyder. |
10th April 2014, 12:16
|
|
Senior Member
|
|
Join Date: Jul 2011
Posts: 5,328
|
|
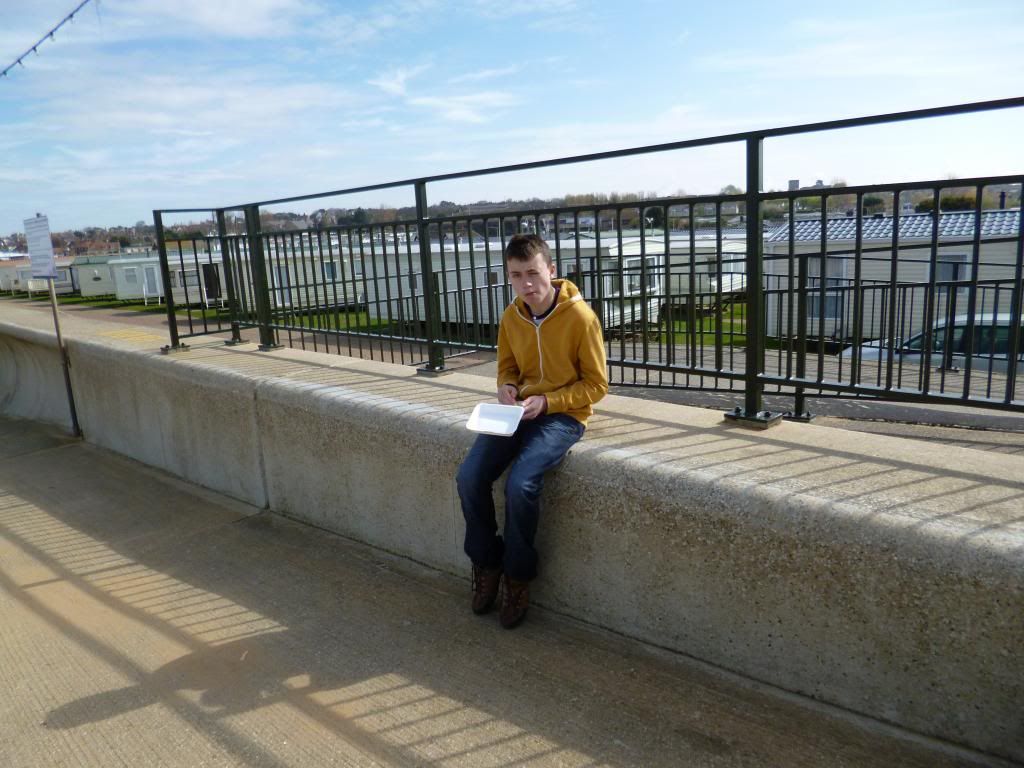
Lovely sunny morning this morning so I took my lad to the seaside -
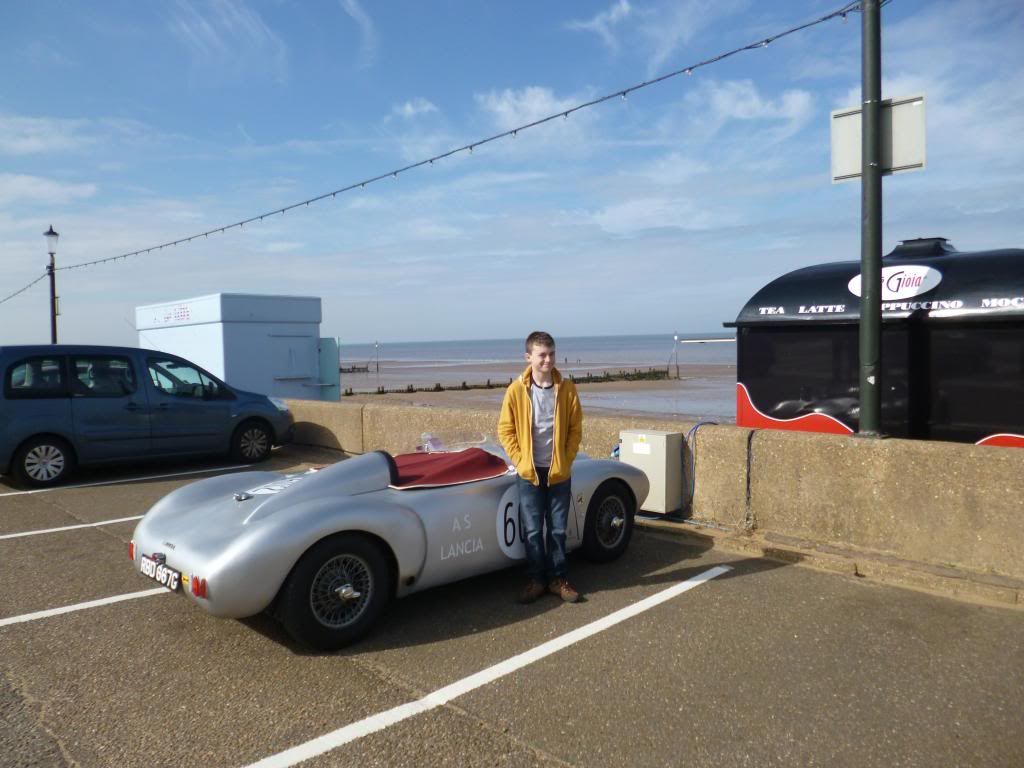
Obligatory chips for lunch, of course -
Car is running faultlessly now that it starts first time every time on the (foot) button. |
10th April 2014, 17:28
|
|
Senior Member
|
|
Join Date: May 2013
Posts: 2,161
|
|
Nice one Mr T!
How long is your car? It looks tiny!!
|
26th April 2014, 16:41
|
|
Senior Member
|
|
Join Date: Jul 2011
Posts: 5,328
|
|
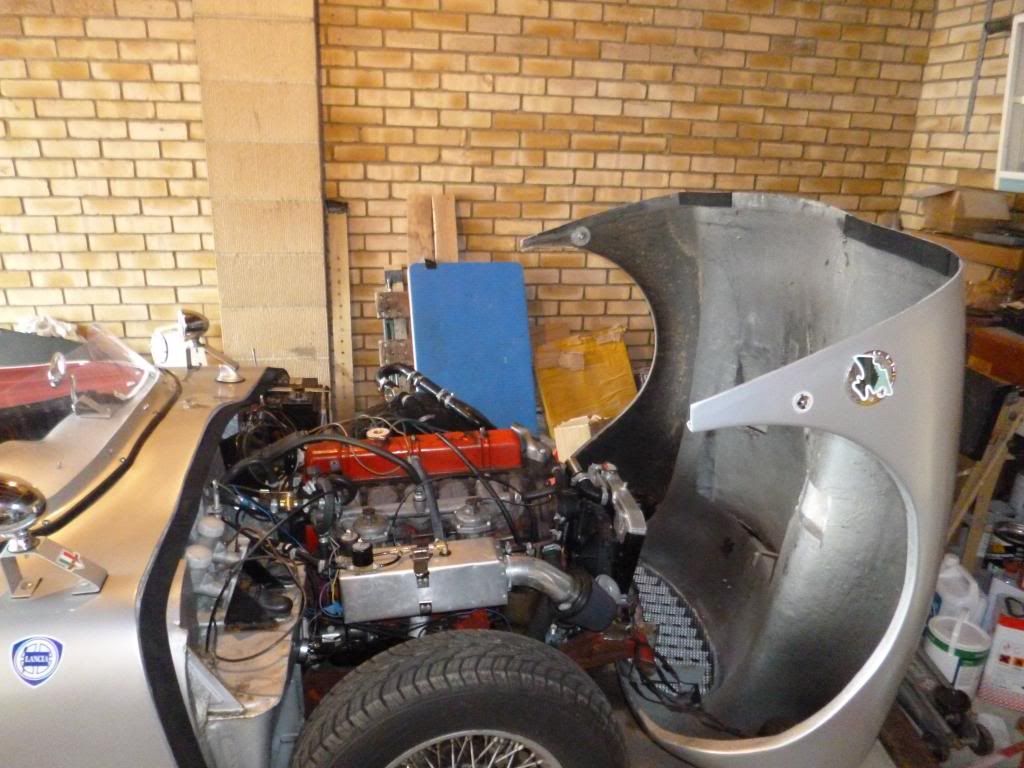
So, started to upgrade my cooling system finally.
Although I'd persevered with my in-line filler in the top hose, it needed a top up after every run so I figured it really does need a header tank. As luck would have it I bought an Land Rover one on ebay when I first started building my car, 99p + £4.99 p&p as I recall. I never got round to installing it but kept it anyway, so the plan for today was mount it somewhere suitable while I wait for a few hoses and tee pieces to arrive from ebay.
First things first, wonder at the benefit of a flip front bonnet -
Next it was out with 'the serpent' and in with a simpler version fitted with a 32mm to 15mm reducing tee (ordered from Car Builder Solutions at 7pm yesterday, arrived 9am this morning! Now that's service). -
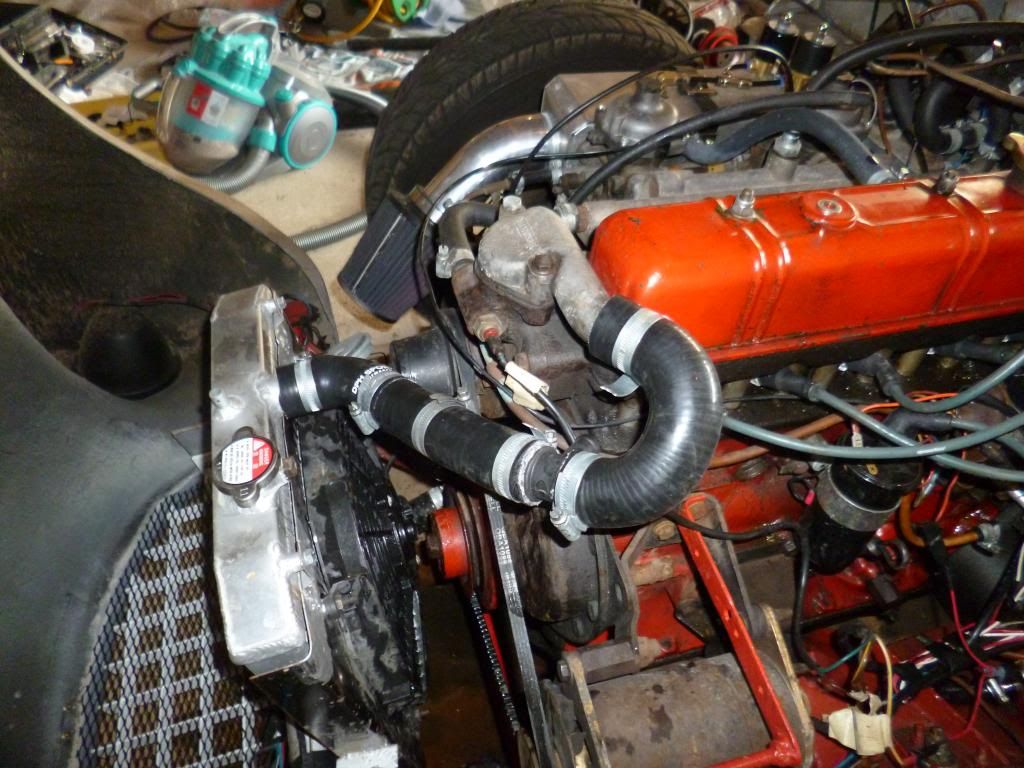
Next job was to make up a Heath Robinson bracket, mostly from bits of old Vitesse bonnet stay, trial fit and check for clearance... mm to spare, hooray!
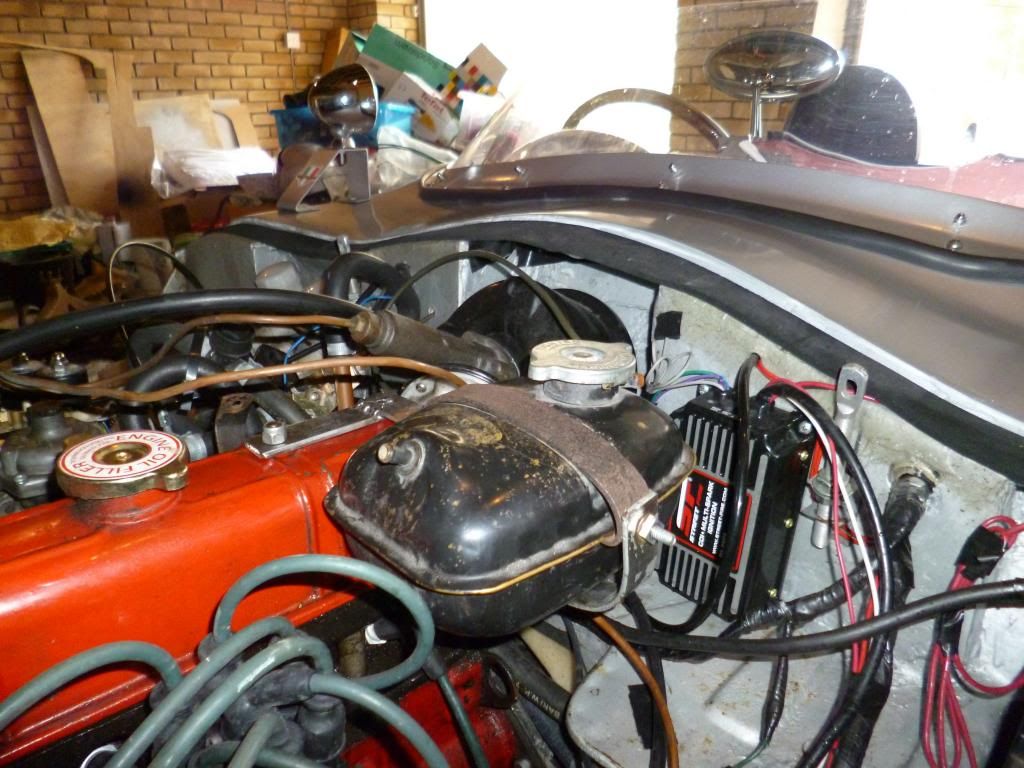
The brackets then got treated to a couple of coats of etch primer in the purpose built small parts spray booth -

OK, so it's a box.
But looky here what I found me when I took some acetone to the old header tank -
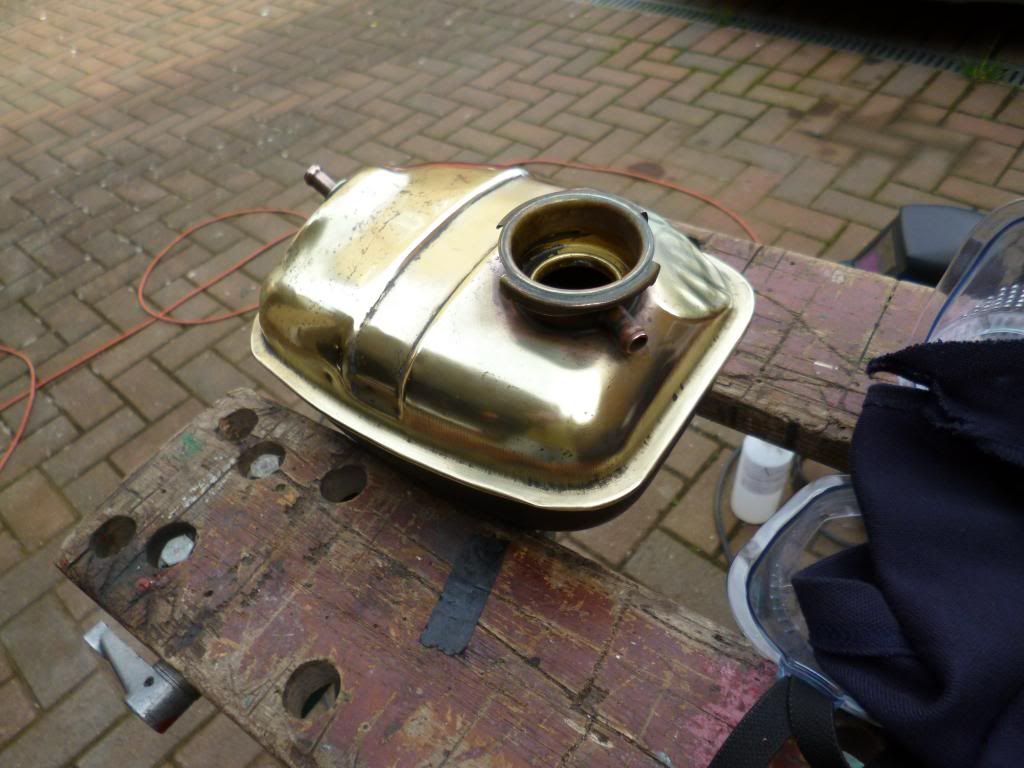
I got me a shiny new brass tank to plays with.
Apologies for the Southern drawl to Jeremy, my next door neighbor, who's American. But don't hold that against him as he's rebuilding a (proper) HiPo mini to take bak Stateside with him when he goes.
Should have that all plumbed in in a few days and see if it keeps its cool at high speed any better.
Last edited by Mister Towed; 26th April 2014 at 16:43..
Reason: wrong pic
|
26th April 2014, 20:29
|
|
Senior Member
|
|
Join Date: Feb 2012
Location: Wembley, London
Posts: 5,056
|
|
Mr T - That expansion tank looks very "vintage" in brass.
|
27th April 2014, 18:40
|
|
Senior Member
|
|
Join Date: Jul 2011
Posts: 5,328
|
|

Quote:
Originally Posted by Scottie22
Nice one Mr T!
How long is your car? It looks tiny!!
|
Sorry Scottie, I missed your question for some reason.
My car's dimensions are:
12'1" long
4'7" wide, spinner to spinner
2'6" high to the cockpit edge
3'2" to the top of the head fairing (highest point)
Weight is 680kg with a full tank.
While I wait for a few parts to arrive to finally plumb in my header tank, I spent the day tinkering with some of those little jobs I've been meaning to get round to.
First on the list was to replace the flexible steering rack mounts with solid alloy ones to firm up the feel of the steering.
Not a particularly photogenic job I'm afraid, so no pictures. The driver's side takes ten minutes and couldn't be easier. Access to the passenger side, however, is blocked by the proximity of the sump, so the engine needs raising about four inches to get enough space to remove and refit the 'U' bolts that hold the clamps in place.
Luckily I just managed this by undoing the nearside engine mount and raising the motor gently with a trolley jack. I won't know what difference it'll have made until I can start the engine again in a few days and take it for a test run.
The same goes for the tacho, which had jammed at 4,000 revs. Phil J generously donated one he had that had lying around that had a functioning mechanism but a broken case and faded dial. I've now managed to cobble together the best bits of the two to make one good one, which is now fitted and awaiting a test run.
Finally, my wire wheels need a bit of a refresh. I sand blasted and sprayed them with two coats of primer, two coats of Simoniz wheel silver and two coats of clear lacquer, but that was three years ago now and the rust is coming back with a vengeance.
So, a quick fix (to see how long it lasts) was to give the worst one a bit of attention with a wire brush, then mask it up and give it a coat of silver smoothrite.

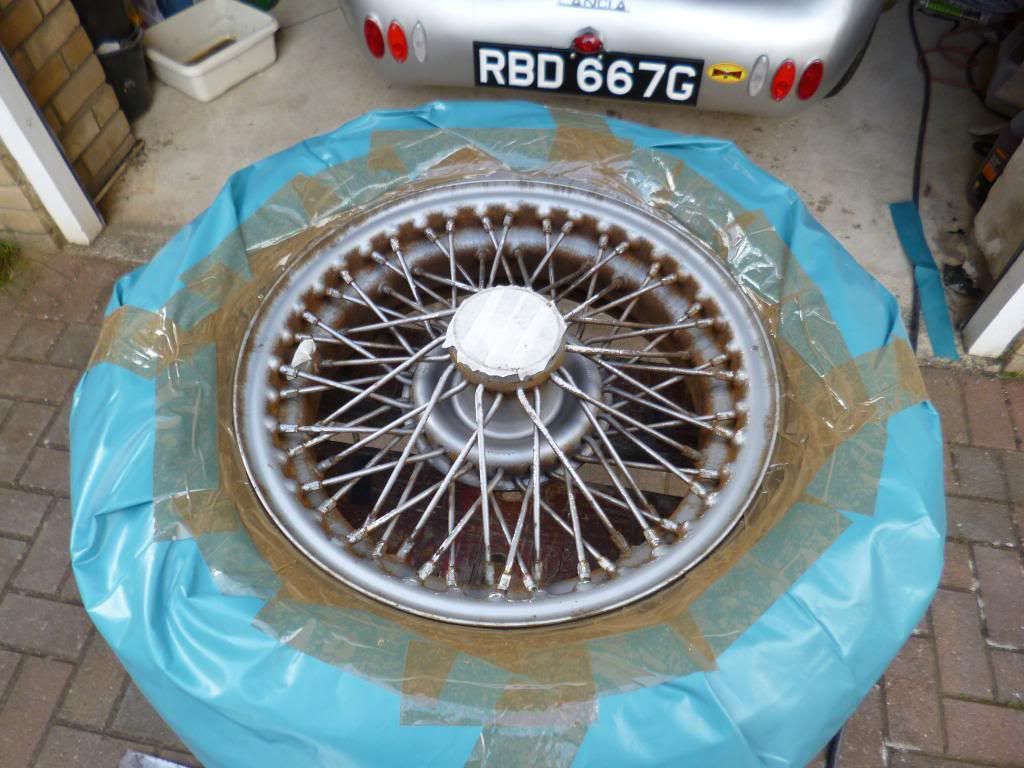
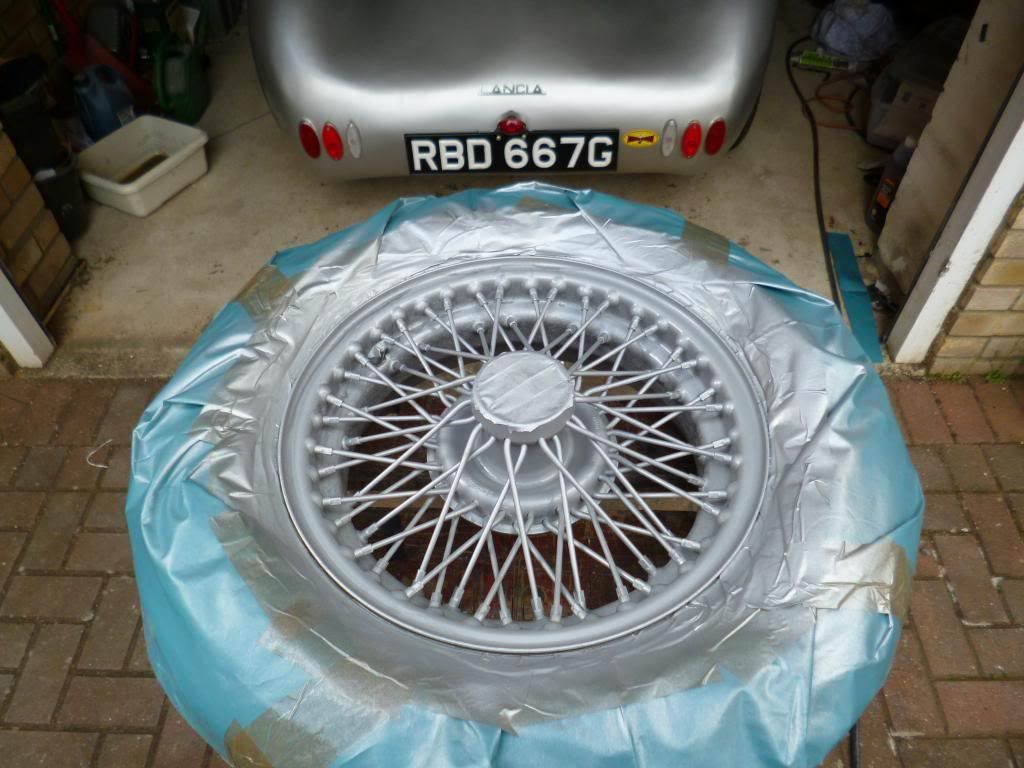
Not exactly a top quality job but it should look better than it did, for a while at least...
|
|
Currently Active Users Viewing This Thread: 1 (0 members and 1 guests)
|
|
|
 Posting Rules
|
You may not post new threads
You may not post replies
You may not post attachments
You may not edit your posts
HTML code is Off
|
|
|
All times are GMT +0. The time now is 14:58.
|


 Linear Mode

