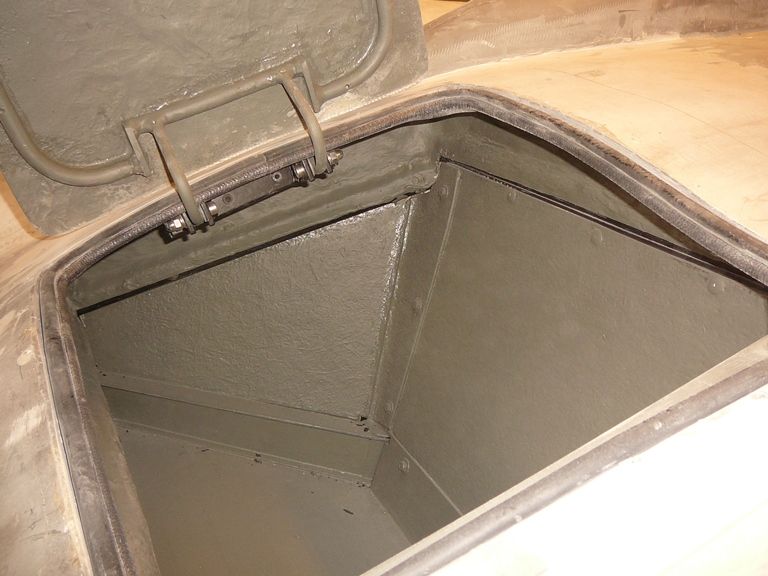
My boot has finished. Offcourse I don't know the capacity, but it has become quite spacious.
And indeed Mike, with paint it would look so much better

They have to prep the lit a bit though

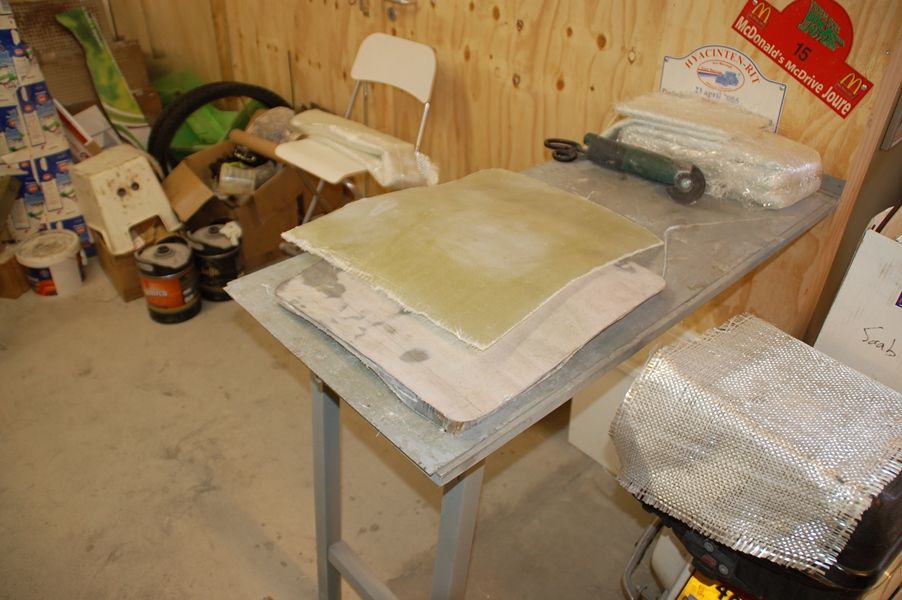
First a made panels at exact the right size to fit just withing the measurements of the inside of the frame.
[IMG]
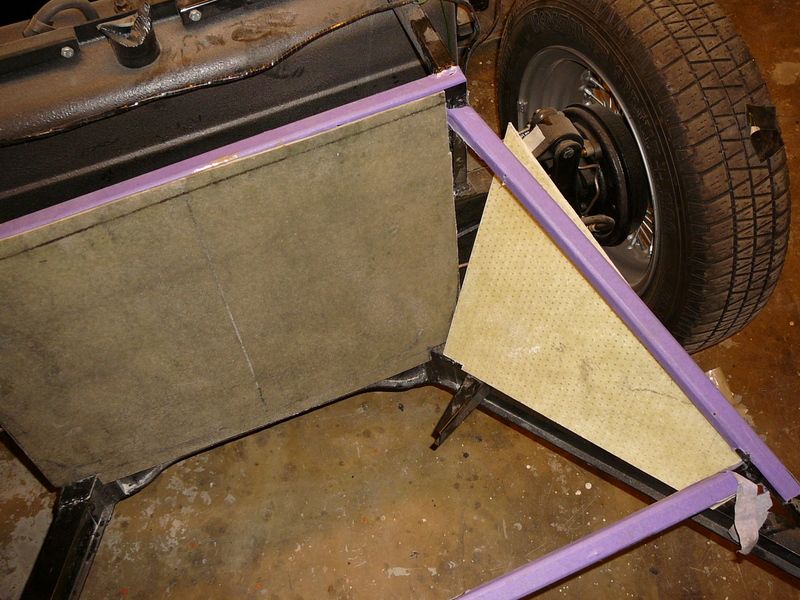
[/IMG]
I put them in place and I cut some small pieces in lenghts and put these pieces on the frame/glued them to the bigger pieces. After that cured. I took of the panels which had now the perfect inside shape and lips that support on the outside of the frame with the right angles. I Laminated over them to give it all strength.
[IMG]
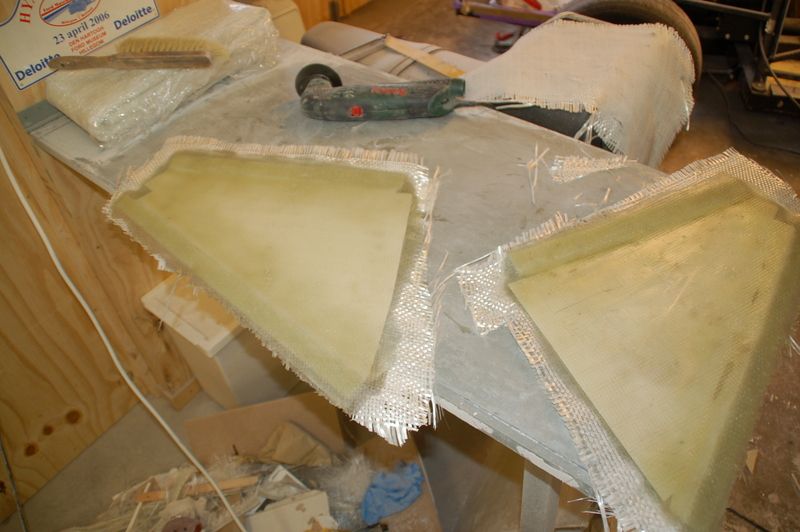
[/IMG]
For the bottom I used Aluminium. I had it bend at two sides (front and rear) This bottom plate is attached to the underside of the rear outriggers which is flat..
[IMG]
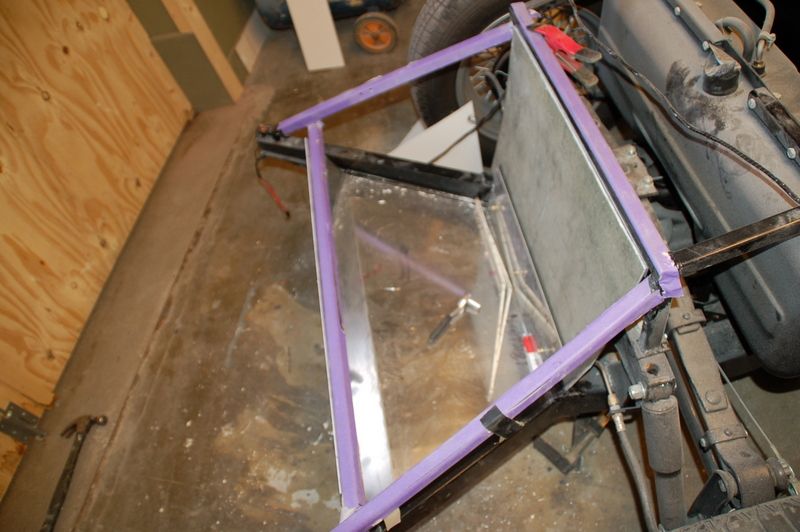
[/IMG]
With a flat GRP panel in the front, and two layers of Top-coat in the inside and black bodyschutz on the outside you get to this:
[IMG]
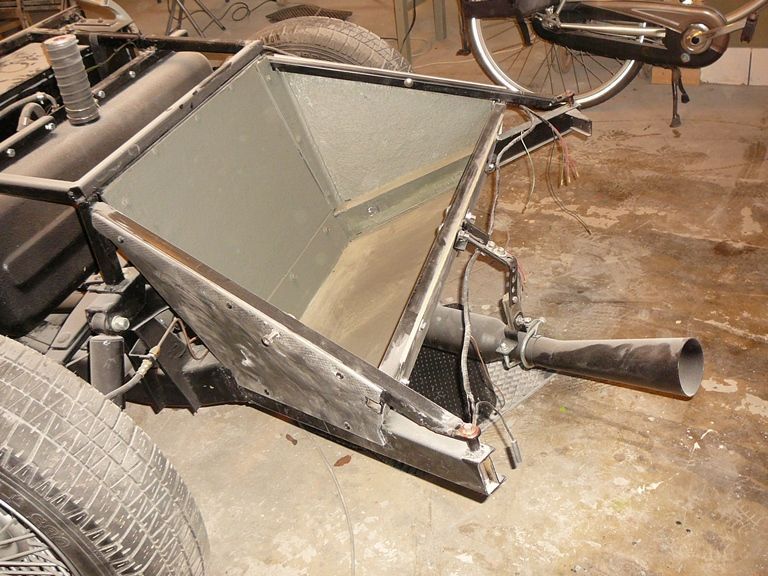
[/IMG]
The underside of the laggagespace is done. The upperside is formed by the boxed section that I made into the body as a support of the body to the frame. It works as a lit. This is a picture of it, without the underside of the luggage space.
[IMG]
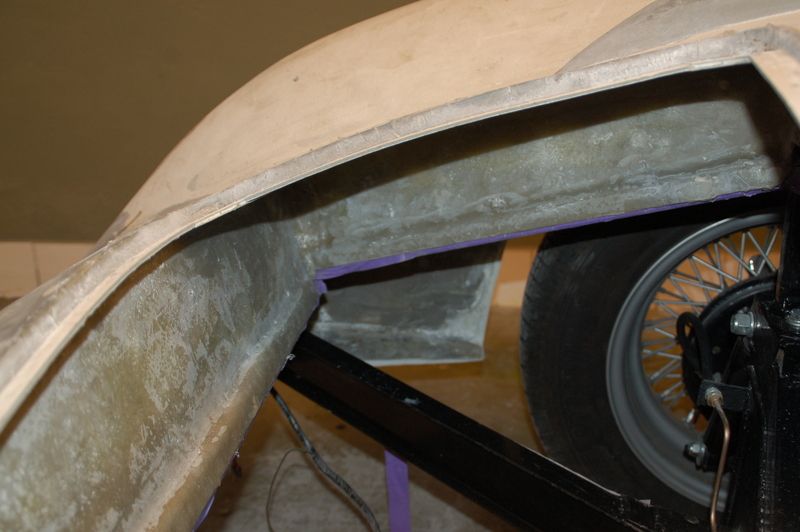
[/IMG]
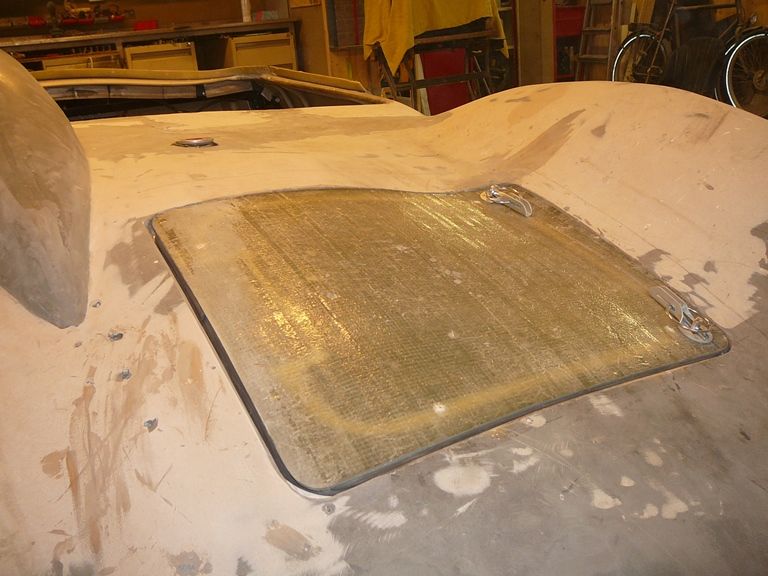
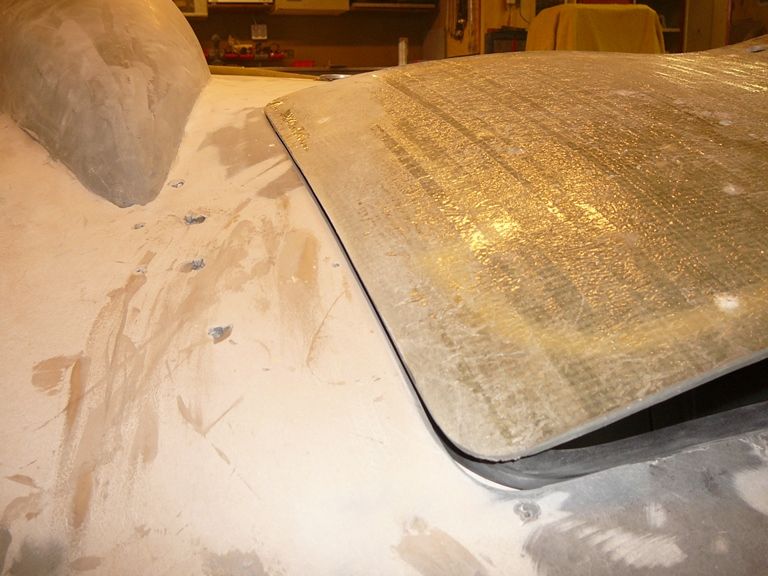
I have made a new boot lit, with reasonalble equal thinkness all around, which is neccesary to get a good fit with the rubber seal.
[IMG]
[/IMG]
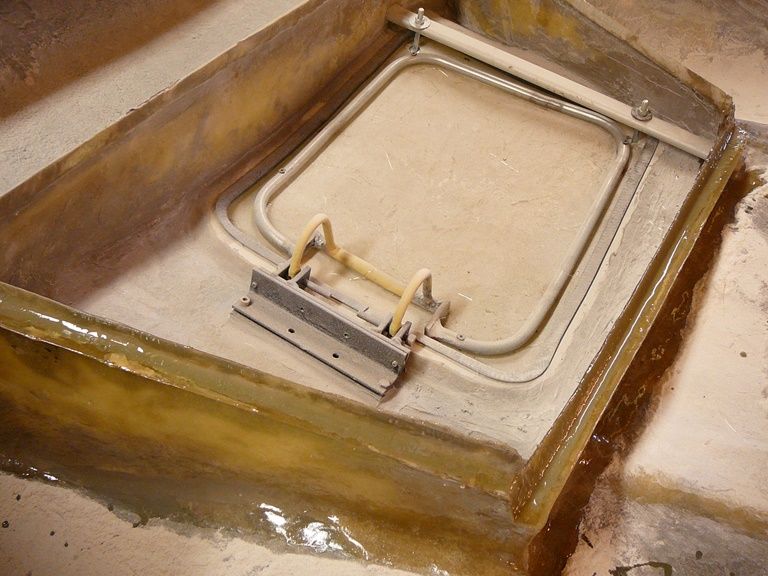
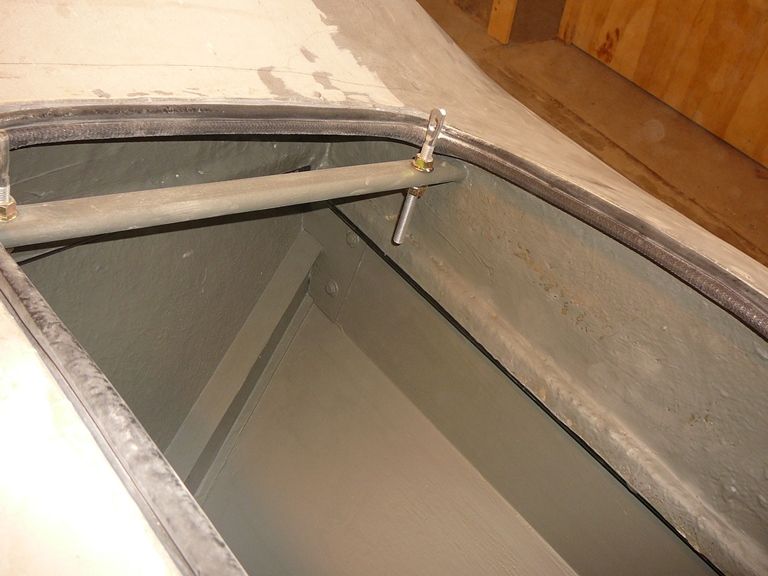
Then I had to make a gutter for the seal. A bit difficult because it has to be at the correct depth for the seal. I also made a cross bar for the attachement of the bonnet pins.
[IMG]
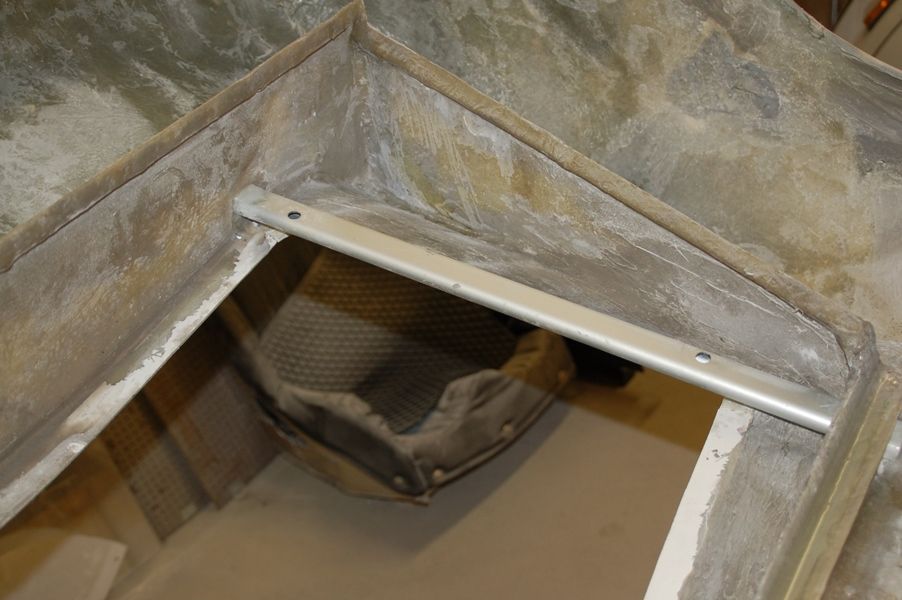
[/IMG]
Then a multi-adjustable base for the hinge. And adjustment is important I found out...
[IMG]
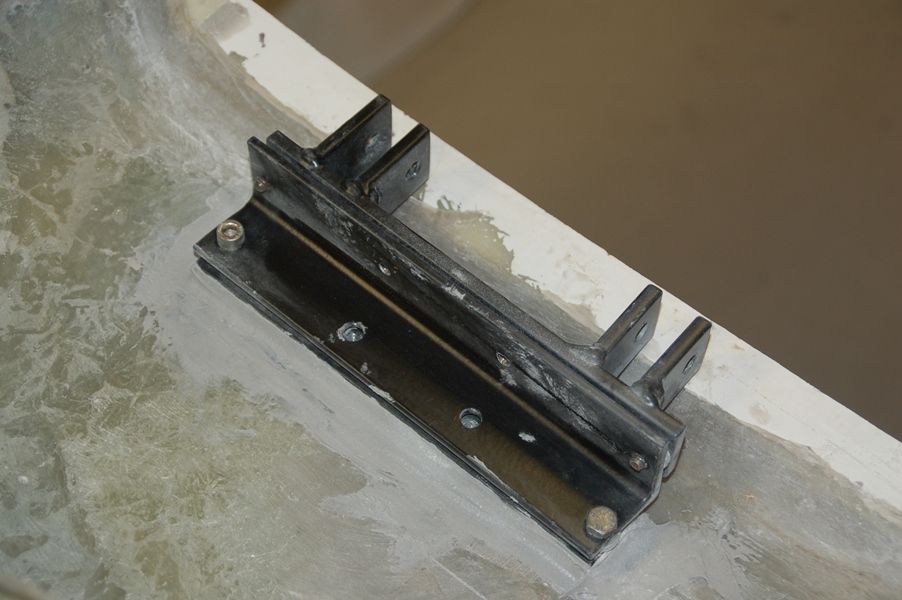
[/IMG]
A framework for the inside of the lit with a double hinge.
[IMG]
[/IMG]
The result:
[IMG]
[/IMG]
Ooops, it only just goes over the body when opening. I think I haven't made the correct shape of hinge. But on the other hand, it works.
[IMG]
[/IMG]
[IMG][/IMG]
[IMG]
[/IMG]
Michiel


 Linear Mode


