|
|
| Tribute Automotive Builds Discuss your Tribute kit build |

1st January 2016, 16:53
|
 |
Senior Member
Enthusiast
|
|
Join Date: May 2014
Posts: 607
|
|
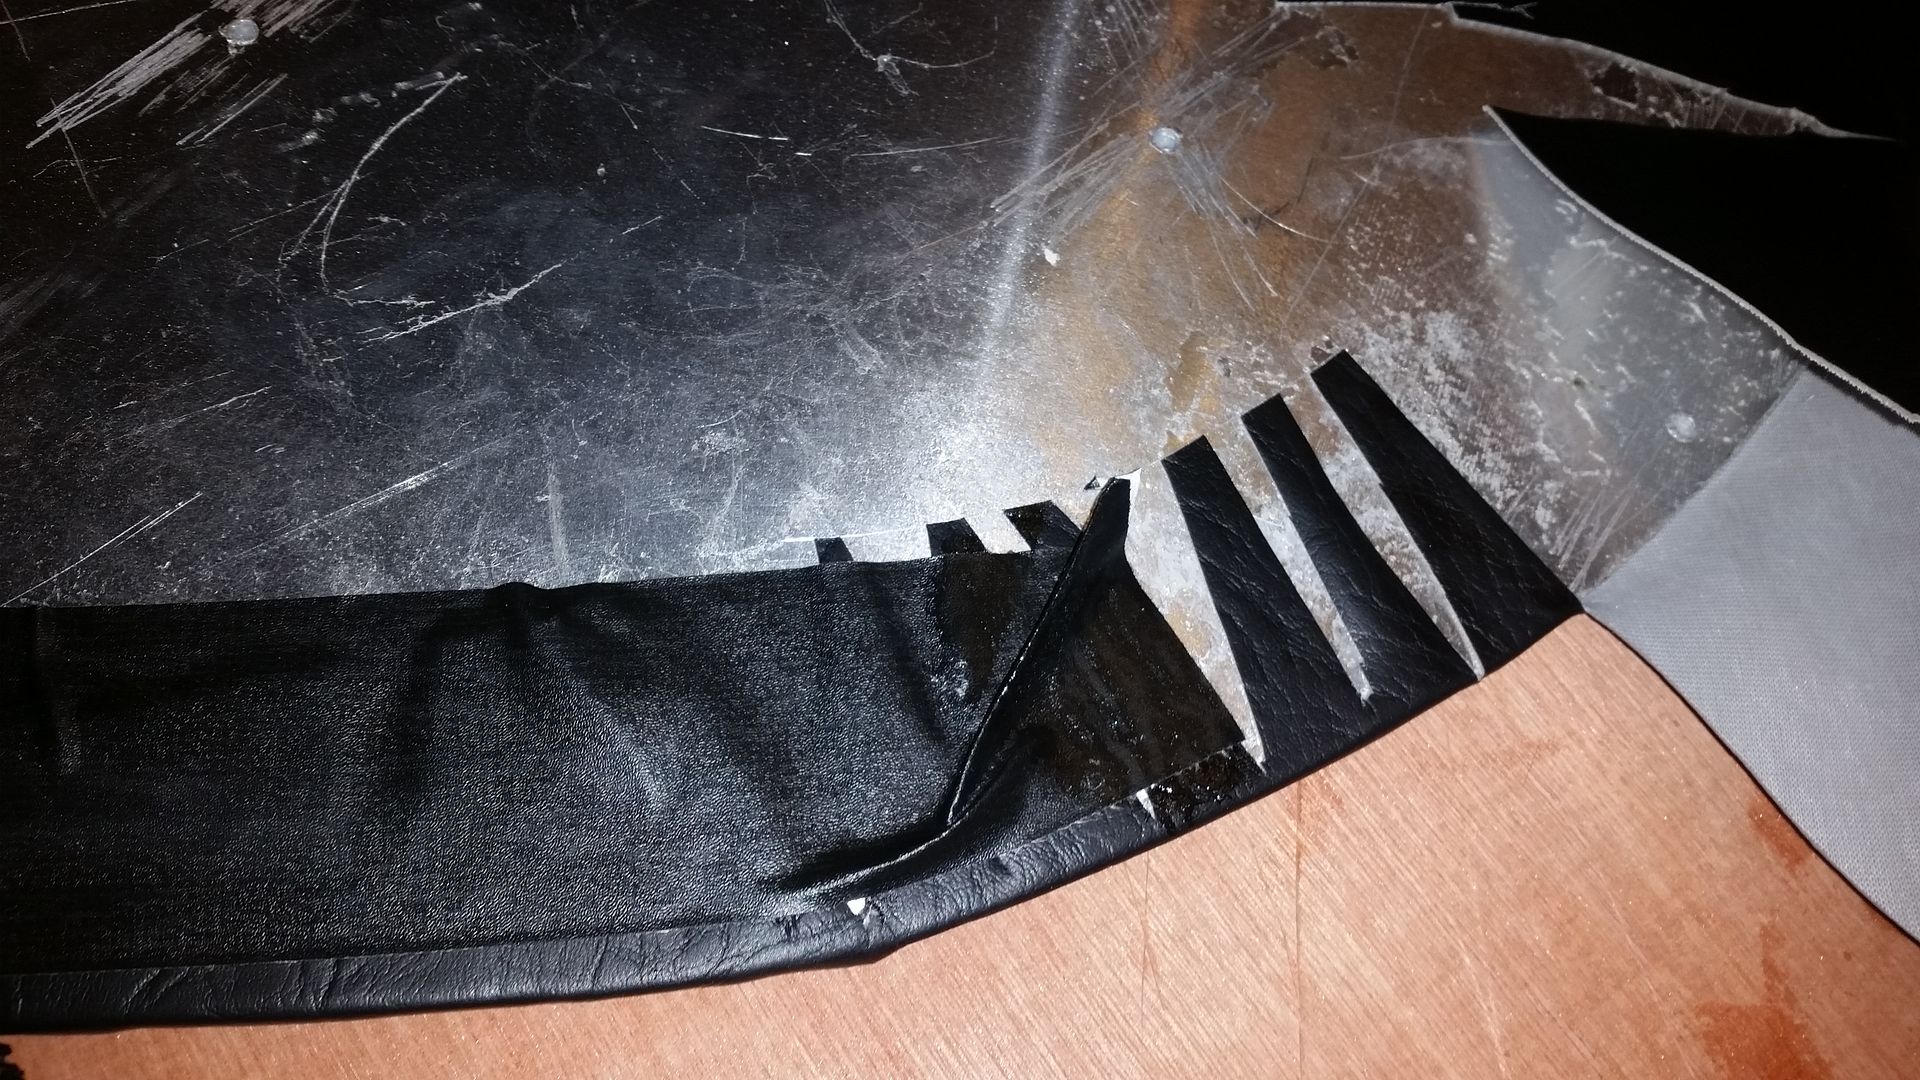
When you get to the corners you have to cut triangles to allow the skin to go around. The tighter the bend, the thinner the triangles. It takes a bit of practice but it does not matter if its not perfect as no one will see this side once its fitted.

 |
1st January 2016, 16:57
|
|
Senior Member
Enthusiast
|
|
Join Date: May 2014
Posts: 607
|
|
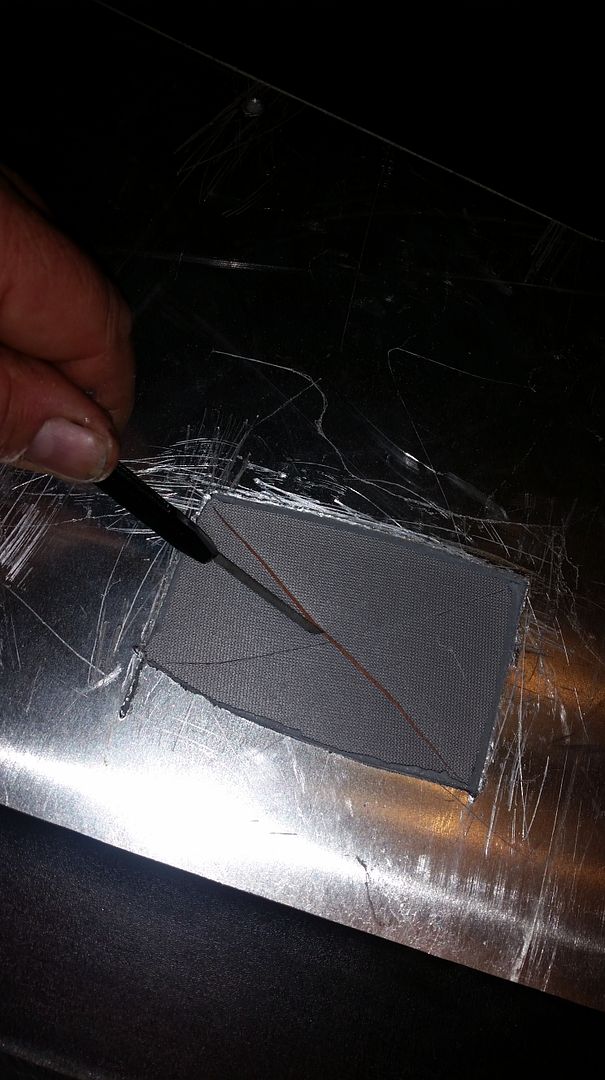
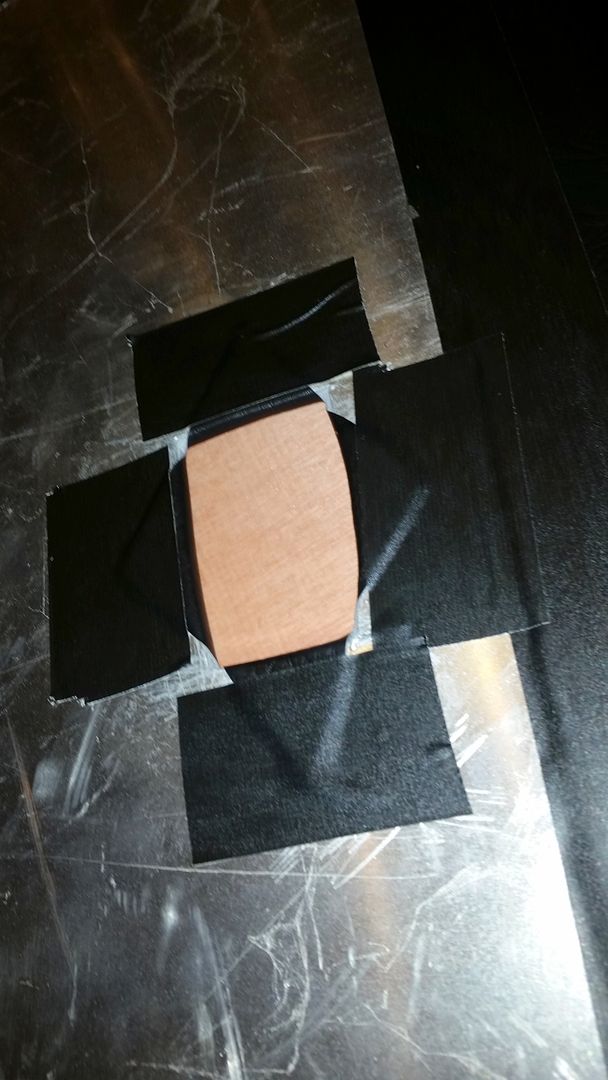
From the inside of the panel cut from diagonal corners into each corner. Then fold the flaps inwards, glue and tape down
 |
1st January 2016, 17:01
|
|
Senior Member
Enthusiast
|
|
Join Date: May 2014
Posts: 607
|
|
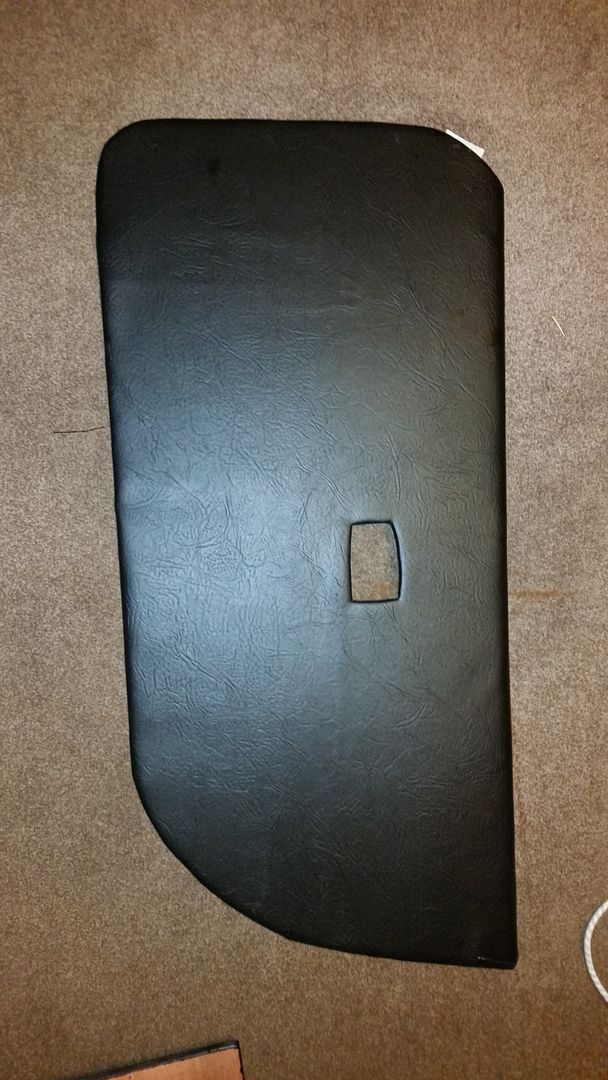
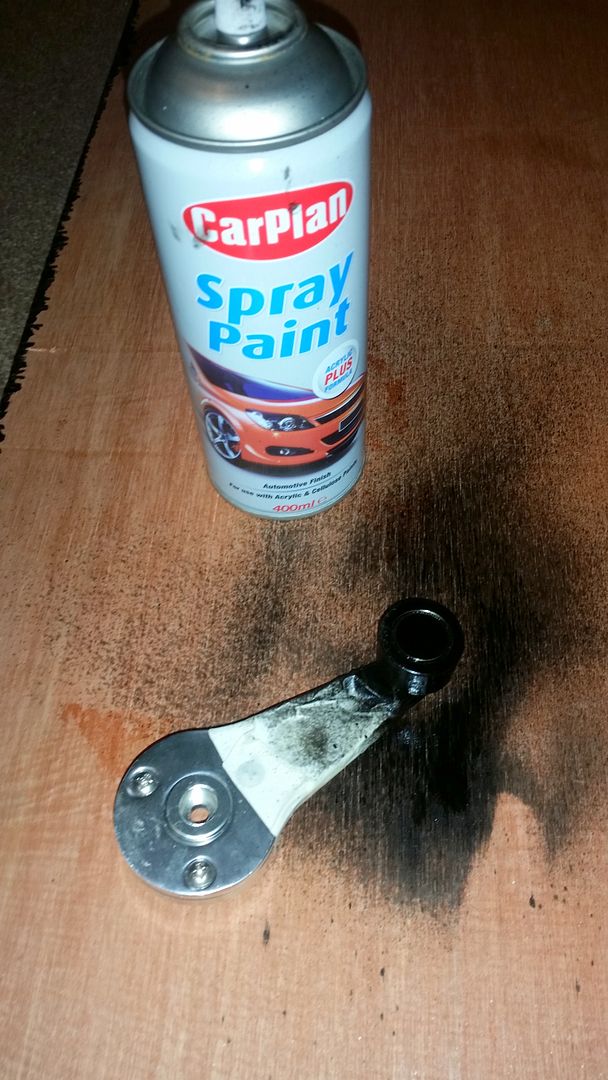
This is the front of the panel. Next I sprayed the knob on the winder satin black to mimic the original.
 |
1st January 2016, 17:04
|
|
Senior Member
Enthusiast
|
|
Join Date: May 2014
Posts: 607
|
|
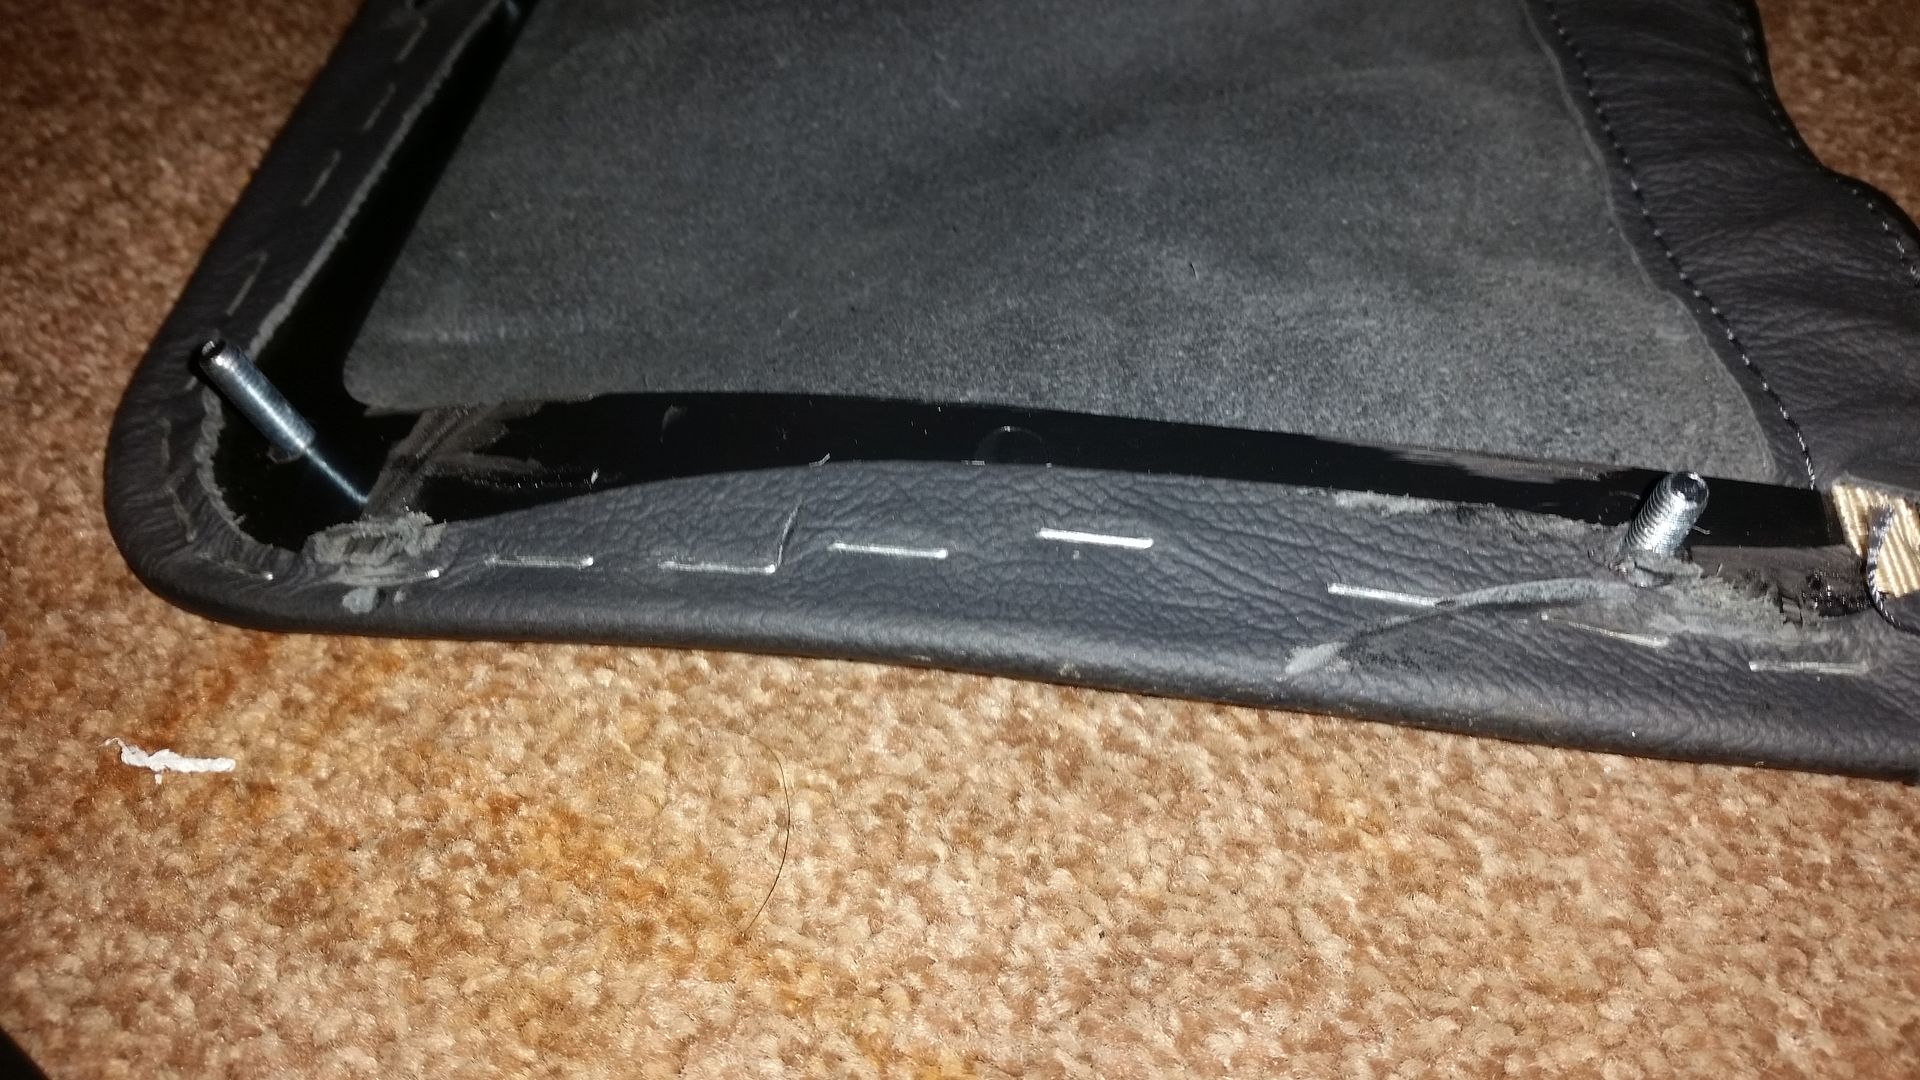
The bolts were attached to the door pocket and then bolted with Nylok nuts on the reverse side
 |
1st January 2016, 17:10
|
|
Senior Member
Enthusiast
|
|
Join Date: May 2014
Posts: 607
|
|
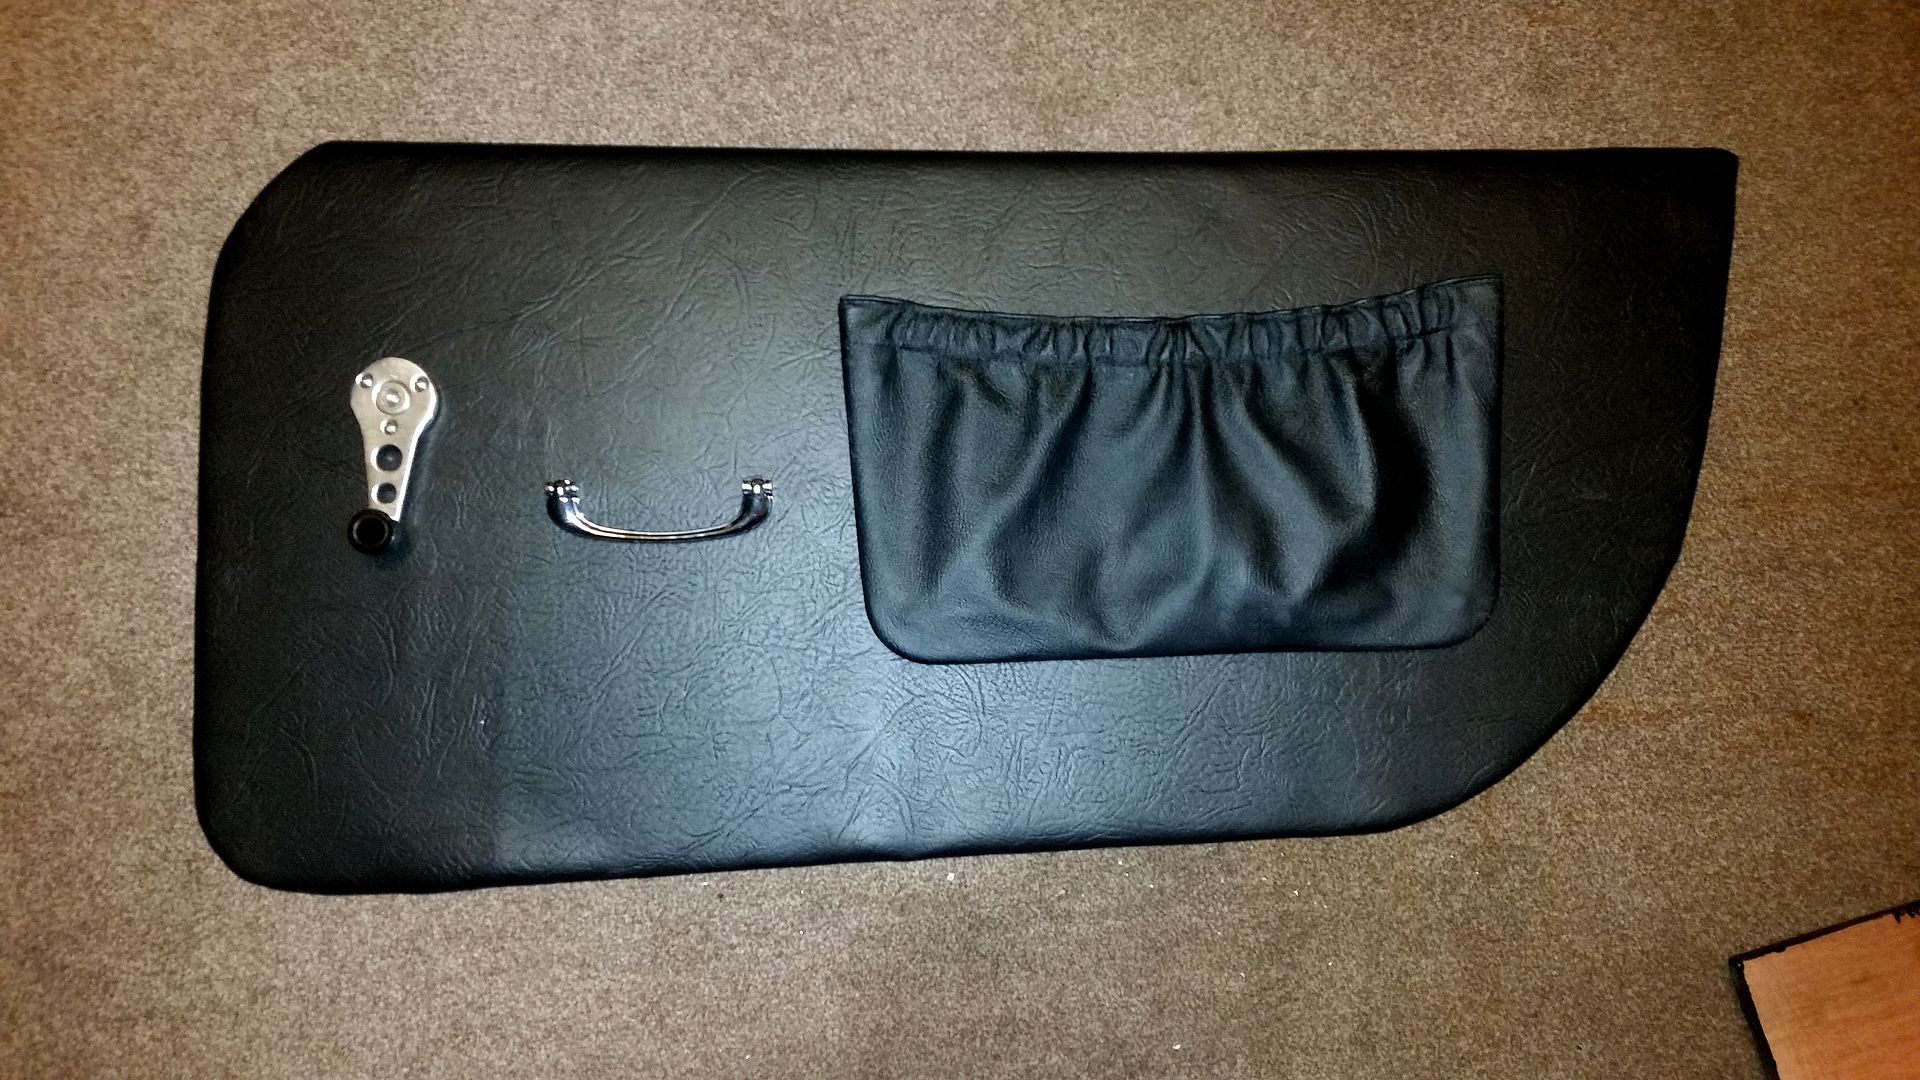
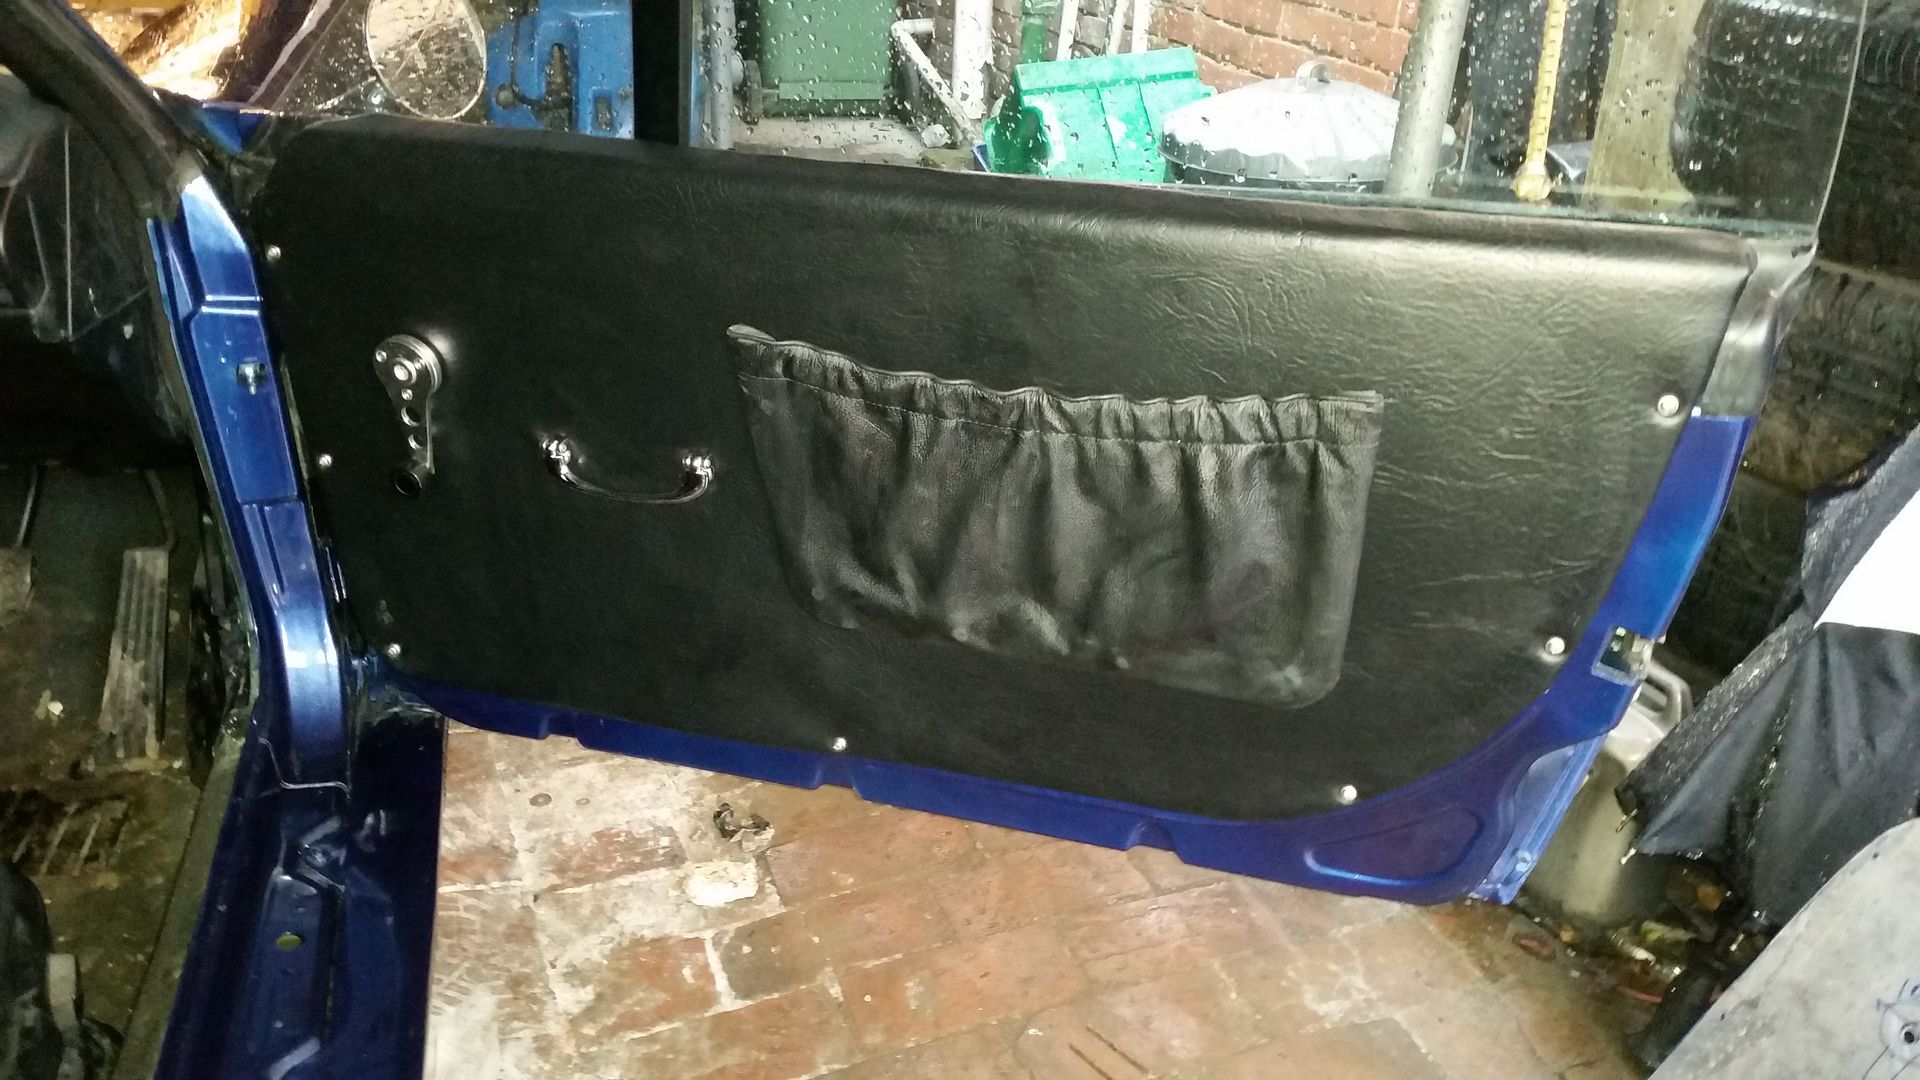
The finished panel ready for fitting. The handle bolts through to the door skin so is just balanced on there to show the position but the pocket and the winder are bolted on. The winder can turn. I know the usual place for a pocket is lower down but I wanted to hide the giveaway Z3 door pull which will be now inside the pocket. The winder is not as nice as the one going on my personal car but it’s adequate. Next is fitting and lining up on the door.
 |
1st January 2016, 17:16
|
|
Senior Member
Enthusiast
|
|
Join Date: May 2014
Posts: 607
|
|
Just totted up the total cost of one panel and its a reasonable £54. I appreciate people jumping in with pictures of interiors but I will be doing the whole interior on here. It may be more appropriate to wait for the section that relates to the photos instead of a jumble of random photos. I apologise to the more experienced builders as to the slow methodical approach but some people have never attempted this before so please be patient. Thanks
|
1st January 2016, 19:09
|
 |
Senior Member
|
|
Join Date: Jul 2011
Posts: 5,328
|
|
Hiding the Z3 interior latch inside the door pocket is pure genius. Keep up the good work!
|
1st January 2016, 19:16
|
|
Senior Member
Enthusiast
|
|
Join Date: May 2014
Posts: 607
|
|
Thanks! I'll take any compliments in between the rotten veg throwing Ive been getting!
|
1st January 2016, 19:19
|
|
Senior Member
Enthusiast
|
|
Join Date: May 2014
Posts: 607
|
|
Oh by the way I have a total target budget of £400 for the interior transformation which is a tenth as much as some have spent...I should look okay for the money too.
|
1st January 2016, 20:47
|
|
Senior Member
Enthusiast
|
|
Join Date: May 2014
Posts: 607
|
|
Of course, already to fit tomorrow! Stainless self tapers not zinc plated.
|
2nd January 2016, 13:00
|
|
Senior Member
Enthusiast
|
|
Join Date: May 2014
Posts: 607
|
|
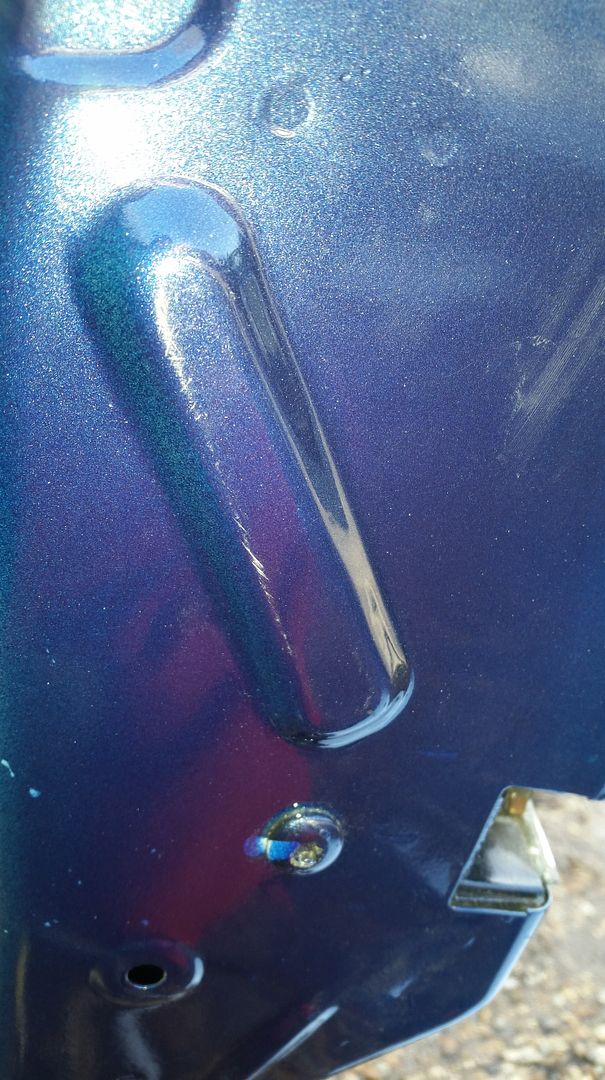
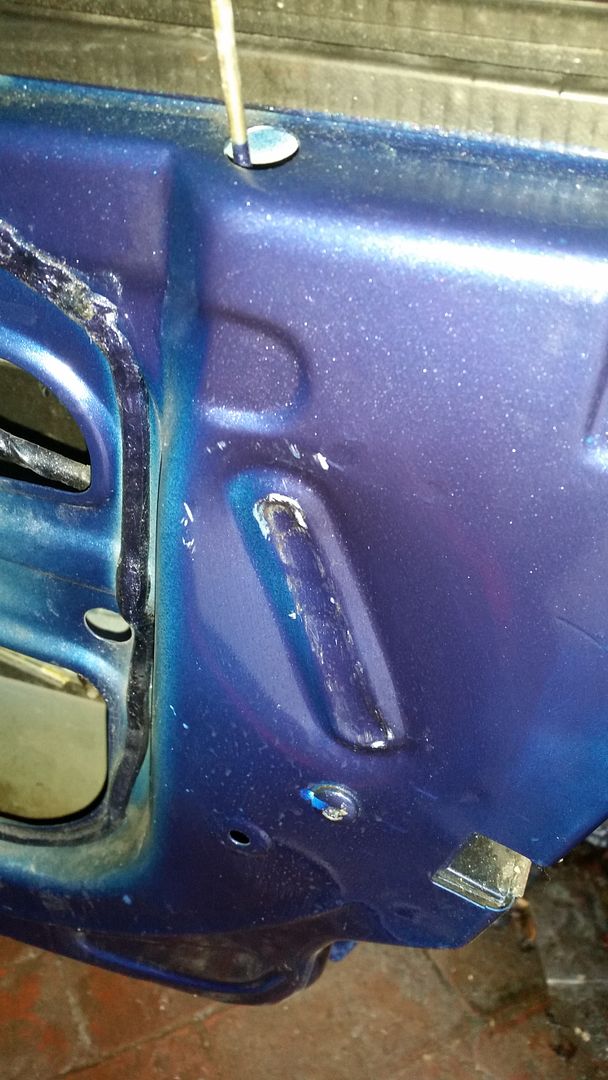
Here is the bare door before starting. It has been painted in Ferrari Tour de France blue
 |
2nd January 2016, 13:03
|
|
Senior Member
Enthusiast
|
|
Join Date: May 2014
Posts: 607
|
|
You must panel beat this ’lump’ inwards so the panel will fit flat.
 |
2nd January 2016, 13:10
|
|
Senior Member
Enthusiast
|
|
Join Date: May 2014
Posts: 607
|
|
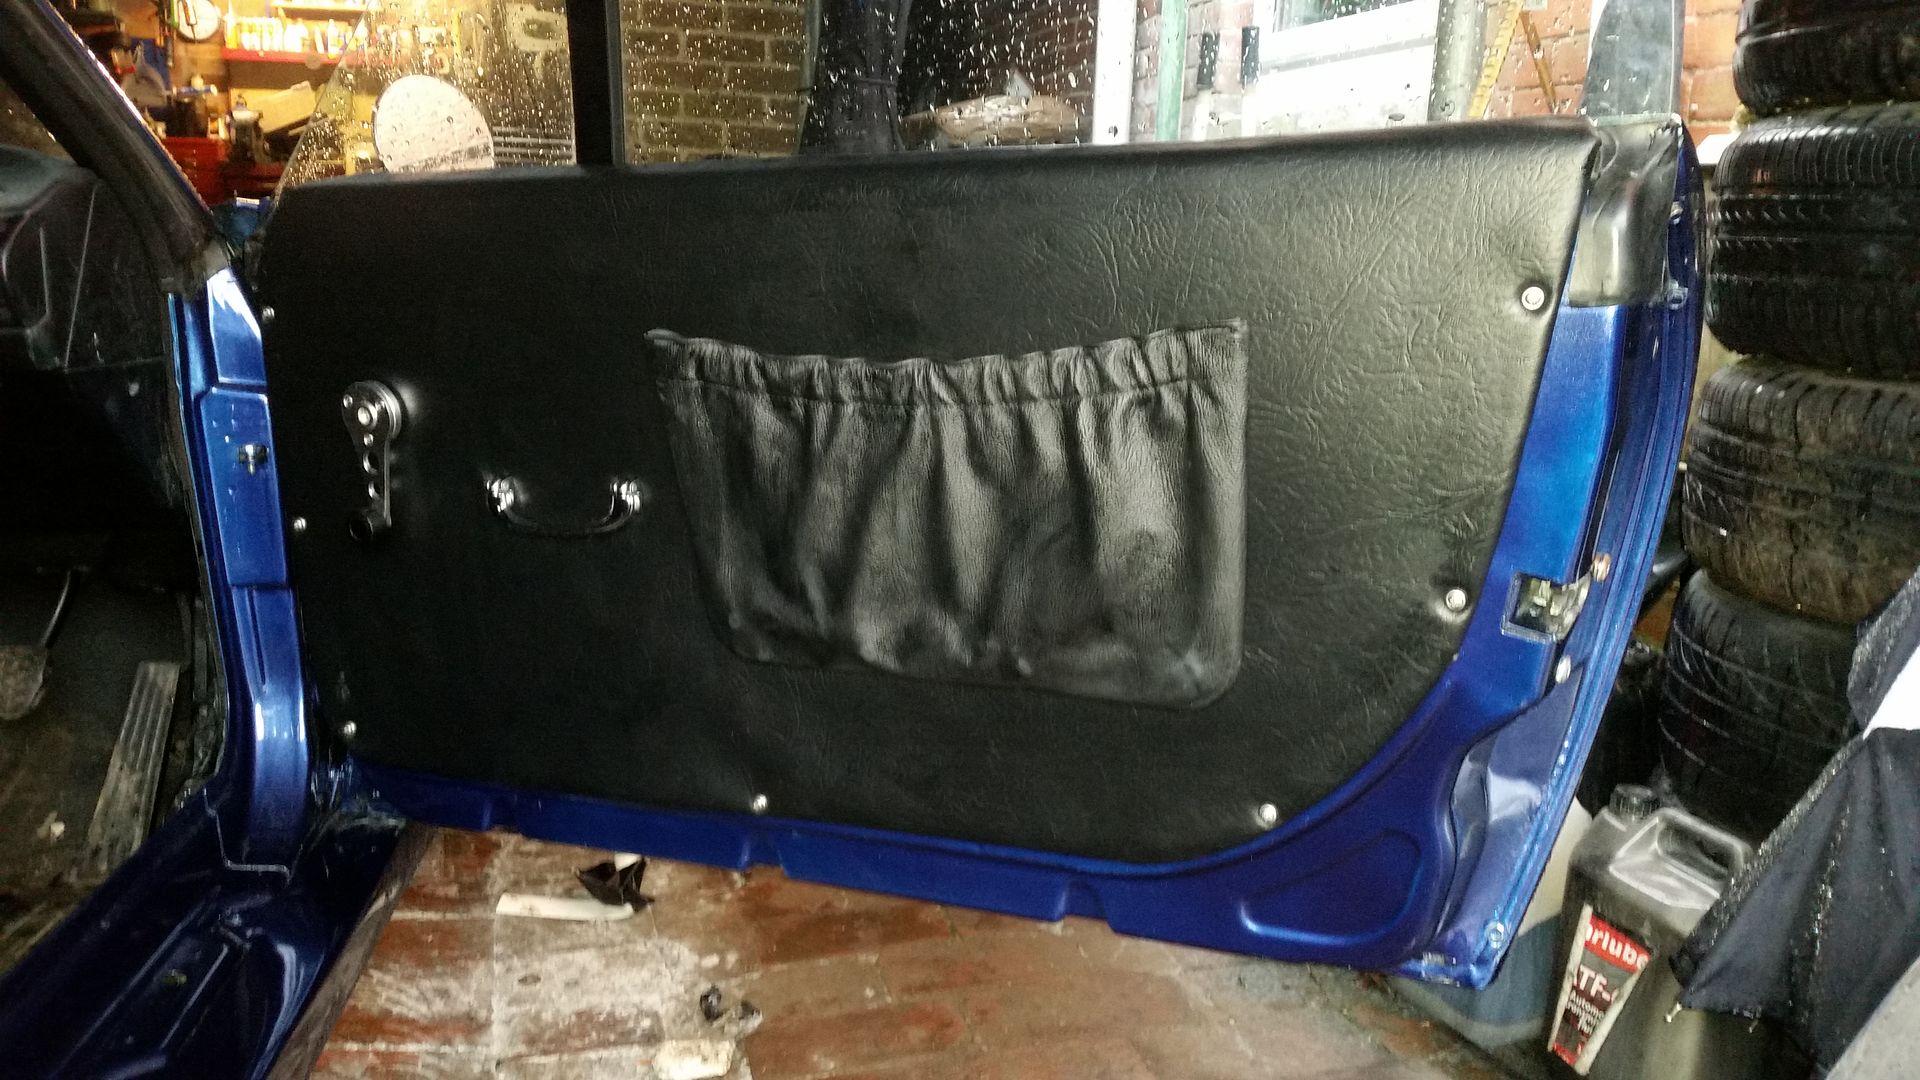
I drilled and inserted two riv nuts into the door skin for the handle to bolt to. If you do not have one of these tools a a self taping screw and spire nut will do. Then I drilled through the pre-drilled holes in the panel into the door skin making six holes. Then used stainless steel cups and self tapers to screw the door panel to the door.
 |
2nd January 2016, 13:11
|
|
Senior Member
Enthusiast
|
|
Join Date: May 2014
Posts: 607
|
|
Finally after 5 hours work it’s finished. Its 98% right so the next should be 100%. Next is replacing the seats with Rover 75 ones.
 |
3rd January 2016, 17:14
|
|
Senior Member
Enthusiast
|
|
Join Date: May 2014
Posts: 607
|
|
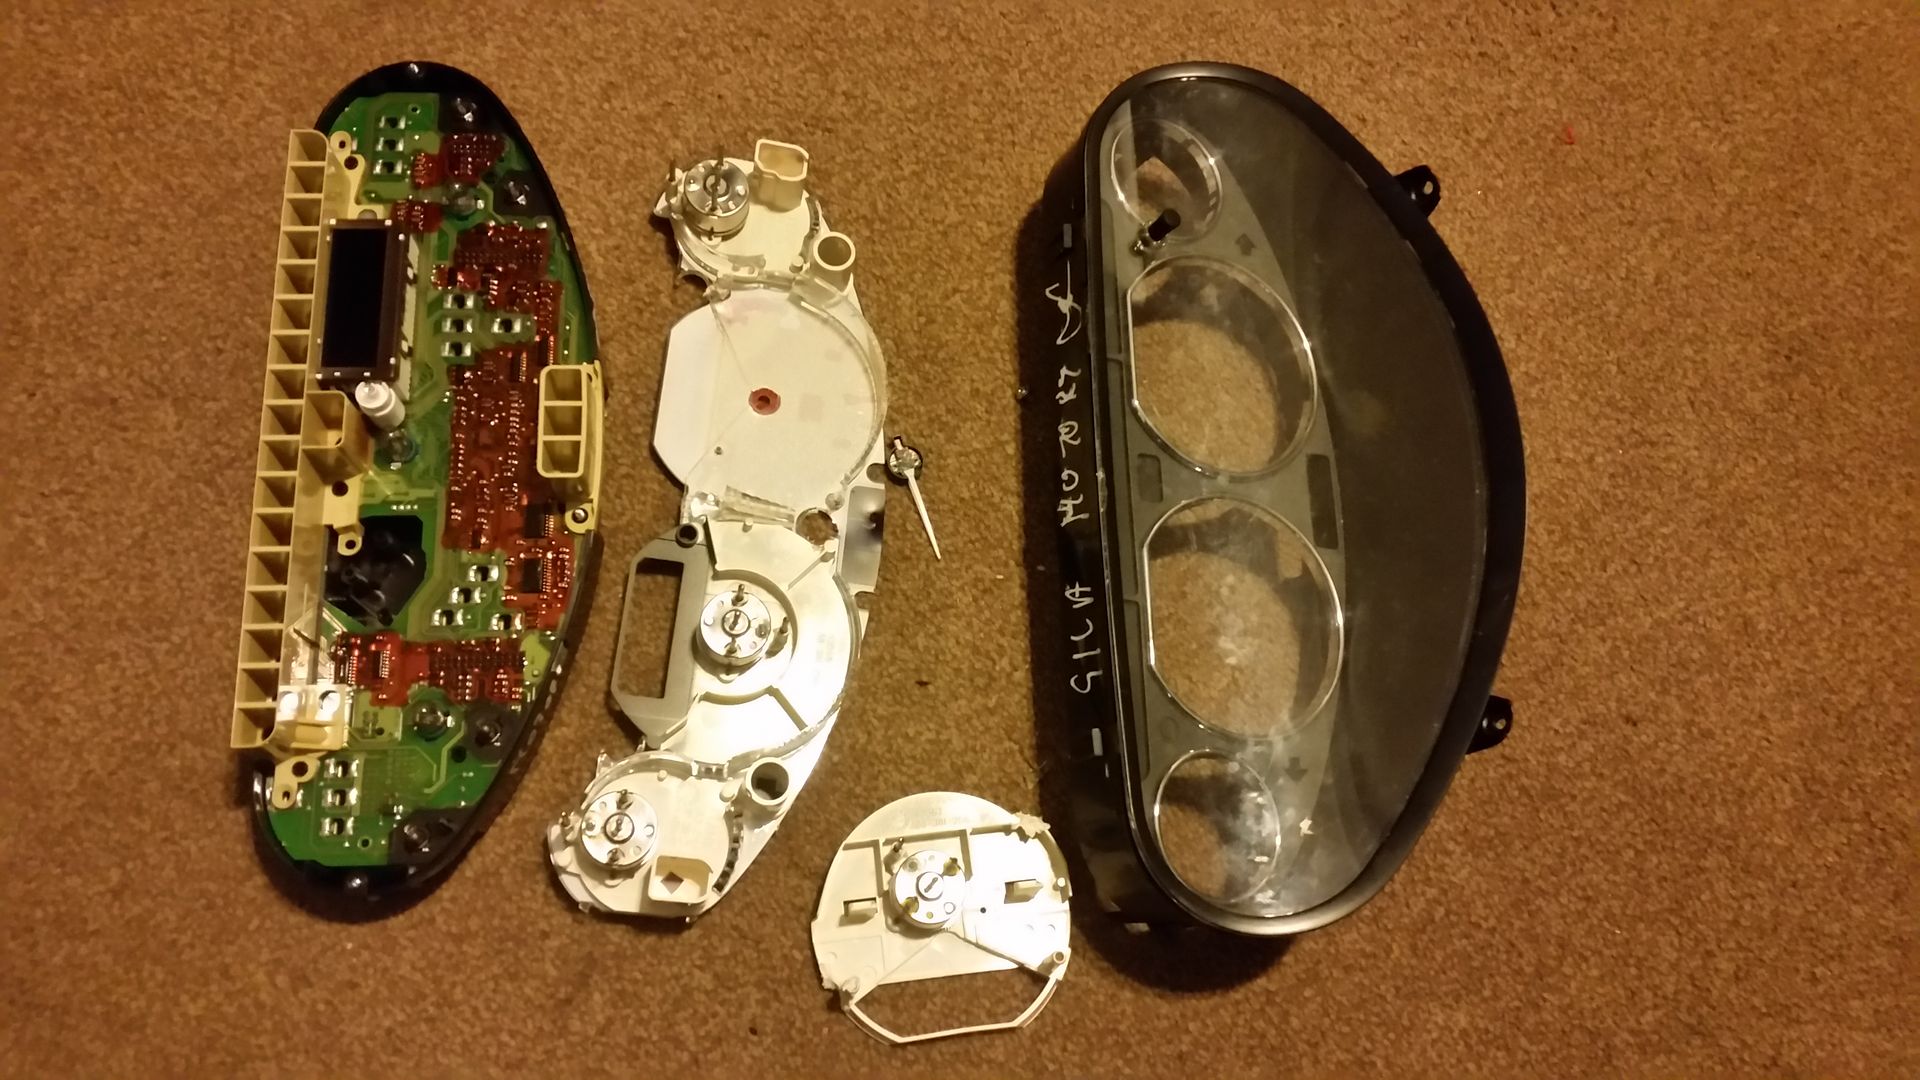
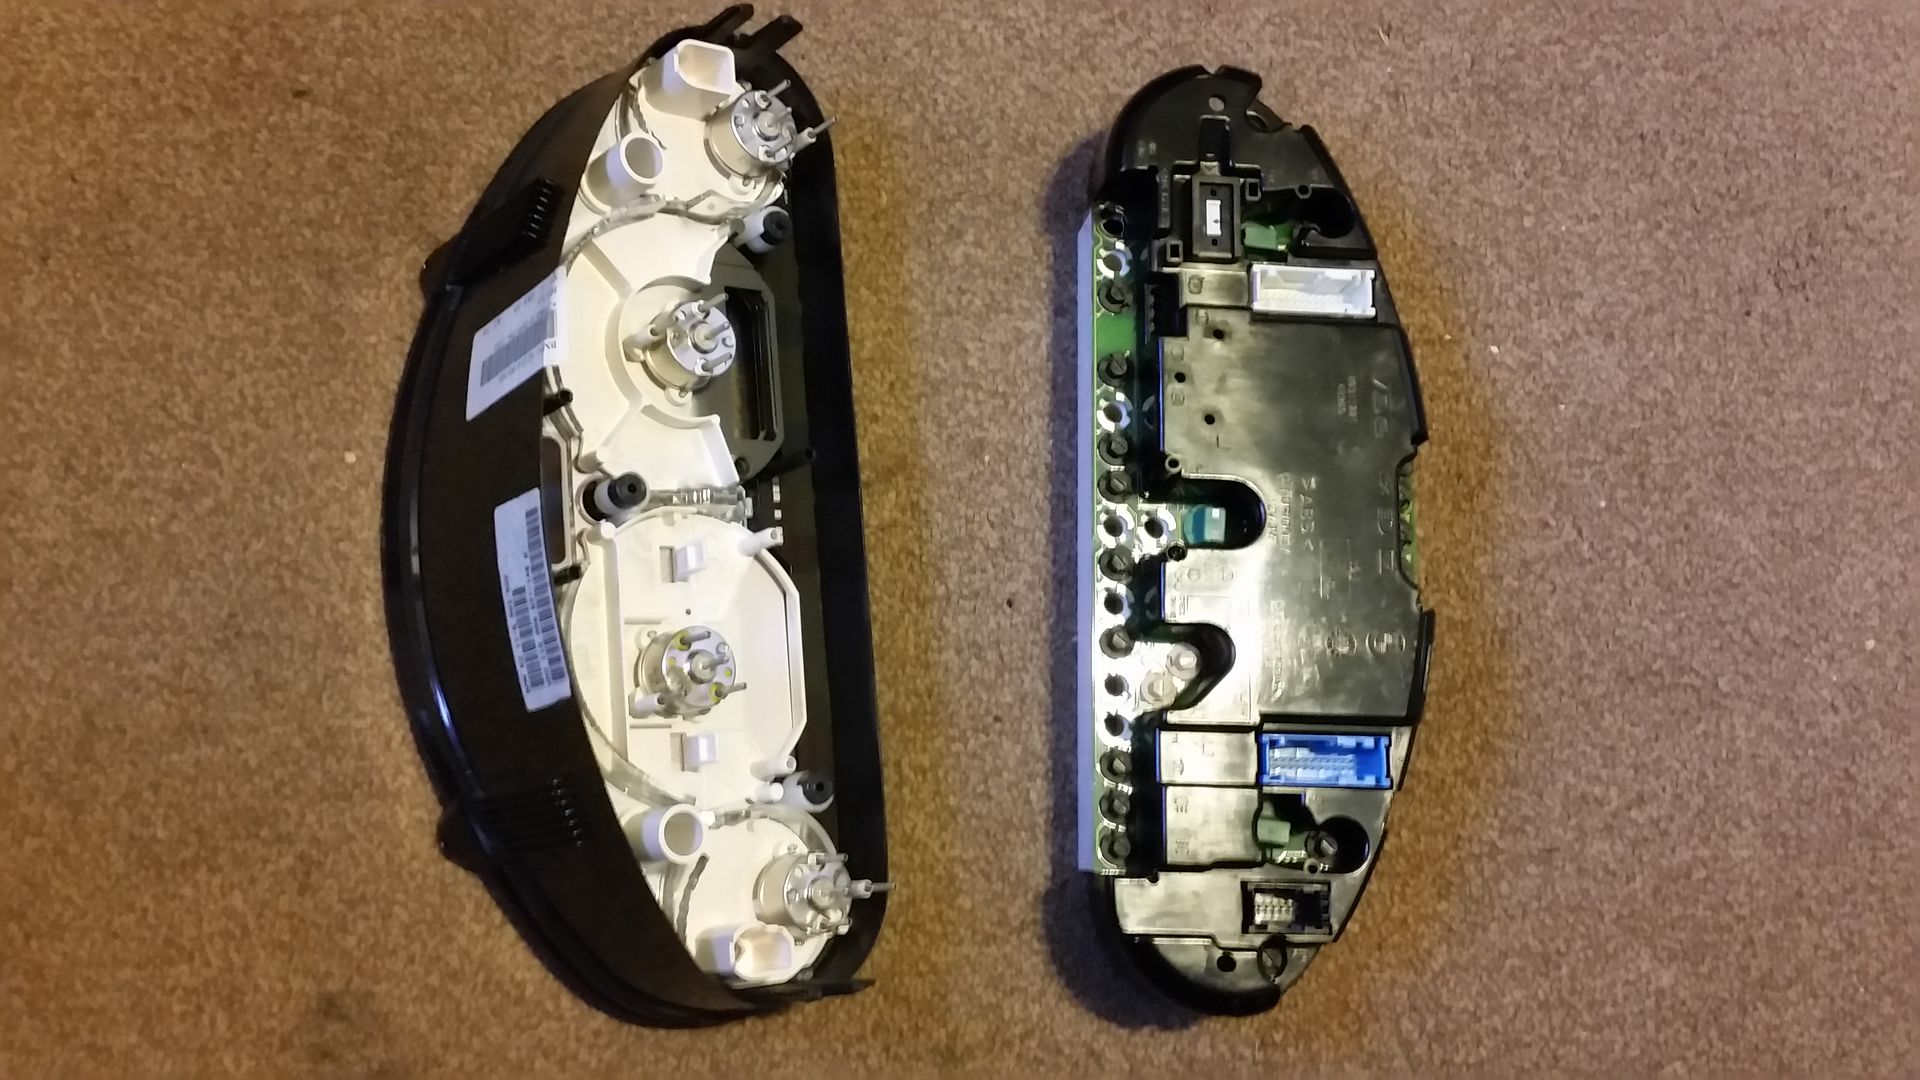
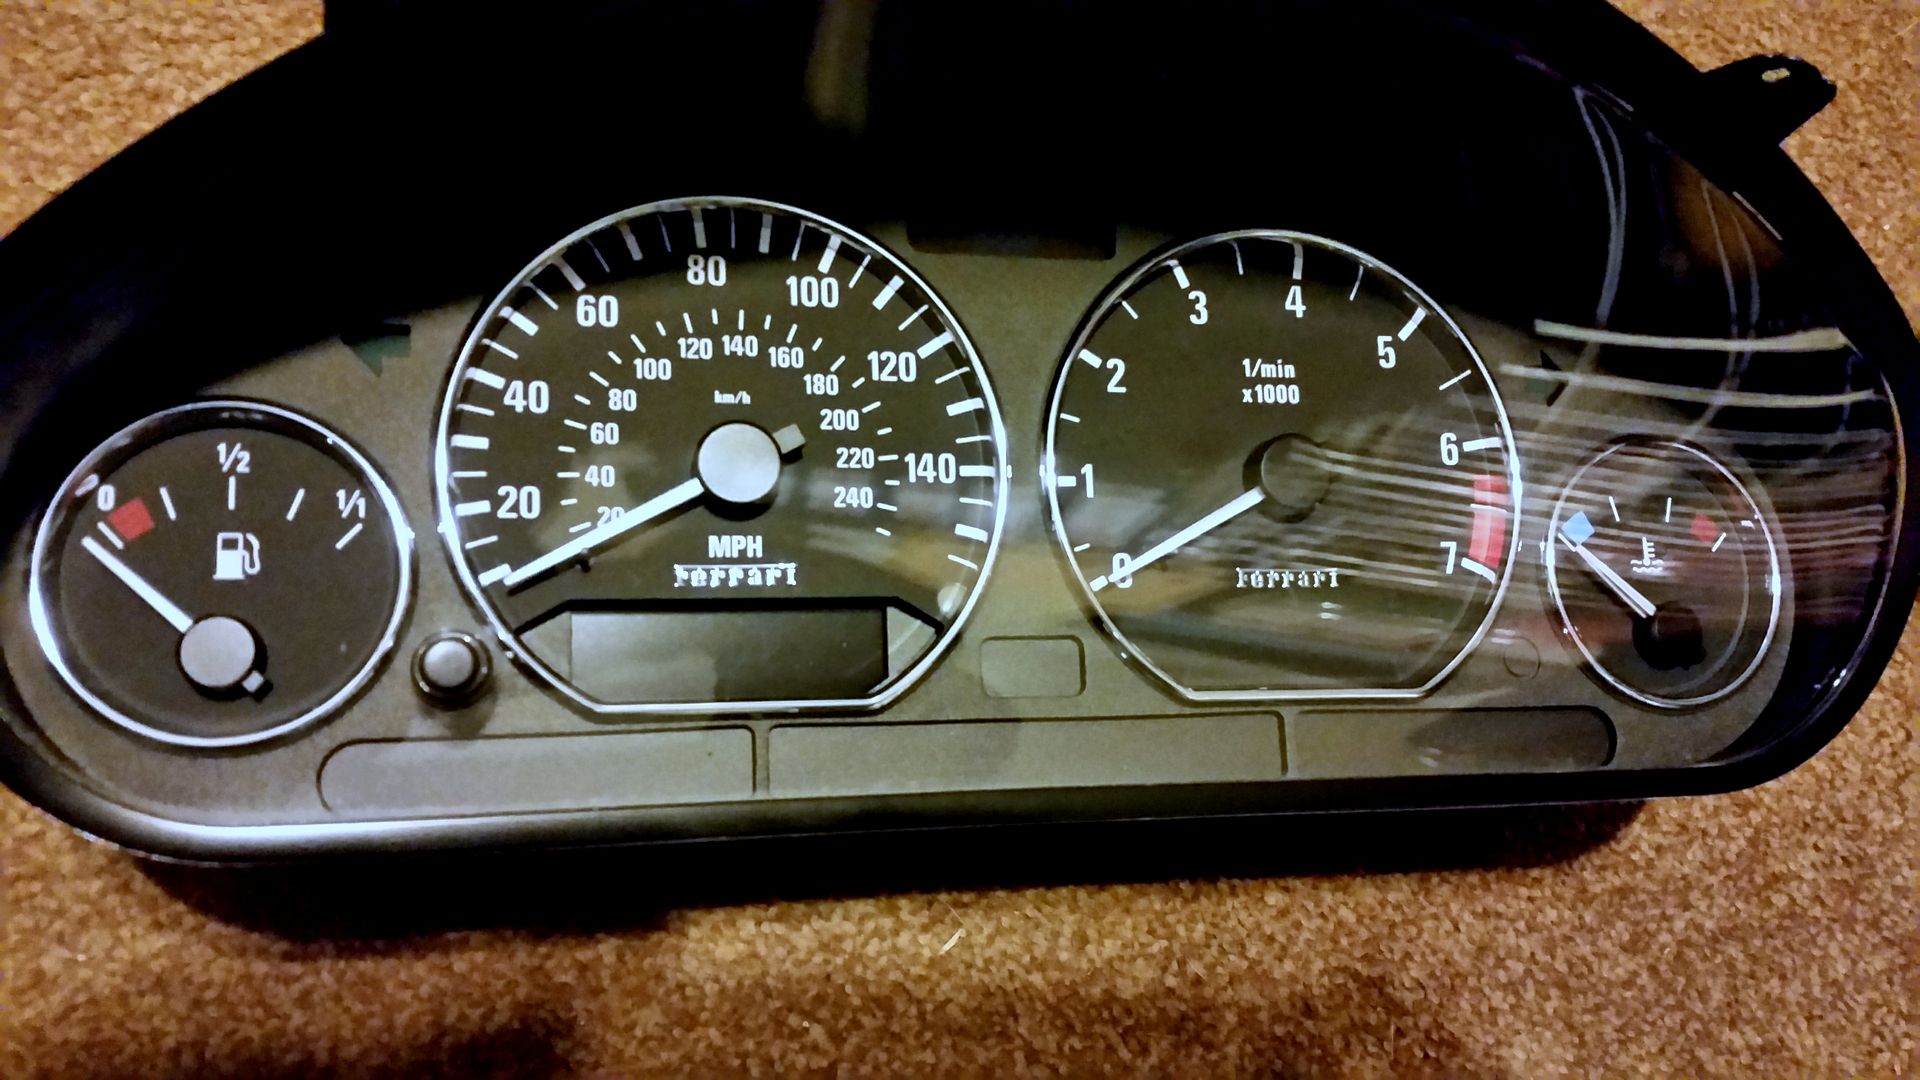
Then turn it over and remove the five torx screws in the back. This will separate the two halves. (second picture) Now BMW in their ultimate wisdom decided to permamently glue the clear plastic cover to the binnacle. On most vehicles you just lever each tab around the outside till it comes off, giving you perfect access to the clock faces. Not on Z3’s. I googled removing the speedo head from the cluster and they all say it can’t be done. Now I’m a persistence little **** so I got and old set of clocks from my wifes Z3 with a non working speedo. I reverse engineered (ie: smashed it apart) to see how it had been assembled and found a solution.(first picture)
Last edited by Nubodi Automotive; 3rd January 2016 at 17:17..
|
3rd January 2016, 17:18
|
|
Senior Member
Enthusiast
|
|
Join Date: May 2014
Posts: 607
|
|
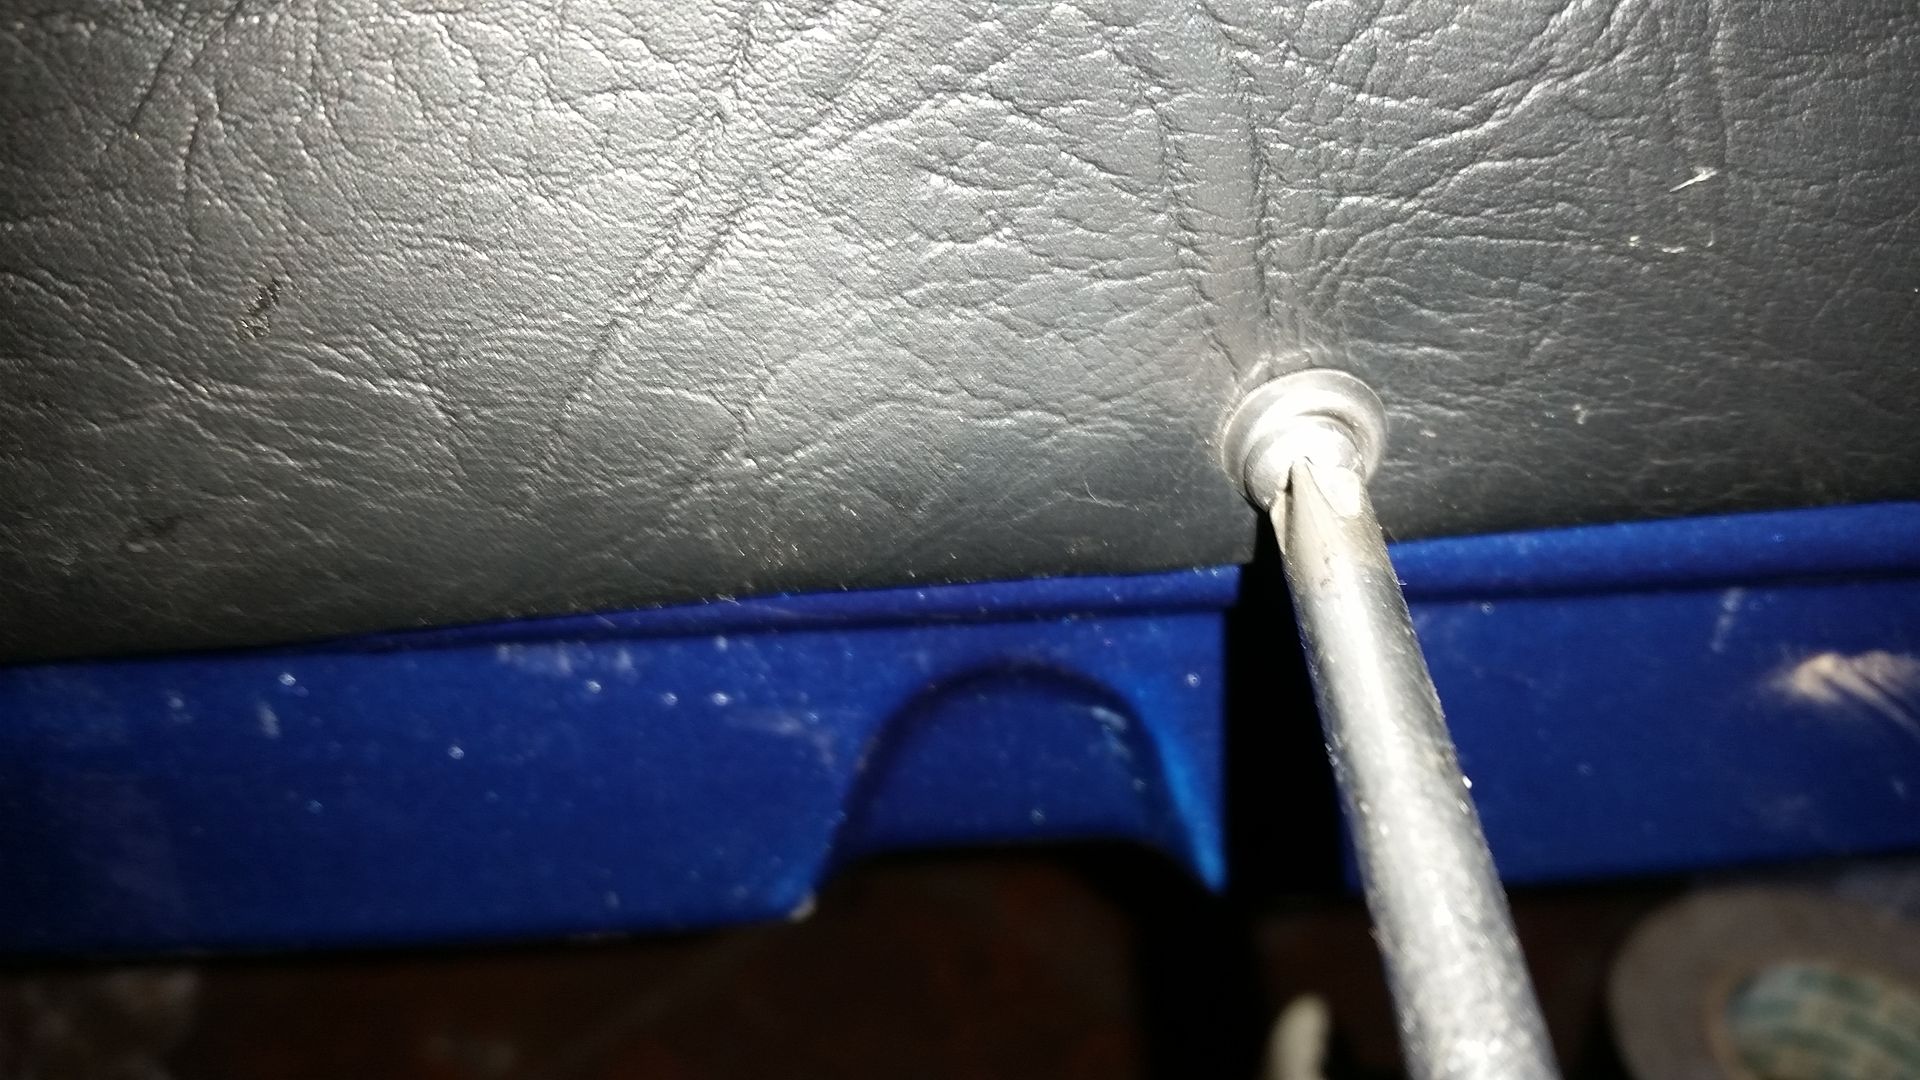
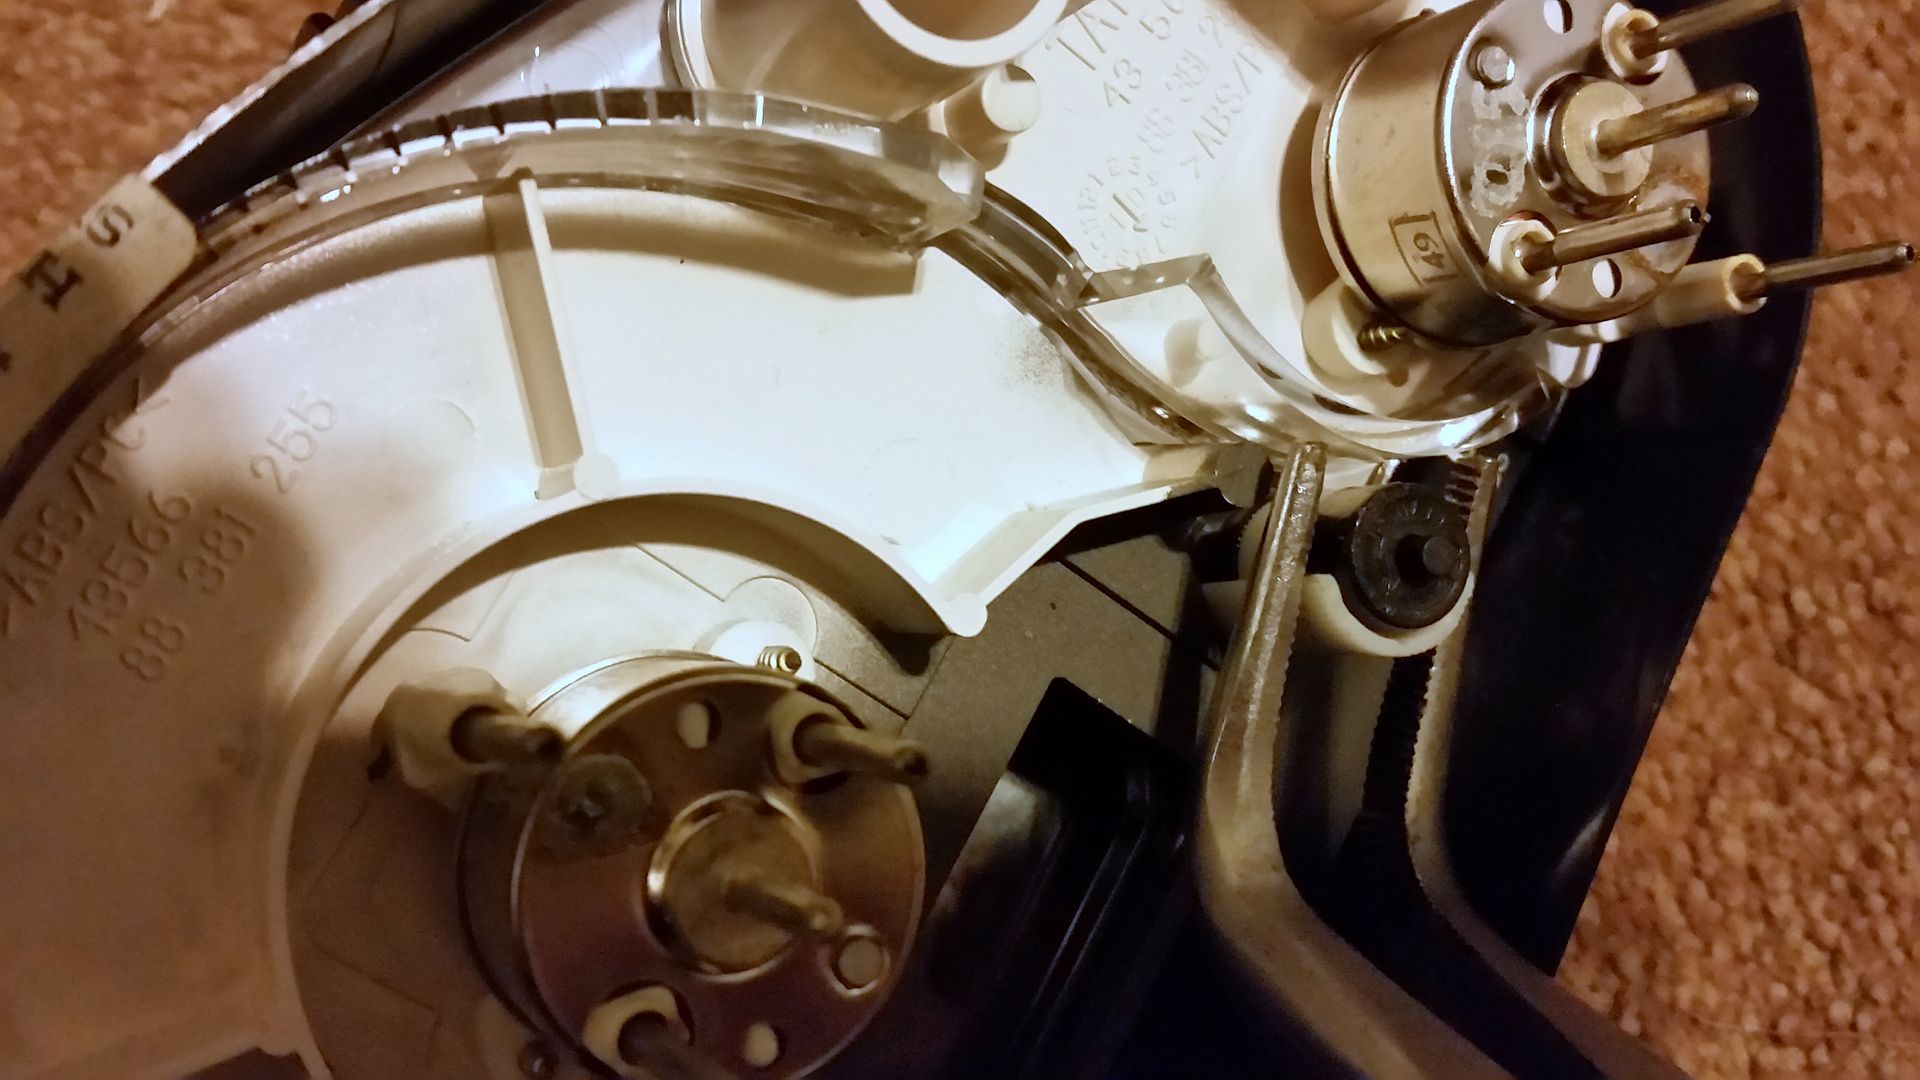
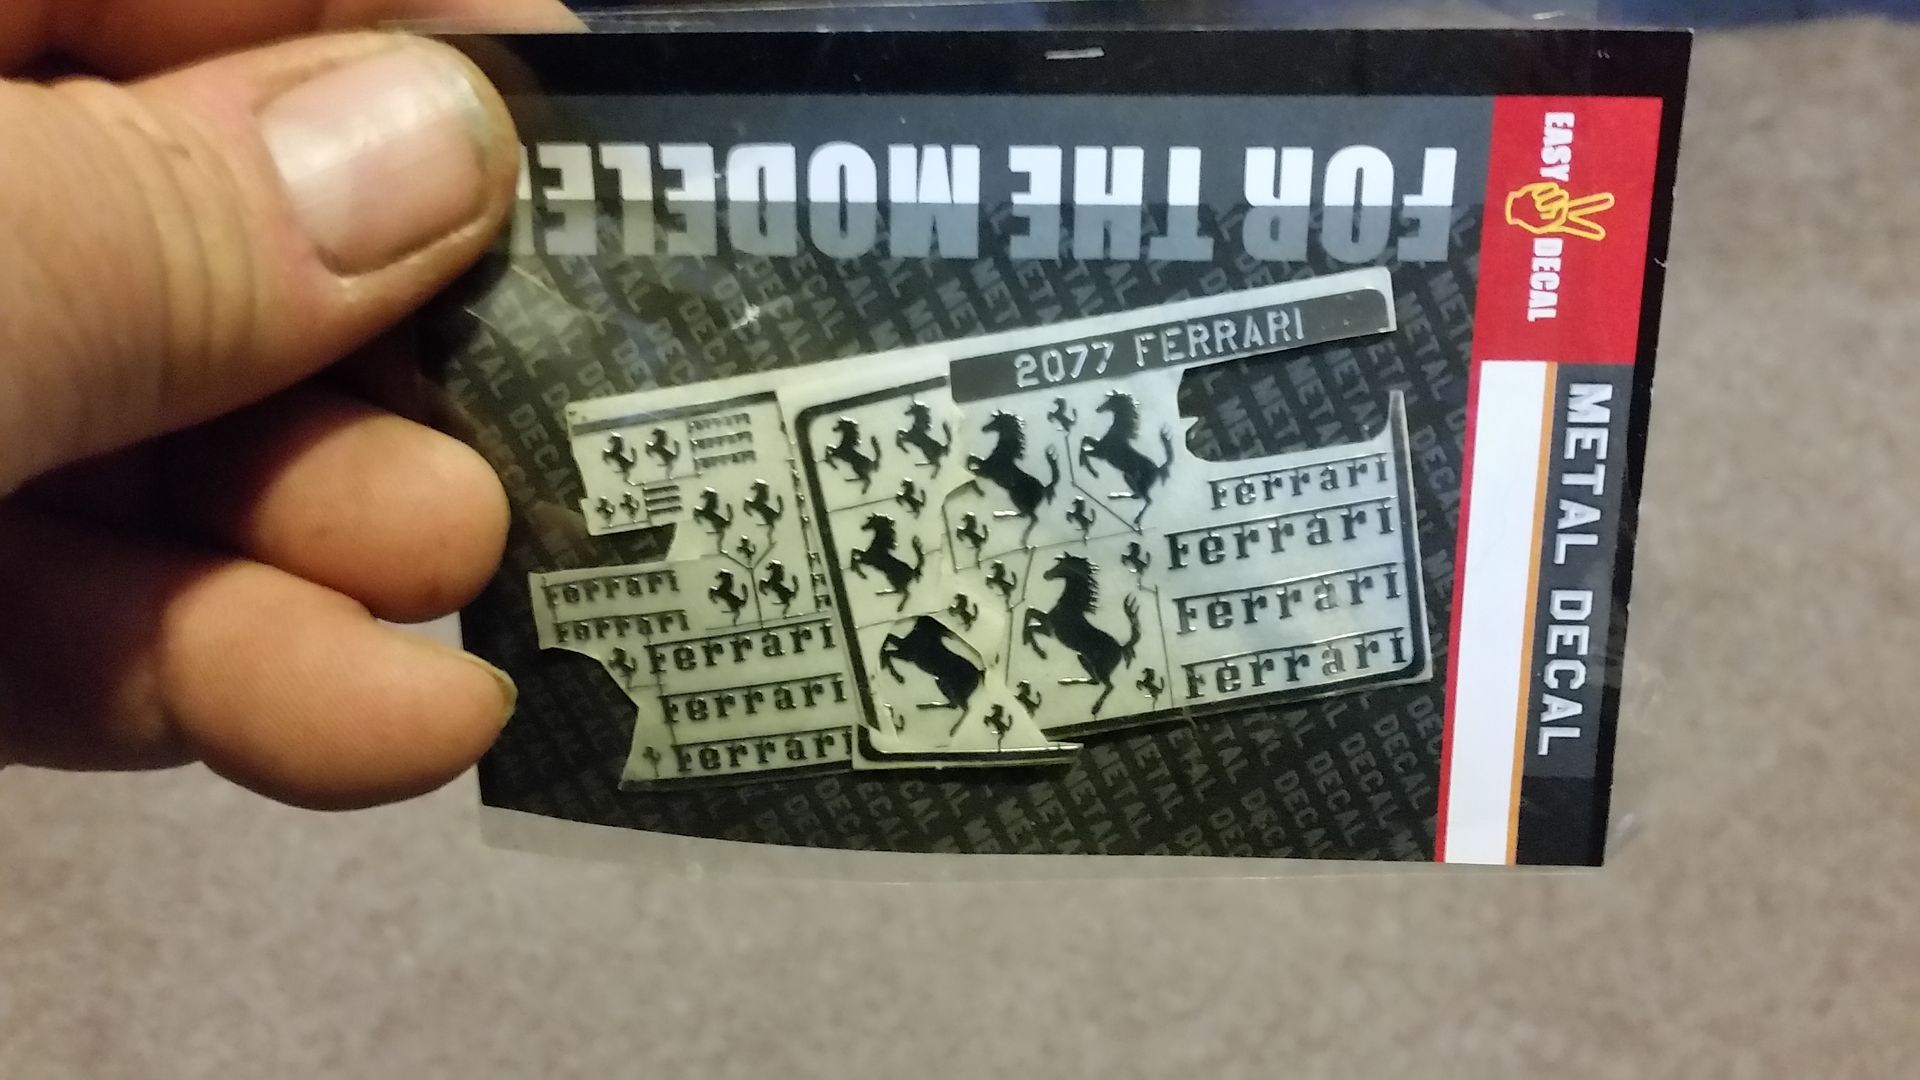
There are three black, round posts with a white revolving collar. If you get a pair of nose pliers and rotate the white collar to the position where the base is free from the clear casing, the whole part lifts out. You have to be brave and go past the thin ‘stop’ plastic line to get there.
 |
3rd January 2016, 17:21
|
|
Senior Member
Enthusiast
|
|
Join Date: May 2014
Posts: 607
|
|
Last edited by Nubodi Automotive; 3rd January 2016 at 17:23..
|
3rd January 2016, 17:26
|
|
Senior Member
Enthusiast
|
|
Join Date: May 2014
Posts: 607
|
|
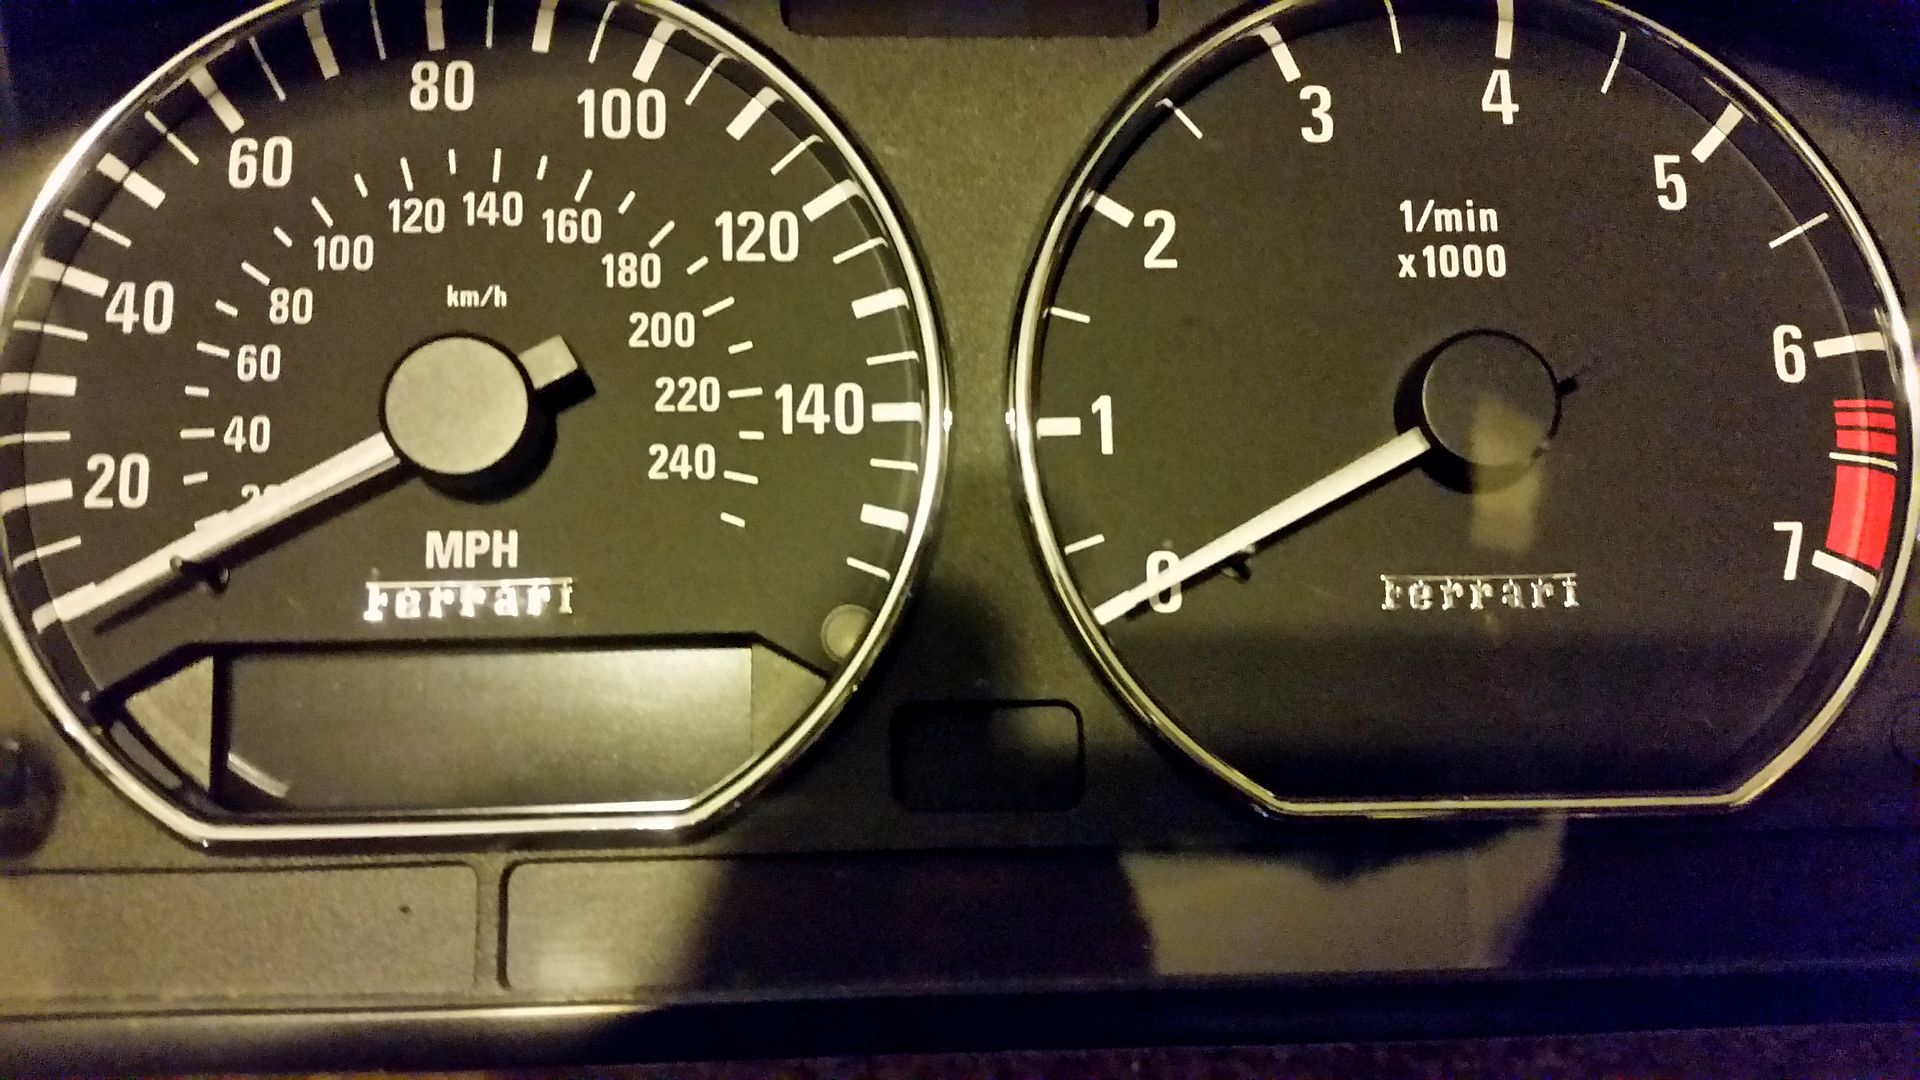
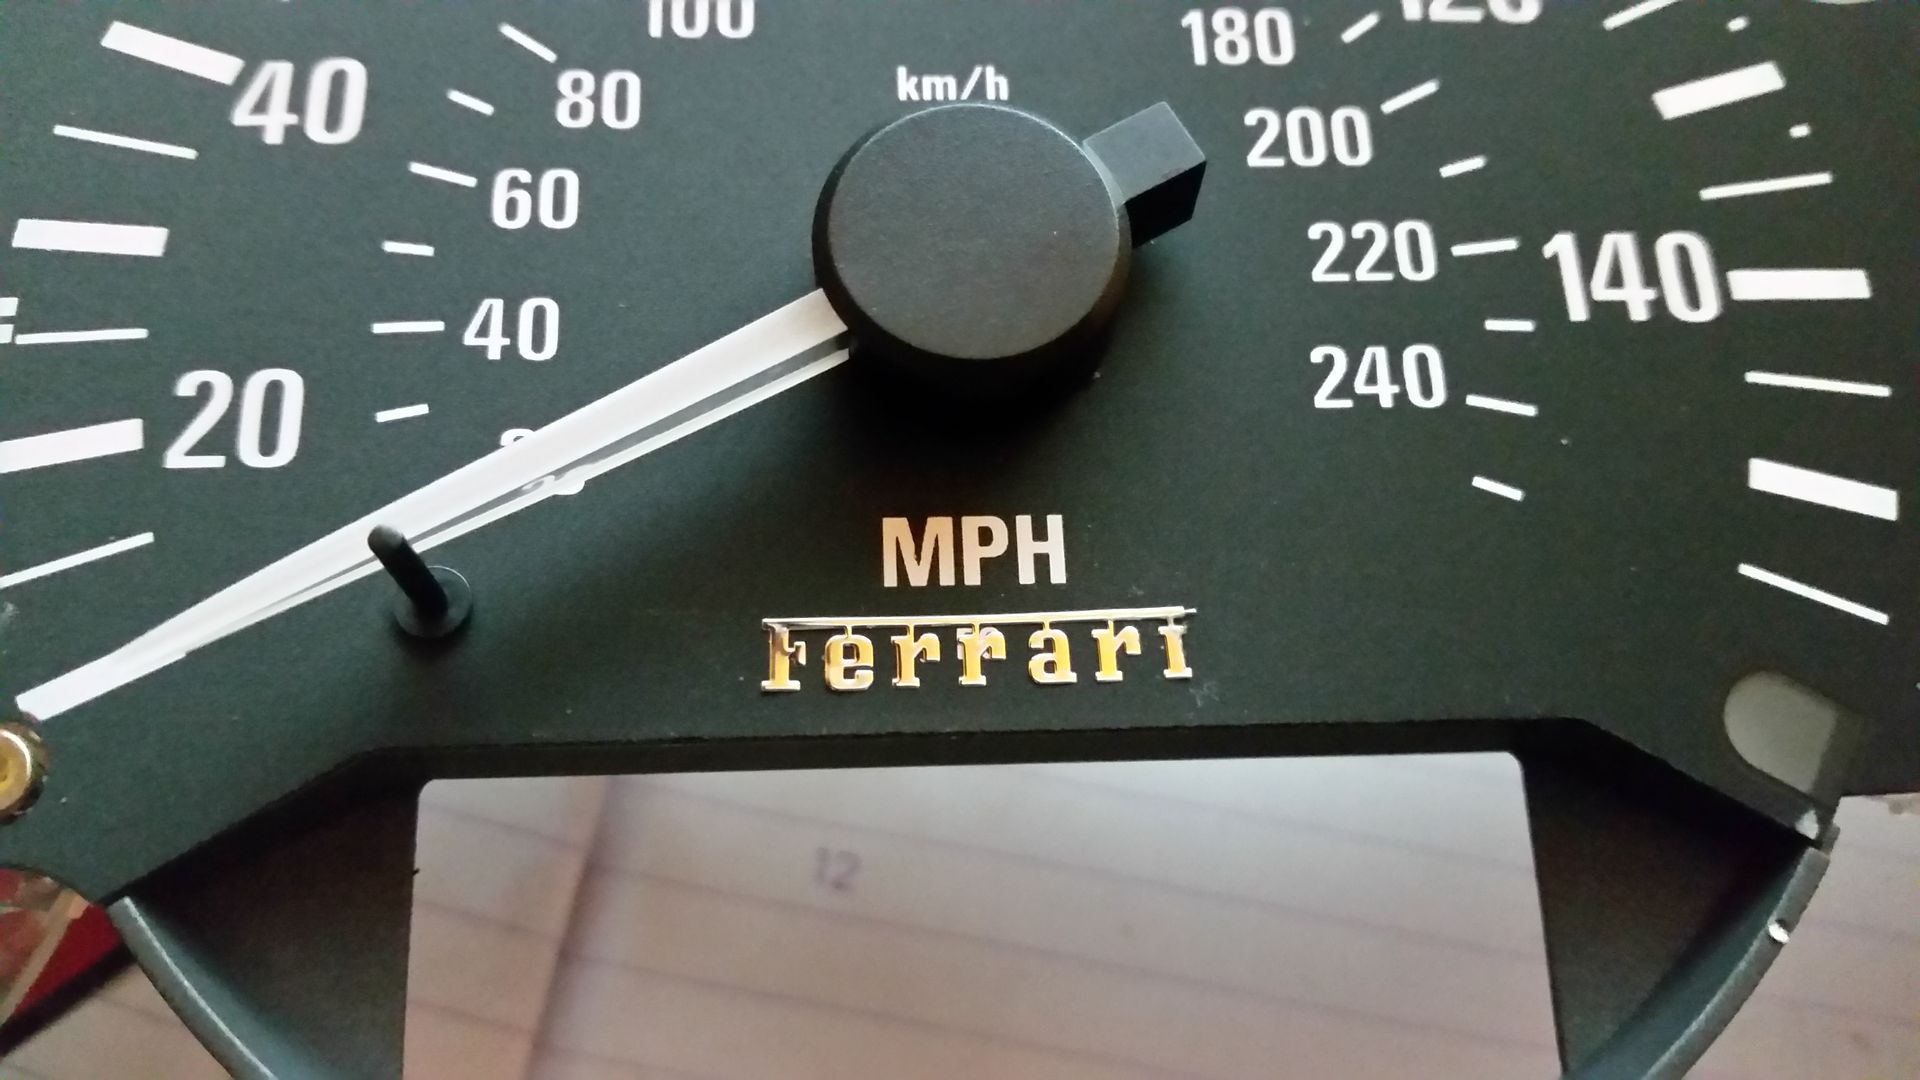
Reassemble in reverse order. This took me a silly amount of time but should be quicker now for you. Sometimes the smallest (but important) details take the most time. Total cost £2.99.
Last edited by Nubodi Automotive; 3rd January 2016 at 17:28..
|
|
Currently Active Users Viewing This Thread: 1 (0 members and 1 guests)
|
|
|
 Posting Rules
|
You may not post new threads
You may not post replies
You may not post attachments
You may not edit your posts
HTML code is Off
|
|
|
All times are GMT +0. The time now is 22:37.
|


 Linear Mode

