|
|
| Tribute Automotive Builds Discuss your Tribute kit build |

15th April 2016, 07:57
|
|
Senior Member
|
|
Join Date: May 2013
Posts: 2,161
|
|
That's the spirit Degsy!
I would suggest not cutting the hinge right through, but like I did, cut it in from top and bottom so the hinge is still attached
by a thin strip in the middle, that way it can be levered and bent
in the desired direction, and the door can be bolted back on for checks before welding.
|
15th April 2016, 14:48
|
|
Senior Member
|
|
Join Date: Mar 2015
Posts: 395
|
|
Scottie I was thinking along the same lines though I will have to cut here
[IMG] 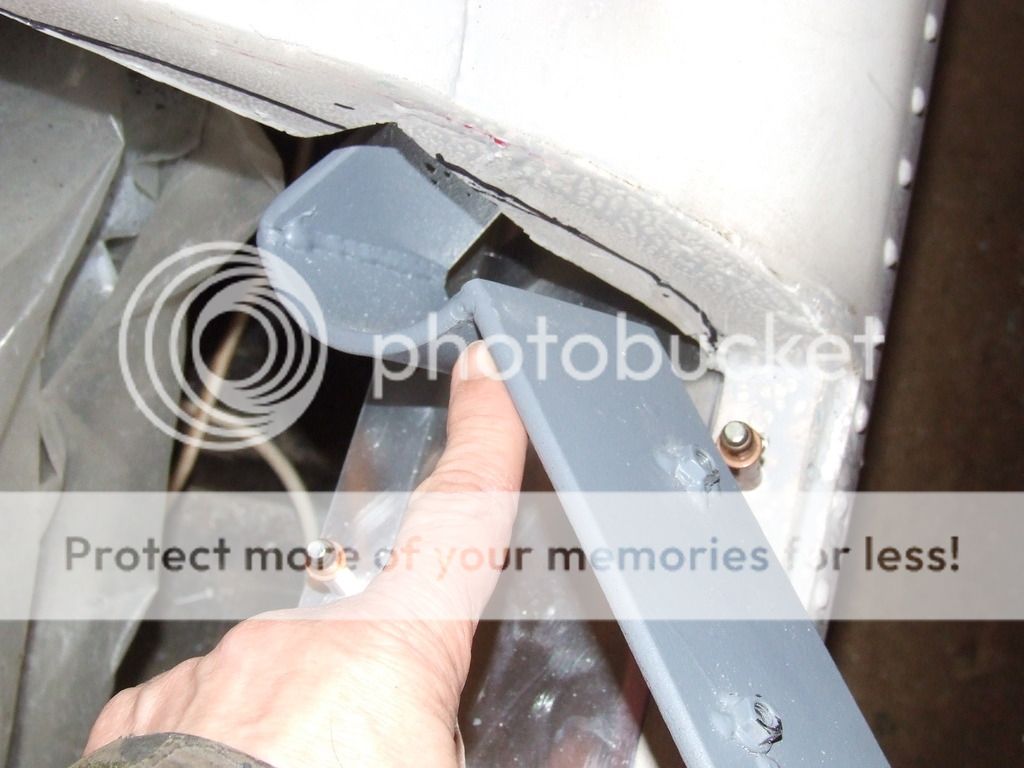 [/IMG]
almost to the bottom then twist it up tack it and see if it fits probably several times.
the issue is that due to a total lack of planning it will have to be done in situ now the body is on I can't get the hinges off the frame.
[IMG] 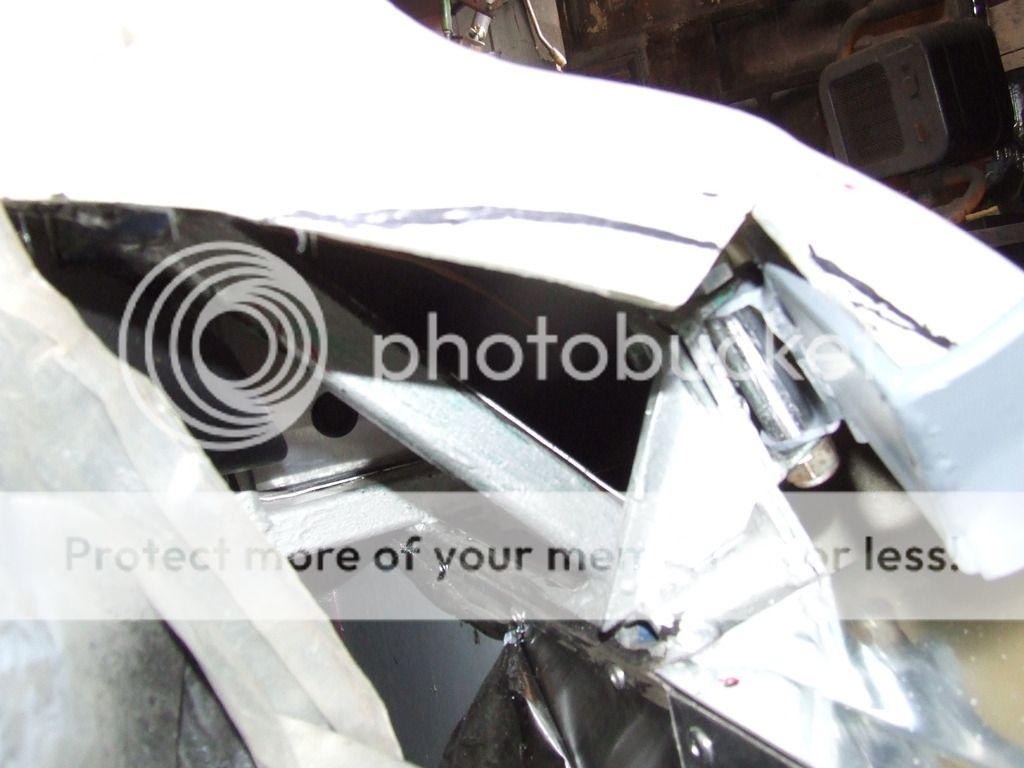 [/IMG]
so whilst building up my courage I have been making some of the panelling around the doors.
[IMG] 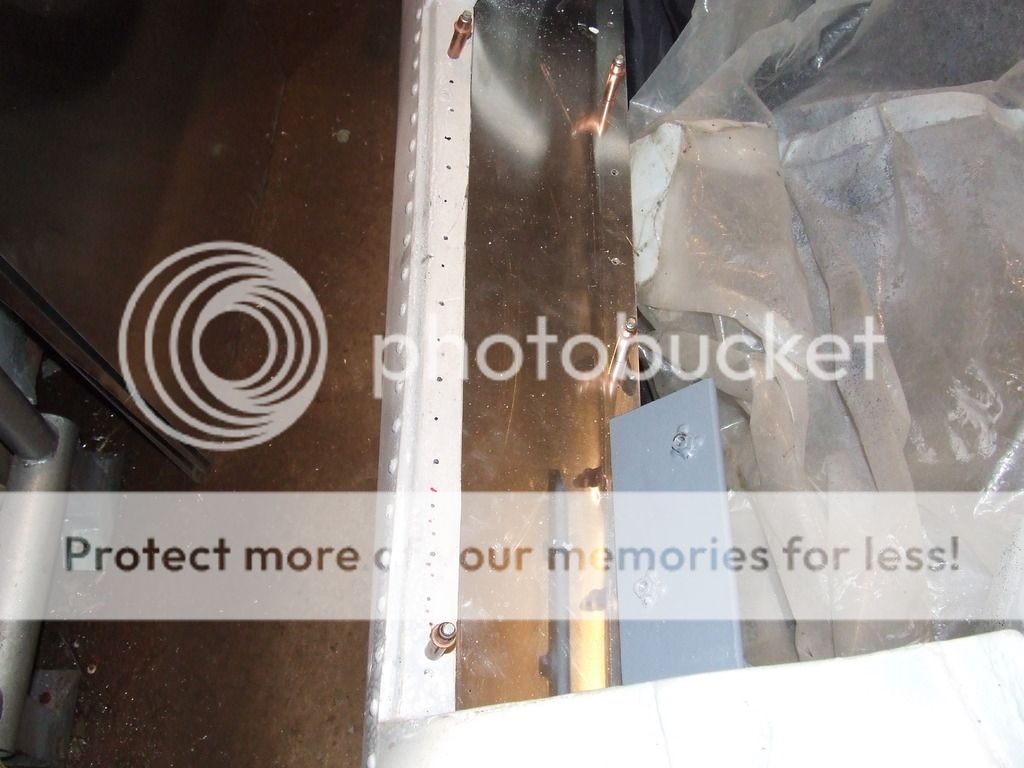 [/IMG]
[IMG] 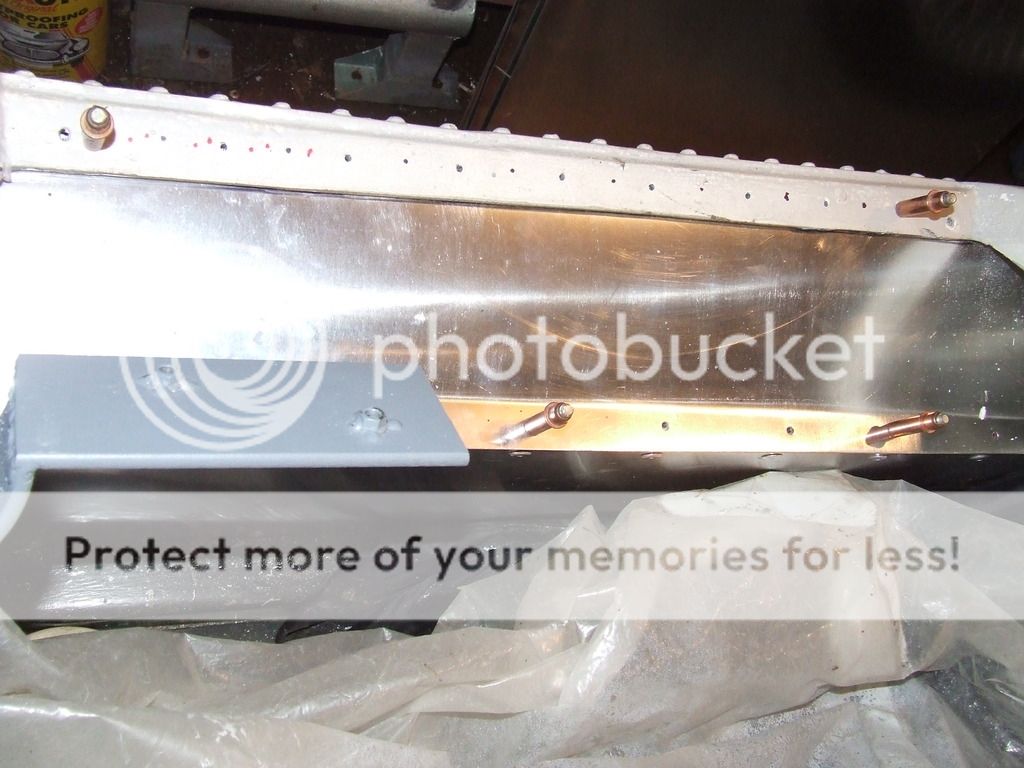 [/IMG]
[IMG 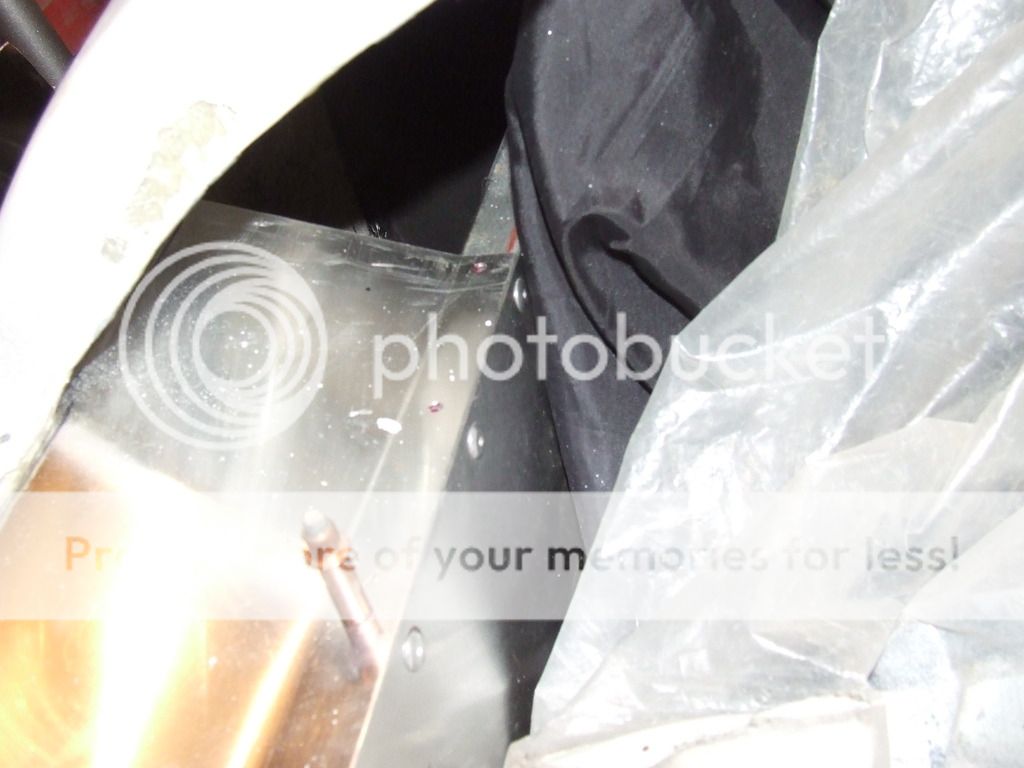 ][/IMG]
This should keep me busy for some time.  |
15th April 2016, 21:23
|
|
Senior Member
|
|
Join Date: May 2013
Posts: 2,161
|
|
Yeah, see what you mean, I was lucky in that I was able to remove the hinges from my car after body bonding, (although it was really time-consuming and fiddly)
Had you considered maybe cutting the hinge bolts off to get the hinge out, then putting new bolts in from below and the nut on top? Perhaps an option to ease things.
Or, you could do a "Paul" on the body, and cut a hole to get to the top nut, then glass it back in afterwards?
Keep posting!
|
23rd April 2016, 20:02
|
|
Senior Member
|
|
Join Date: Mar 2015
Posts: 395
|
|
Well I cut the first one in situ and cut too far  it fell of it made lining it up a bit harder but worked out ok.
[IMG] 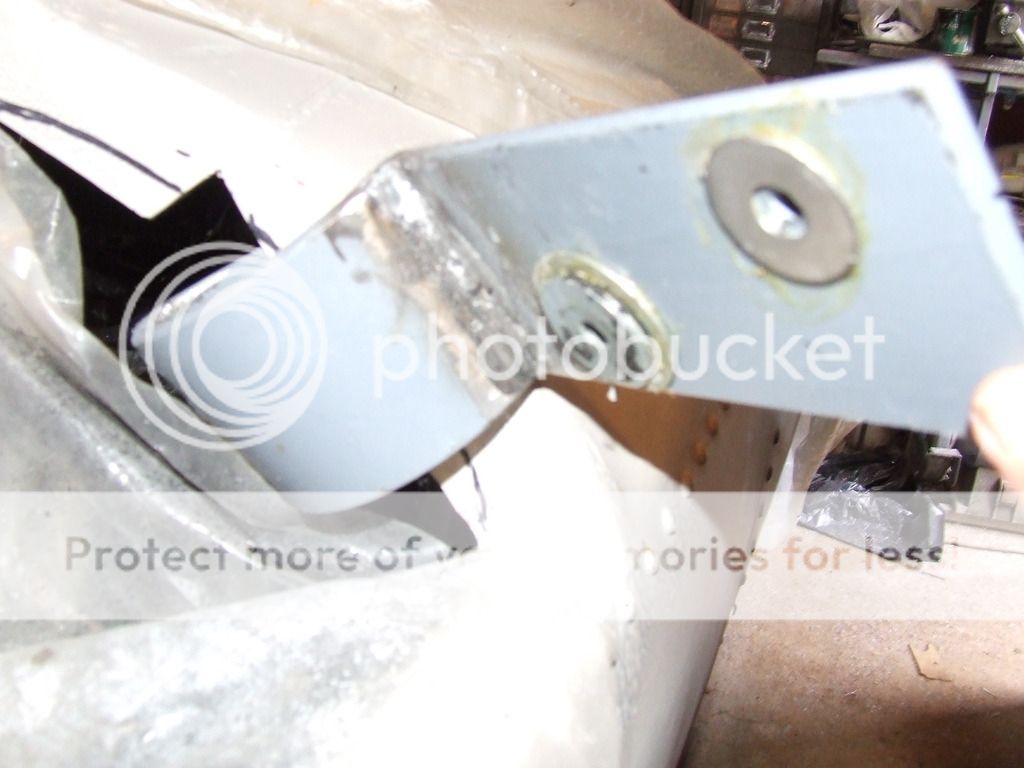 [/IMG]
The spacers are glued on temporarily to get an idea of wot's needed.
[IMG] 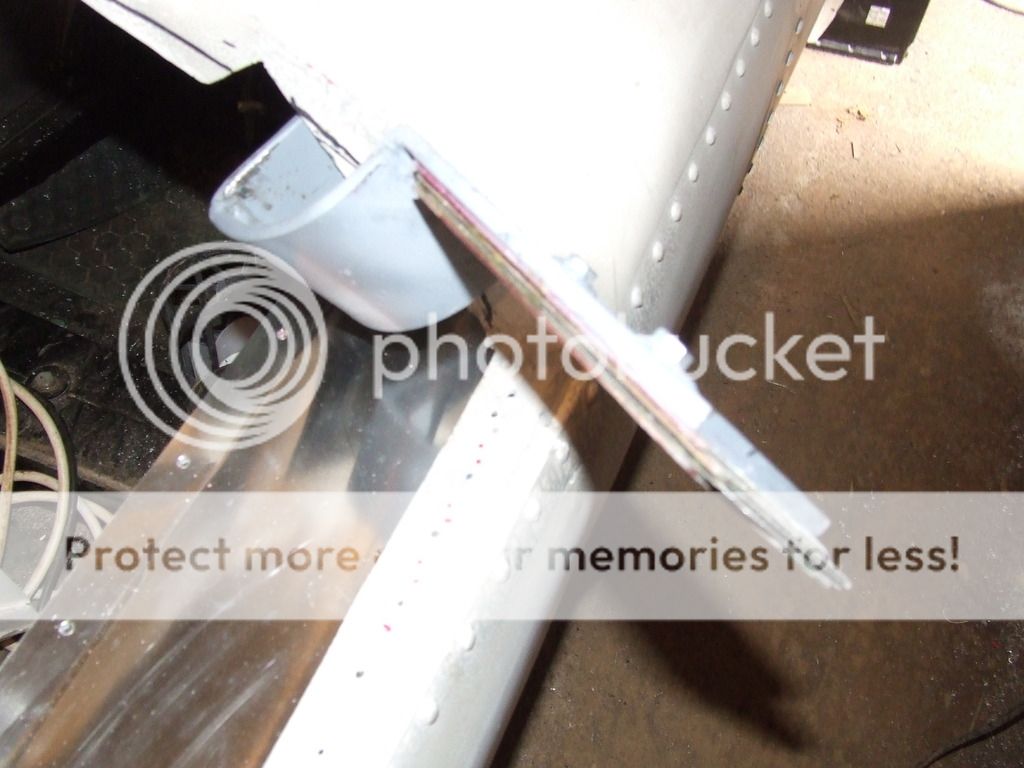 [/IMG]
[IMG]  [/IMG]
four 2mm spacers fitted and it's just about there
[IMG]  [/IMG]
[IMG]  [/IMG]
pretty close eh! Now for the other side  won't be for a while though as I have to get my seven ready for the road and then there's Stoneleigh next week end  |
23rd April 2016, 20:09
|
 |
Senior Member
|
|
Join Date: May 2009
Location: POOLE , DORSET
Posts: 2,200
|
|
Theres something incredibly sexy about the side profile and door shape on a D type isn't there ?
All the rivet detail and aero styling is just gorgeous ...
|
23rd April 2016, 20:12
|
|
Senior Member
|
|
Join Date: Mar 2015
Posts: 395
|
|
I think that's what drew me to the kit in the first place and I'm adding lot's more rivets I won't know what to do with myself?
|
23rd April 2016, 20:21
|
 |
Senior Member
|
|
Join Date: Jan 2014
Location: Egham, Surrey
Posts: 1,780
|
|
riveting post  |
23rd April 2016, 22:46
|
|
Senior Member
|
|
Join Date: May 2013
Posts: 2,161
|
|
Well done Degsy!
You seem to have done in a short time what it took me ages to do, and my passengers bloody door is still not right!
|
24th April 2016, 06:47
|
 |
Senior Member
|
|
Join Date: Feb 2012
Location: Wembley, London
Posts: 5,056
|
|
Deggsy - Great job on the door alignment. 
|
24th April 2016, 16:13
|
|
Senior Member
|
|
Join Date: Mar 2015
Posts: 395
|
|
Thanks guys one down one to go.
|
4th May 2016, 11:53
|
|
Senior Member
|
|
Join Date: Mar 2015
Posts: 395
|
|
Sorry I didn't get to meet you guys and girls at Stoneleigh but I was only there for two hours when I had a call saying my mum had fallen over and was being taken into hospital so had to rush home she's broken her arm and hip . So all work has stopped on the car for the foreseeable future.
|
4th May 2016, 13:07
|
|
Senior Member
|
|
Join Date: Apr 2014
Location: Birmingham, UK
Posts: 545
|
|
Sorry to hear that
|
4th May 2016, 13:16
|
|
Senior Member
|
|
Join Date: Apr 2014
Location: Midlands
Posts: 405
|
|
Sorry to hear your news, but the good thing with a build is they can wait and be dabbled with at whatever pace you choose. All the best
|
4th May 2016, 18:25
|
|
Senior Member
|
|
Join Date: Feb 2012
Location: Wembley, London
Posts: 5,056
|
|
Deggsy - Car vs. mum = No contest.
Hope she makes a full recovery.
Take care, Paul.
|
12th June 2016, 11:44
|
|
Senior Member
|
|
Join Date: Mar 2015
Posts: 395
|
|
 update
I have managed to get the occasional hour on the car mostly small fiddly jobs
[IMG]  [/IMG]
making the panels around the door.
[IMG] 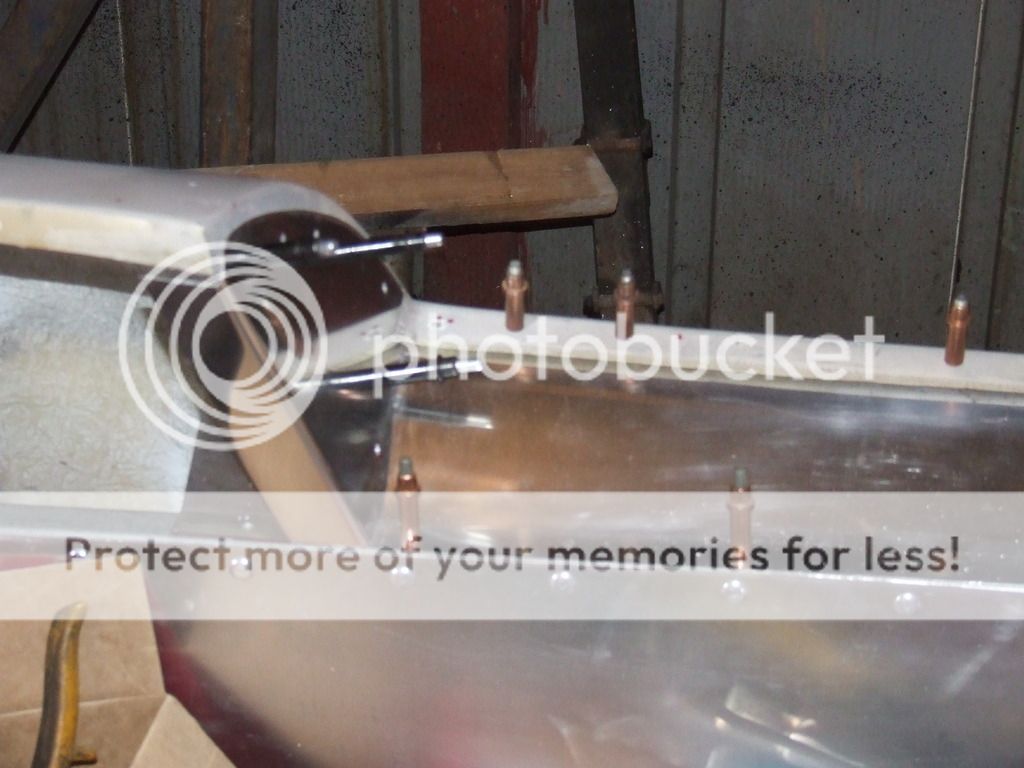 [/IMG]
very fiddly to make this end panel after 4 attempts to fit it on the inside I gave up and fitted it on the out side I will have to use filler to make it flush with the body doh! I then realised that when panelled in I wouldn't be able to access the rear of it to fit the lock striker pin double doh! plan c . turn it into storage space.
[IMG]  [/IMG]
[IMG] 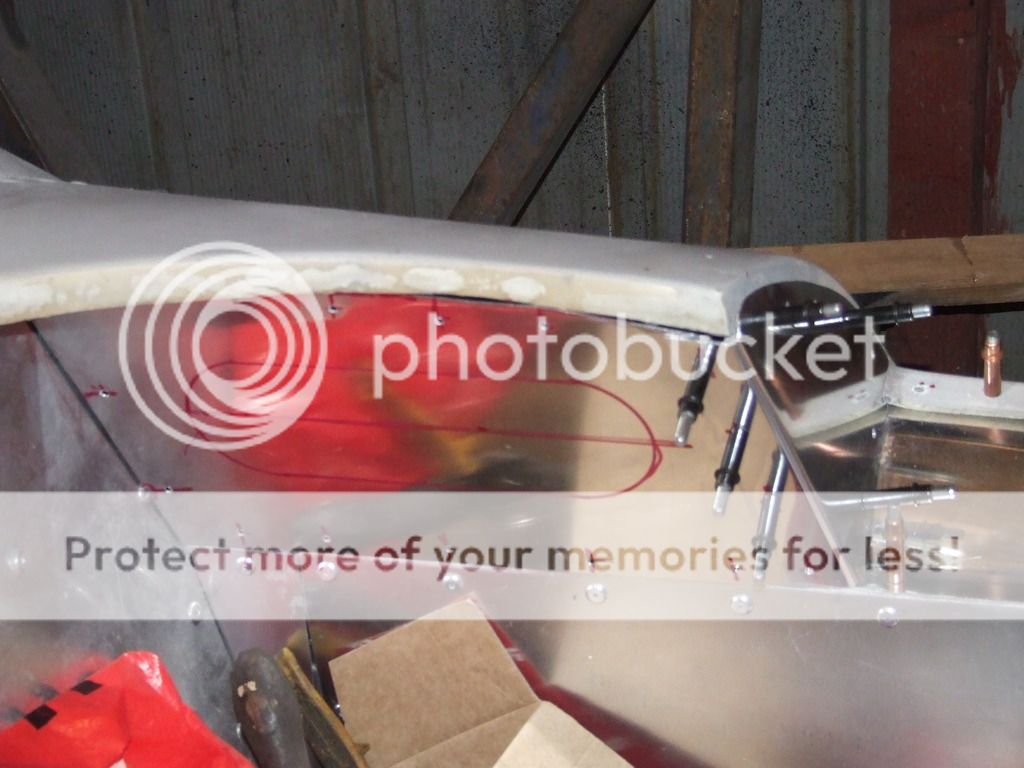 [/IMG]
[IMG] 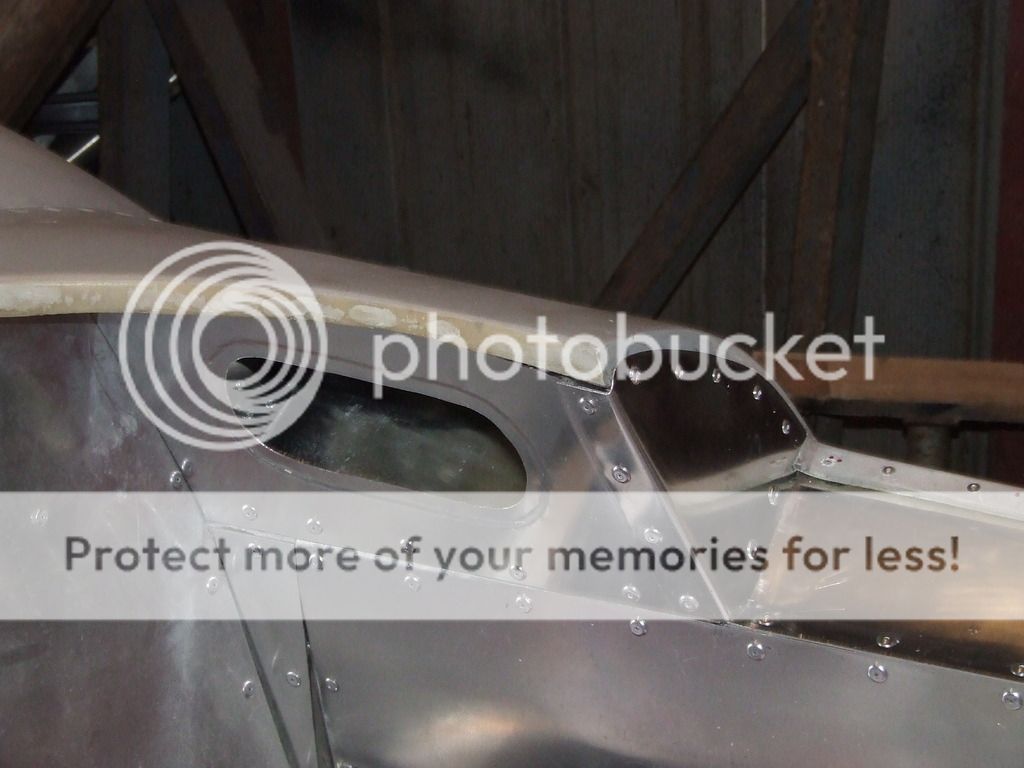 [/IMG]
[IMG 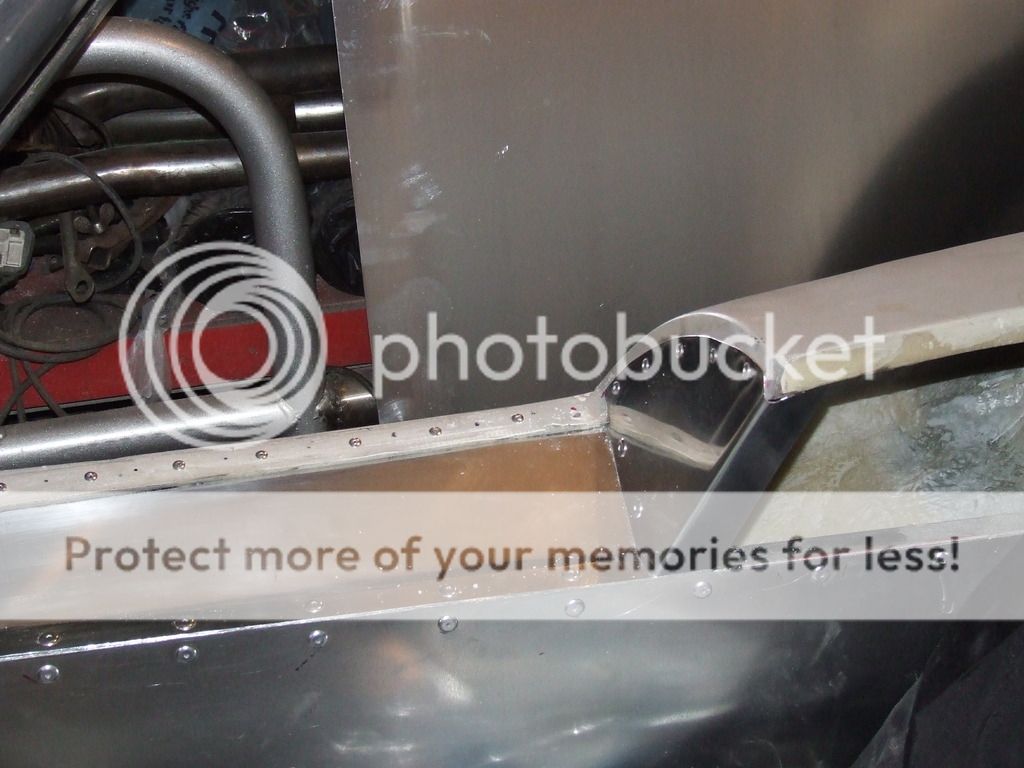 ][/IMG]
the other side
[IMG]  [/IMG]
I have also cut and welded the passenger door hinge jur a matter of lining it up now. |
12th June 2016, 12:13
|
|
Senior Member
|
|
Join Date: May 2013
Posts: 2,161
|
|
Nice one Degsy! I can sympathise with you on theses panels, as I had similar but worse problems making my complicated rain chanels!
|
12th June 2016, 15:42
|
|
Senior Member
|
|
Join Date: Mar 2015
Posts: 395
|
|
Rain channels? RAIN CHANELS noooo aaaaagh
|
14th June 2016, 07:05
|
|
Senior Member
|
|
Join Date: Feb 2012
Location: Wembley, London
Posts: 5,056
|
|
Deggsy - Your panel work looks great.
How did you get the "indent" around the hole you cut in the storage panel?
Good luck, Paul. 
PS
Regarding the rain channels...
When I was building a rain channel & drain holes for my boot lid, someone pointed out that there was a still big hole in the middle of my car where the roof should be. 

|
14th June 2016, 09:07
|
|
Senior Member
|
|
Join Date: Mar 2015
Posts: 395
|
|
Paul
I used a Joddler Can't get the link to work but if you type in Joddler in eBay you'll see what they are best to get one with a hole punch as well. I think I'll give the rain channels a miss and use the moulded stick on seals instead.
|
17th June 2016, 20:35
|
|
Senior Member
|
|
Join Date: Mar 2015
Posts: 395
|
|
Chris sent me a pair of rear indicator light pods today which I asked him to make for me.
[IMG] 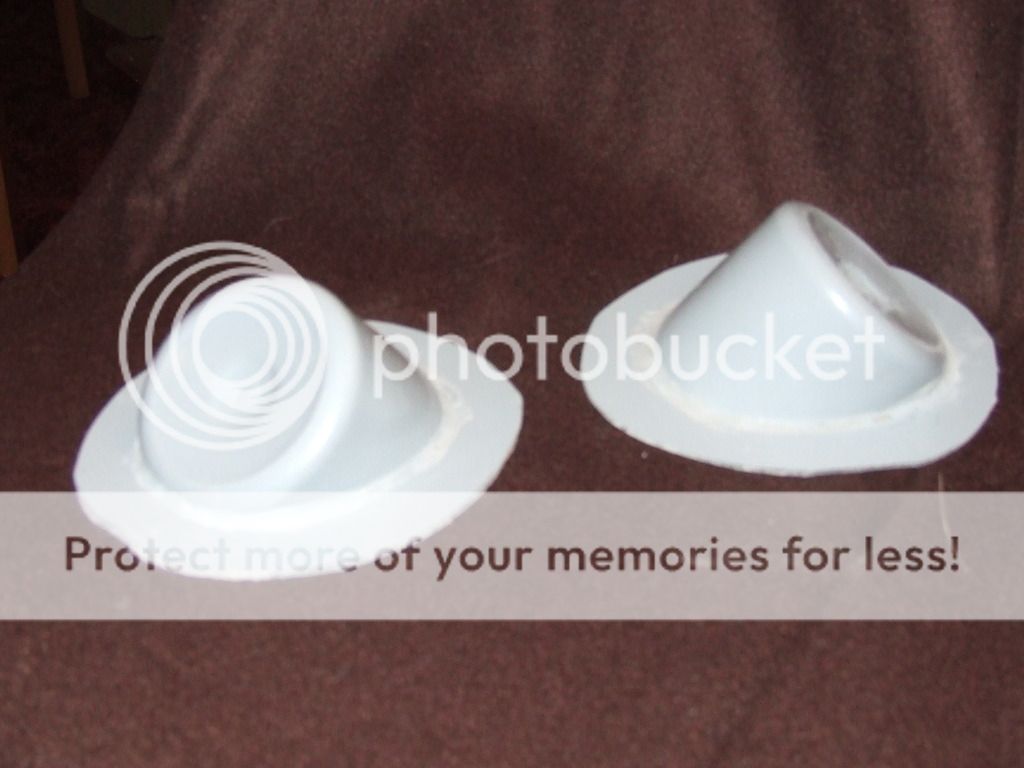 [/IMG]
Lovely Jubly  |
|
Currently Active Users Viewing This Thread: 1 (0 members and 1 guests)
|
|
|
| Thread Tools |
|
|
| Display Modes |
 Linear Mode Linear Mode
|
 Posting Rules
|
You may not post new threads
You may not post replies
You may not post attachments
You may not edit your posts
HTML code is Off
|
|
|
All times are GMT +0. The time now is 06:21.
|


