Are you madabout kit cars      
 "We've Got Kit Cars Covered" Information about Madabout-Kitcars.com Contact Madabout-Kitcars.com         Home of UK kit cars - madabout-kitcars.com Various kit car write ups All the latest kit car news Kit car related and general discussion

Search
Manufacturers
Kit Cars
Kit Car Data sheets
Picture Gallery
SVA Knowledgebase
Clubs & Communities
Build cost estimator
Kit cars for sale
Knowledge Base 
KitcarUSA.com
Classic-Kitcars.com
 

Go Back   Madabout Kitcars Forum > Mad Build Area > Tribute Automotive Builds

Tribute Automotive Builds Discuss your Tribute kit build

Reply
 
Thread Tools Display Modes
  #1  
Old 2nd September 2016, 13:00
Jaguartvr's Avatar
Jaguartvr Jaguartvr is offline
Senior Member
 
Join Date: Jan 2014
Location: Egham, Surrey
Posts: 1,780
Jaguartvr is on a distinguished road
Default Z3 wiring question

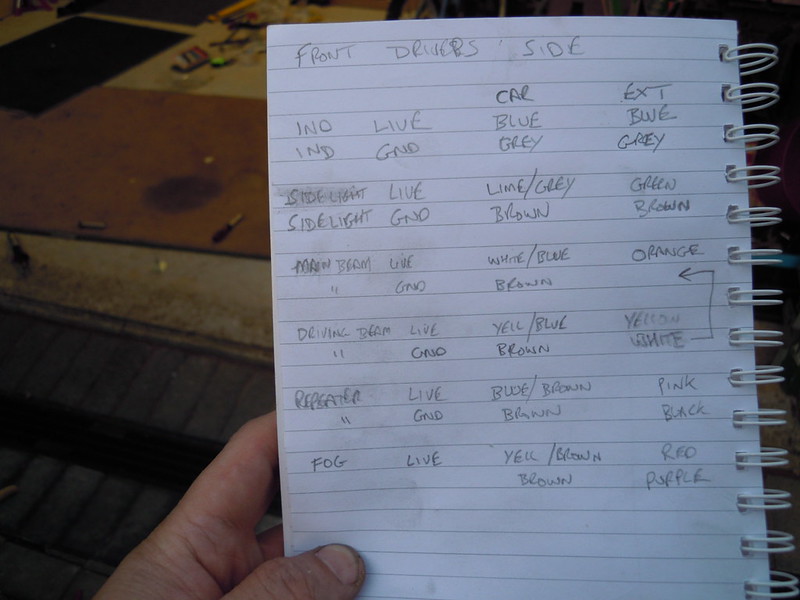
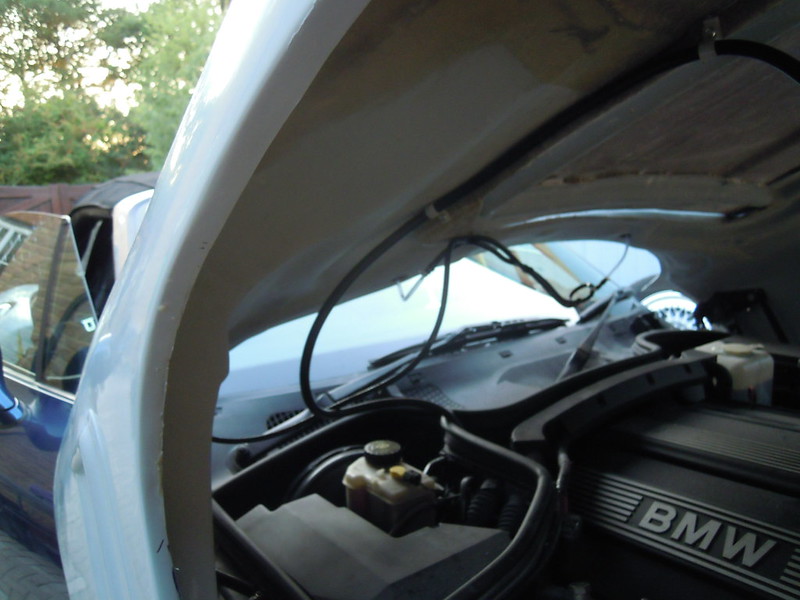
Just beginning to look at the wiring under the bonnet. The main, dip and side lights all have their own earth wire. Can I join these together under the bonnet so I only have to run one wire to main, dip and side lights?
Or is it asking for trouble?

There is an earth bolt on the inner wing that has quite a few brown earth wires terminating at it so I would guess as they are all earths they do all connect.


Can I use the indicator wires to power both the front indicator and the side repeater or will they flash too quickly as if one of the indicator bulbs have gone?

Last edited by Jaguartvr; 2nd September 2016 at 13:33..
Reply With Quote
Available from eBay
  #2  
Old 2nd September 2016, 14:54
IanA's Avatar
IanA IanA is offline
Senior Member
 
Join Date: May 2014
Location: Oxon
Posts: 1,118
IanA is on a distinguished road
Default

Dan did the wiring on my Z300S conversion and the wiring for each side is still separate. No wiring runs "across" the bonnet. The wiring for the new side repeaters (on the body on mine) connects to the original wiring.

My build thread details what I subsequently did with the front indicators using resistors to slow down the flash rate (because I'd substituted LED indicators) but that was only temporary- I now have three incandescent bulbs on each side so they exhibit the correct load to the flasher relay. Only the side repeaters are LED now.

Word to the wise- the rear light wiring has some inconsistencies (from the BMW Tallahassee factory) so don't take any colour code similarities for granted- check every wire to see what it does.

Last edited by IanA; 2nd September 2016 at 14:59..
Reply With Quote
  #3  
Old 2nd September 2016, 14:58
Jaguartvr's Avatar
Jaguartvr Jaguartvr is offline
Senior Member
 
Join Date: Jan 2014
Location: Egham, Surrey
Posts: 1,780
Jaguartvr is on a distinguished road
Default

On my Z3 the wiring runs down the O/S front wing then across the radiator to the other side. There must be about 20 earth wires but quite a few of them seem to join together.
Reply With Quote
  #4  
Old 2nd September 2016, 15:04
WorldClassAccident WorldClassAccident is offline
Senior Member
 
Join Date: Nov 2011
Posts: 3,558
WorldClassAccident is on a distinguished road
Default

I have connected the earths between either side of the headlights.

I have earths running back towards each hinge as well.

Earth is earth so you can connect them all together but...

...you increase the load so need to increase the size of wire

...you introduce a single point of failure so if the wire gets a little loose or corroded you lose all lights

For mine I combined all the earths into a single bigger earth just behind the headlights and then used the single bigger wire after that.

Mine has earth from left hinge up to both headlights and right hinge to both headlights. If either wire breaks then the other will still keep going.

At one point before I did all this, I had the earth connected to the bonnet frame and not the hinge. This was fine while the bonnet was tightly closed but when I went over bumps and the bonnet lifted slightly the connection was broken and the lights went out.

I had one memorable trip late at night down a bumpy New Forest road where it appeared that I had fitted strobe lights. IUt was after that I decided to fix it properly.
Reply With Quote
  #5  
Old 2nd September 2016, 19:43
ericholm's Avatar
ericholm ericholm is offline
Senior Member
 
Join Date: Jun 2015
Location: MK
Posts: 435
ericholm is on a distinguished road
Default

DSCN4696 by eric holm, on Flickr

I extended all my light wiring above is the details for front drivers side and below you can see the wiring extended parts, I used standard crimps so I could easily disconnect the lights when it went to paint, now paint is complete I have 'industrial' strength connectors.....no more crimps, oh it is a 2002 car which might make a difference in the wire colours, if yours is older or newer......

DSCN4695 by eric holm, on Flickr

DSCN4699 by eric holm, on Flickr

DSCN4700 by eric holm, on Flickr
Reply With Quote
Reply


Currently Active Users Viewing This Thread: 1 (0 members and 1 guests)
 

Posting Rules
You may not post new threads
You may not post replies
You may not post attachments
You may not edit your posts

BB code is On
Smilies are On
[IMG] code is On
HTML code is Off

Forum Jump


All times are GMT +0. The time now is 01:28.

copyright © madabout-kitcars.com 2000-2024
terms and conditions | privacy policy