|
|
| Tribute Automotive Builds Discuss your Tribute kit build |

31st October 2016, 12:02
|
 |
Senior Member
|
|
Join Date: Jan 2014
Location: Egham, Surrey
Posts: 1,780
|
|
 Badges
I'm not keen on cars that are dripping in Ferrari badges, but each to their own. I was looking for something that gives a nod to Ferrari but at the same time not trying to make it something that it is not.
I bought a genuine Ferrari "California" glove box badge but it was too small to really use on the bodywork so i have had some larger ones cut (Thanks Paul). 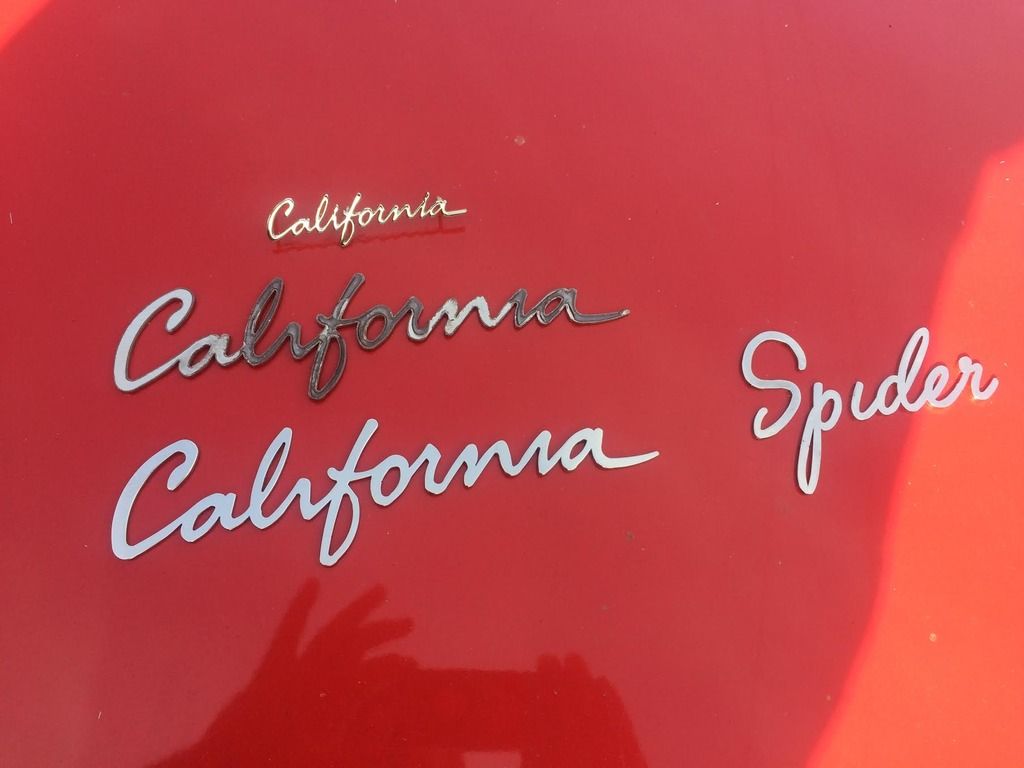
The top badge is the original glove box badge, the second one is how they come to me and the last 2 are after I have polished them on my buff and ultrasonically cleaned them. The polishing is very time consuming.
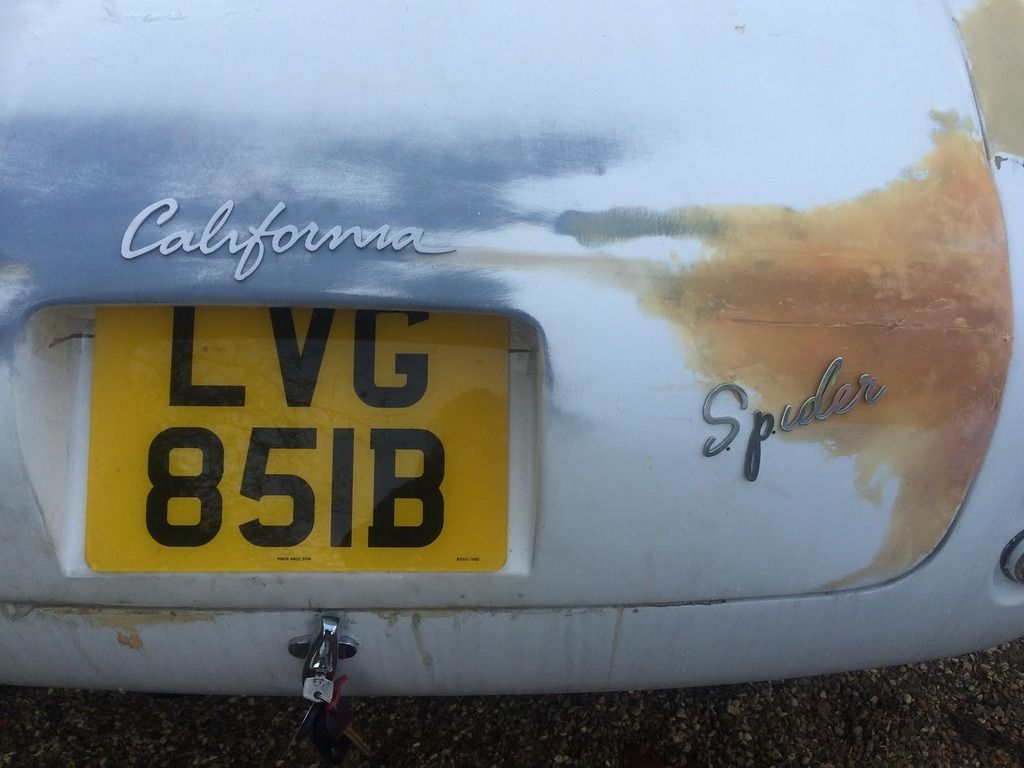
This is them on the boot to give you an idea of the size. I had a few made, by the time I have bought a couple buffing wheels and polishing sticks to finish the badges they will be around £40 if anyone is interested.
Not sure yet how to fix them as they are just flat on the back. I'm thinking of putting them in the oven to get them hot and then using glue from a hot glue gun, by pre heating them the glue should stay molten enough to allow you to coat the back and fit them into place. Not sure if this will work, you would have to devise you own way of fixing them, that way you can't complain to me if they drop off!

|
31st October 2016, 12:30
|
 |
Senior Member
|
|
Join Date: Jun 2011
Posts: 935
|
|
3M do a refix tape - its designed to reattach badges and trim after body repair
|
31st October 2016, 15:33
|
|
Senior Member
|
|
Join Date: Jan 2014
Location: Egham, Surrey
Posts: 1,780
|
|
Thanks for that, it will probably take a bit of time and effort to trim the tape with a scalpel.
Don't forget, if your badge falls off, it's Roadsters fault!!!
|
31st October 2016, 15:43
|
|
Senior Member
|
|
Join Date: Oct 2013
Location: norfolk
Posts: 691
|
|
I'd go for clear polyurethane (like sikaflex) to fix it.
|
31st October 2016, 16:53
|
|
Senior Member
|
|
Join Date: Nov 2015
Posts: 278
|
|
Those 3m tapes are very secure
|
31st October 2016, 19:10
|
|
Senior Member
|
|
Join Date: Aug 2012
Posts: 2,142
|
|
Happy to help out with the supply of these badges. My laser cutter has invested a fortune in new equipment recently and the whole process has moved forward a long way in recent years. No more rough sharp edges with the process , the finished profile is clean and crisp. Just need a final polish with wet n dry and a polishing mop.
|
31st October 2016, 19:16
|
|
Senior Member
|
|
Join Date: Jan 2014
Location: Egham, Surrey
Posts: 1,780
|
|
They're a bugger to polish on the buff, the stainless is so hard.
So far I've bent two S's and 1 P has disappeared somewhere! The buff catches them and throws them into the darkest corners of the garage. The longer script is ok as you have something to hold onto but the single letters are hard. Thank your cutter for me, he did a great job.
next time I need a batch of alloy cut for my motorcycle parts I'll give you a shout.
Last edited by Jaguartvr; 31st October 2016 at 19:18..
|
31st October 2016, 21:37
|
|
Member
|
|
Join Date: May 2015
Location: Lincolnshire
Posts: 85
|
|
I wonder if some small studs could be silver soldered (or glued?) on, and then it could be fixed in the traditional way?
|
1st November 2016, 06:18
|
|
Senior Member
Enthusiast
|
|
Join Date: Jun 2015
Location: Reading, Berkshire
Posts: 688
|
|
Is the S the right way up? I bet it is but it does make my ocd flare up 
Dave |
1st November 2016, 07:31
|
|
Member
|
|
Join Date: Sep 2011
Posts: 38
|
|
Like this
|
1st November 2016, 07:52
|
|
Senior Member
|
|
Join Date: Jan 2014
Location: Egham, Surrey
Posts: 1,780
|
|
Quote:
Originally Posted by DaveP

Is the S the right way up? I bet it is but it does make my ocd flare up
Dave |
It was a test to see how long it took you all to spot it! |
2nd November 2016, 20:45
|
 |
Senior Member
|
|
Join Date: Feb 2012
Location: Wembley, London
Posts: 5,056
|
|
Jag – I think those badges will look good. 
I know you have already bought a rear plate for your new B reg.
But I can recommend these guys to get a more retro looking one:
http://www.tippersvintageplates.co.u...ocument&part=5
They did a great job on my new C reg.

Good luck, Paul.
|
2nd November 2016, 20:54
|
|
Senior Member
|
|
Join Date: Jan 2014
Location: Egham, Surrey
Posts: 1,780
|
|
I have some embossed alloy black and silver plates, very well made and a 2 day turnaround and they were only about £18 for the pair. I haven't fitted the rear plate yet as I am working on the boot still, or will be as soon as I have got my head around the electric window wiring so that I can instal an emergency window opening circuit.
|
3rd November 2016, 22:05
|
 |
Senior Member
|
|
Join Date: Apr 2016
Location: Camberley
Posts: 972
|
|
Seems to me that this could be a meeting point for burglars.
|
4th November 2016, 07:11
|
|
Senior Member
|
|
Join Date: Jan 2014
Location: Egham, Surrey
Posts: 1,780
|
|
To get to the emergency switch you will need the key to open the boot and disconnect the battery. This will set the alarm off and you still need to find the hidden wires to attach to the battery.
If you really wanted to nick it you be in through the rear window in under a minute, or if they were just after my collection of Abba tapes they would most likely use that old favourite....The Brick.
|
7th November 2016, 14:22
|
|
Senior Member
|
|
Join Date: Apr 2016
Location: Camberley
Posts: 972
|
|
Is your boot done, photos?
When you get the paint job, will you flat back and polish yourself?
|
7th November 2016, 15:22
|
|
Senior Member
|
|
Join Date: Jan 2014
Location: Egham, Surrey
Posts: 1,780
|
|
If I have to flat and polish the paint, my painter will be getting a boot up the bum!
Haven't done any more on the boot as the central locking is holding me up. I need to sort out a way to be able to lower the window from the boot. I've misplaced my Haynes manual and electrics aren't my strong point. If anyone knows how to wire it up, please let me know, it's doing my head in!
|
7th November 2016, 18:57
|
|
Senior Member
|
|
Join Date: Jan 2014
Location: Egham, Surrey
Posts: 1,780
|
|
Probably cheaper than a new roof, I don't think it will take another window removal!
|
7th February 2017, 17:17
|
|
Senior Member
|
|
Join Date: Jan 2014
Location: Egham, Surrey
Posts: 1,780
|
|
Finally managed to get back on the car. December and january were just too cold and wet, hopefully it will now start to improve. The problem with a forced stoppage is you lose momentum and I've now got to find out where all my tools and parts have disappeared to in the garage. The other problem is finding a new starting point.
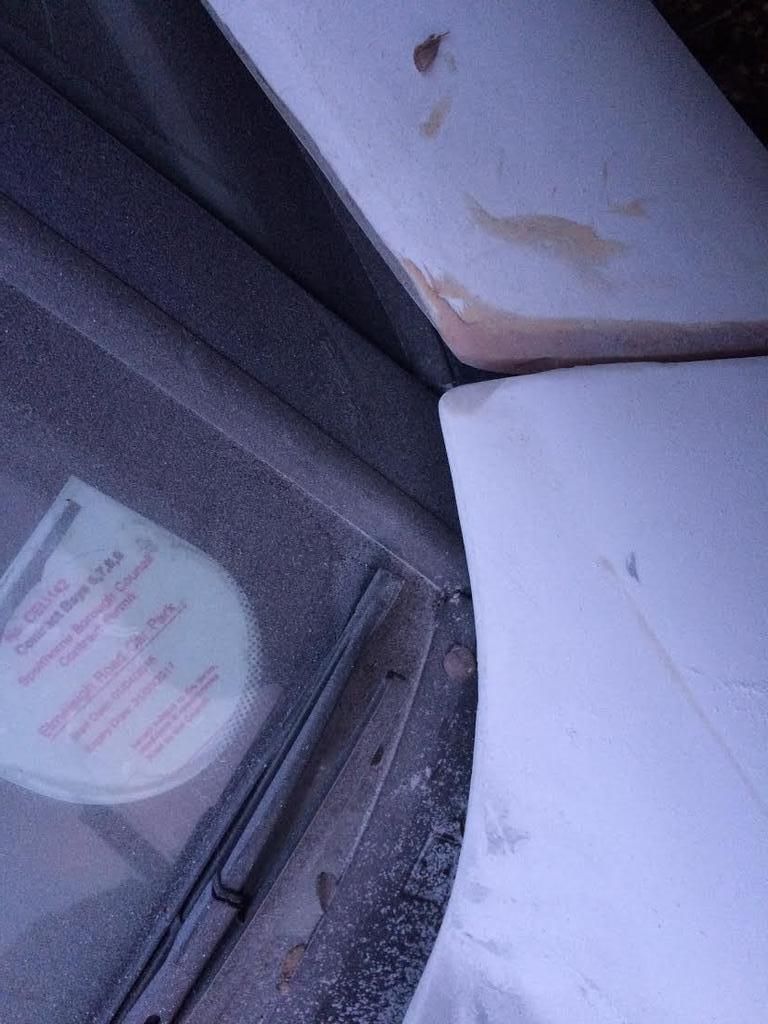
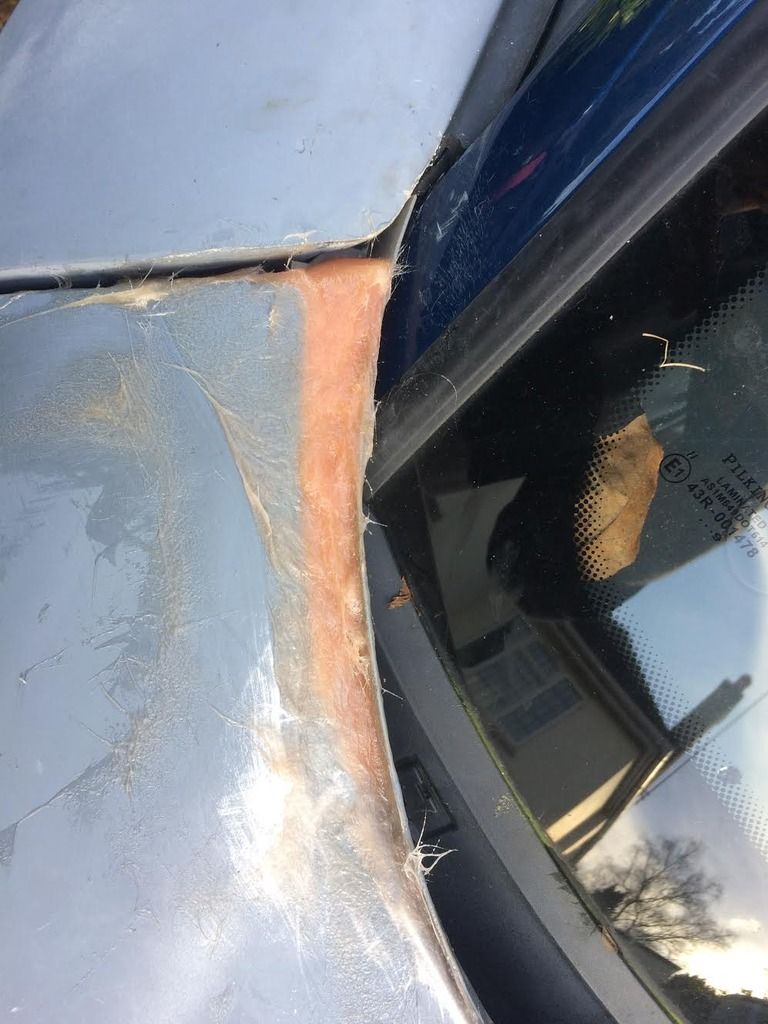
I decided that the bonnet gap next to the windscreen pillar/door skin should be the next area for attention.
This is the N/S which I haven't yet started, you can see the gaps.
This is the other side, I have already built up the top of the door skin and now want to blend it into the bonnet curvature. I going about it slightly differently, I don't want the alloy strip at the top of the door but am going with a rubber window seal.
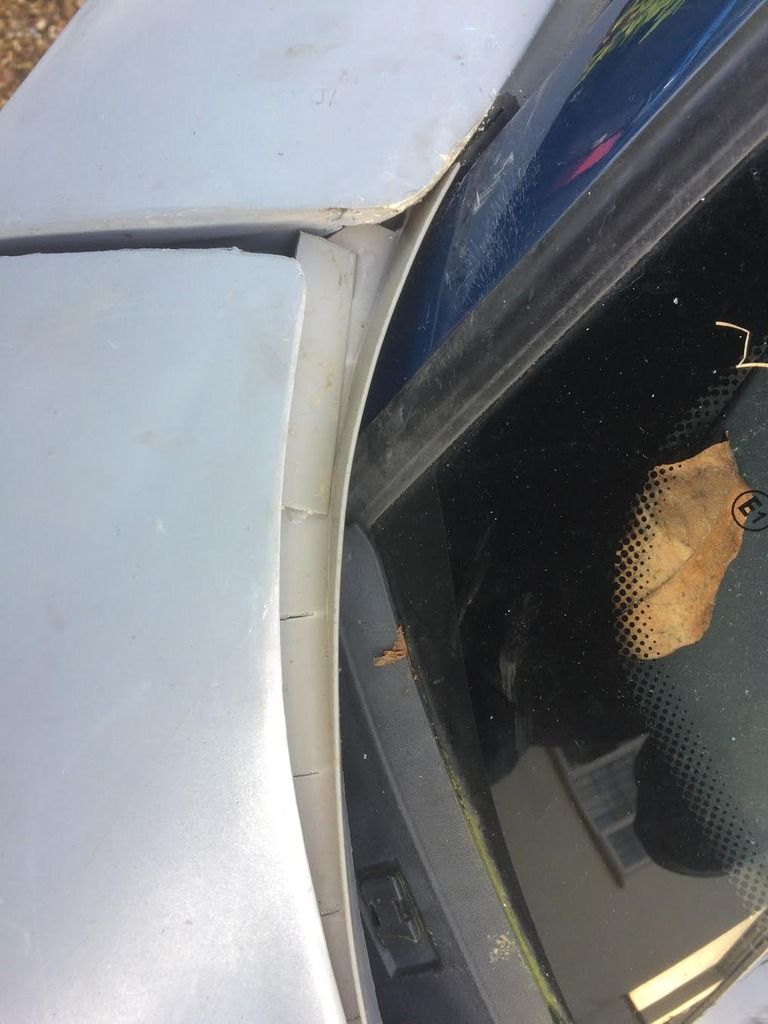
Have just used a plastic L section then filled it with GRP paste
Not pretty but you get the idea, here it is after a quick sand but obviously not finished, job for tomorrow.
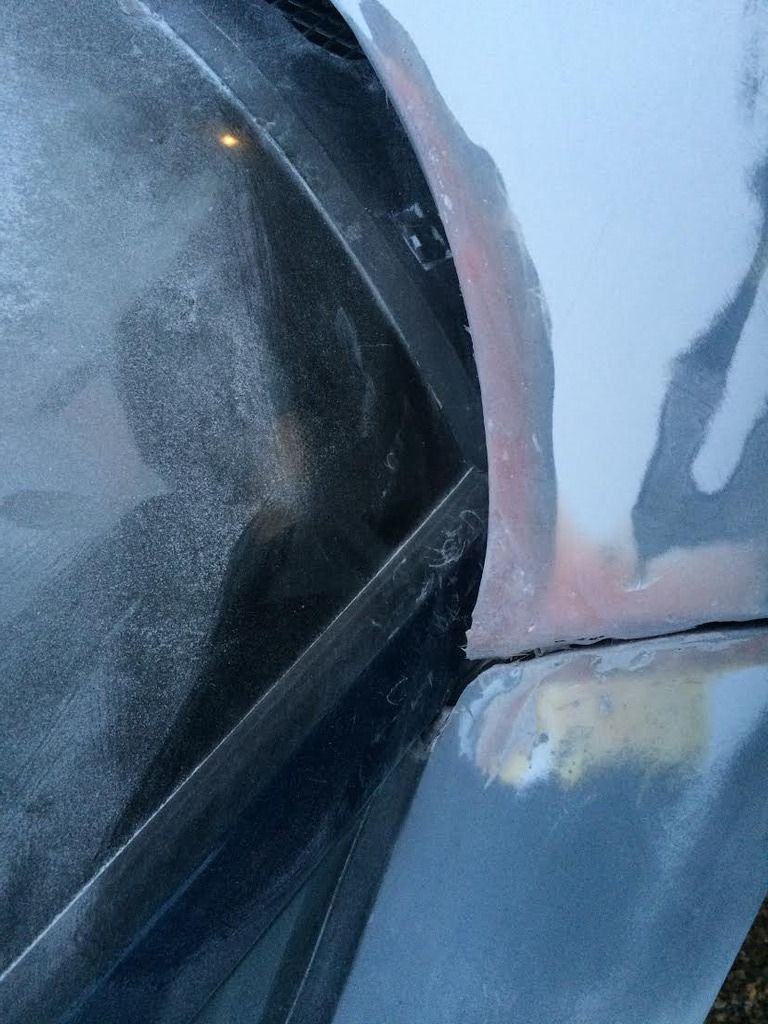
I will reinforce it underneath with some GRP tape when I next have the bonnet off.
Now Top Tip!
I bought a set of different shaped velcro sanding blocks including a concave one for finishing the top of the wings
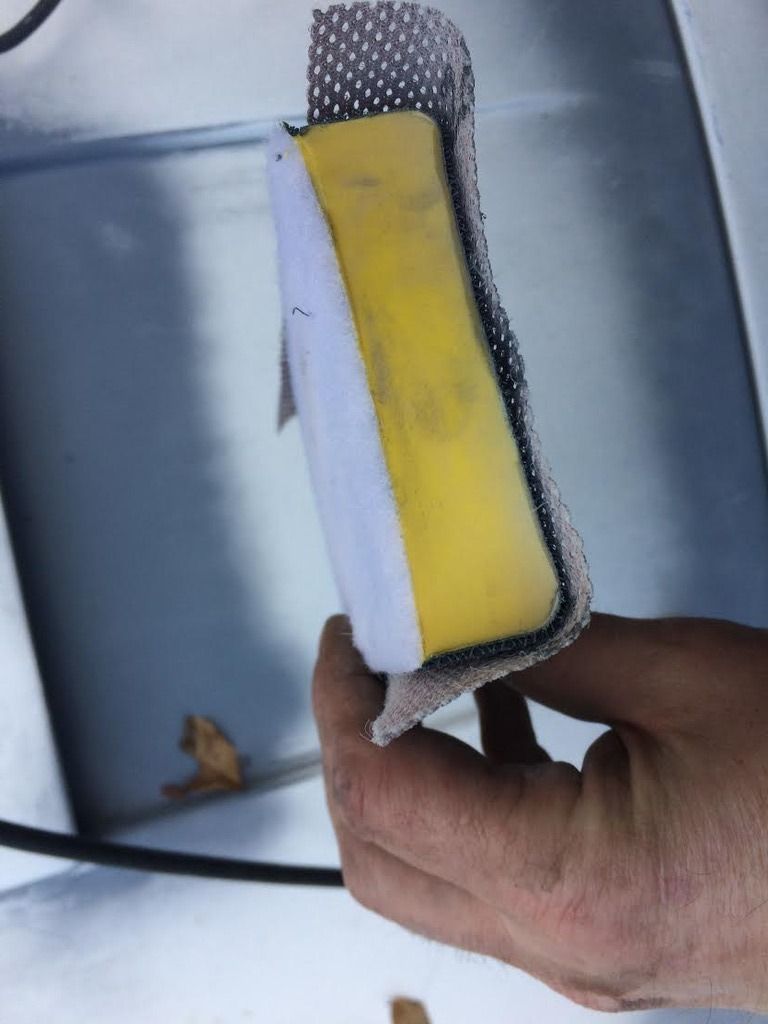
Very good it is too but it's handrolick and I'm lazy so came up with a cunning plan.
The top of the block is also hook and loop so it will attach to my detail sanders flat bed.
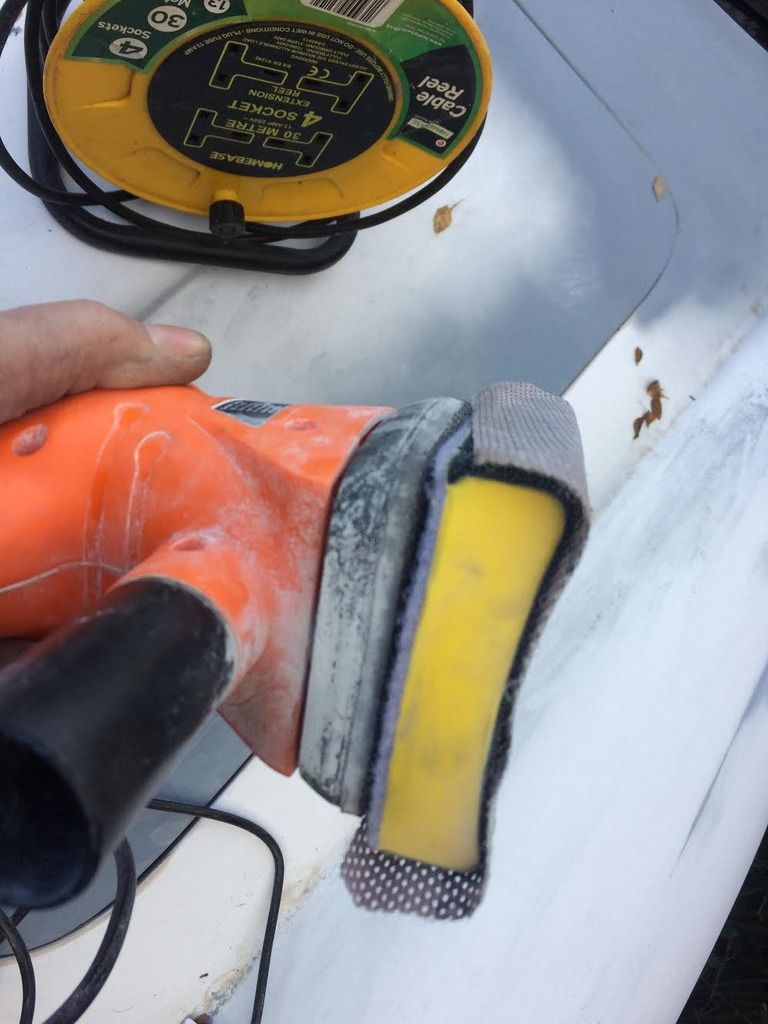
Makes sanding much easier and quicker!
Last edited by Jaguartvr; 27th May 2017 at 18:38..
|
|
Currently Active Users Viewing This Thread: 1 (0 members and 1 guests)
|
|
|
| Thread Tools |
|
|
| Display Modes |
 Linear Mode Linear Mode
|
 Posting Rules
|
You may not post new threads
You may not post replies
You may not post attachments
You may not edit your posts
HTML code is Off
|
|
|
All times are GMT +0. The time now is 14:09.
|


