|
|
| Tribute Automotive Builds Discuss your Tribute kit build |

25th August 2016, 20:56
|
|
Senior Member
|
|
Join Date: Feb 2016
Posts: 272
|
|
Had a drive round 3 paint shops yesterday afternoon and got quotes ranging from 1.5K to 'wouldn't touch it with a barge pole mate'. In between was another for at least 3 grand. So, opting for the 1.5K it is now time to strip all the lights out, get the door seals sorted (seal arrived yesterday ) and set to filling, shaping and smoothing. I reckon there is about 40 hours needed to get it to the required level for painting. I am no bodywork guru so not looking forward to it, but it has to be done!
|
25th August 2016, 20:57
|
|
Senior Member
|
|
Join Date: Nov 2015
Posts: 278
|
|
Be brave, paint it yourself?
|
25th August 2016, 21:40
|
|
Senior Member
|
|
Join Date: Feb 2016
Posts: 272
|
|
I wish I could mate. But a combination of working on the drive, no compressor, not a clue about painting a car and the fact I am building it for a mate are putting me off! Having said that, I was reading the paint thread, thinking about buying a 6 x 3 gazebo and buying a second hand electric compressor, but still very nervous about it.
|
26th August 2016, 18:23
|
|
Senior Member
|
|
Join Date: May 2013
Posts: 748
|
|
Quote:
Originally Posted by 306craig

I wish I could mate. But a combination of working on the drive, no compressor, not a clue about painting a car and the fact I am building it for a mate are putting me off! Having said that, I was reading the paint thread, thinking about buying a 6 x 3 gazebo and buying a second hand electric compressor, but still very nervous about it.
|
I painted mine myself the first time in a gazebo . Was ok, not great.
In January this year I tiki it to my local paint guy and paid him £1000 , much better.
I did have to strip it and a lot of prep myself though. |
6th September 2016, 21:06
|
|
Senior Member
|
|
Join Date: Feb 2016
Posts: 272
|
|
Conscious of the fact I have not done a decent update in a while, so thought I would spend a couple of minutes bringing everybody up to speed.
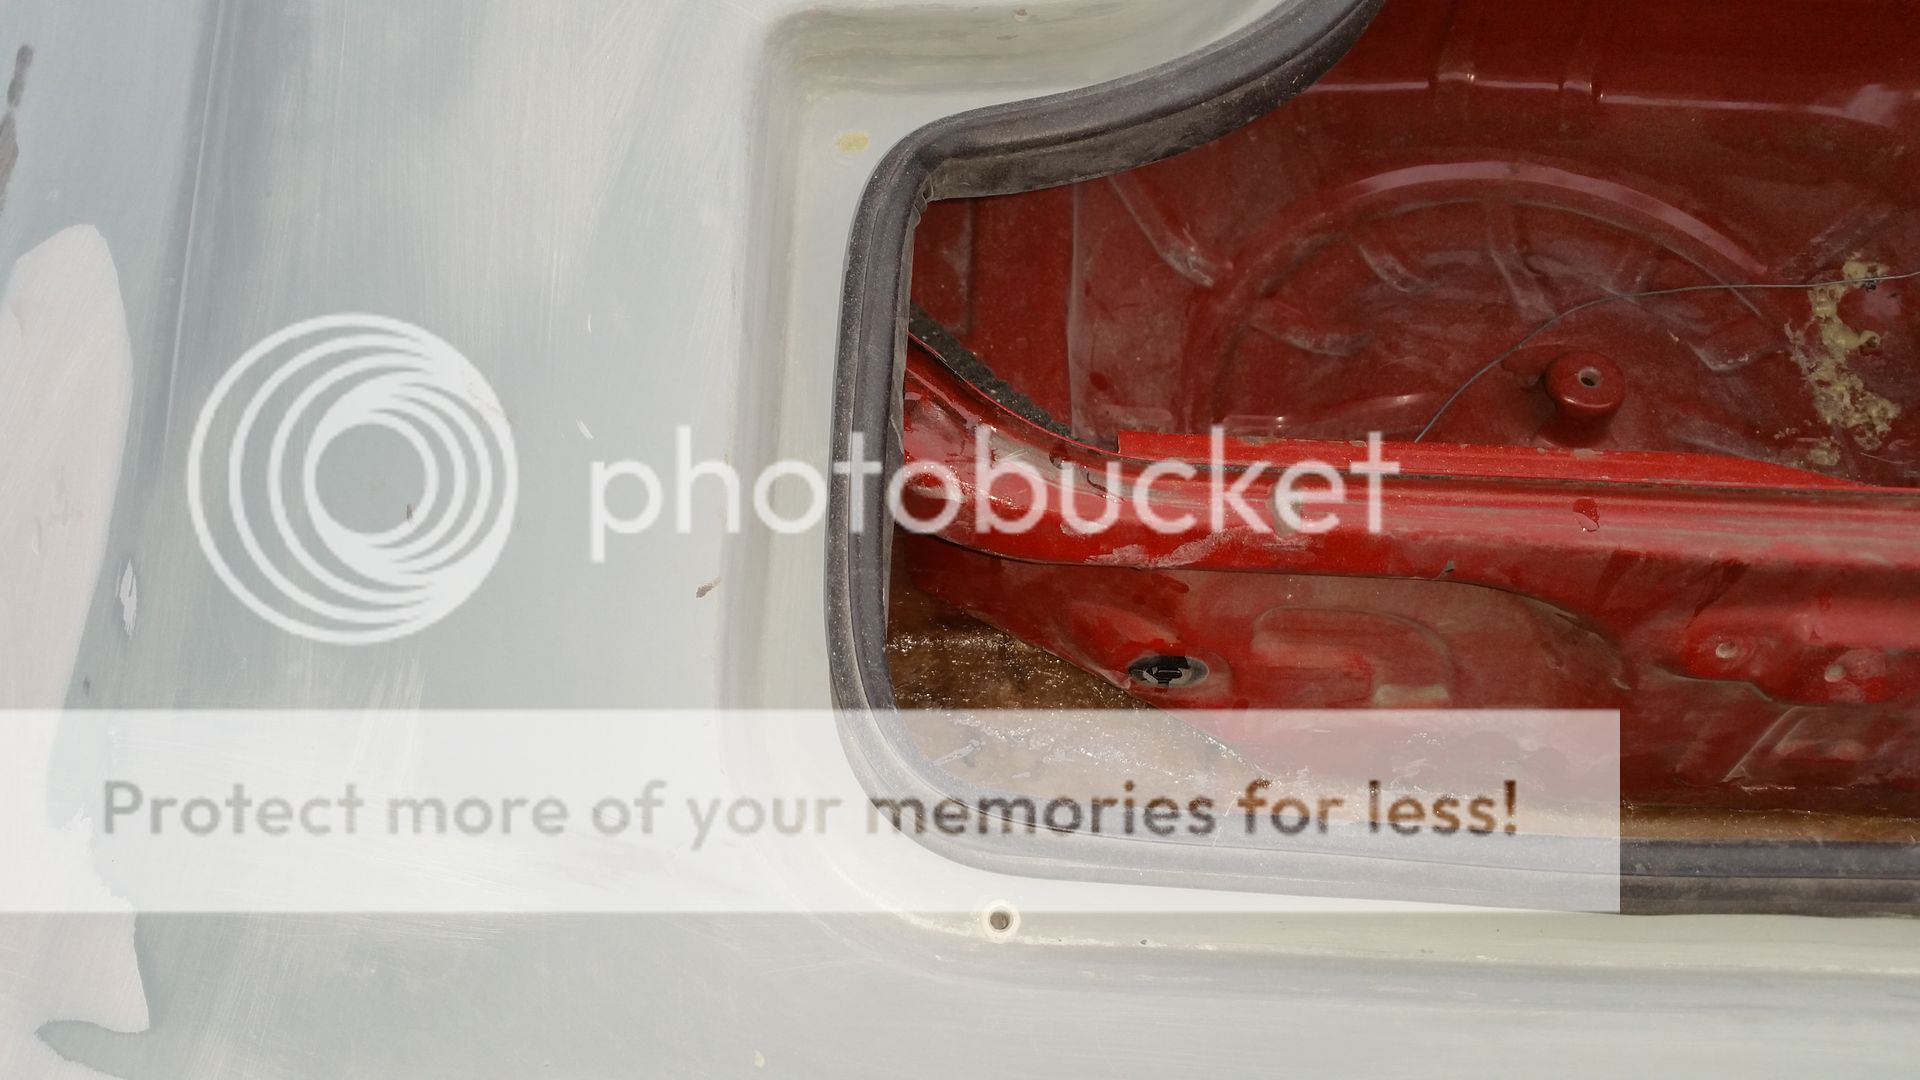
Well, after hoping to have been ready for paint at least 4 weeks ago, it seems to just be dragging on at the moment. However I think there may be light at the end of the tunnel. I have all the rear lights stripped out, final adjustments and trimming done around the exhaust (and new, lower hangers on). I have finally got around to fibreglassing the rear support beam (for want of a better expression) in, and the boot is now watertight. Not neat, but at least it is waterproof:
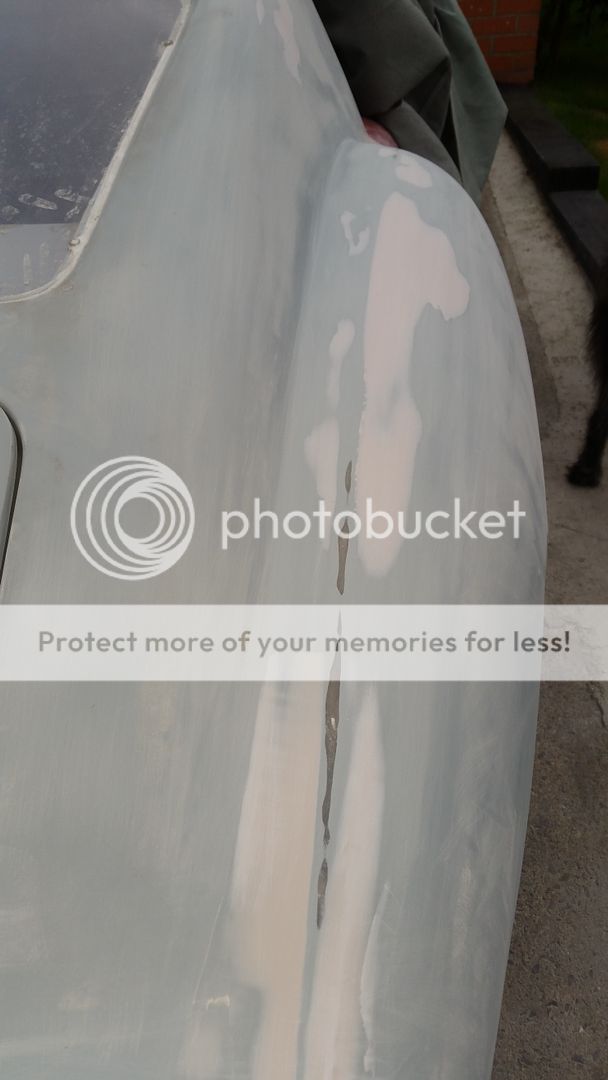
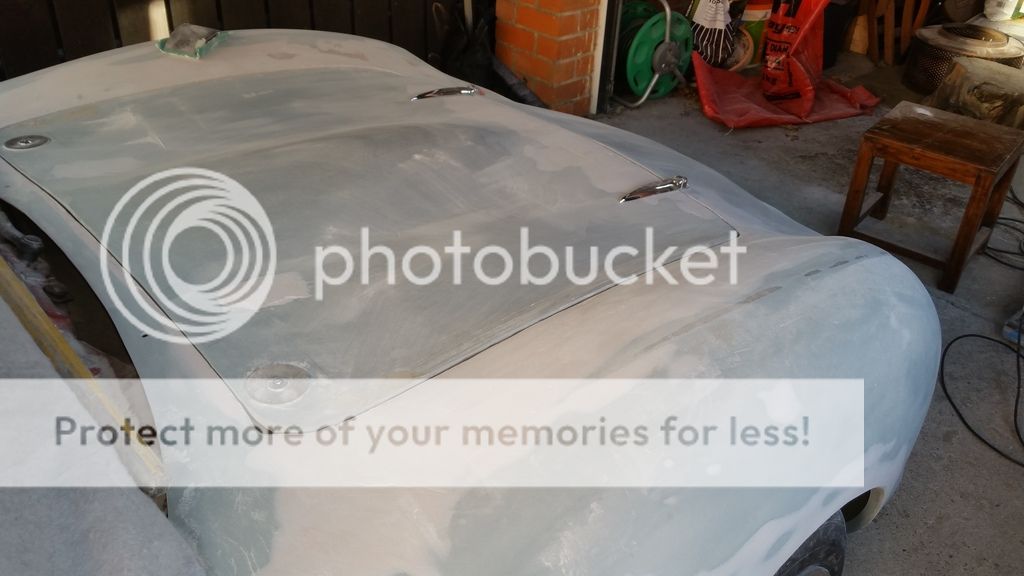
I have invested in a long board and have started getting rid of high spots and bad joint lines, and filling low spots:
Last edited by 306craig; 16th June 2019 at 22:05..
|
6th September 2016, 21:12
|
|
Senior Member
|
|
Join Date: Feb 2016
Posts: 272
|
|
And now for a question:
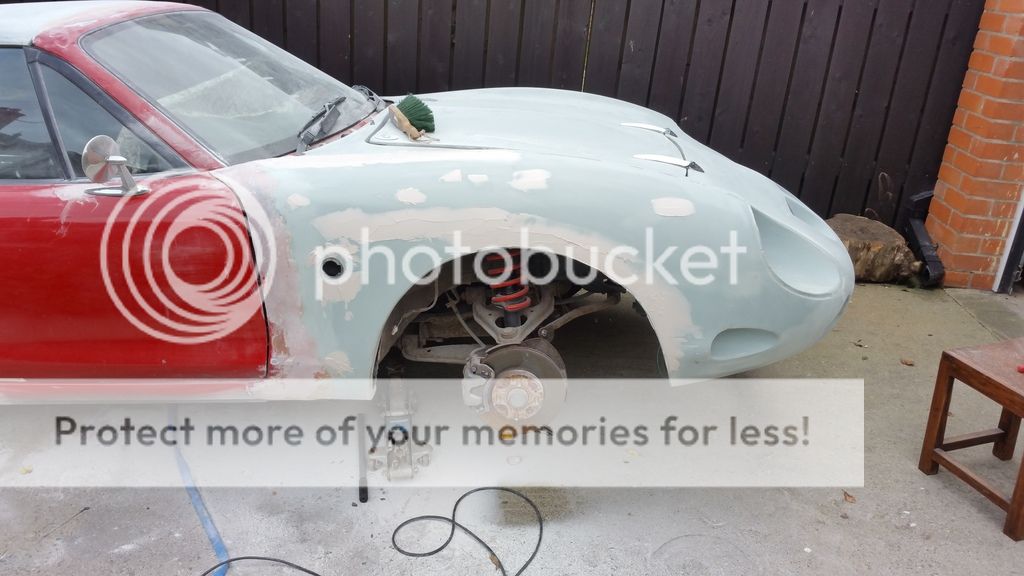
My bonnet fit is absolutely awful at the moment, and I am seriously considering moving the hinges from the front to the rear to see if I can improve the shut line. Has anyone else had major problems, and if so how did they get around them?

Oh yeah, and my new 50mm spacers for the rear arrived this week, new pic of the new wider stance rear end coming soon!
Last edited by 306craig; 16th June 2019 at 22:09..
|
6th September 2016, 21:50
|
|
Senior Member
|
|
Join Date: Mar 2013
Location: Coventry and the Limousin
Posts: 549
|
|
I ended up making several strategic cuts on the underside of the bonnet. Then, when the cuts were enough to get it to the right shape I used fibreglass matt to "repair" my cuts.
Then a couple of months later the bonnet blew off (not while driving!) , so I got some more practice repairing it.
The other options are to use bonnet pins in each corner (no hinges), reshape using heat and a couple of ratchet straps.
Last edited by landmannnn; 6th September 2016 at 21:53..
|
6th September 2016, 22:16
|
|
Senior Member
|
|
Join Date: Feb 2016
Posts: 272
|
|
When you say cuts to the underside I am presuming you don't mean all the way through? More just enough to allow the bonnet to 'bend' into the right shape?
|
7th September 2016, 09:18
|
 |
Senior Member
|
|
Join Date: Jan 2014
Location: Egham, Surrey
Posts: 1,780
|
|
I've got a spare lid from the wheelie bin you can have. I think it will be a better fit  |
7th September 2016, 11:17
|
|
Senior Member
|
|
Join Date: Feb 2016
Posts: 272
|
|
Quote:
Originally Posted by Jaguartvr
I've got a spare lid from the wheelie bin you can have. I think it will be a better fit |
LOL. How rude! True, but very rude! I will see what can be done. |
10th September 2016, 15:10
|
|
Senior Member
|
|
Join Date: Jan 2013
Posts: 429
|
|
Craig, I cut out virtually all of the inner lining of my bonnet to make it sit properly. Can't remember, is your a MK2? Having taken out most of the inner lining it now sit too low so I need to put a seal around the edge to lift it up a bit.
|
10th September 2016, 22:16
|
|
Senior Member
|
|
Join Date: Nov 2015
Posts: 278
|
|
I got my bonnet to fit nicely in the end by using indasa power weld to add material and close the gaps. bonnet pins in each corner and a little ledge in the middle top and bottom for the bonnet to slightly bend around when tensioned with the bonnet pins
|
11th September 2016, 08:25
|
|
Senior Member
|
|
Join Date: Feb 2016
Posts: 272
|
|

Quote:
Originally Posted by fatbloke
Craig, I cut out virtually all of the inner lining of my bonnet to make it sit properly. Can't remember, is your a MK2? Having taken out most of the inner lining it now sit too low so I need to put a seal around the edge to lift it up a bit.
|
You are right mate, mine is a mk2. At the moment it isn't sitting on anything that is making it sit too high, it is just a really bad shape. With no adjustment at all it sits OK at the hinges, way too low at the windscreen and not too bad at the sides. I currently have the bonnet bump stops wedged under the back which has got me a fairly good line at the screen however awful at the sides - as though the bonnet is far too flat.
I am thinking of following some of the guys advice and grinding some grooves into the underside so I can bend it I to shape. I think I need to lower the bonnet pins too. I was thing of fibre glassing some steel strips into the underside too, give it some strength and help it hold the new shape?
Last edited by 306craig; 11th September 2016 at 08:28..
|
11th September 2016, 08:30
|
|
Senior Member
|
|
Join Date: Feb 2016
Posts: 272
|
|
Quote:
Originally Posted by mazdarazmataz
I got my bonnet to fit nicely in the end by using indasa power weld to add material and close the gaps. bonnet pins in each corner and a little ledge in the middle top and bottom for the bonnet to slightly bend around when tensioned with the bonnet pins
|
Thanks mate. Will have a look. Any pictures of it on your thread? |
11th September 2016, 08:44
|
|
Senior Member
|
|
Join Date: Nov 2015
Posts: 278
|
|
 image hosting over 2mb image hosting over 2mb
The black lip is all power weld which brought the gaps in nicely, and a lot easier to use than p40.
I had to add about an inch to the front edge and the rightside edge |
11th September 2016, 09:42
|
|
Senior Member
|
|
Join Date: Mar 2013
Location: Coventry and the Limousin
Posts: 549
|
|
Quote:
Originally Posted by 306craig
You are right mate, mine is a mk2. At the moment it isn't sitting on anything that is making it sit too high, it is just a really bad shape. With no adjustment at all it sits OK at the hinges, way too low at the windscreen and not too bad at the sides. I currently have the bonnet bump stops wedged under the back which has got me a fairly good line at the screen however awful at the sides - as though the bonnet is far too flat.
I am thinking of following some of the guys advice and grinding some grooves into the underside so I can bend it I to shape. I think I need to lower the bonnet pins too. I was thing of fibre glassing some steel strips into the underside too, give it some strength and help it hold the new shape?
|
Makes sense.
It isn't too difficult and bearing in mind you will probably be sticking some sound deadening on at a later stage, you dont have to make it pretty. |
13th September 2016, 11:47
|
|
Senior Member
|
|
Join Date: Feb 2016
Posts: 272
|
|
Quote:
Originally Posted by mazdarazmataz
I got my bonnet to fit nicely in the end by using indasa power weld to add material and close the gaps. bonnet pins in each corner and a little ledge in the middle top and bottom for the bonnet to slightly bend around when tensioned with the bonnet pins
|
Thanks mate, and thanks for the picture. |
14th September 2016, 16:31
|
|
Senior Member
|
|
Join Date: Feb 2016
Posts: 272
|
|
Quote:
Originally Posted by 306craig
Thanks mate. Will have a look. Any pictures of it on your thread?
|
How expensive is that stuff???? |
23rd October 2016, 19:54
|
|
Senior Member
|
|
Join Date: Feb 2016
Posts: 272
|
|
Hi guys. Conscious of the fact that I haven't been on in a while. Things have been bust at work, with the contract I work on getting taken over by a new company. Our office has been dropped from 3 to 2 people, had to apply and be interviewed for my own job, but now all sorted and back to normal (ish).
Anyway enough of my moaning, on with the car news -
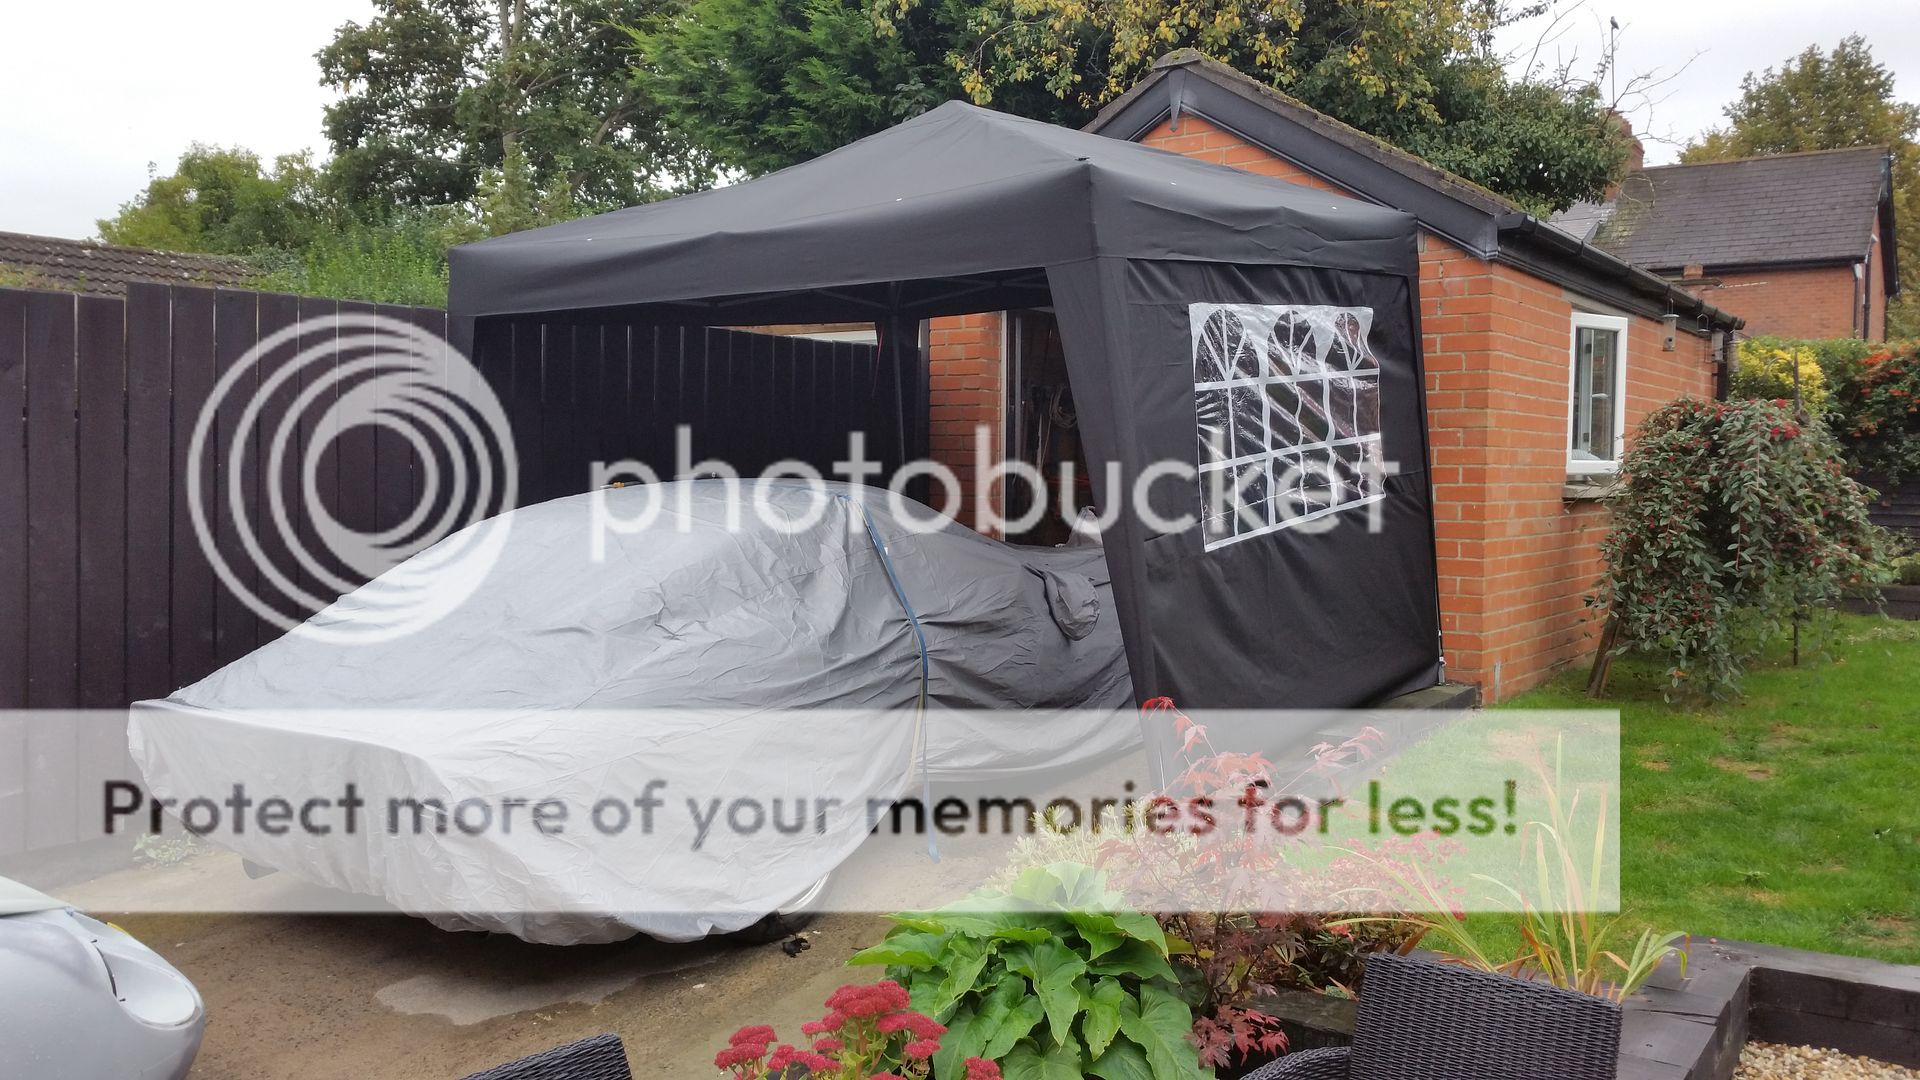
Invested in a gazebo to improve autumn working conditions:
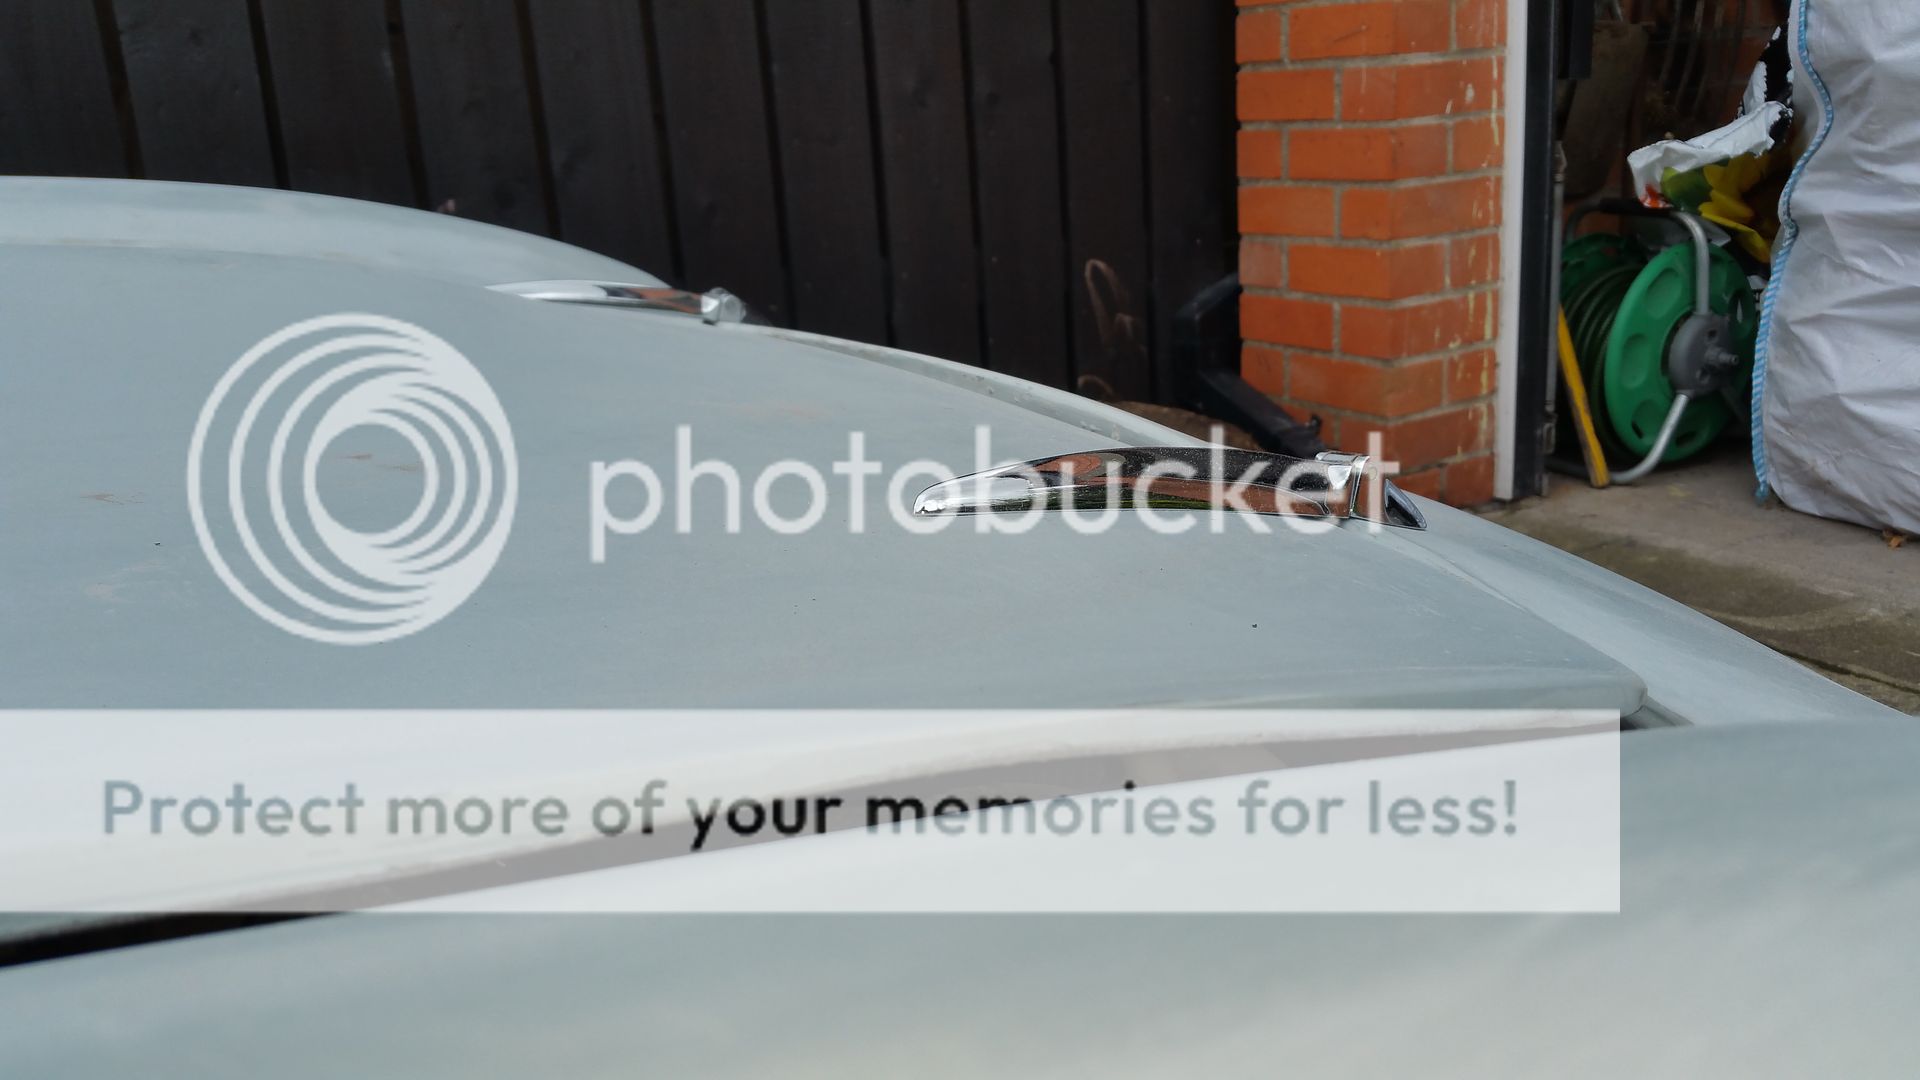
And finally bit the bullet and started sorting out my awful bonnet lines:
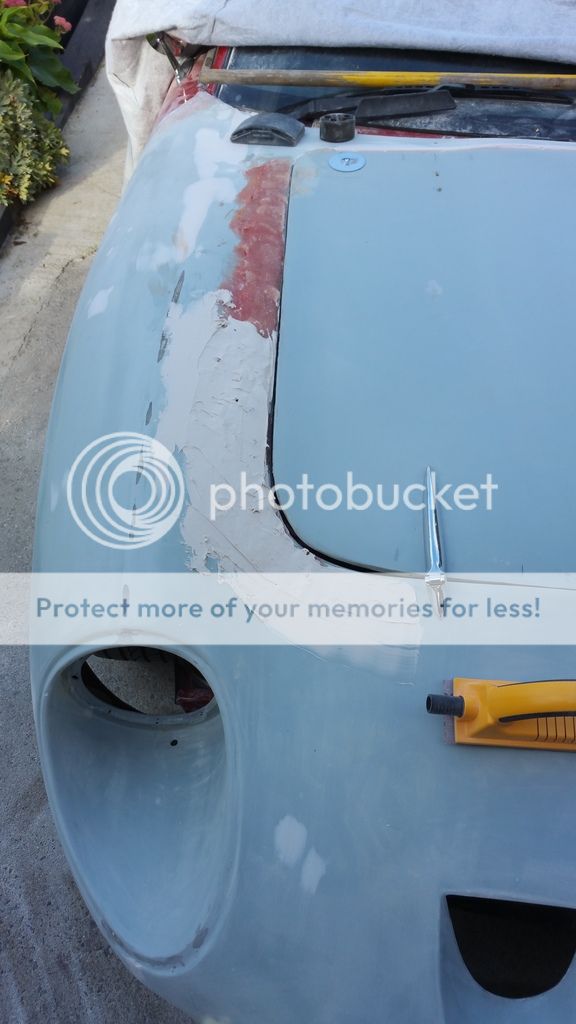
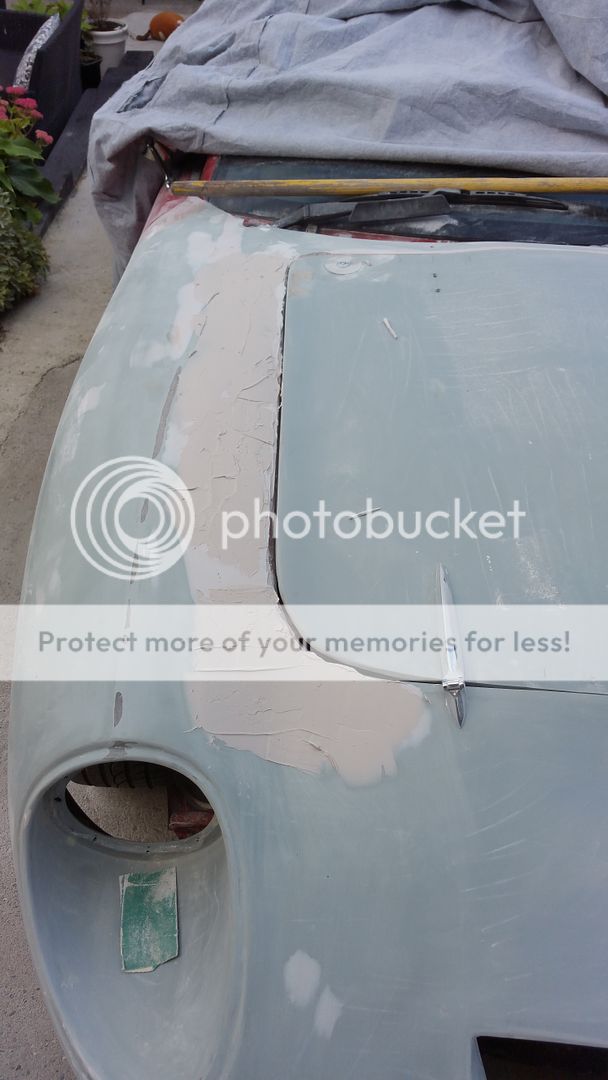
The bonnet lines are gradually getting better:
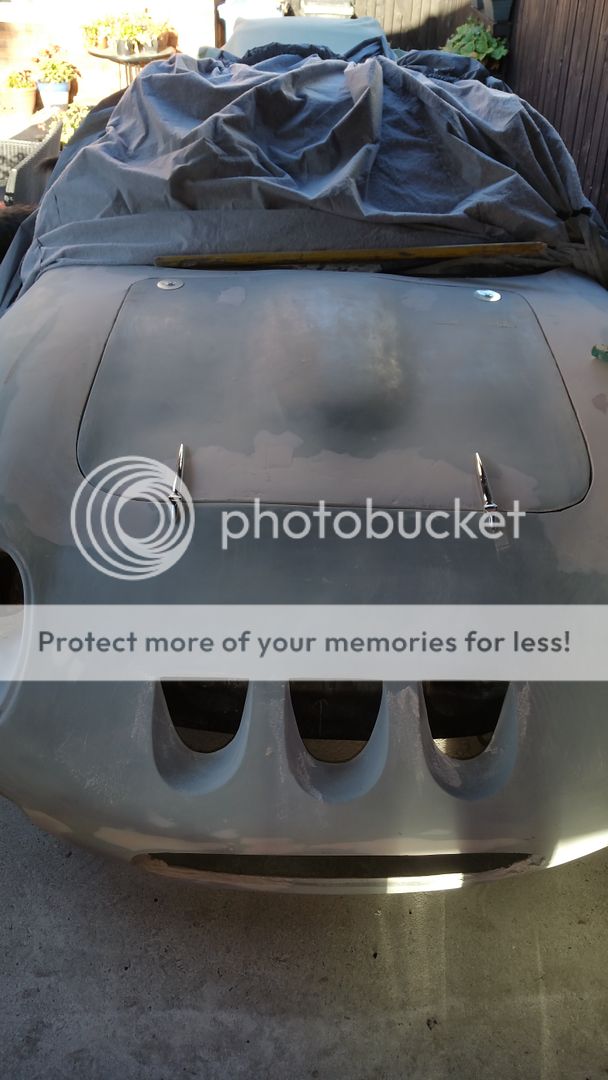
And as of tonight I am finally happy with my bonnet. The rest can be done by the body shop:
Last edited by 306craig; 16th June 2019 at 22:22..
|
27th July 2018, 18:29
|
|
Senior Member
|
|
Join Date: Feb 2016
Posts: 272
|
|
New Tribute member
Hi guys and girls. At last I am back. I would imagine there a lot of you out there thought my build had bitten the dust and had been reduced to scrap of Ebay as yet another 'unfinished project'. Well I am back!!!! And more importantly the old girl is now ready for her first MOT as an MX250!!!!
Last edited by 306craig; 16th June 2019 at 22:23..
|
|
Currently Active Users Viewing This Thread: 1 (0 members and 1 guests)
|
|
|
 Posting Rules
|
You may not post new threads
You may not post replies
You may not post attachments
You may not edit your posts
HTML code is Off
|
|
|
All times are GMT +0. The time now is 09:50.
|


 Linear Mode

