MadaboutKitcars

This is a read-only archive of the old Madabout Kitcars forum. New posts and replies are no longer possible, but every thread is still here to browse and read.

Engine rebuild 2.5 to 2.8 ltrs

31 Dec 2007, 7:39pm
Due to the car being off the road because of the broken wish bone we decided it would be a good idea to tackle the engine rebuild. This was more planned for next winter but never mind!

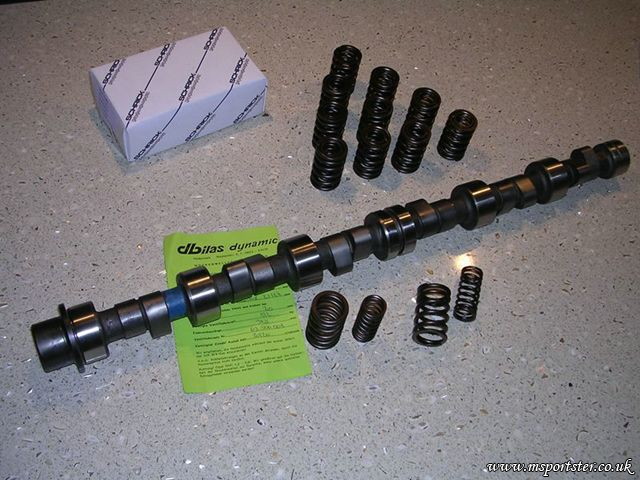
The current engine had 111k on it, and with the zone chip started running really well so we were not expecting any major issues. Part of the rebuild will involve dropping an M52B28 crank shaft and M20B20 conrods into the block. This will make it a square engine with an increase in capacity to 2.8ltrs. Further the head will receive a new set of performance valve springs and a dbilas 282°/272° camshaft. All gaskets and seals are also being replaced.

Head off!


Inspection of the head reveals its in prett y good condition!

Nice tip for getting the bolt out the end of the cam shaft. Put the old timing belt around it, then loop the open end of the belt round the work mate. This locks it in place and allows the easy removal of he botl!

Rocker number out, shaft on its way out

Camshaft and everything else removed from head minus the valves

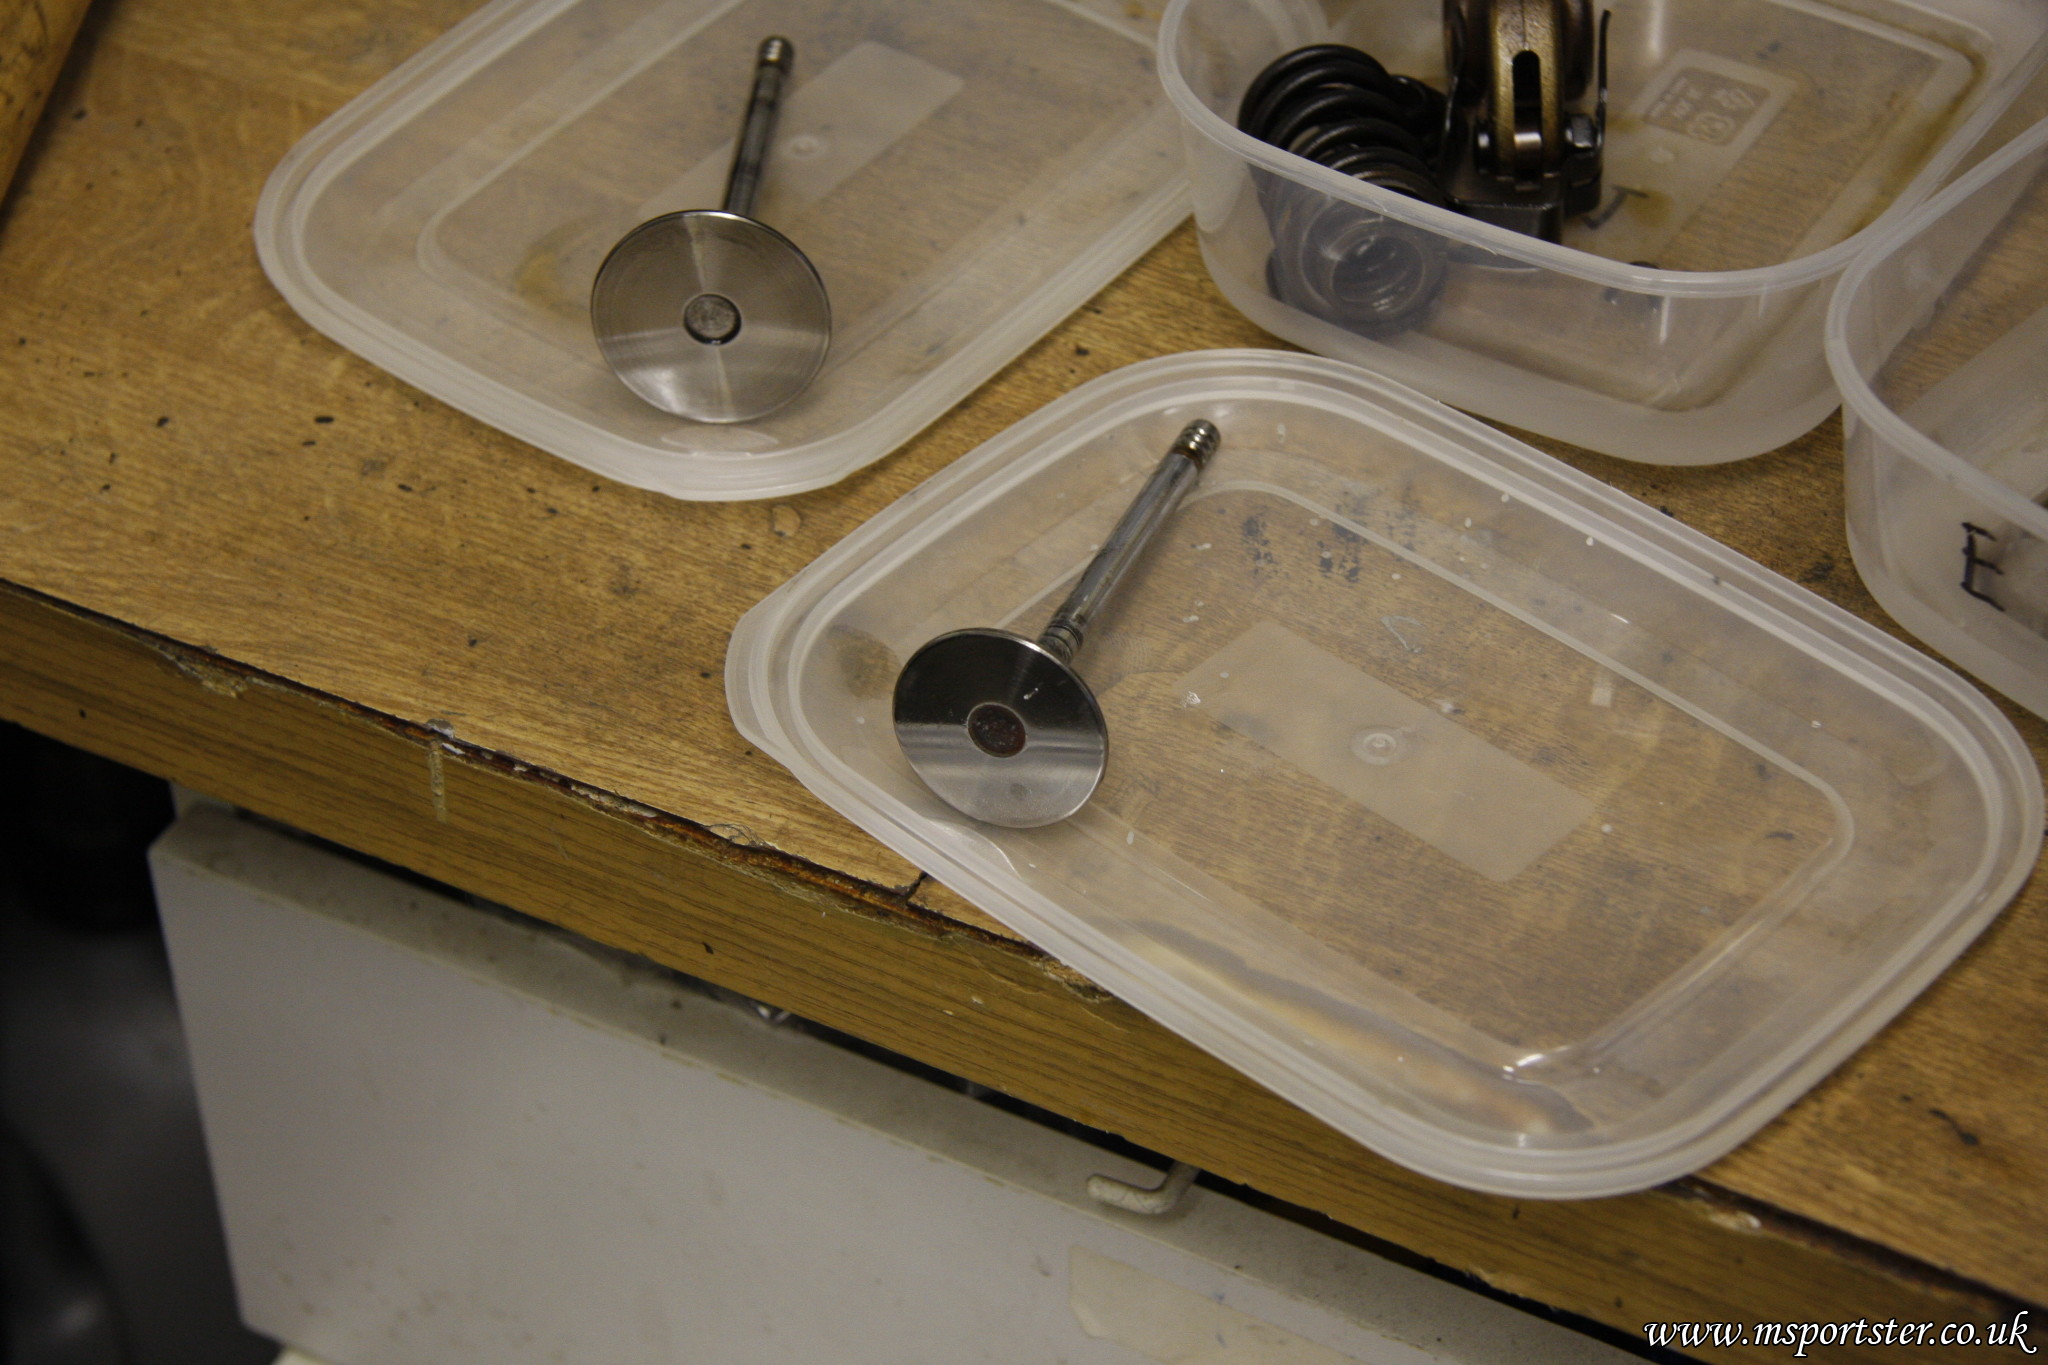
First valve out, couldn't take any more out as the valve spring clamp we bought was not big enough, needs to go back for the more expensive one!

The water pump was shot, all the bearings gone so that's why I had a bit of a funny noise from the engine.

More to follow!
31 Dec 2007, 9:18pm
This will be an interesting thread. From what I've experienced of the M20 engines, I like them - good solid engineering. I helped a friend sort his 325 when the HG failed (classic headbolt failure), and everything on the engine appeared to be in very good condition, despite 140k.
1 Jan 2008, 5:43pm
Everything so far on this engine looks pretty good too, exhaust valve are starting to pit a tiny bit and need a grind.

Rather than buying a new valve spring compressor we decided to make an extension for the current one.

After lathing the tube to the correct size with a suitable amount taken out the inside to fit over the clamp it needed holes in the side so that you can still remove the collets after compressing the springs:
The completed adapter attached:

And now in use on the head to remove the valves. Looking at this it would seem that it would have been possible to use it without the extension but it would seems to be easier this way up!

The intake valves and valve seats look great, but the exhaust seats and valves need re-grinding. They are just starting to pit. All in all everything seems to be in very good condition.

All the valves, springs and collets arranged in order waiting to be cleaned up.

The head could do with a dip, it seems to be nice and straight but I think I'll find a machine shop to double check everything for me!
2 Jan 2008, 9:43pm
Patrick wrote:
Due to the car being off the road because of the broken wish bone we decided it would be a good idea to tackle the engine rebuild. This was more planned for next winter but never mind!


The engine rebuild looks fun. :D
The quality of the BMW parts is just amazing and i'm surprised more kit designers are not using BMW donors? (A BMW Seven or BMW Atom would be great fun with M series engines :badgrin:)

Are your getting you body painted while the car is off the road?

Any news back from Marlin on the wishbone front?

br

Peter
2 Jan 2008, 10:40pm
peterux wrote:
The engine rebuild looks fun. :D
The quality of the BMW parts is just amazing and i'm surprised more kit designers are not using BMW donors? (A BMW Seven or BMW Atom would be great fun with M series engines :badgrin:)

Are your getting you body painted while the car is off the road?

Any news back from Marlin on the wishbone front?

br

Peter


I saw some e-type replicas with M20's at Stoneleigh. Not sure what those were as I've never seen e-types before in kit form.

I think there is a BMW based cobra (which didn't get a glowing review in BMW car mag) and I'm sure I've see at least one other chassis with an M50 or M52 pictured in total kit car at some point.

On the non-kit side of things Wiesmann use the 6 cylinder M power unit one of their cars as well as the M62 8 cylinder in another.

Not getting it painted yet, I want more on road shake down time before everything gets coated.

I've boxed up the parts to go back to Marlin, didn't bother sending over xmas. Now I'm having trouble finding a courier company that will send the box. One half won't send to PO box address and the other half say their postcode doesn't exist!

A reminder of the bits going in the engine:


3 Jan 2008, 8:28pm
Richard took the head to a local machine shop today, its booked in for crack testing initially before any work it done on it. Should be done by Tuesday!

Also got some "Just Orange" degreaser from Cromwell.co.uk:
http://www.cromwell.co.uk/SOL7272800A 1ltr
http://www.cromwell.co.uk/SOL7272810B 5ltr

Supposed to be some of the best degreaser there is! Had a bit of a start on the first set of valves. The exhaust ones are really badly caked, intake not so bad! Just orange, ultrasonic cleaner and a brass wire brush are cleaning up the rockers nicely!
3 Jan 2008, 9:35pm
Patrick wrote:
II've boxed up the parts to go back to Marlin, didn't bother sending over xmas. Now I'm having trouble finding a courier company that will send the box. One half won't send to PO box address and the other half say their postcode doesn't exist!

]


hmmmmmmm... Streetmap doesn't recognise their new postcode either but if you search for Marlin Cars on the Royal Mail website you get this.........
http://postcode.royalmail.com/portal/rm/postcodefinder;jsessionid=W52P3AQSFN1WWFB2IGJEQ3Q?catId=400145&pageId=pcaf_pc_one_result_rm&_requestid=125843&gear=postcode
Map and all!

I suspect it is a new site and postcode.
3 Jan 2008, 9:38pm
No courier company I called today would ship to a PO box address, so I'm going to have to split the boxes and send two via Royal mail!
3 Jan 2008, 10:04pm
:lol: good point... gives us time to get the engine running :)
6 Jan 2008, 7:14pm
The head is off to the local machine shop for crack testing, we'll know if everything is good on Tuesday. If it is then it'll get a bit of clean up.

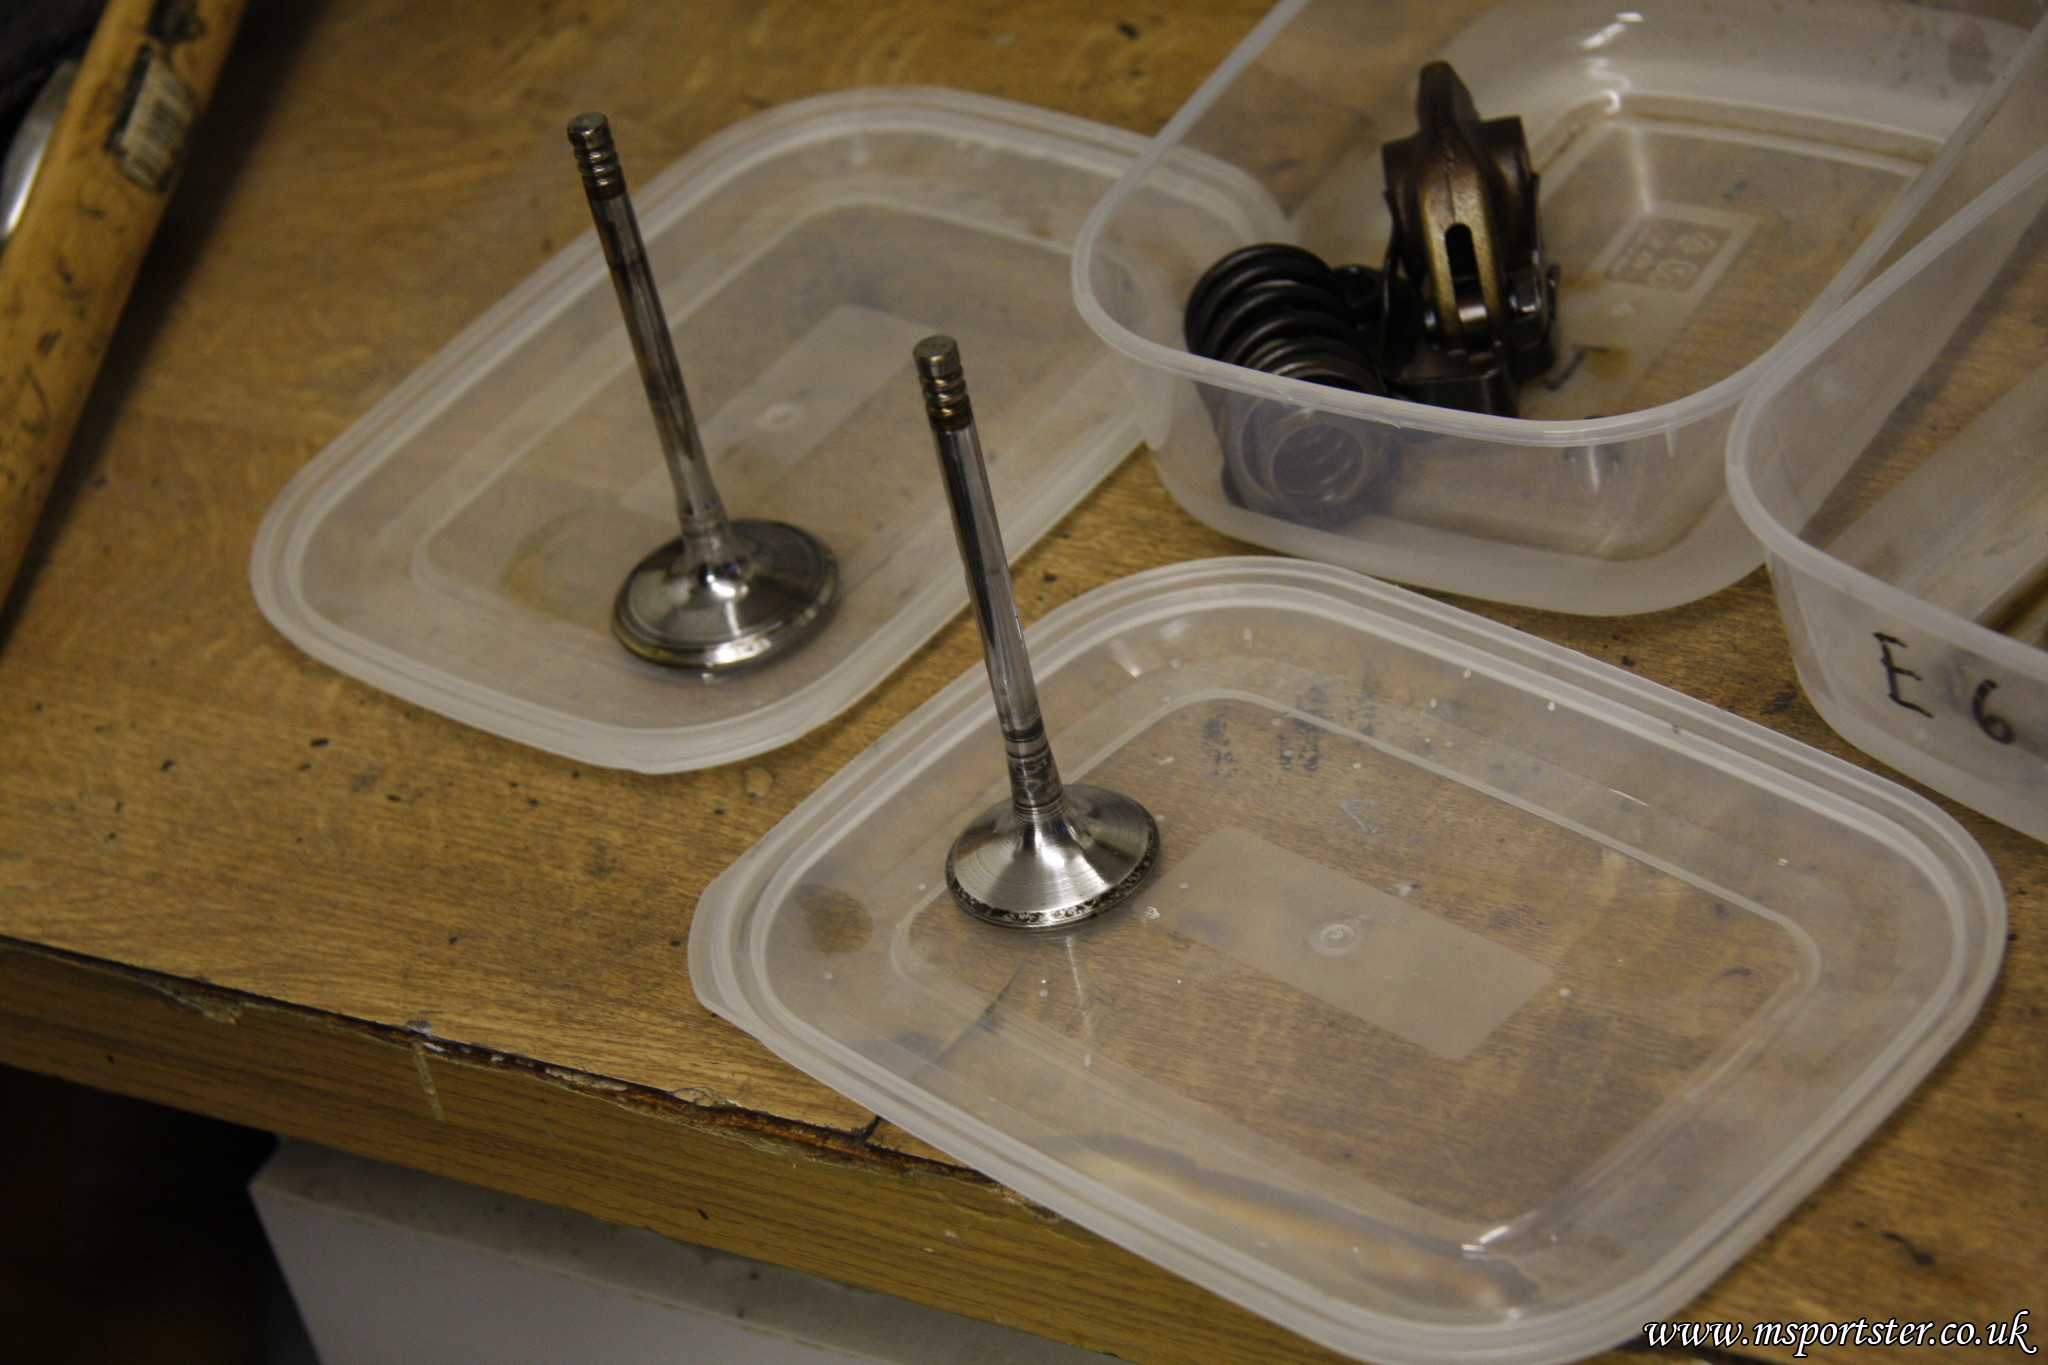
Clean valves! This took a lot of time! The exhaust vales were cakes. Used the technique from Jason's thread (thanks, a great idea :D ) placed the valve in drill and used increasingly finer sand paper to take the layers off and then some metal polish to finish it. The intake valves just need a run over with 1200 grit & some degreaser, then metal polish.
This was a 4 hour process with two people and two drills so about 8 work hours to clean them up! Some of them still have a bit of carbon build up but its very small and they still need to be run throug the ultrasonic cleaner and degreaser!

The tops of the valves where cleaned like the bottom half, the centres took a bit more work with sand paper and the edge of a knif blade. The only area left alone was valve seating area, that will be ground in when the head comes back from the machine shop.

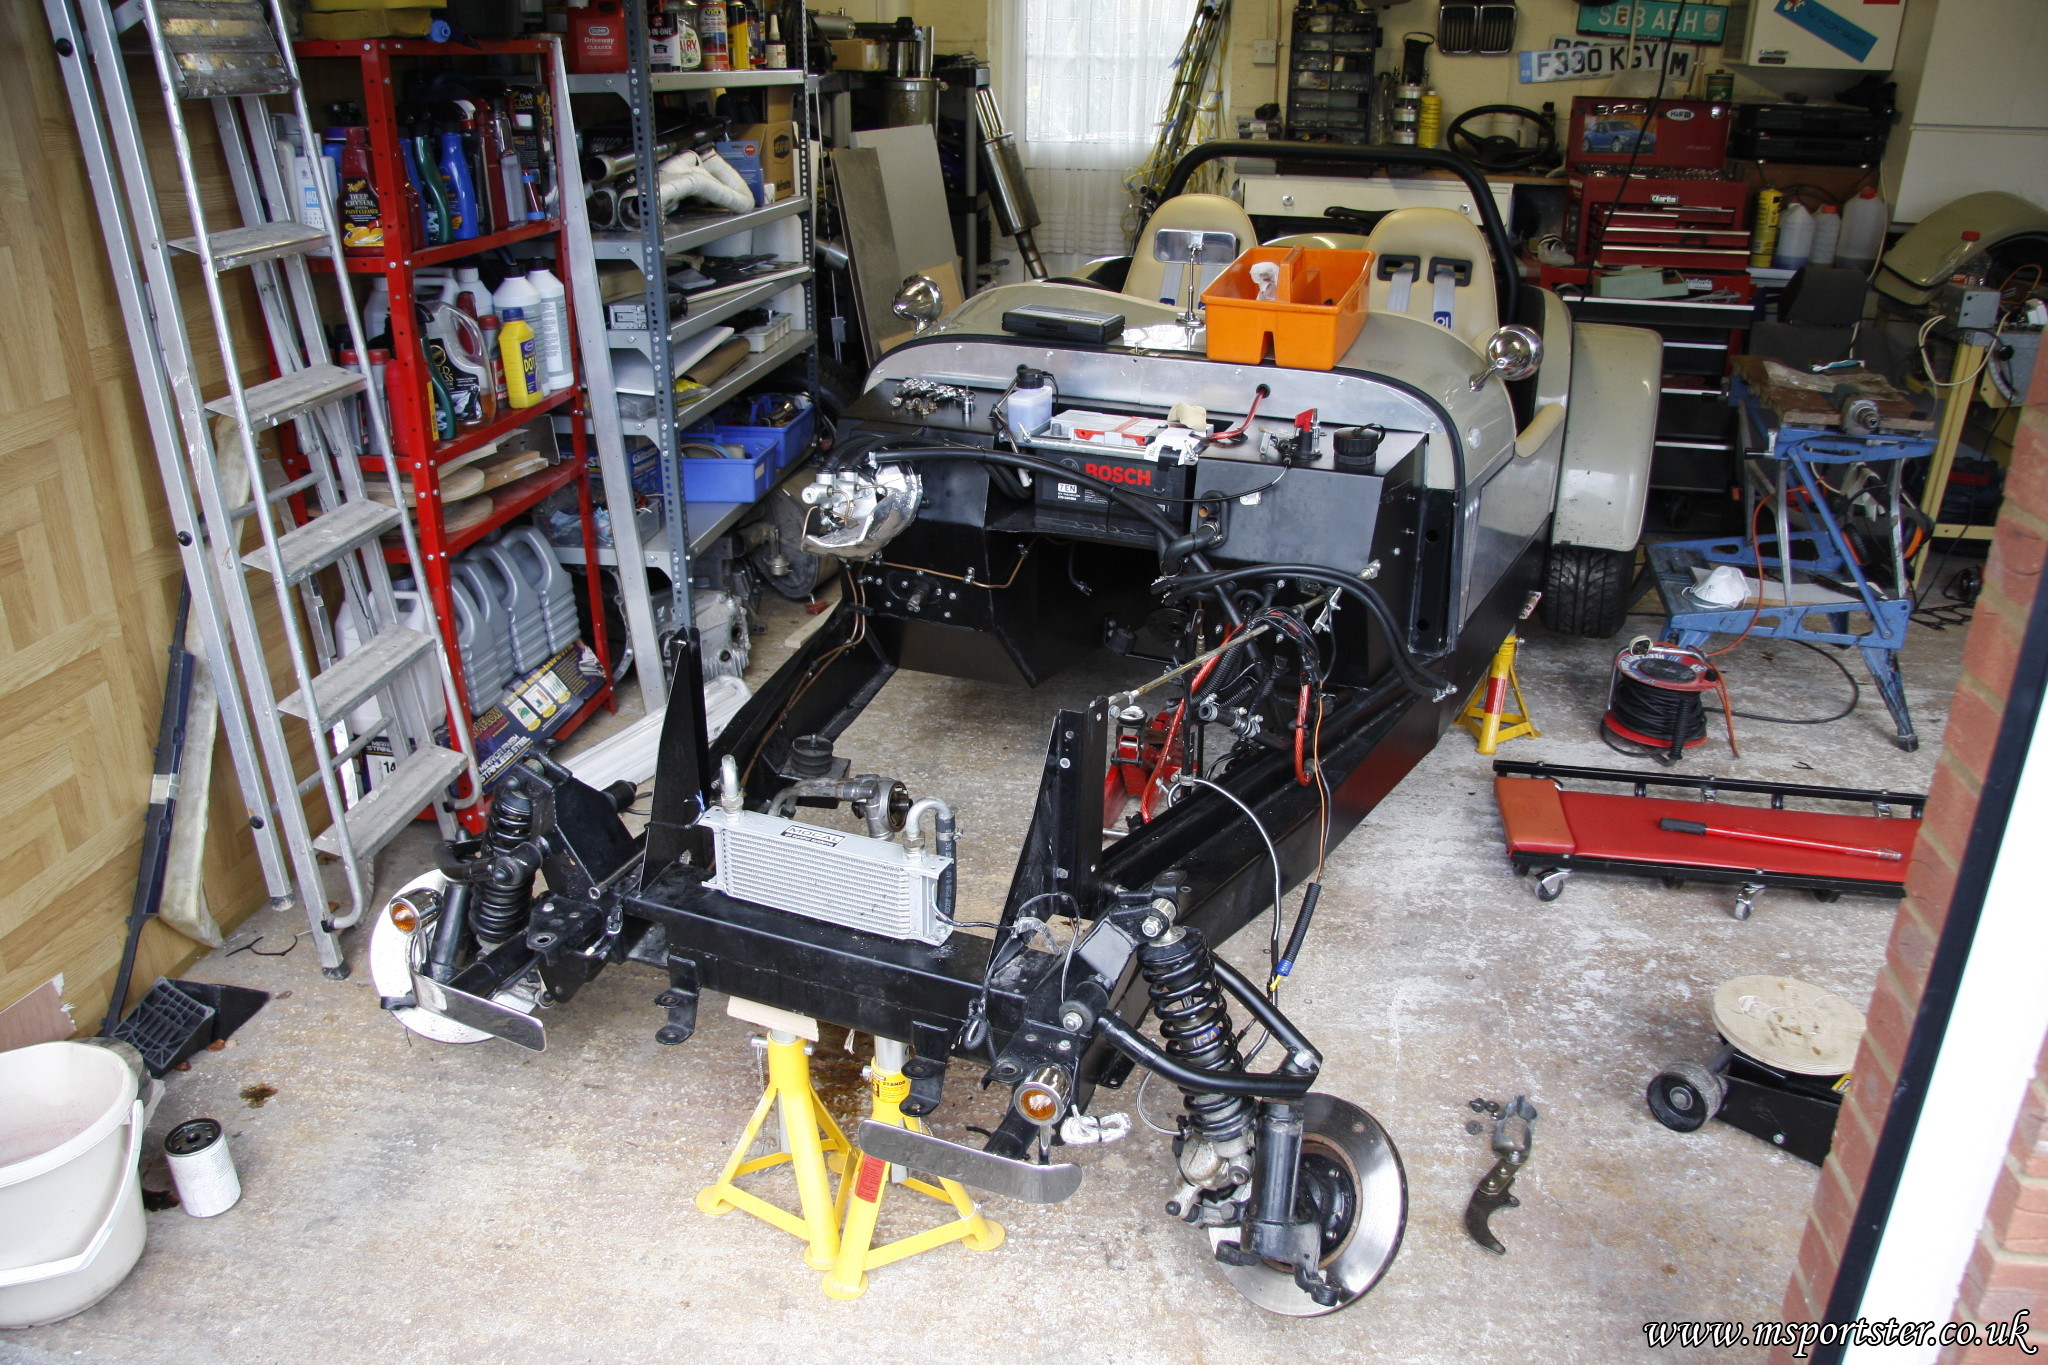
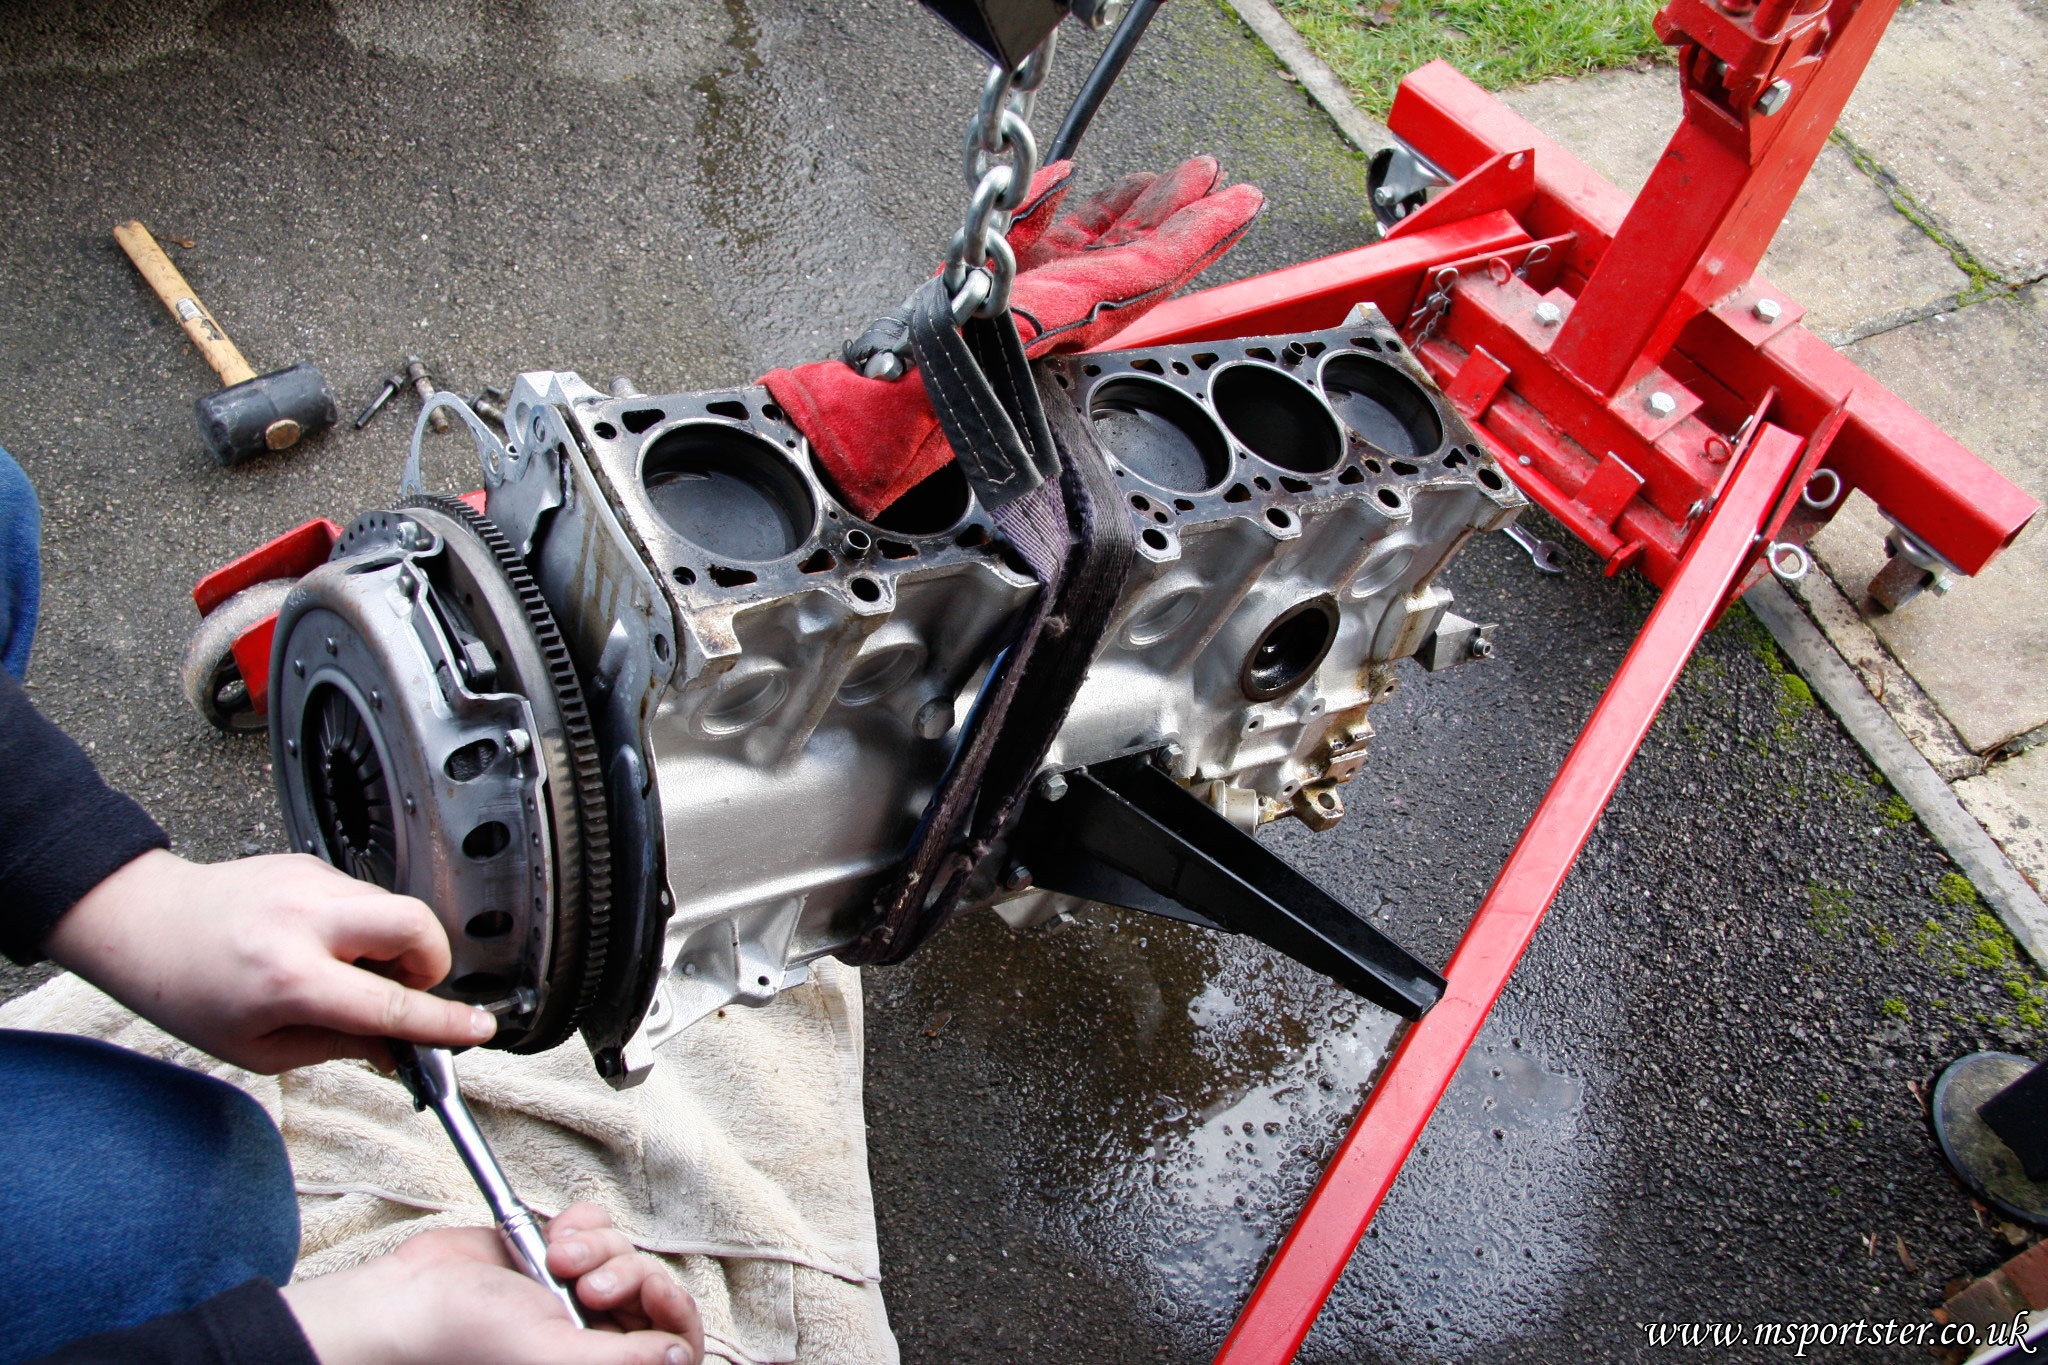
Rest of the engine is out of the Sportster, looking a bit empty now.

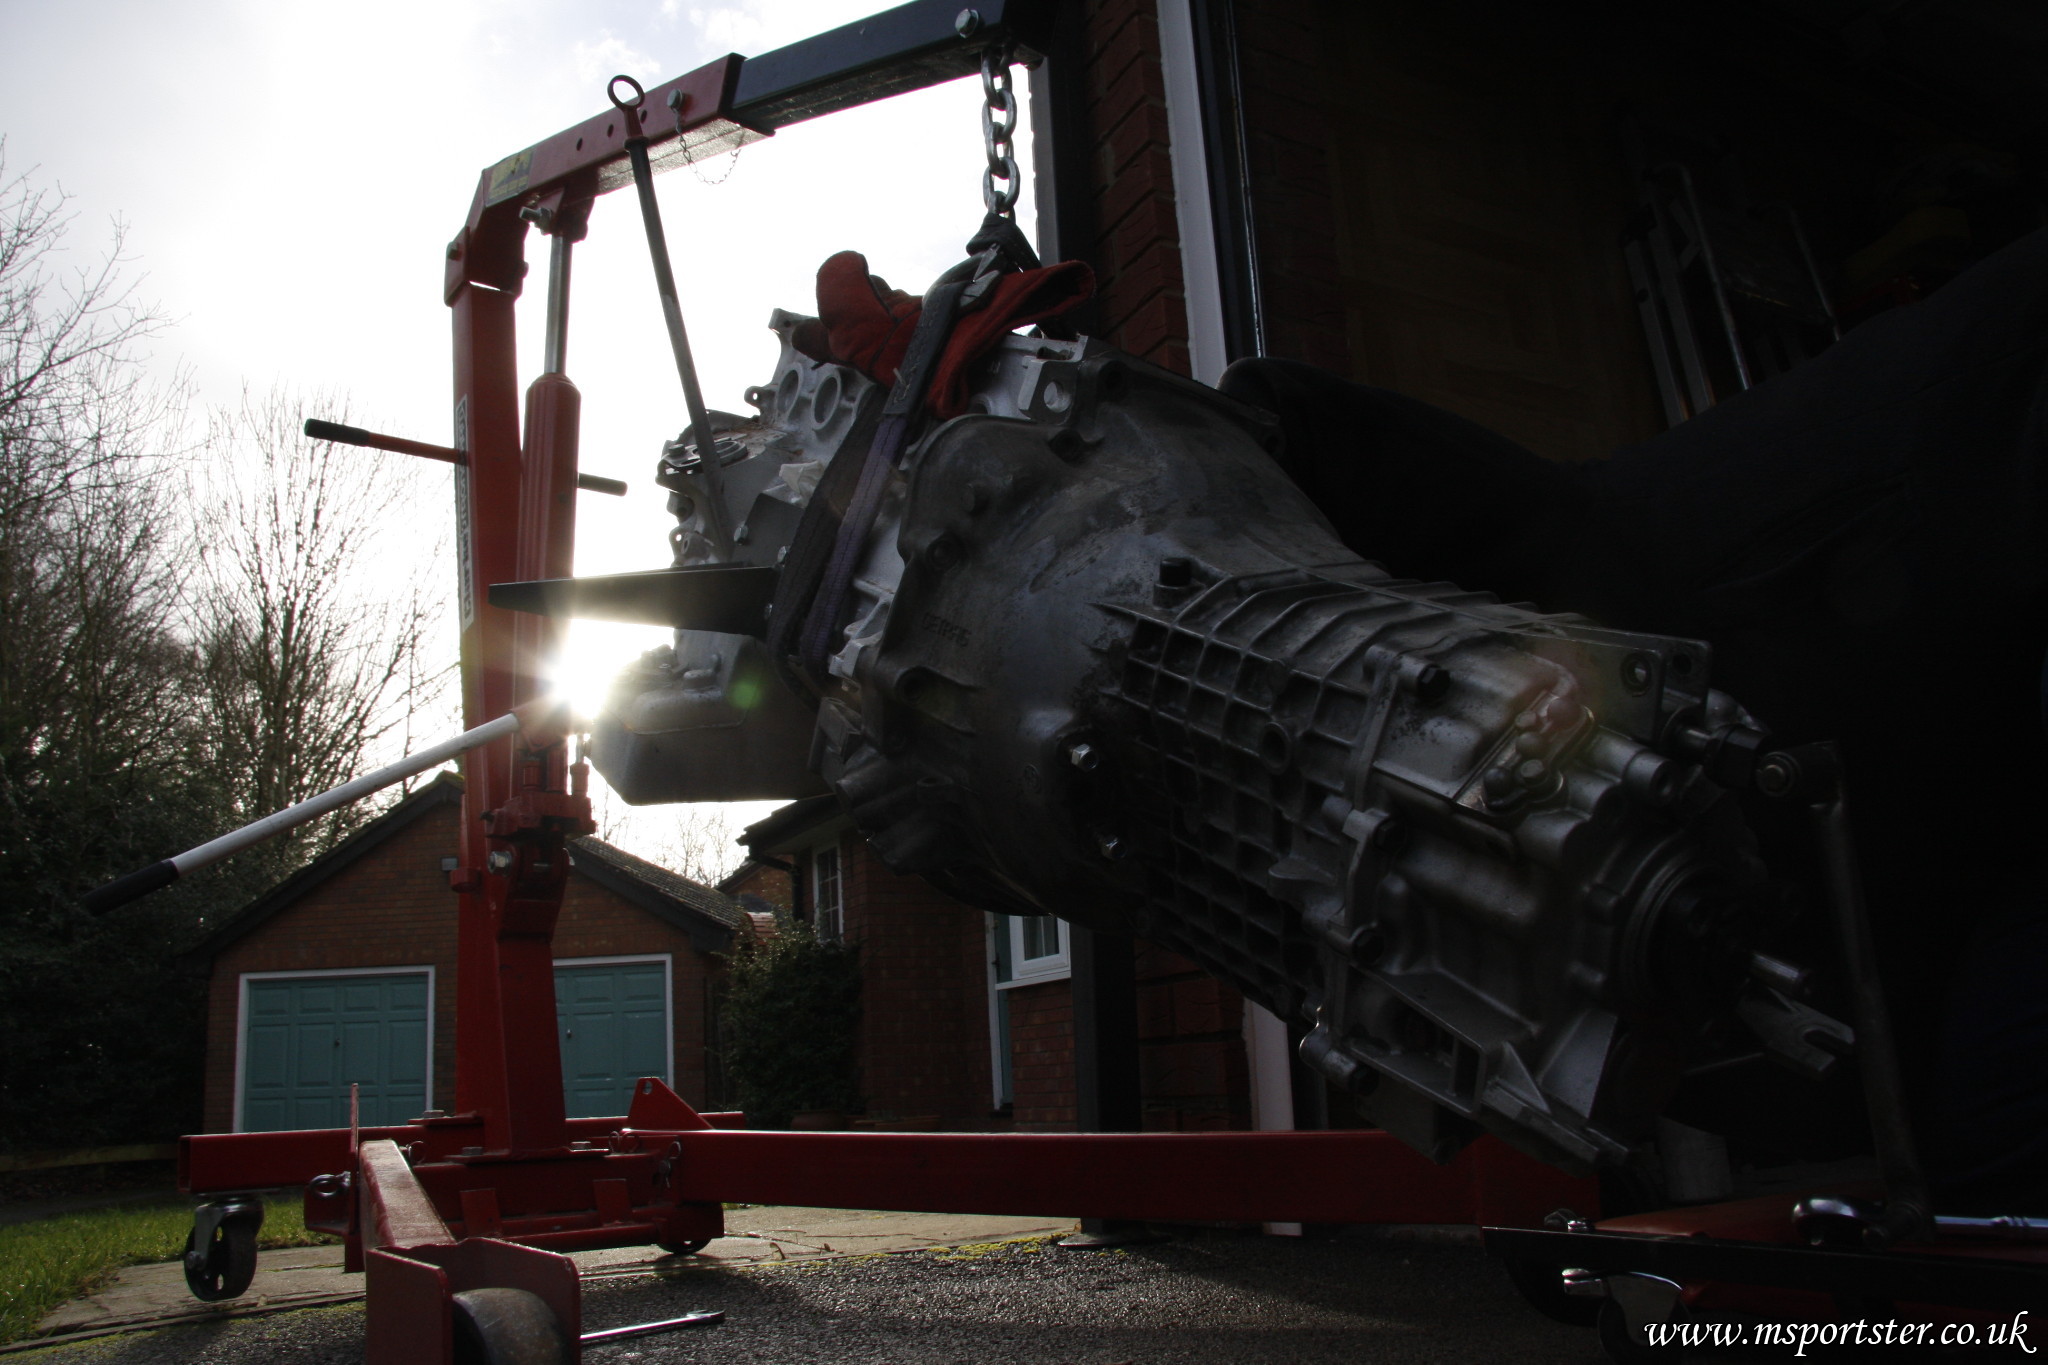
Engine and gearbox out!

The clutch coming off

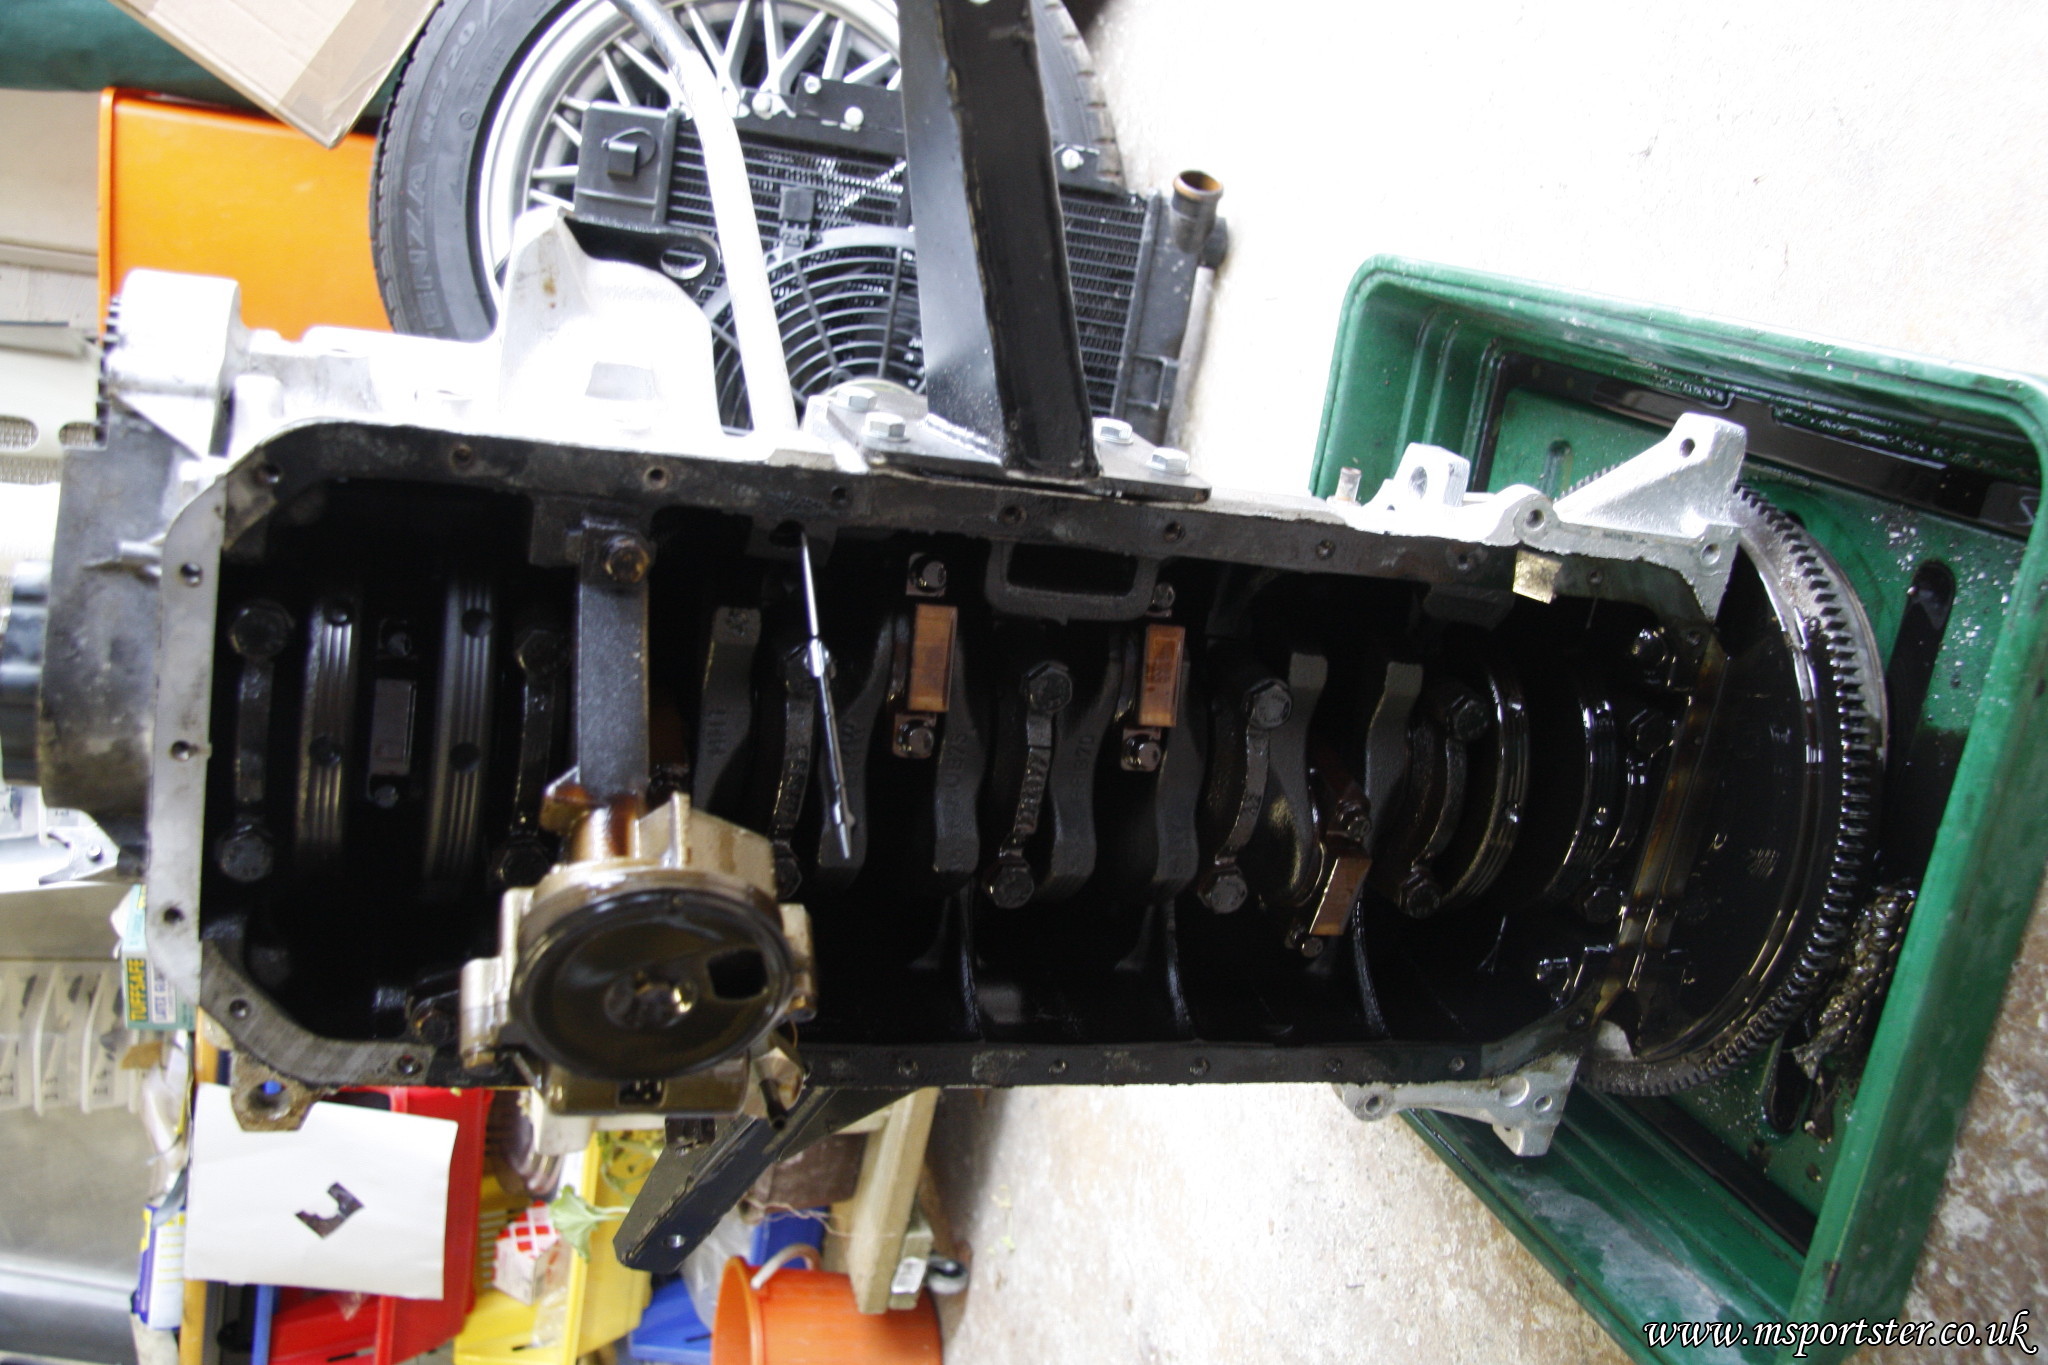
Sump off!

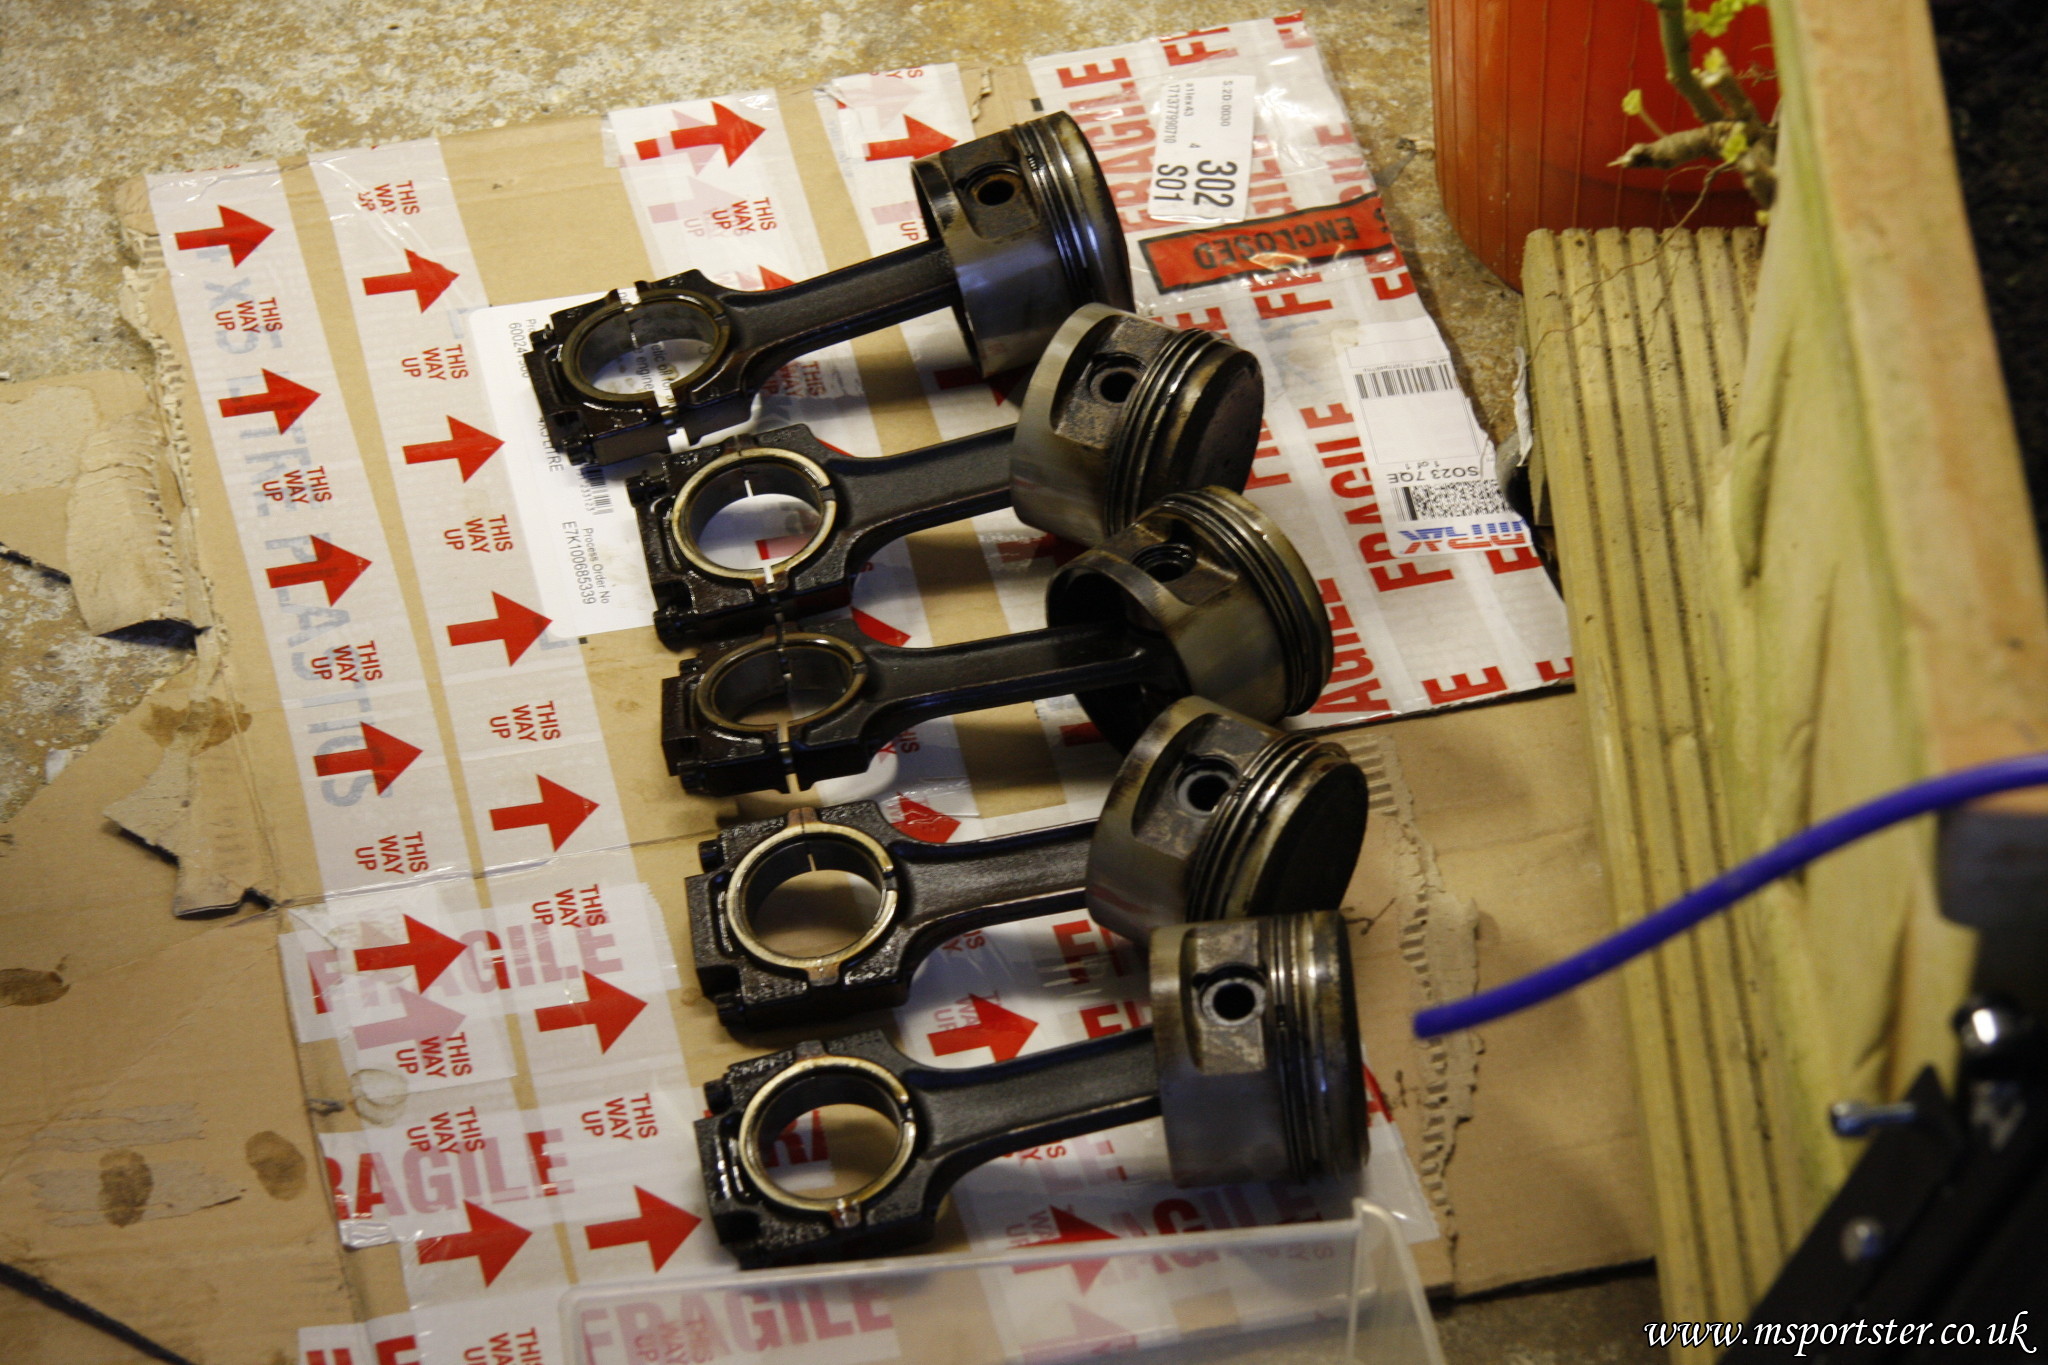
6 pistons removed from the block and numbered. They need a good clean and the conrods swapping for the 130mm M20B20 ones. I'm going to check the M52B28 conrods and the M50B25 ones I've got knocking about as well see if there's anything more suitable.

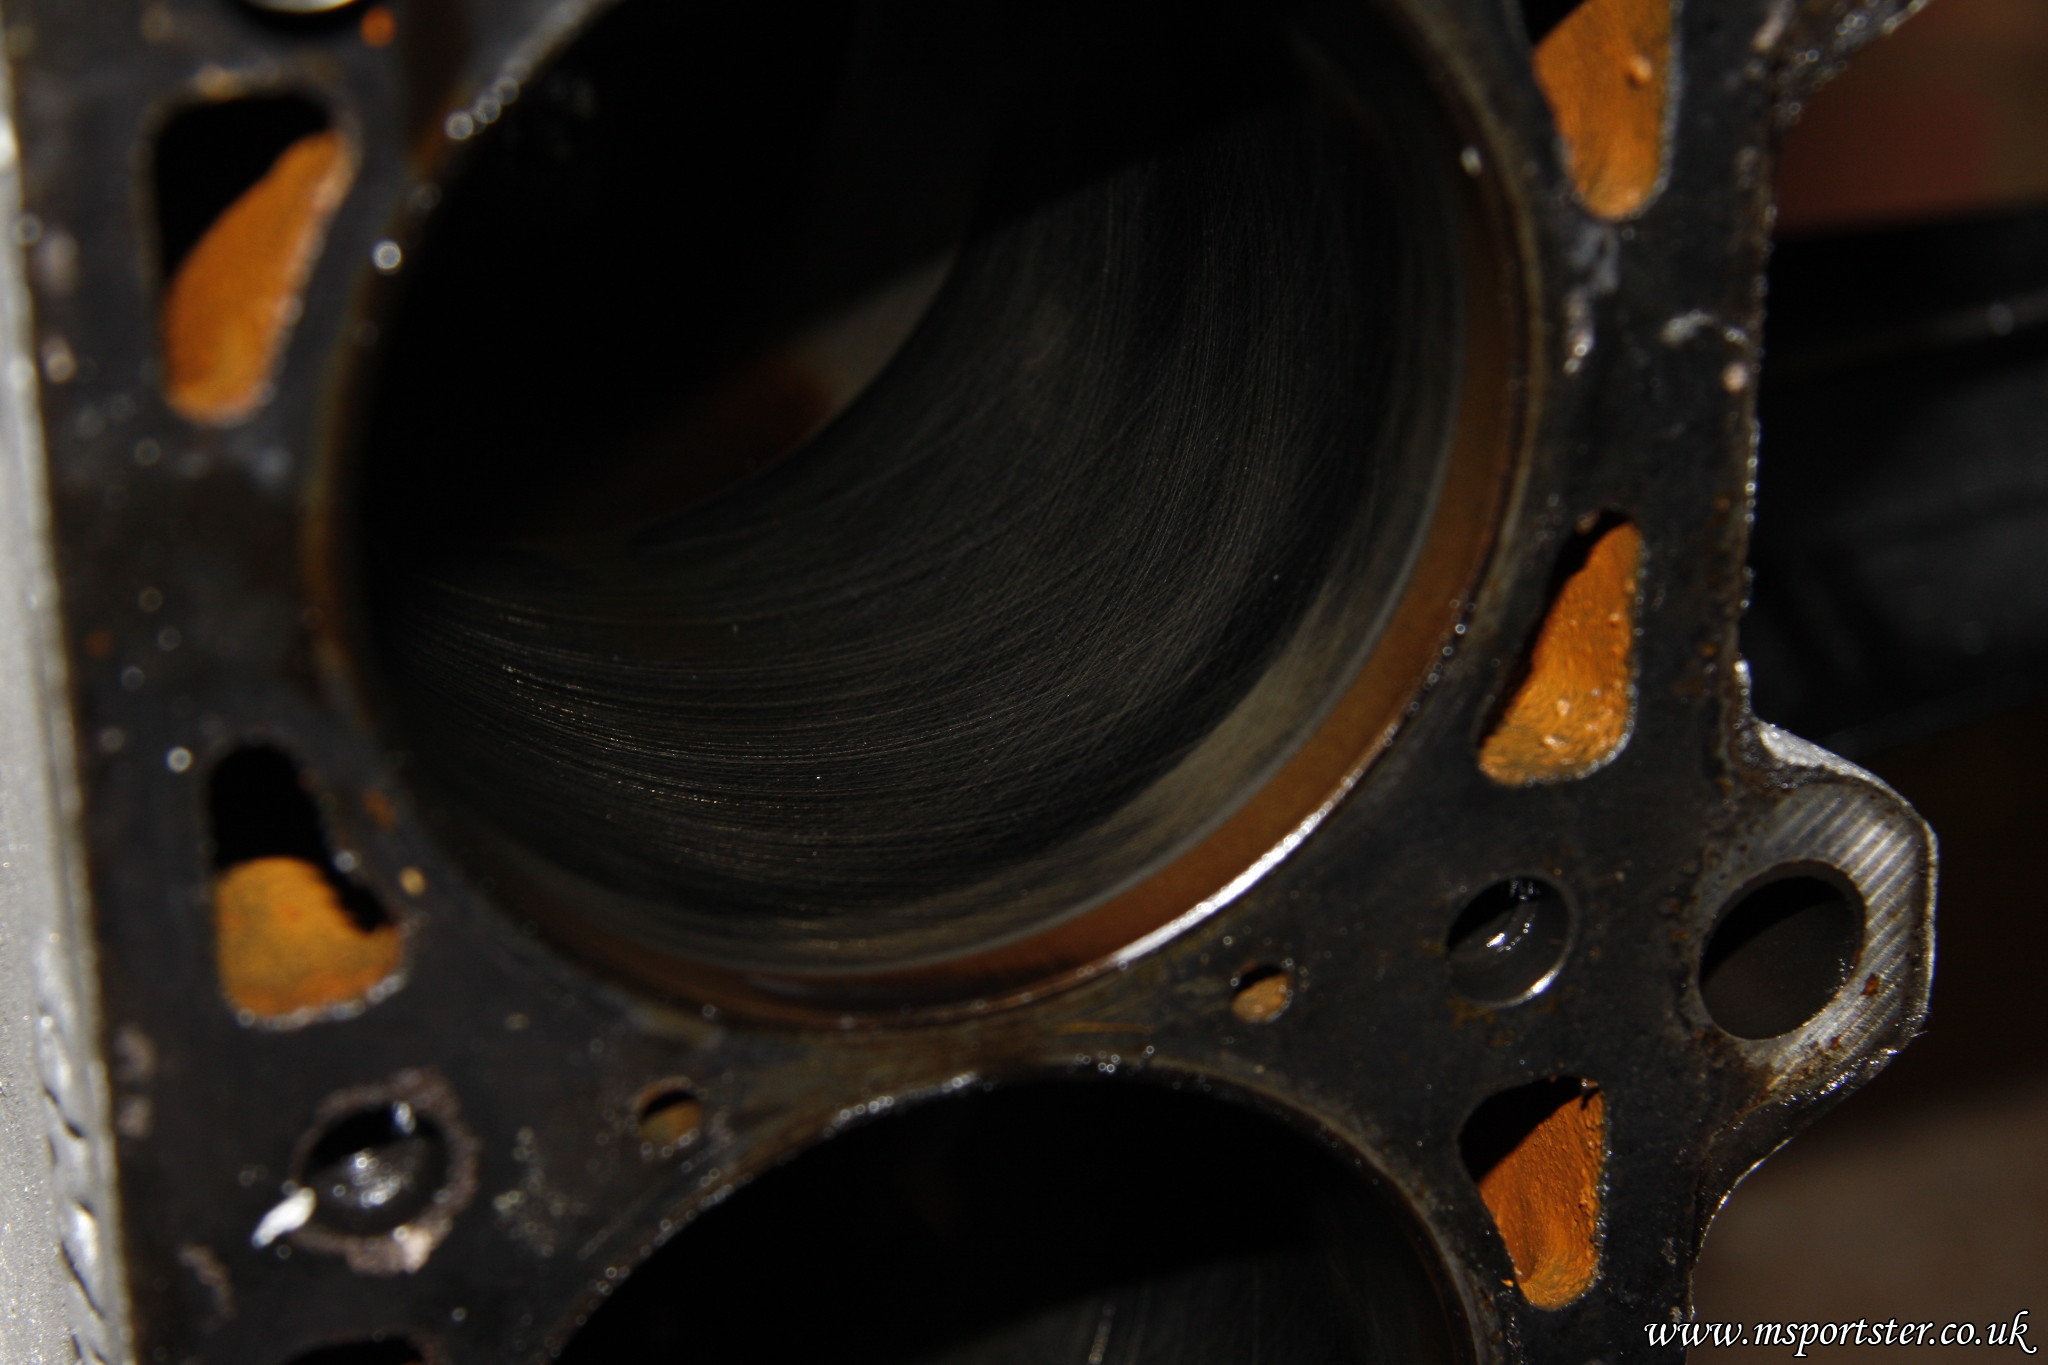
Bores in the block look great!

Flywheel off, had to lock the crankshaft in place with a metal bar between piston 3 and 4 then the bolts came out really easy!

Crank bolt came out really easy - surprisingly!
6 Jan 2008, 9:33pm
Patrick wrote:

Clean valves! This took a lot of time! The exhaust vales were cakes. Used the technique from Jason's thread (thanks, a great idea :D )


You're welcome! :)

It's a mucky but very satisfying job, isn't it. :D
6 Jan 2008, 9:42pm
GreatOldOne wrote:
You're welcome! :)

It's a mucky but very satisfying job, isn't it. :D


Indeed they are all shiny now, a lot of work but really worth it! I found using a knife blade on the exhaust valves initially was a good way to get rid of the really bad grey/white stuff, and into the dip in the middle of the valves.
7 Jan 2008, 9:00pm
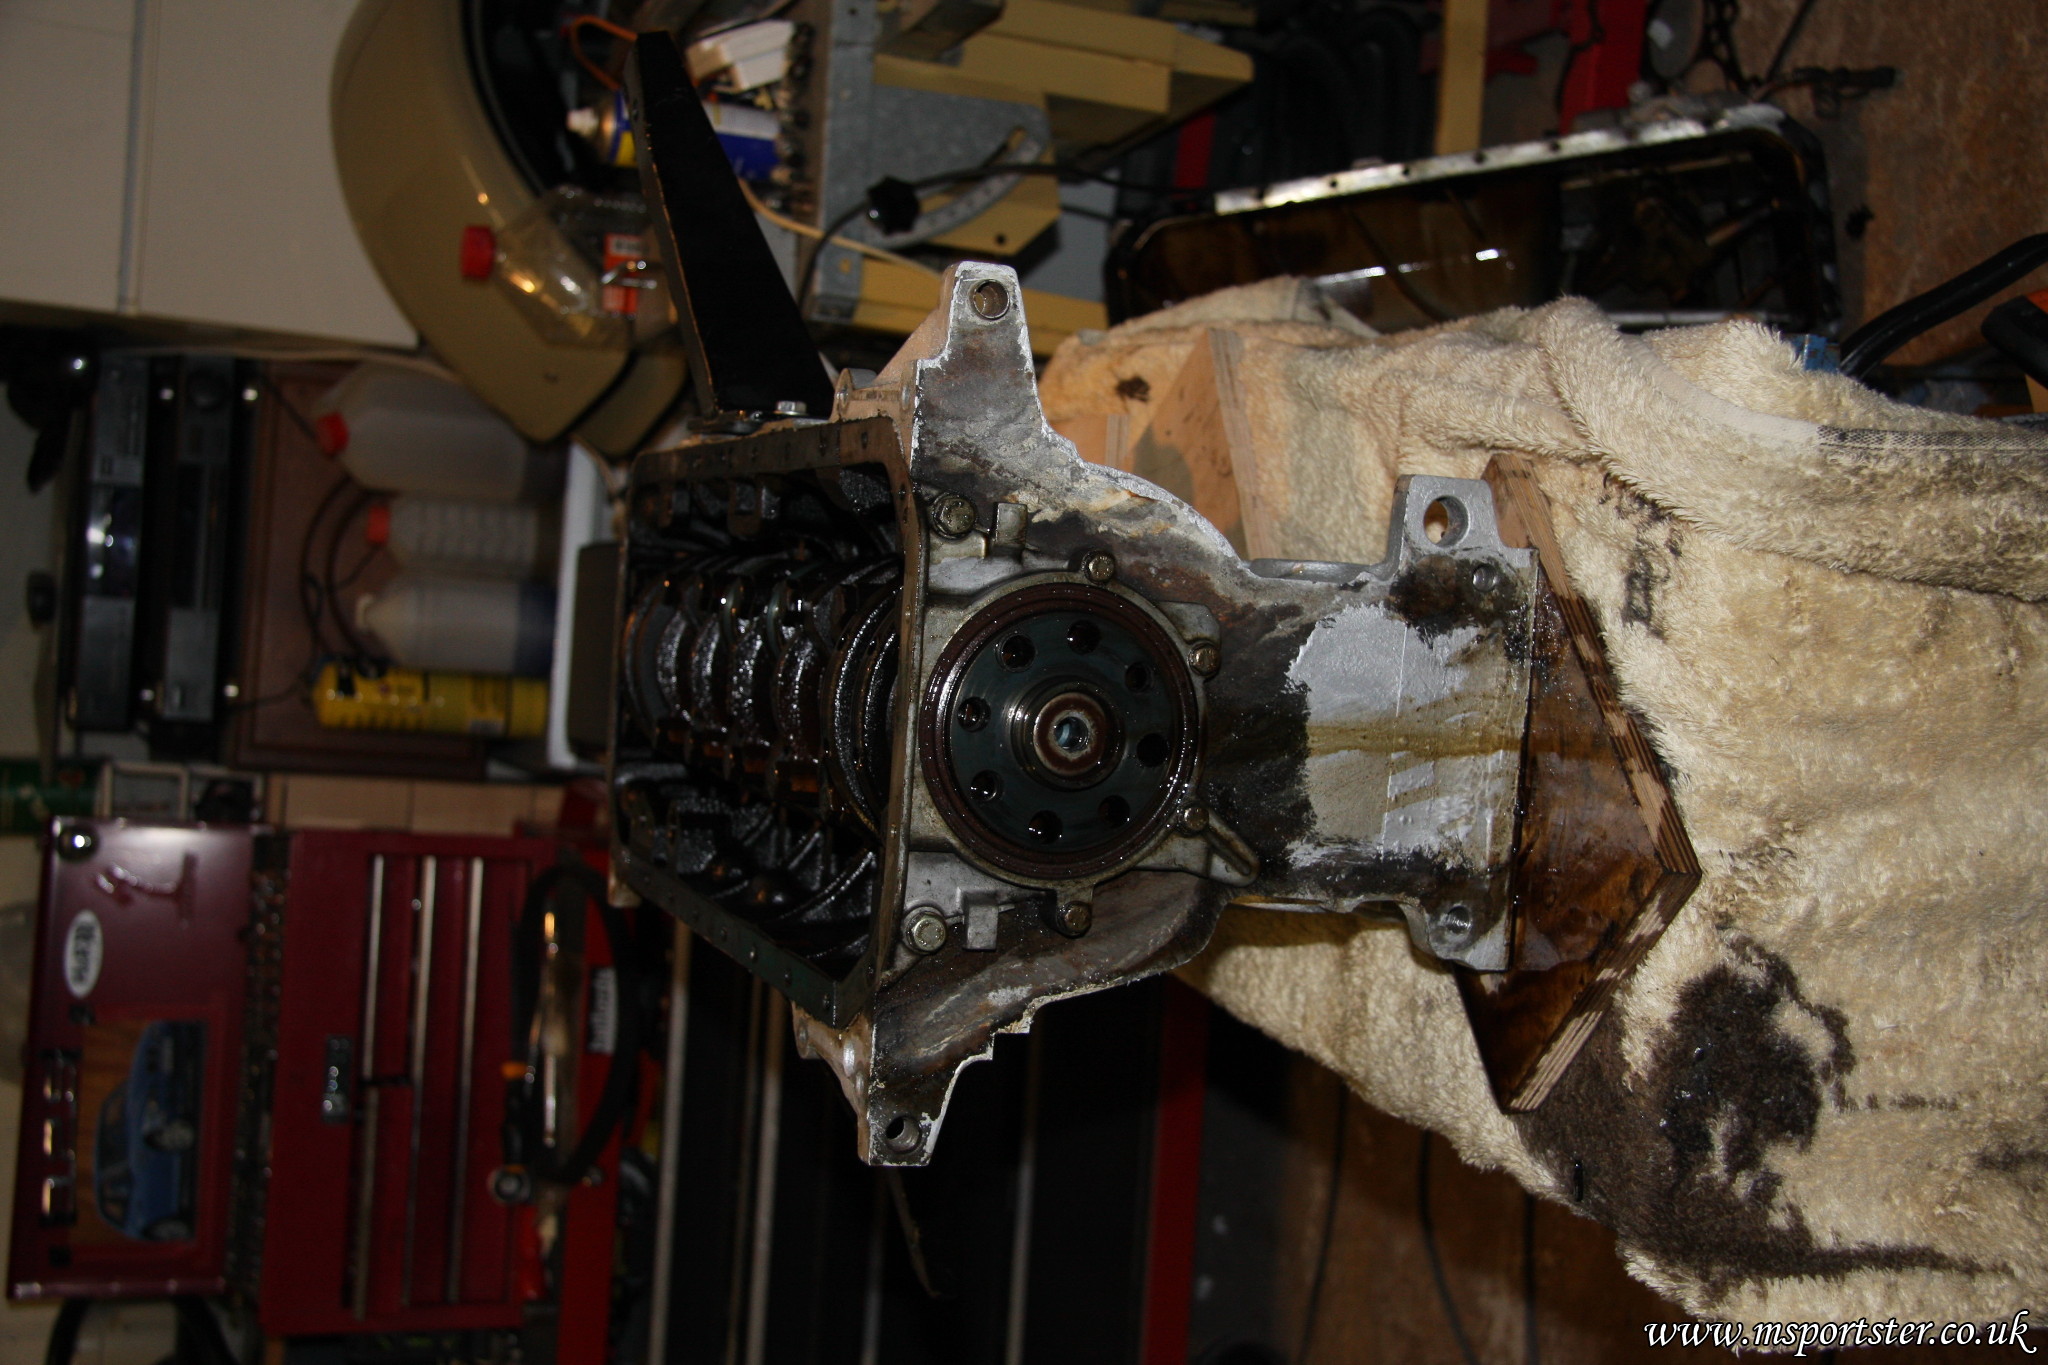
M52B28 crank shaft sitting in the M20 block - this end will need some kind of spacer for the oil seal.


Crank sits in the block like it was meant to be there, runs round without any clearance issues - only other thing that needs to be tested is the M20B20 130mm conrod with the M20B25 pistons in place to check clearances.


One more picture for good measure!


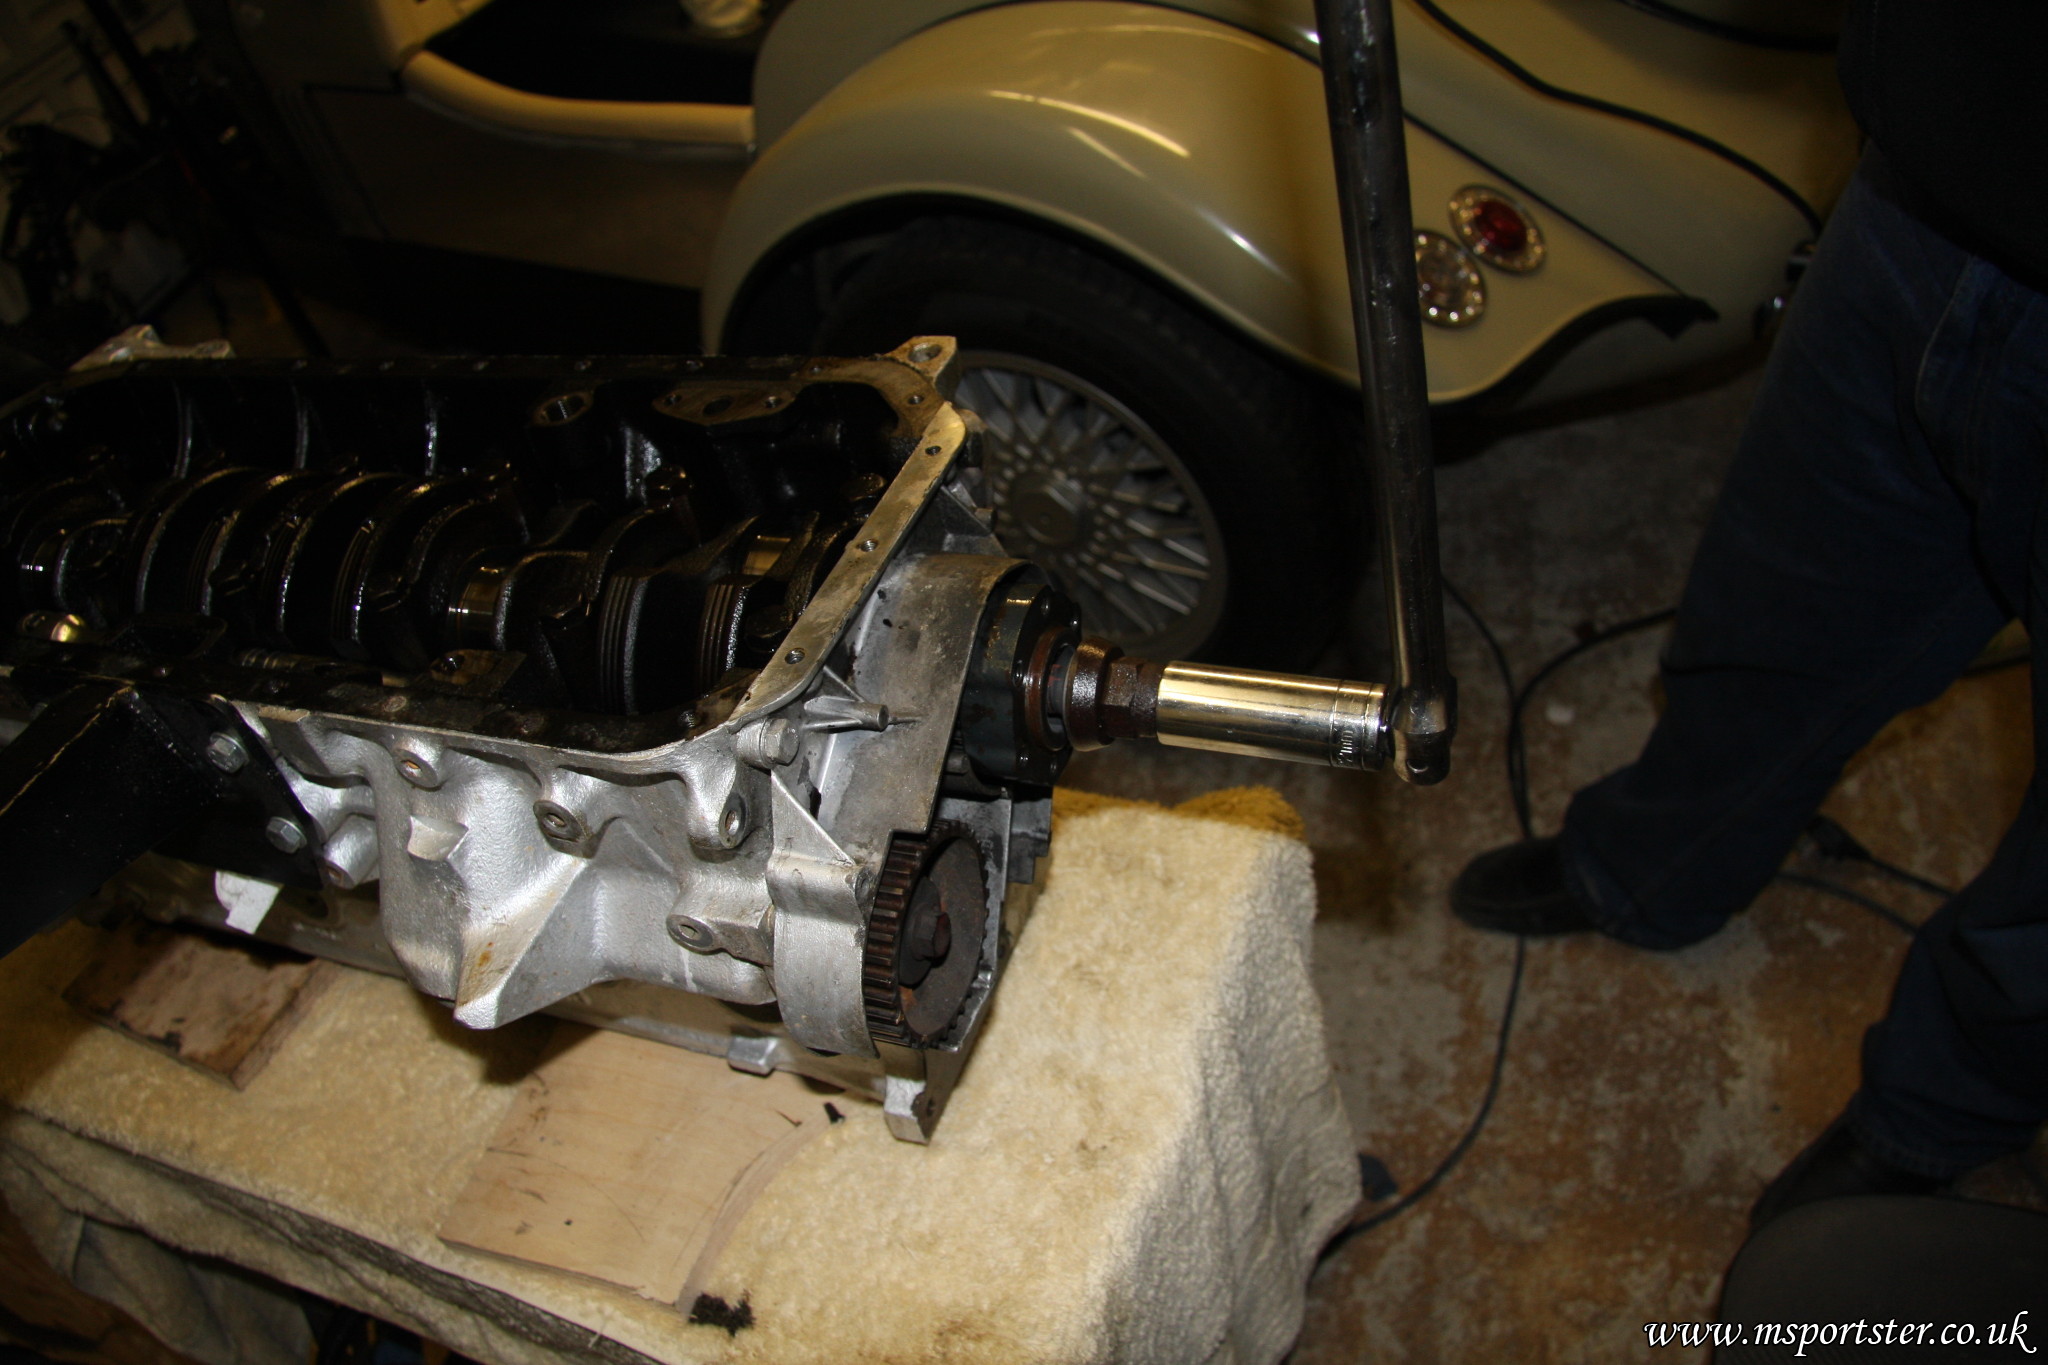
One question, how the h*** to do you the cam belt pulley off the crank? It seems to be wedge solid. The cam chain pulley came right off the M52 crank so I assume its the same with the M20 except I've got 20 years of gunk keeping it on!

7 Jan 2008, 9:31pm
I don't think I had many problems with mine, but it was a while ago... have you tried a three leg puller on it?


failing that, lay the old crank back in the block whilst you still have the old bearings in (so you don't bugger up the new ones). Put the mass damper pulley back on and bolt it up to the sprocket. Then use a rubber mallet on the back of the damper, turning the crank a little each blow until you work it loose.
7 Jan 2008, 9:49pm
Not tried a puller yet, I've got one in the bottom draw. Will give that a go next time I'm in the garage - just wanted to make sure there wasn't a pin holding it in somewhere before I try the brute force approach! Thanks :)
8 Jan 2008, 1:16pm
Hello Patrick

It looks like you are not going for a rebore then? If not, you must be really careful that there isn't a step worn in the bores at the top of the piston ring travel. Even the slightest step is a problem. What happens is, if you replace your piston rings or mess about with the stroke, there is a danger that the first time you run the engine the new rings hit the step. At best they will break dropping bits of piston ring everywhere IN the engine. Not good when it is running.

If you are using the old rings it is not a problem as there will be a corresponding step worn in the ring which will fit the step in the bore. Unless you are changing the crankshaft throw of course....

Also, if you change the rings you must get the bores honed or the new rings will not bed in properly.

Just my 5 penneth worth....

Good luck!

Robin
8 Jan 2008, 2:07pm
Thanks Robin :) Plan is to use the existing piston rings if they are within spec. Otherwise I'll get the bores honed. In theory the pistons should come up and hit the same spot as the old ones. I plan on dropping a single one in initially to check clearances and distances. The above pictures are just a test fit as I need order new shells.
8 Jan 2008, 2:48pm
Patrick wrote:
Thanks Robin :) In theory the pistons should come up and hit the same spot as the old ones.


If that's the case it seems an easy way to get a few more CC's!! Once I am complete and SVA'd I am thinking about fitting a Megasquirt. I used to be an electronics engineer (In the days that transistors were little round things with three legs and chips were something you ate LOL) so it looks an interesting option to me.

Now if you had those extra CC's and a Megasquirt - hmmmmmmm

Robin
8 Jan 2008, 2:52pm
MartinClan wrote:
If that's the case it seems an easy way to get a few more CC's!! Once I am complete and SVA'd I am thinking about fitting a Megasquirt. I used to be an electronics engineer (In the days that transistors were little round things with three legs and chips were something you ate LOL) so it looks an interesting option to me.

Now if you had those extra CC's and a Megasquirt - hmmmmmmm

Robin


Megasquirt is on the cards, drop the AFM (barn door as the American's call it), distrocap and rotor arm and run wasted spark :)
9 Jan 2008, 3:06pm
Well there are no cracks which is good news! But the guy at the shop refused to just clean it, check it was straight (and skim if needed) without overhauling the whole head which would cost £500 - £600!

So I'll try a different shop as I can't be bothered dealing with arrogant prats that won't listen to what the customer wants and telling you will do a crap job if you do it yourself.
9 Jan 2008, 7:23pm
Patrick wrote:
Well there are no cracks which is good news! But the guy at the shop refused to just clean it, check it was straight (and skim if needed) without overhauling the whole head which would cost £500 - £600!


Vote with your feet and go somewhere else. There are plenty of places (round here there are anyway). Most of them are small outfits but seem to do a good job. Best to go by recommendation if you can.

Robin
9 Jan 2008, 7:36pm
This place was recommend to me! I've got the name of another to try now :)


Puller-me-jig in place. The metal plate is bolted to the bit that needs to come off. In the middle a long bolt (out of an M52 block!) and a nut. Theory is you do up the bolt in the middle and it pops off.

The metal is already bent from the first time it wont done up (it moved about 1/2 mm)

Carefully the middle bolt was done up until it started pulling off.

and here it is finally!

There were tiny amount of rust underneath which is what was causing it to stick.

Needs a good clean out and polish before test fitting on the M52 crank.
9 Jan 2008, 10:08pm
Thanks for the link - I'm near Winchester, I'll check out Saunders Motor Works Ltd in Southampton which I've been recommend first as they are a bit closer. If I don't have any luck there I'll try Magnum :)