This is a read-only archive of the old Madabout Kitcars forum. New posts and replies are no longer possible, but every thread is still here to browse and read.
Santa came early to Charlie & I, little bit disappointed it was not gift wrapped and tied with a Christmas bow.
Santa's sleigh was heavily disguised as a car trailer and the reindeer as a diesel pick up! & Santa as Gary's mate John, who eat all the pies but not the whisky.
Many thanks Gary garage full of bits and two puzzled men but I suppose that is only to be expected as we are the first to build the kit.
Will post some photos of the engine, chassis, floor pan etc once Charlie works out how to up load.
Can anyone advise on how to insert photos within the script
Gary I will call you before the weekend just to get a few reference points and then we are away.
Hi guys
There is a early post that shows you - but basically register with photobucket
and then upload pics - click on the img button and paste into the post you are writing
Good luck on the build we are all interested in your progress
been following the forum for sometime, love your flying helmet, I am honoured to accept your invitation to the EEC.
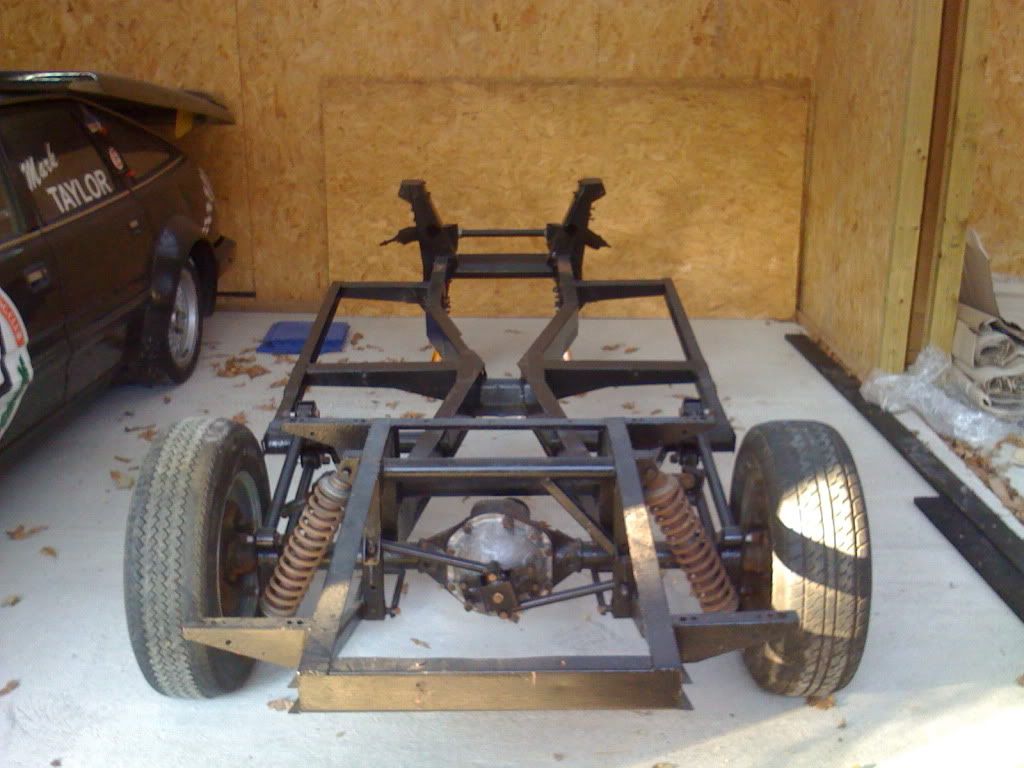
Se5a chassis I repaired last year and then abandoned the idea after of rebuilding the scimitar after discovering the Sammio web site and speaking to Gary.
Rover V8 3.5L engine that I rebuilt some years ago and used in a Hawk 289, nice cam, light flywheel 4 barrel carb should be ample for the G46.
Nice one. Should be quite the flying machine with the 3.5 V8. After all, it's probably about half the weight of my cast iron straight 6 with at least 50% more power.
At least the back end shouldn't break away in the wet too much...
i had a scimitar gte 5a with a rover v8 went really well,i was pleased with it ,mind the lad i had it off had a chevy v8 with all the bits nitrous etc ran 10's 1/4 mile that was a tad faster
A few mates ran the 350 (small block) Chevy engine in cobras when I was running the Rover 3.5 in my Hawk, the Hawk was faster in initial acceleration only to be then overtaken by the 350's but I always out braked them into roundabouts and first away!
Talking of the heavy 350 chevy I have just had to move the old Essex engine in the garage that came out of the Se5, the Rover 3.5 has to be 50kg plus lighter than that, what with that and the lighter body, no roof, no glass, internal furnishings! the G46 V8 Mk1 is going to have a sweet unstressed power to weight ratio.
Looking to locate the body on the chassis tomorrow every "G Clamp" I have is currently in use!!!!!!!!!!!!!!!!! now where did I leave those sky hooks!
Will post a photo with the body temp located if we get that far
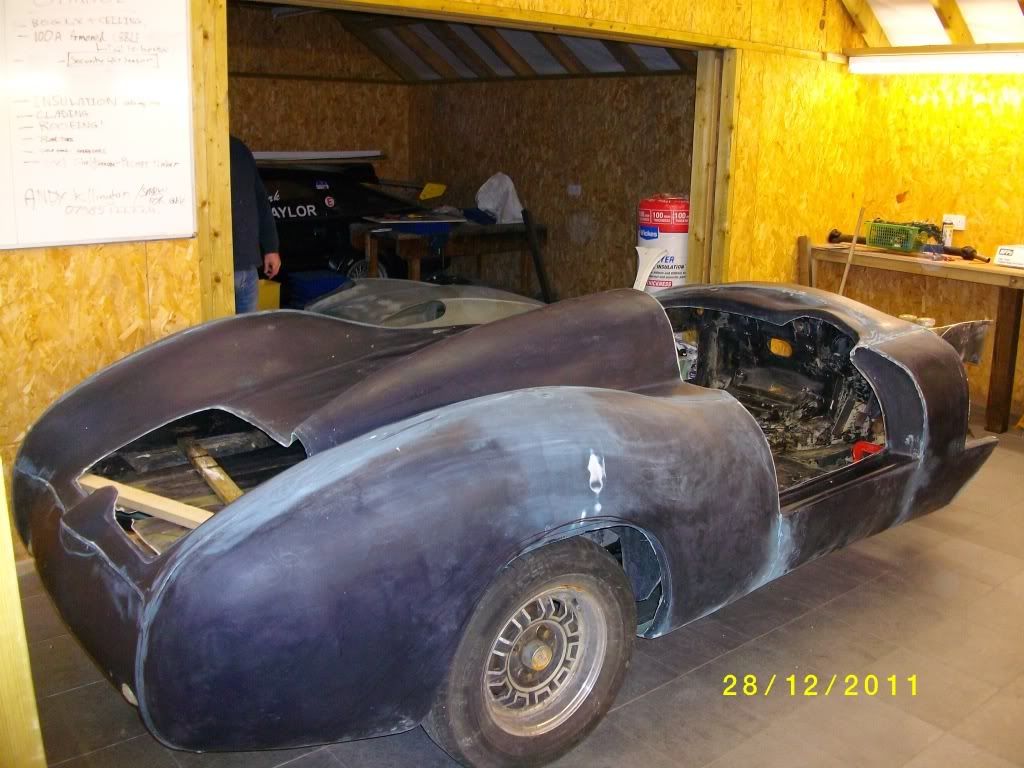
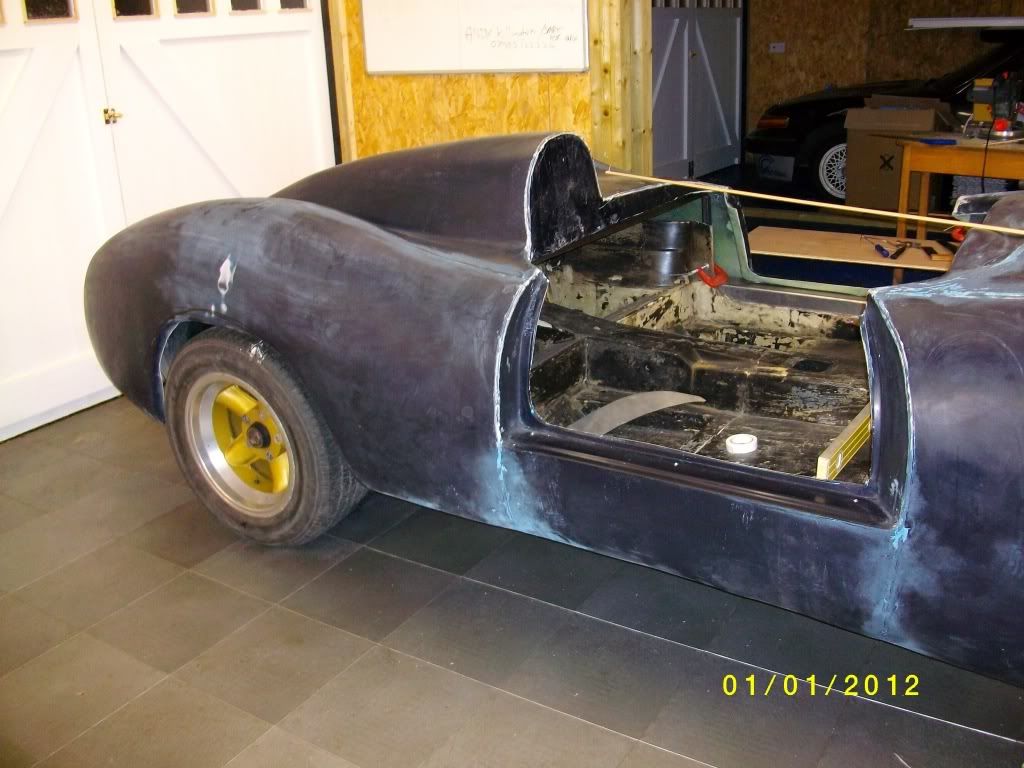
last post was a tester to see if we could add pictures, it works. Main body located, seemed to go well a lot more fettling before final fix, pure enjoyment rear goal posts and cills clamped into dims you have me, had to take top corners off but fits as snug as a bug in a rug. lots of measuring standing back having a look up a bit down a bit and so on.
See why you had a problem with final dims not be able to take the body off, we are lifting on and off and using all the photos we took at your workshop as a guide, we will take dims and records for reference. It may not be the way every one attacks it but it may be helpfull
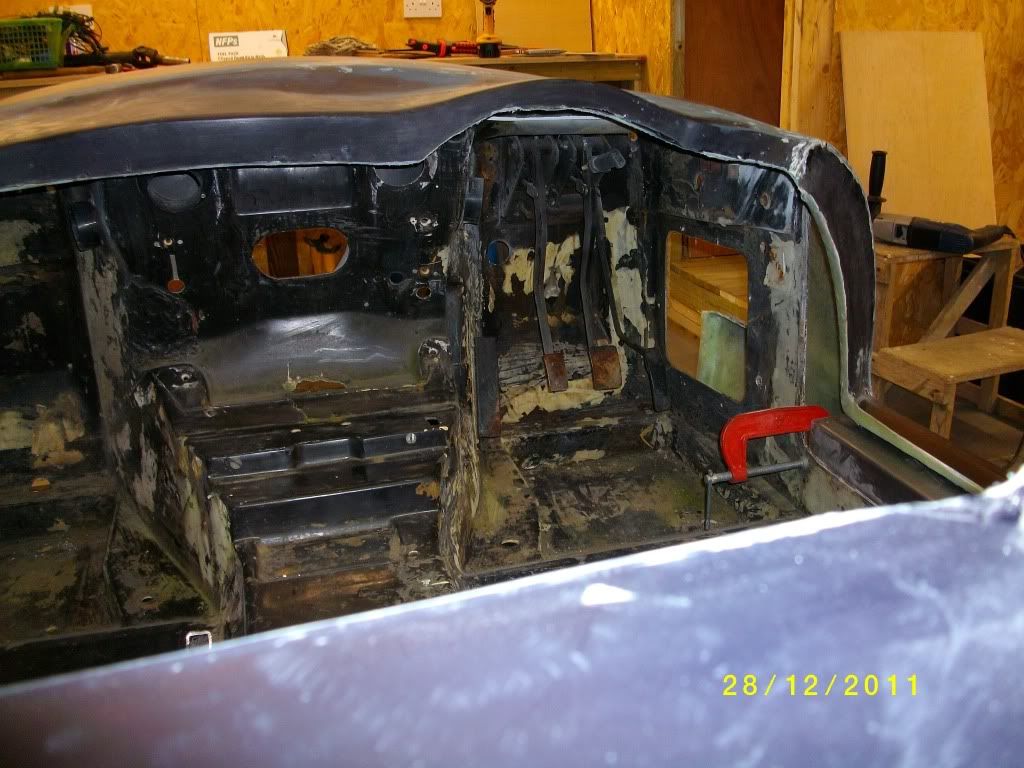
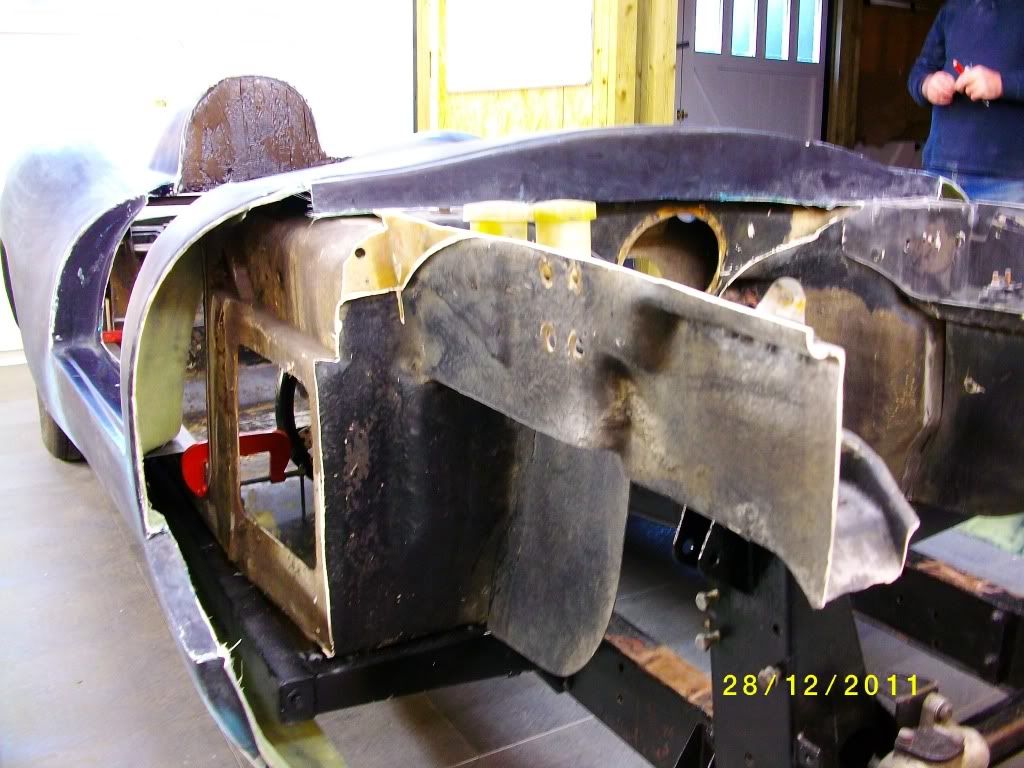
This one shows the front bulk head I think we will cut up the "coffee table frame" and insert differently? we may also make the footwells wider in the square aperture with ply formers and move the pedal box over as we need to chop out the tunnel for the exhausts on the V8 and it's always cramped on Se5's when they insert the V8 plenty of room in the G46 wing bulkhead for this.
looking back at the bulk head ply templates will equalise both sides and secure the cills, again we have the luxury you did not have when building the prototype, everything open and nothing in the way. The body was located using the vertical centre line of the rear wheels and rear wheel arches.
will have to cut a little more off the up stands at the front
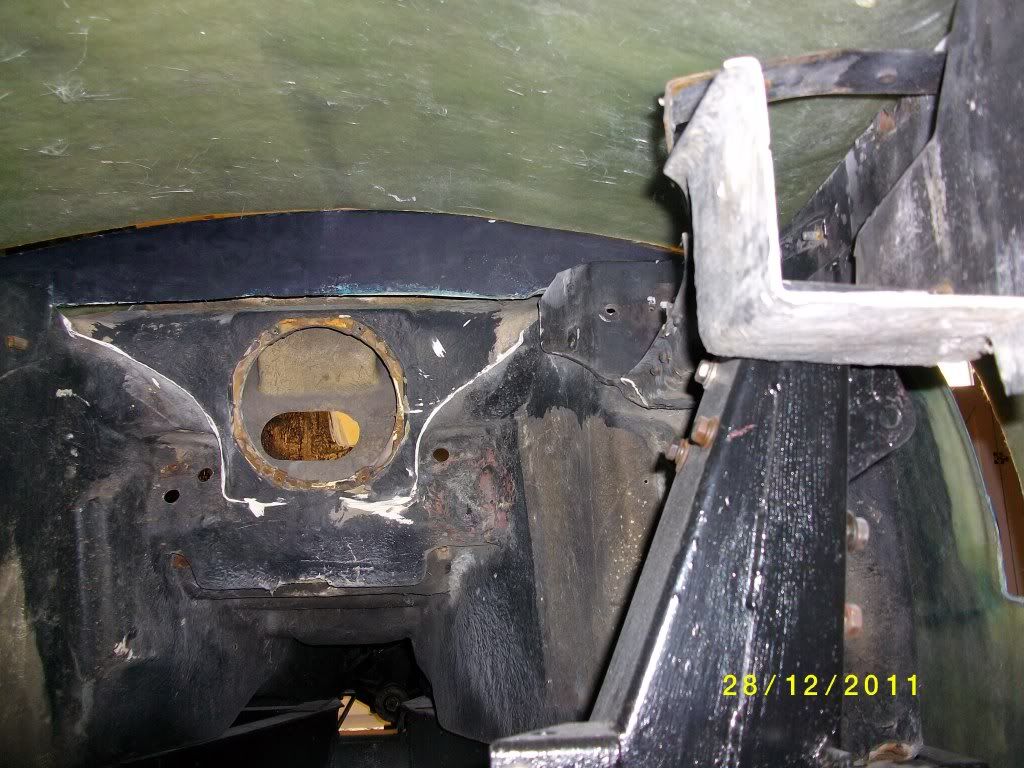
Under the bonnet test fitted long way off fitting but all looks good for clearance on the V8 nice detail have the cut line on the mould that will help when we come to match the bonnet line to the bulk head, but with a bit of felting should all work ok. Mounting and making the brackets for the forward hinging bonnet will be a challenge but there is good access under the car to take dimension and I suspect we will be coming to take more measurements before then.
So very pleased with today a long long way to go, in a way I am glad it is not a kit with instructions that just bolts on, we are all using heads which makes it all the more satisfying when you stand back and see what we have achieved.
Quite exciting to see one going together .....I am so chuffed you guys are doing the first one , number 2 , you know what I mean ! I felt that you 'got it' when you visited and your passion was obvious...I have some tweaking to do with these kits and watching your way of building will be very useful...
incidentally,what 'box are you using?the gear box was a little far back for my liking in my scim' but then it did have the engine mounted well back and the bulkhead cut too mine was a LT77
It's the LT77, our engine will also be mounted further back, but what's another little bit of cutting! will have to cut bulk heads both sides to get the headers in .
Purchase some 350i TVR headers off e-bay this week (pre going forwards type) I may position the slave engine ( no crank or pistons, bracketing already done) and in the chassis pop the heads on and see if they work
The beauty of the Sammio concept is that I can position seat further back as well, I also acquired a short remote gear change along the way which I have the option to use as well.
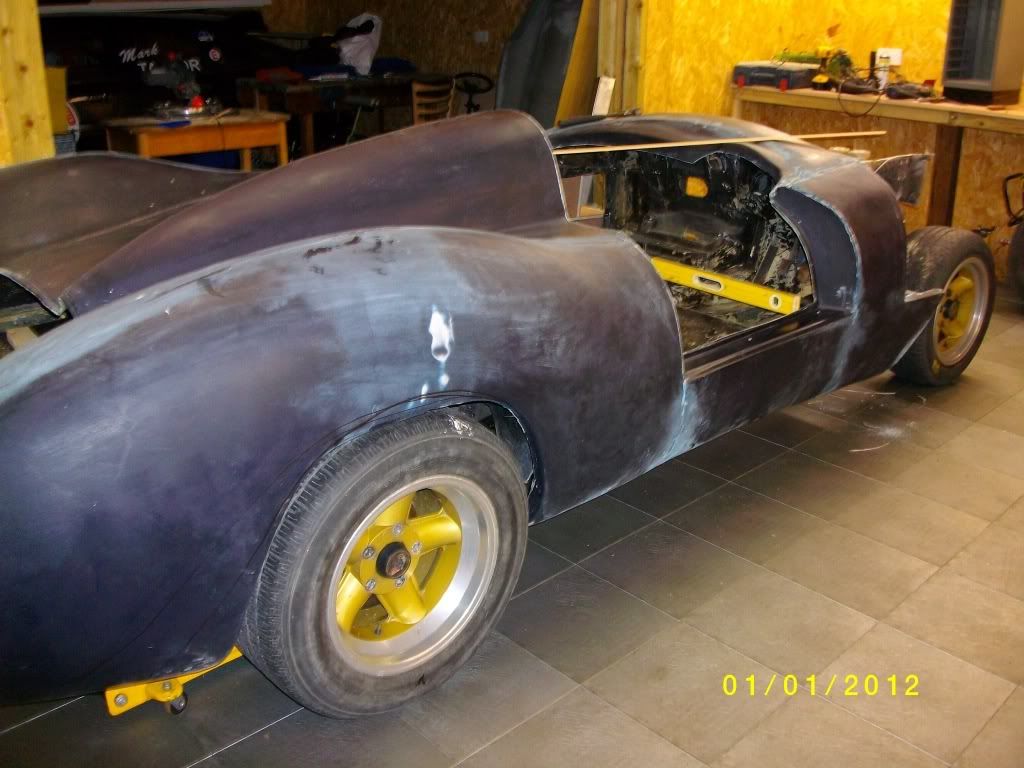
Just come in from an afternoon in the garage wanted to see what the car looked liked with the arches filled out with wider wheels, not suggesting we use the revolutions wring decade, but it gives a good indication where a 15" 245 will sit the car will be a lot lower with engine and gear box in place and with shorter coil overs.
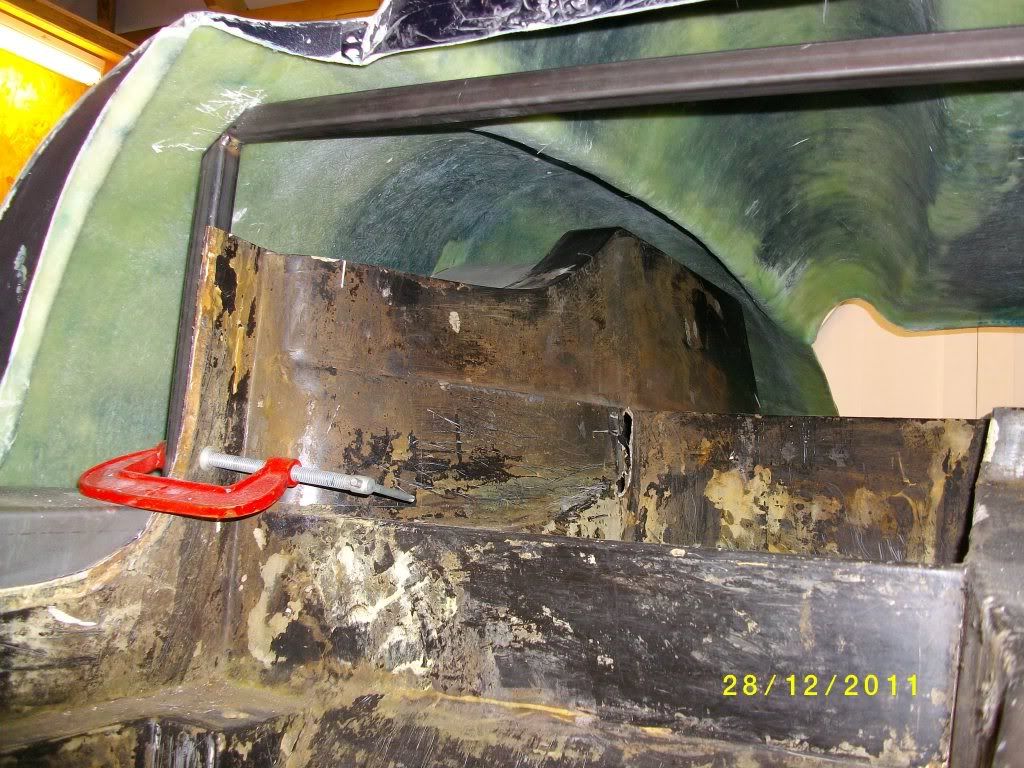
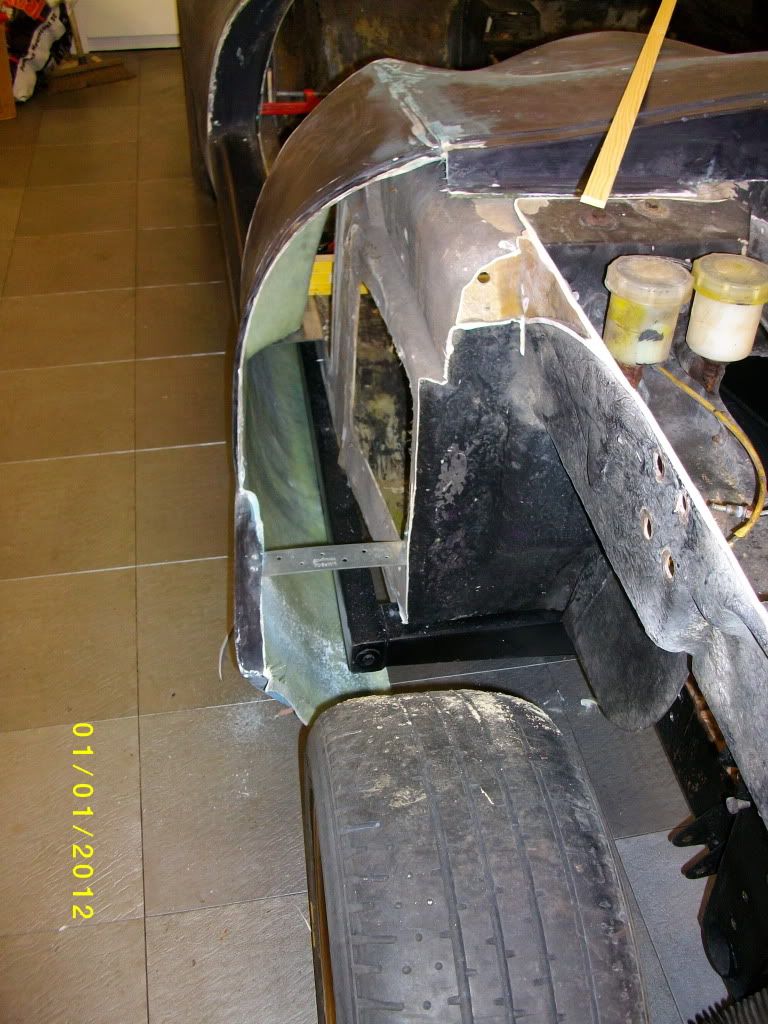
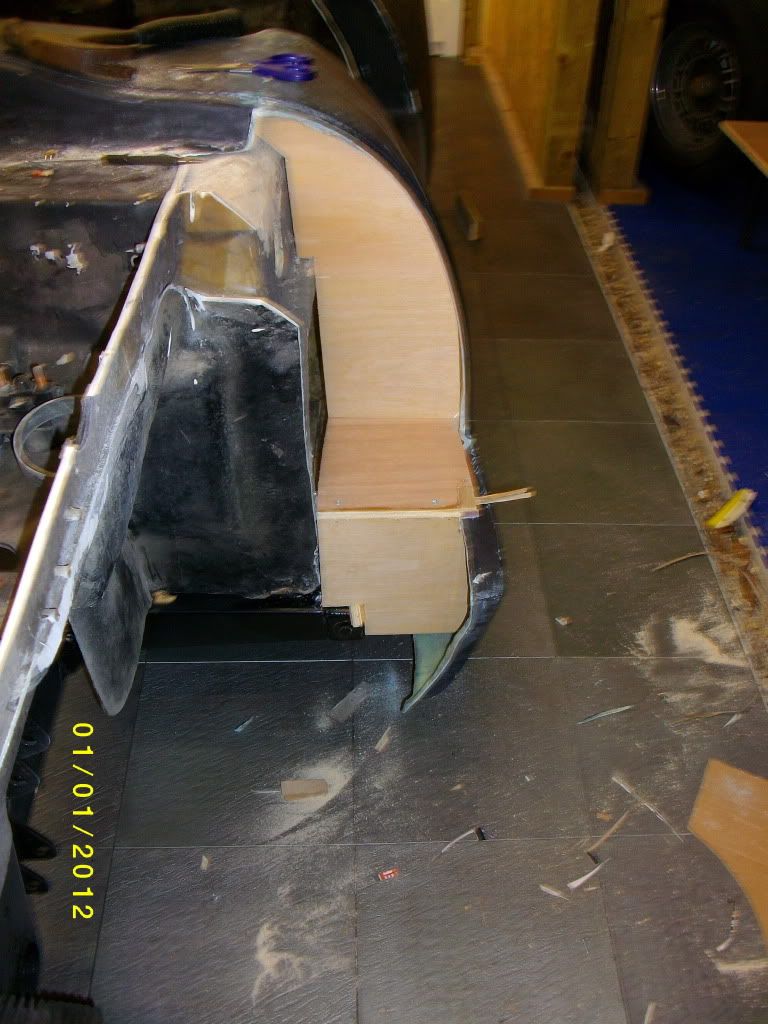
Gary, secured the front left cills by using metal angle straps cut and bent to match and self tapped into position see drivers side photo
I also made cardboard templates and made the inner arch floor, drop down and vertical filler on the passenger side from 10mm ply. The bottom plates are glued and screwed to the straps and cill plates under the doors, the vertical wing filler, I need to glue into position (will I get away with car filler) and then glass over them to give them an element of protection and for firming up the body.
One result is that with all the head scratching I can use the card board templates mirror image for the other side with very little alteration.
My wife came to find me this afternoon, she opened the garage door and said are you happy in here or just trying to get away from us indoors, no answer to that really, women! they just don't get it!!!!!!!!!!!!!!!
My favourite part is that they say we are "playing with cars" and therefore it idoes not constitute it self as work. Which means when we come in we are not tired and we are ready to do their bidding.
Ok my moans over - dont tell her i said that
We are all friends here aren't we?
can't wait to see the car with the front end wheels etc as i can't really make out what the complete profile will look like,but like what i've seen so far.also wondering about the headlight covers
and btw the revolutions look good even though they are wrong decade.
i'd consider then sprayed grey or silver a la cobra with a fake spinner
oh ive been lucky ,the mrs has helped me build my sammio all the way, from grinding to winching out the engine,, and even taken the money i made from the herald parts on ebay, "BLESS HER"
ok its not a sammio but the cockpit view and the growl from the engine it only takes a little imagination,
I cant wait to see these cars turn up at a meet or a show