This is a read-only archive of the old Madabout Kitcars forum. New posts and replies are no longer possible, but every thread is still here to browse and read.
You can put the rear alloy crash bar back on if you want.
Hi,
Does it need it? i.e for the kit parts to fit too?
Also what about the wheel arch inners are they still needed or optional?
And can I fit the rear with the original sills in place or do they have to come off?
Does it need it? i.e for the kit parts to fit too?
Also what about the wheel arch inners are they still needed or optional?
And can I fit the rear with the original sills in place or do they have to come off?
Thanks.
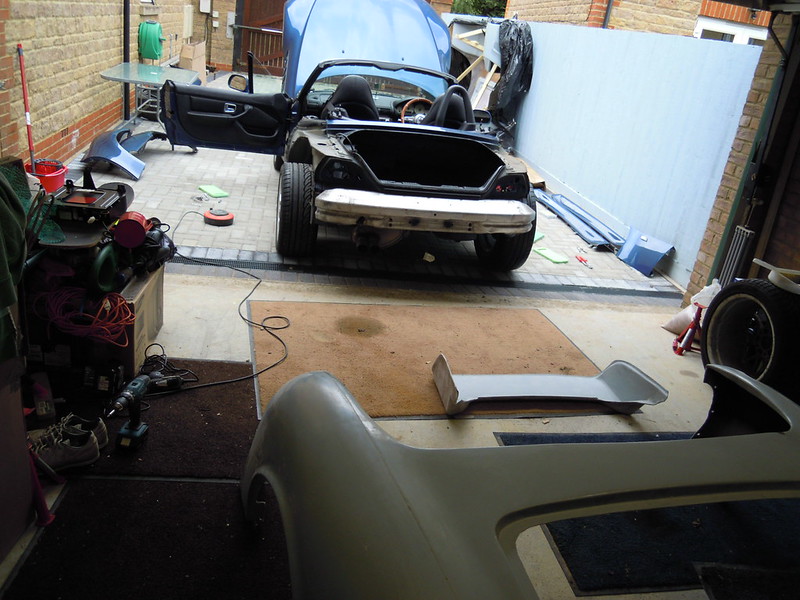
The rear crash bar isn't essential, the kit panels aren't attracted to it, so leave it up to you.
Rear arch liners can be trimmed on their out edges and refitted. Front liners need extensive trimming to allow front body section to be raised and lowered but still offer some protection of the engine etc from road spray. I personally ran the SWB prototype for 5 months, into the winter months, without any arch liners install and didn't experience any problems.
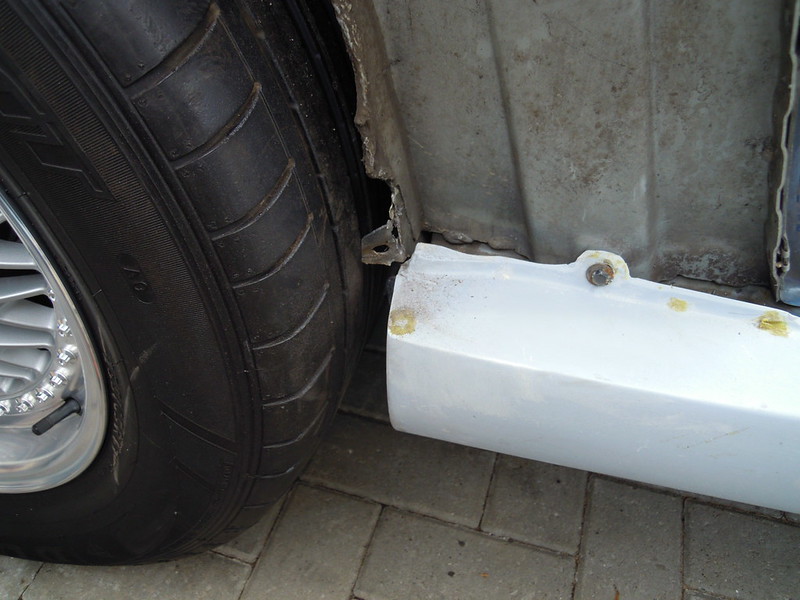
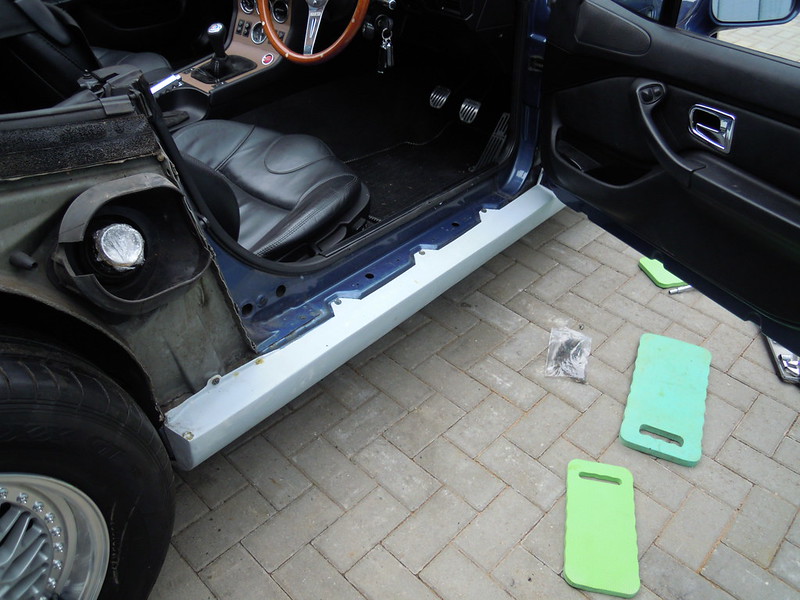
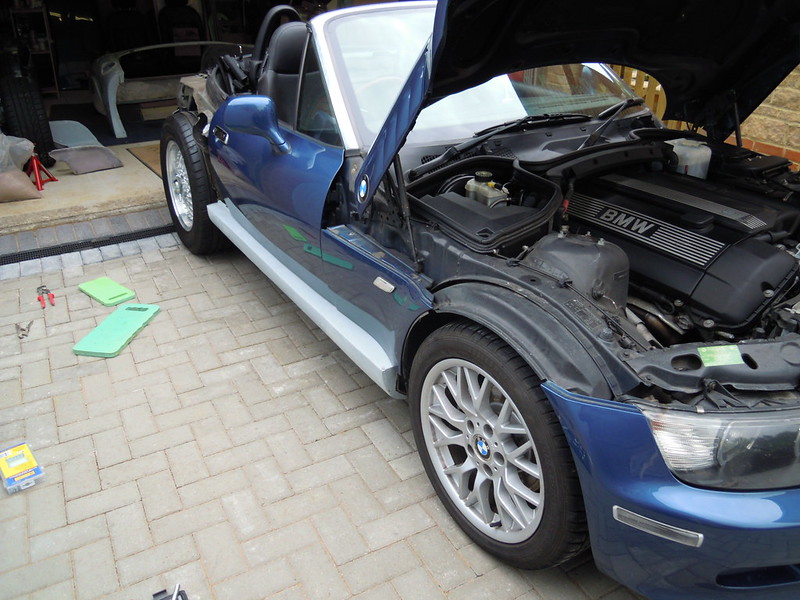
The sills are the first panels that need to be fitted due to the rear top bolt holes being covered by the rear end section.
Thank, so is it drivable on the roads with sills, rear end and boot? I think I will put rear alloy bumper part on as need to secure exhausts to something solid.
Thank, so is it drivable on the roads with sills, rear end and boot? I think I will put rear alloy bumper part on as need to secure exhausts to something solid.
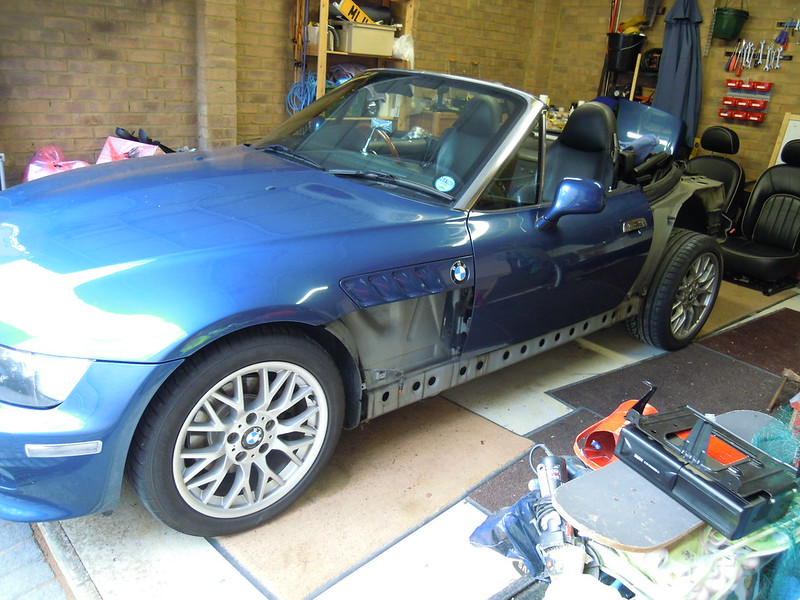
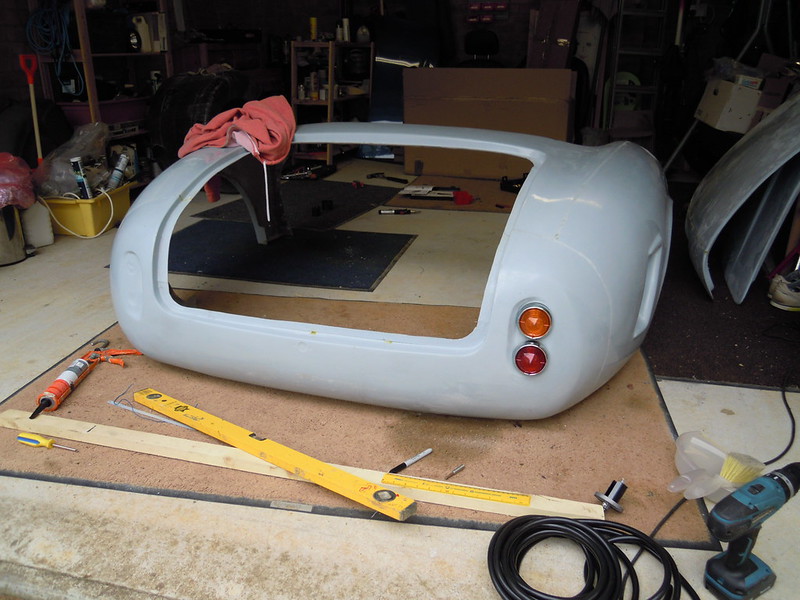
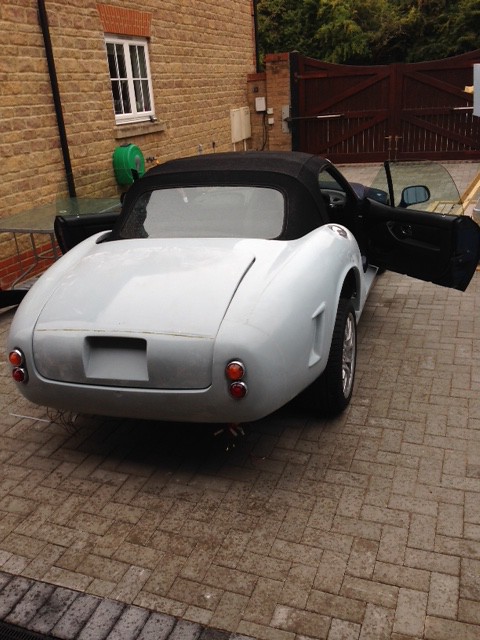
Yes it would be drivable, the rear wings will be proud of the Z3 doors without the new skins fitted but you can't fit them with the old Z3 bonnet still In place. I hung the exhausts off of the crash bar on the prototype with some simple gallows brackets.
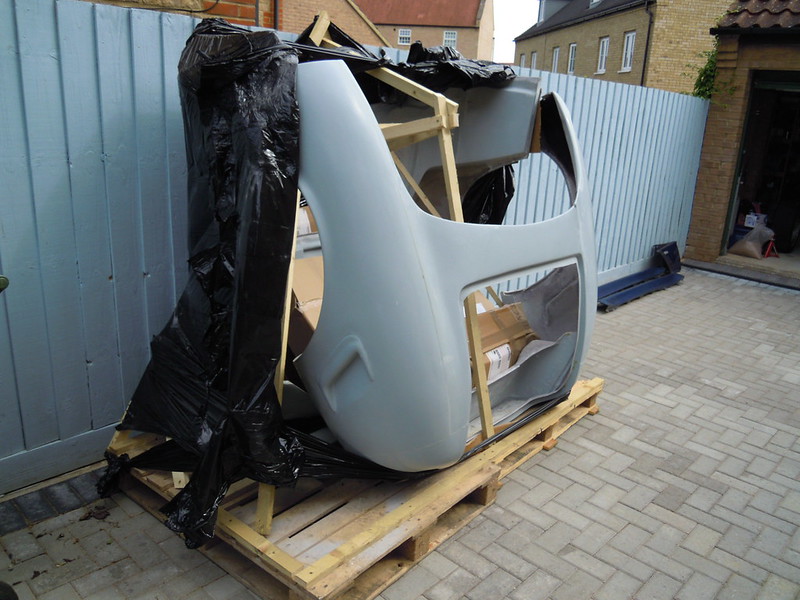
Kit is supposed to arrive tomorrow, sills and backend will go on first. I count 23 jobs to do to get it driveable (Legally) then will take to get exhausts fitted whilst 1/2 Z3 and 1/2 SWB, its gonna look a little weird for a while
2 sills
Boot lock
Boot latch
2 boot hinges
Boot stay
Boot rubber seal
Boot inner part
2 rear lights
2 indicators
2 no. Plate lamps
Number plate
2 reflectors/fog lamps
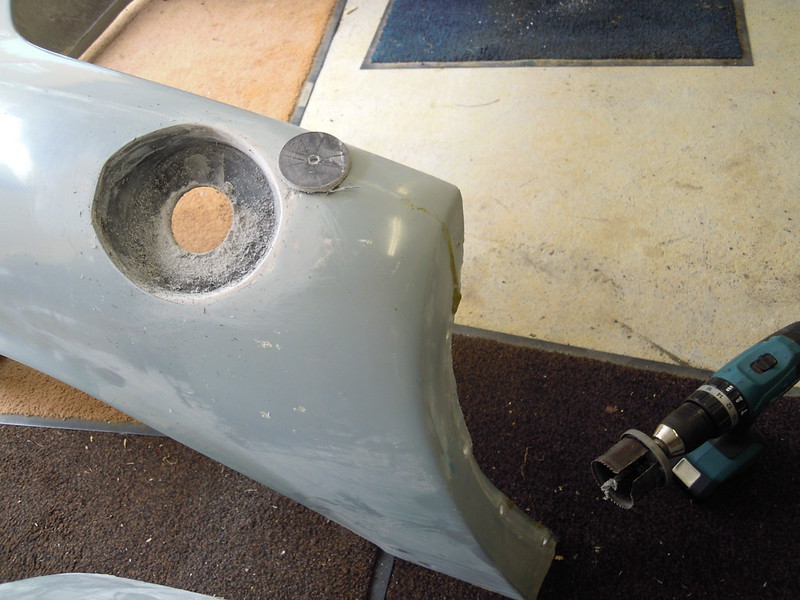
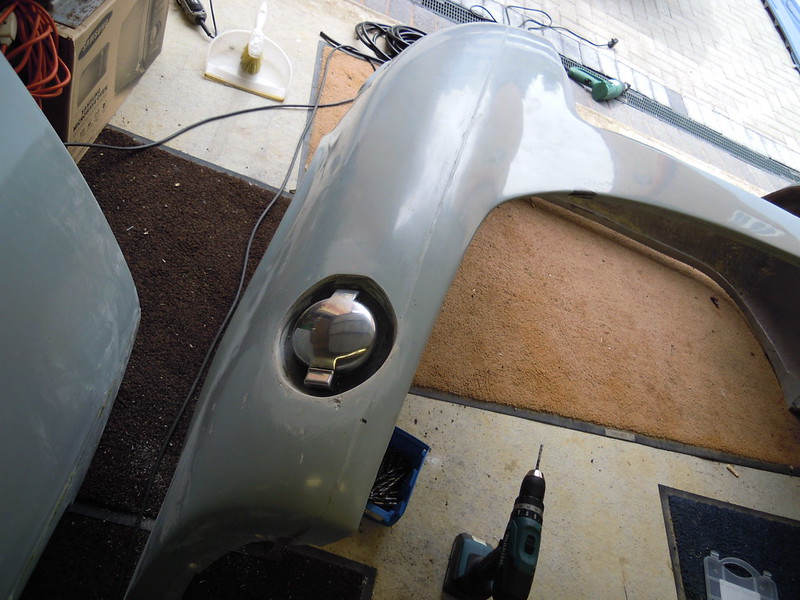
Fuel pipe
Fuel cap
Rear body kit section
Number plate trim
Then thinking about wether to mount old z3 aerial and fitting inside of arch
Small glitch with delivery of kit, so expect it to arrive tomorrow morning (Saturday), I think its going to be a nice day. More photos as I get going...........
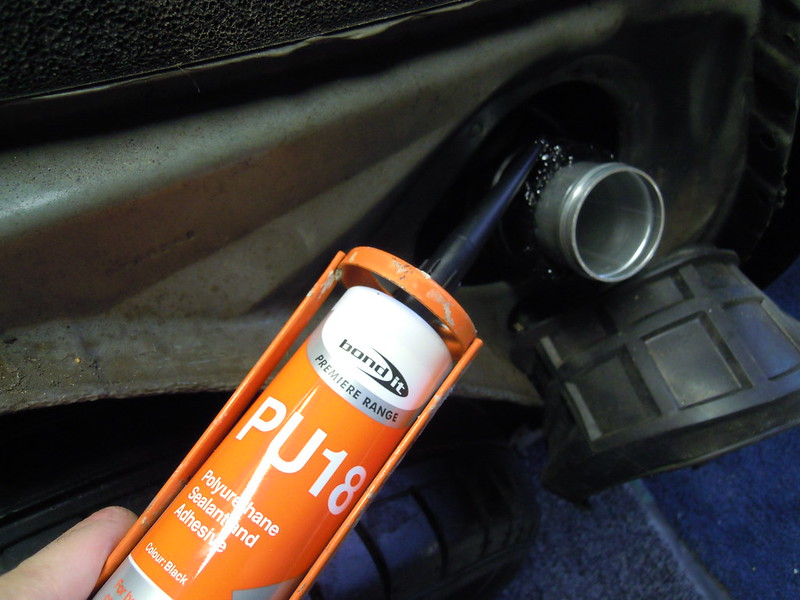
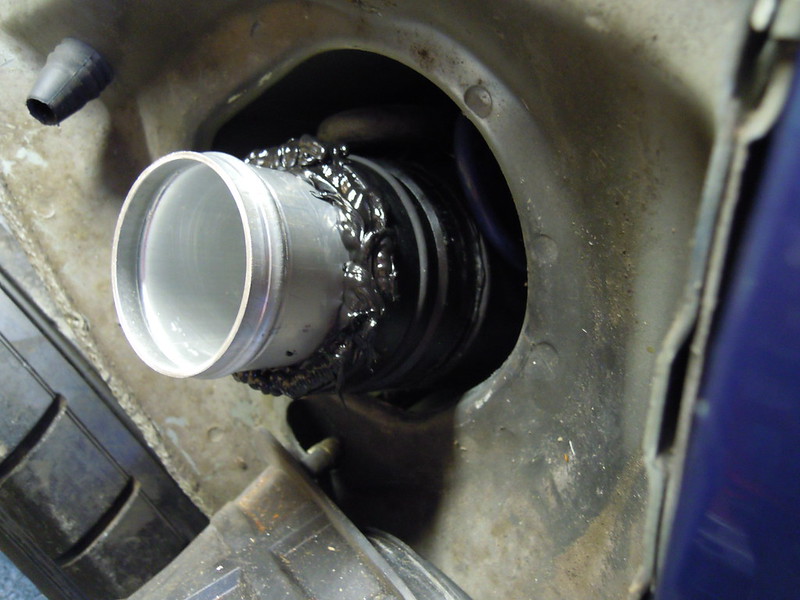
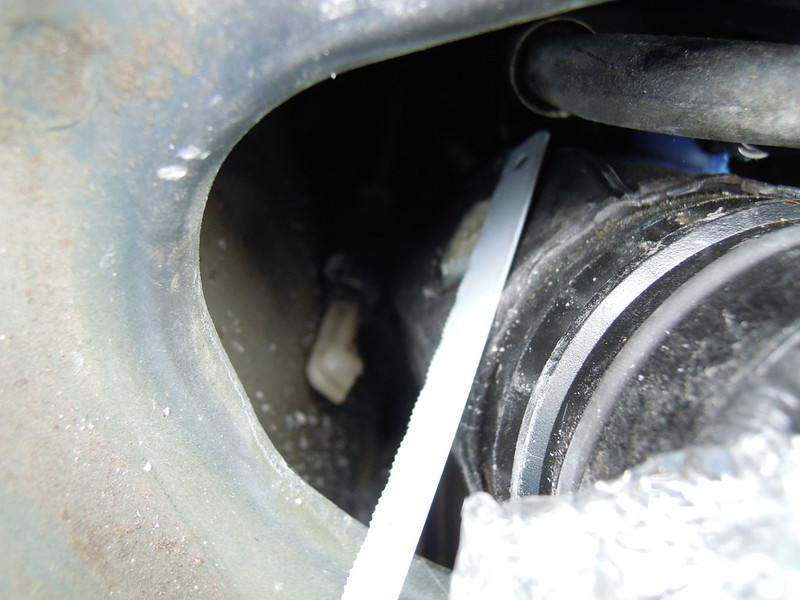
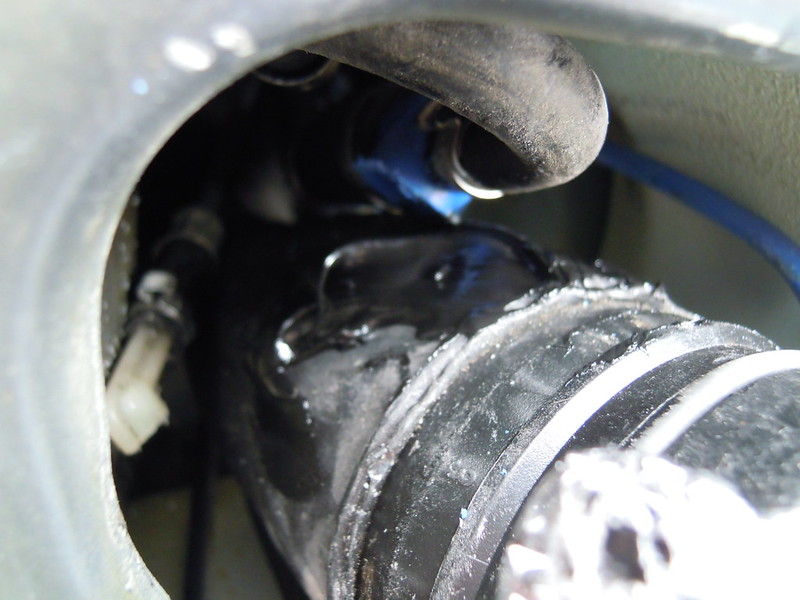
Just a quick warning before you glue and fix it all into place, double check the petrol pipe is well sealed. I did the same to my fuel inlet and discovered the other day it was leaking, fortunately I had planned to take it apart to do spraying so will fix it then. Thought I'd sealed it well, put enough sealant in and around the pipe. Good luck with the build
Andy
Hi Andy
Looking good.
I have high expectations of this build as you are so meticulous.
Would have liked the recessed filler cap on ours but we had time constraints to get it to press.
Just starting on a new Kalifornia build which should be much better than the prototype from what we have learnt.
Did you see the Kalifornia on the cover of Kitcar Magazine, out now?


 DSCN3912 by eric holm, on Flickr
 DSCN3915 by eric holm, on Flickr
 DSCN3910 by eric holm, on Flickr
 DSCN3909 by eric holm, on Flickr
 DSCN3905 by eric holm, on Flickr
 DSCN3903 by eric holm, on Flickr
 DSCN3901 by eric holm, on Flickr
 DSCN3899 by eric holm, on Flickr
 DSCN3898 by eric holm, on Flickr
 DSCN3886 by eric holm, on Flickr
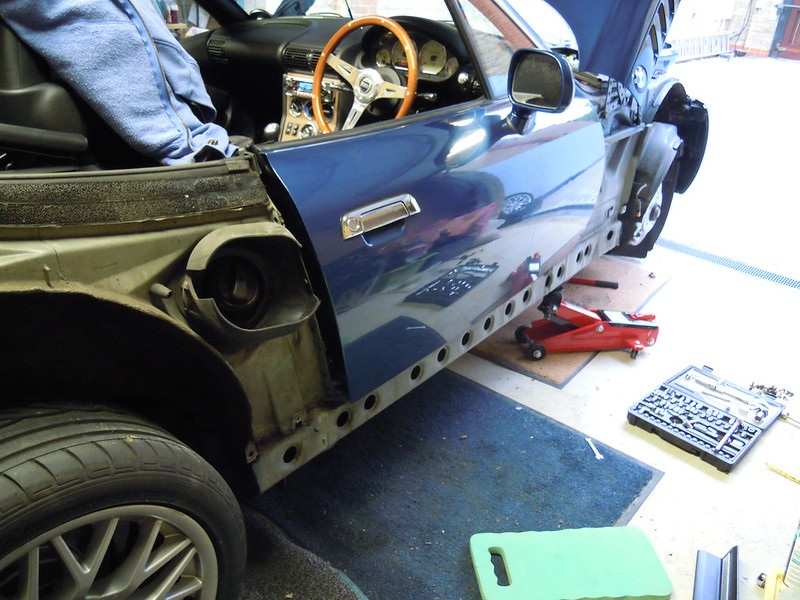 DSCN3888 by eric holm, on Flickr

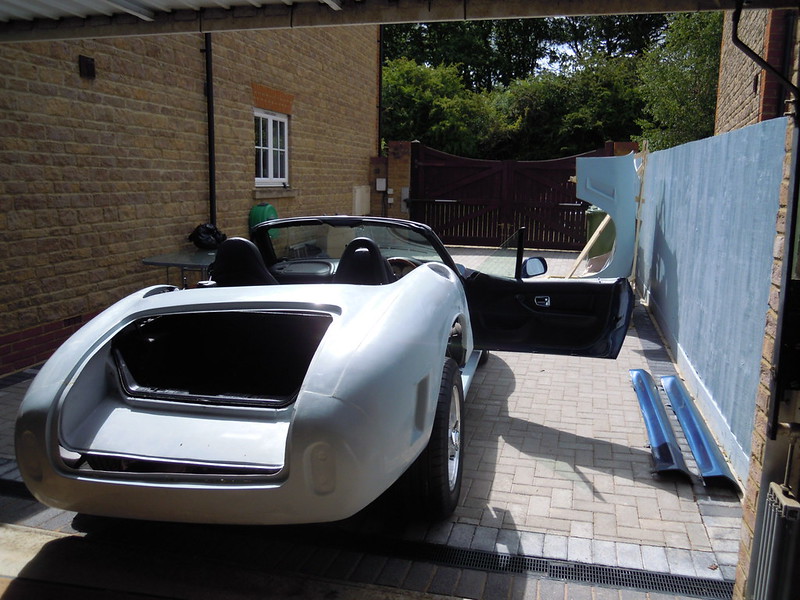 DSCN3984 by eric holm, on Flickr
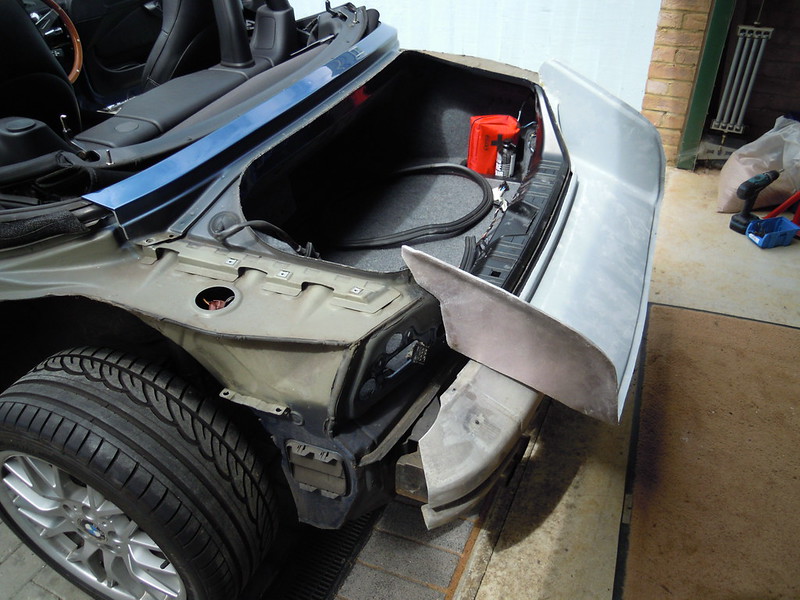 DSCN3961 by eric holm, on Flickr
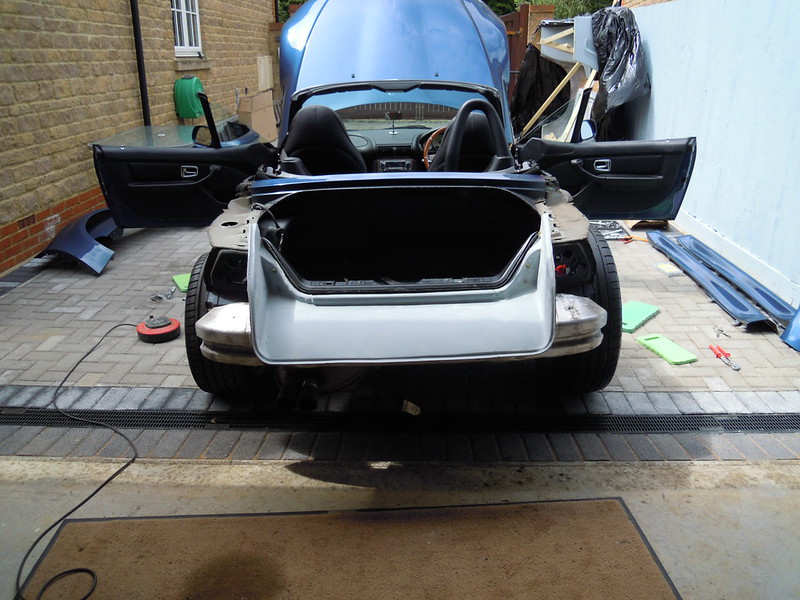 DSCN3964 by eric holm, on Flickr
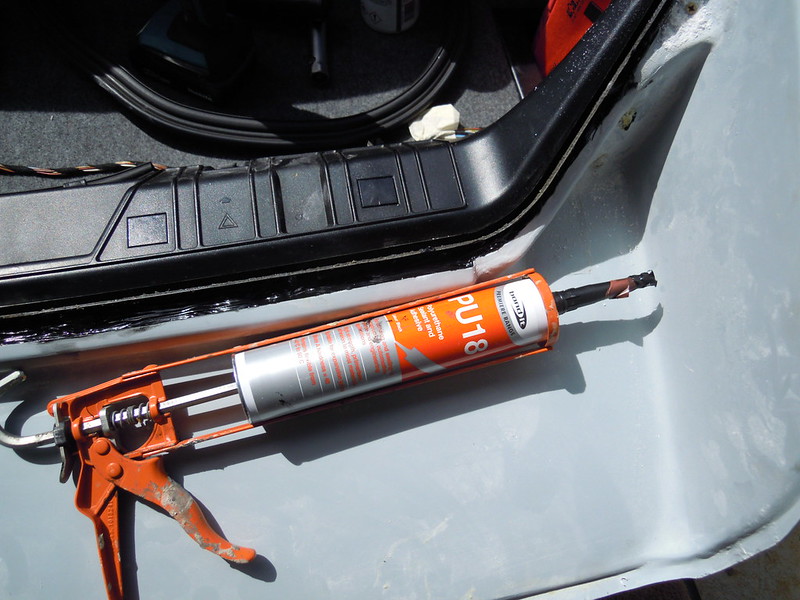 DSCN3970 by eric holm, on Flickr
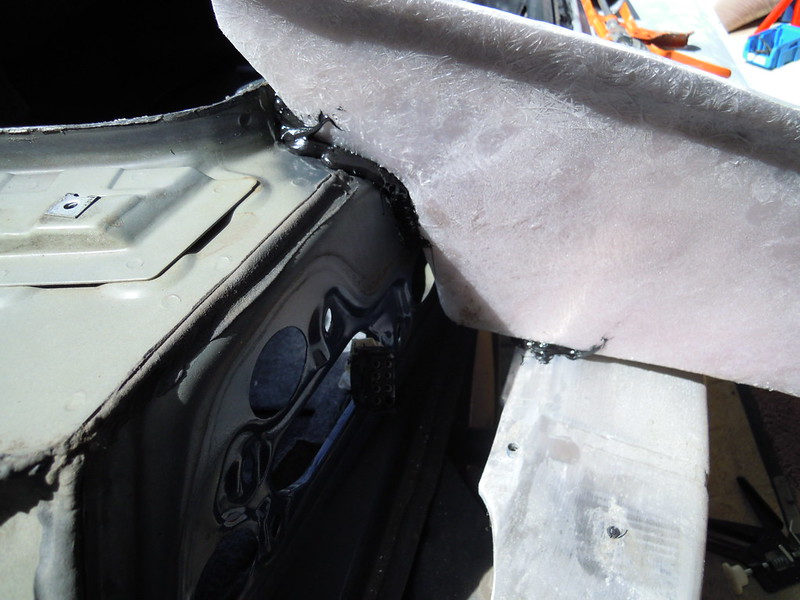 DSCN3972 by eric holm, on Flickr
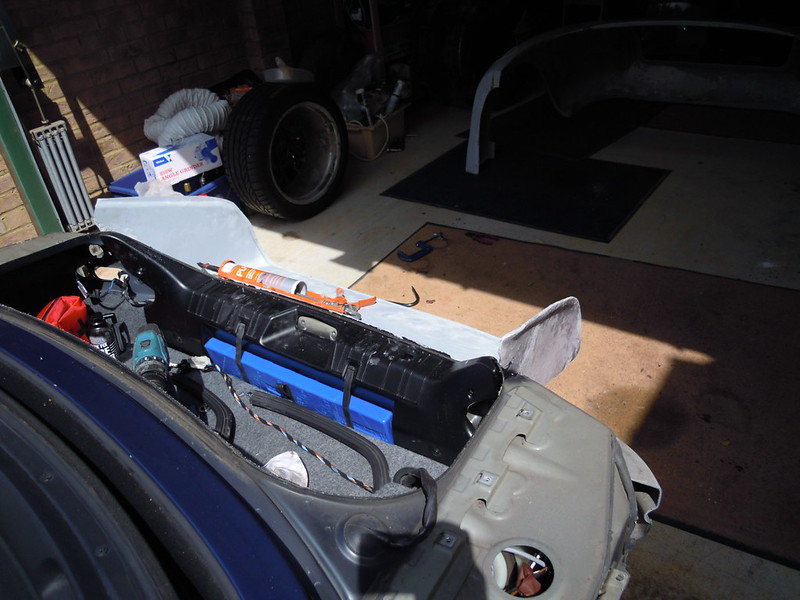 DSCN3973 by eric holm, on Flickr
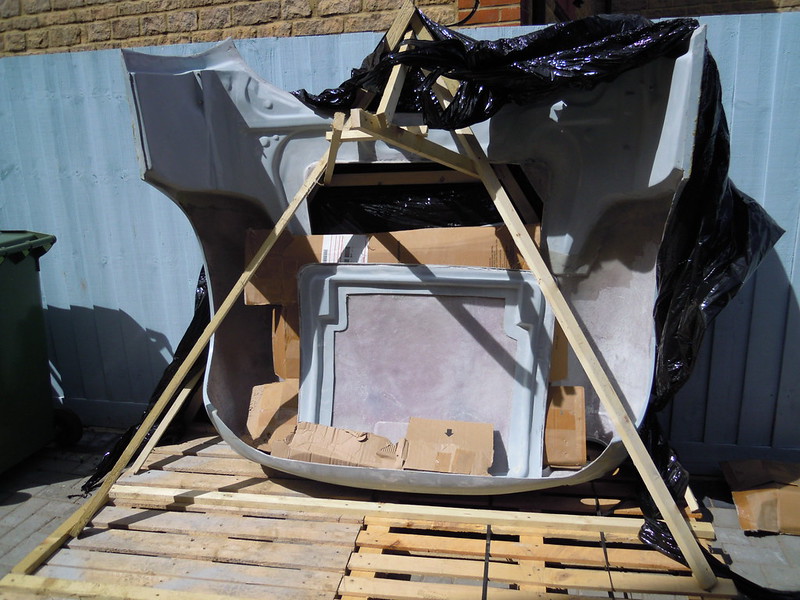 DSCN3975 by eric holm, on Flickr
 DSCN4000 by eric holm, on Flickr
 DSCN3997 by eric holm, on Flickr
 DSCN3990 by eric holm, on Flickr
 DSCN3995 by eric holm, on Flickr
 DSCN4003 by eric holm, on Flickr
 DSCN4005 by eric holm, on Flickr
 DSCN4014 by eric holm, on Flickr
 DSCN4015 by eric holm, on Flickr
 DSCN4016 by eric holm, on Flickr
 IMG_1824 by eric holm, on Flickr
 eace:
eace: