This is a read-only archive of the old Madabout Kitcars forum. New posts and replies are no longer possible, but every thread is still here to browse and read.
I've been looking on this forum for a while for tips and ideas for my build and I'm only just getting round to put any info up about my car. Just thought I'd finally say hello!!
I made a visit to the Stoneleigh show in 2015 and saw WCA and his black Z300S and that's when I decided I needed one of those cars!!
I'm currently at the stage where I am prepping the car before paint so a lot of the work has already been done so I will put some photos up shortly.
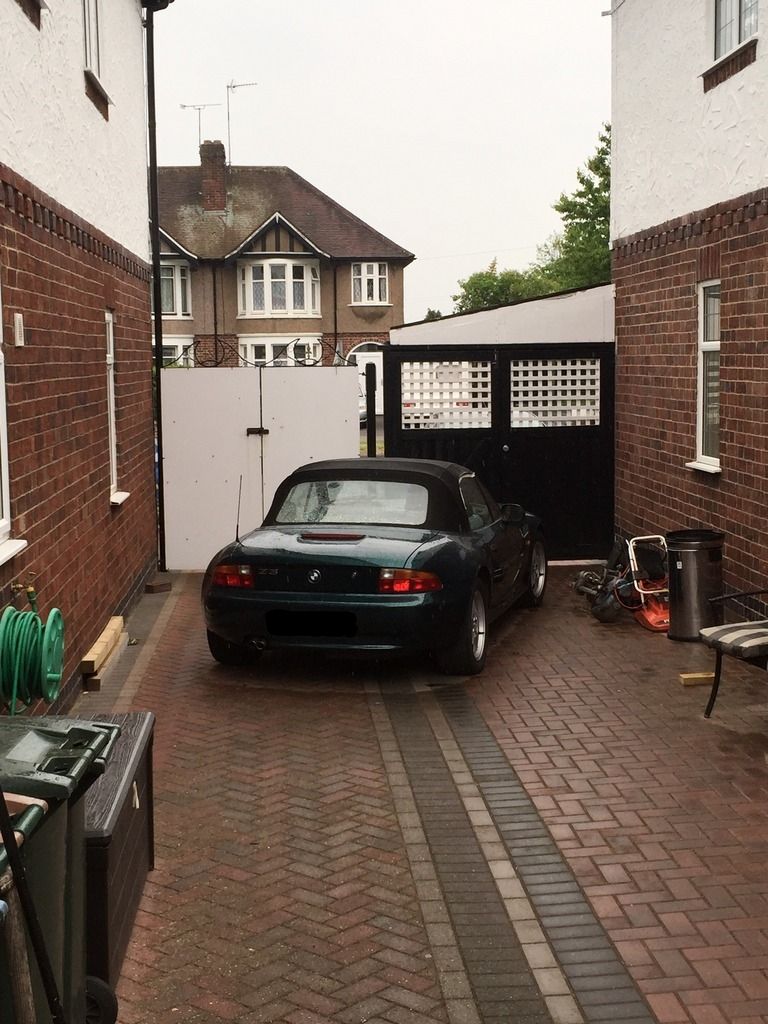
It all started off as a 2.8 manual Z3 that I found on autotrader which was suitable.
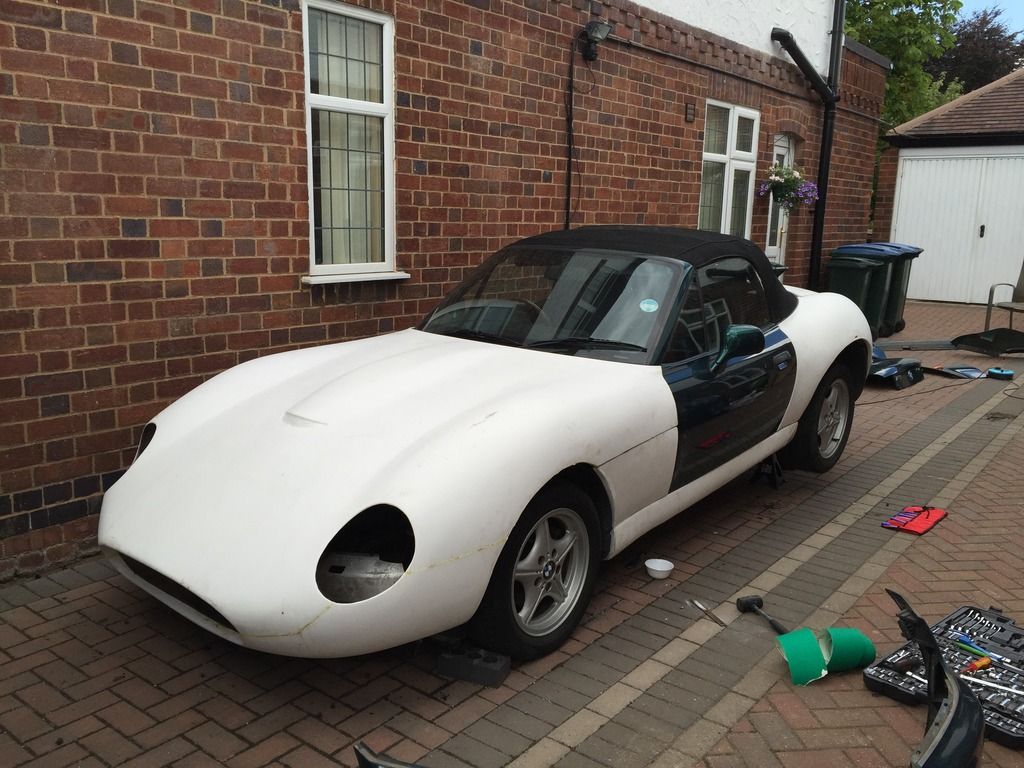
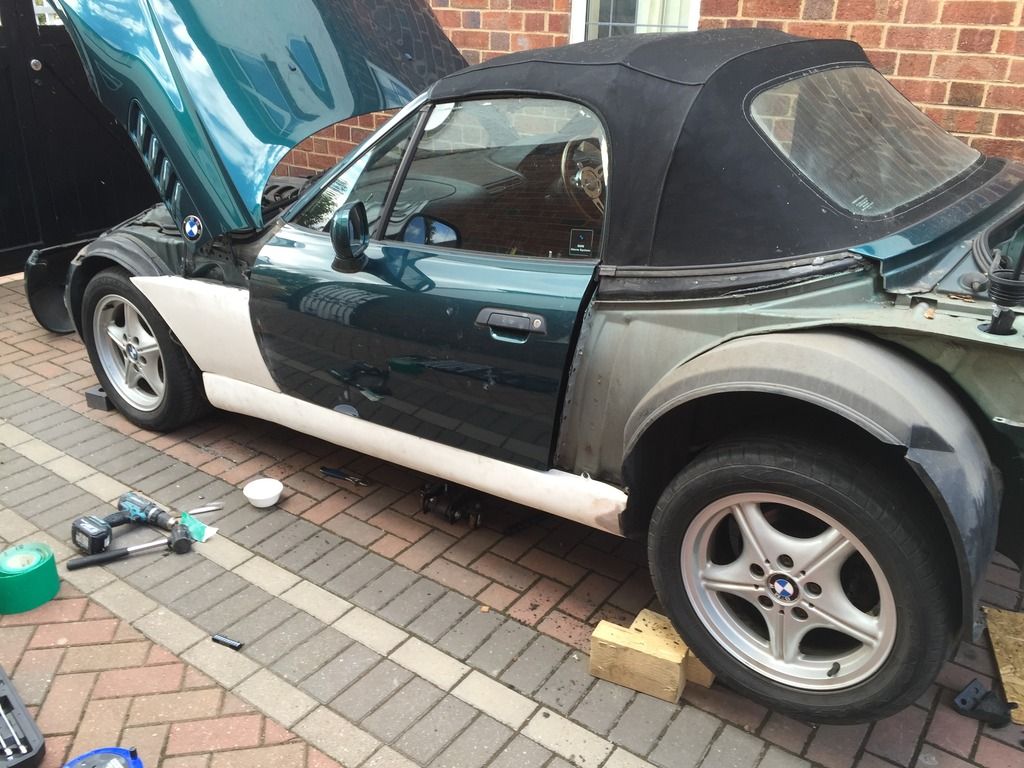
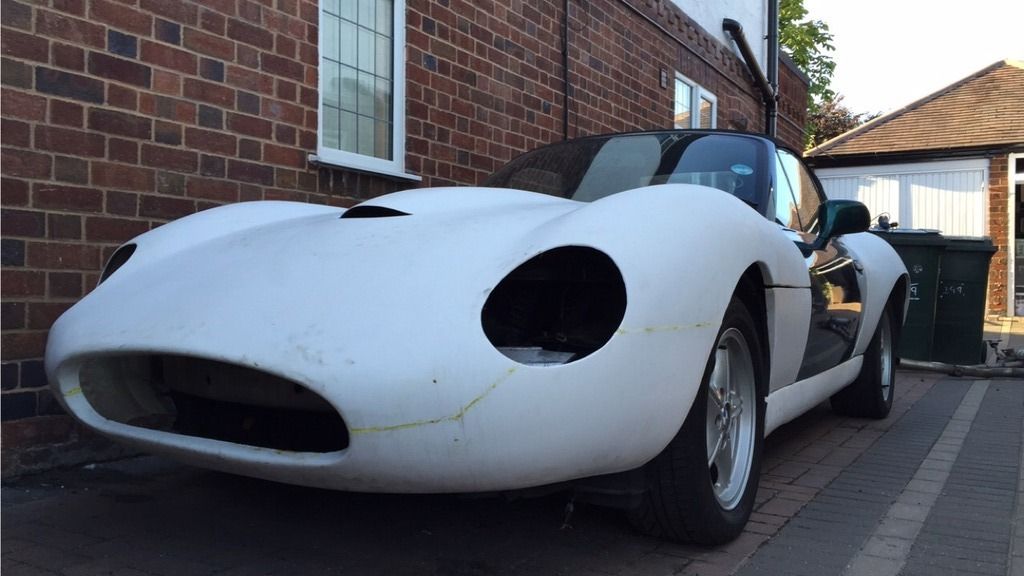
Here are a few photos of when I first got the kit from nubodi and started placing the kit on the car.
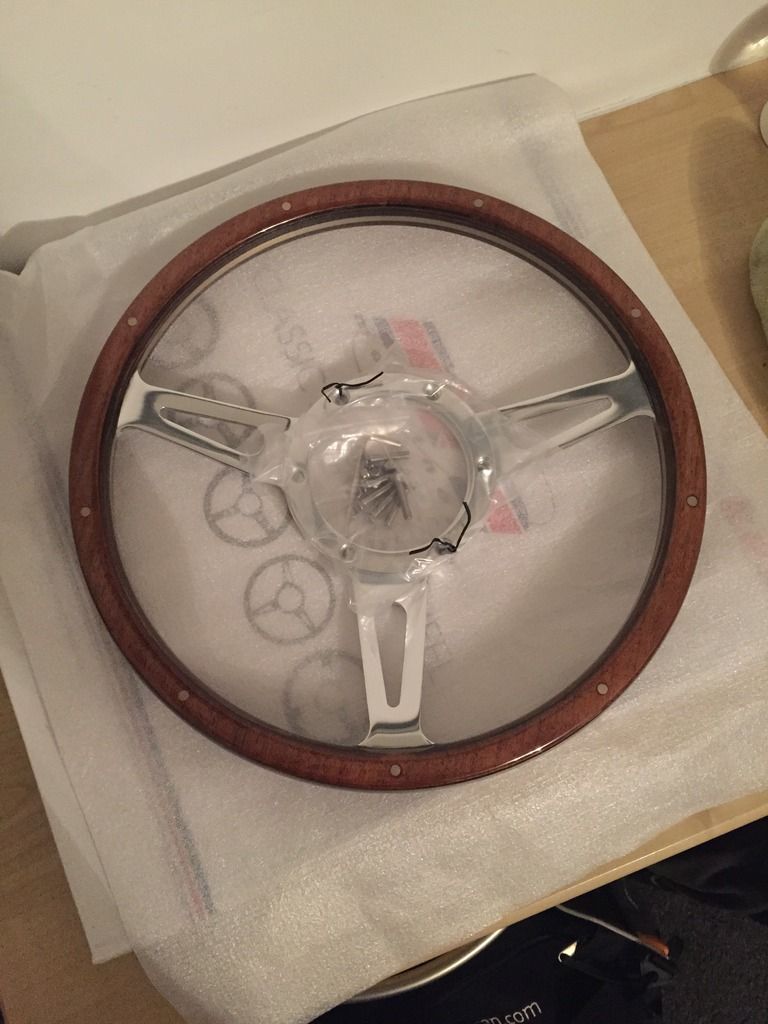
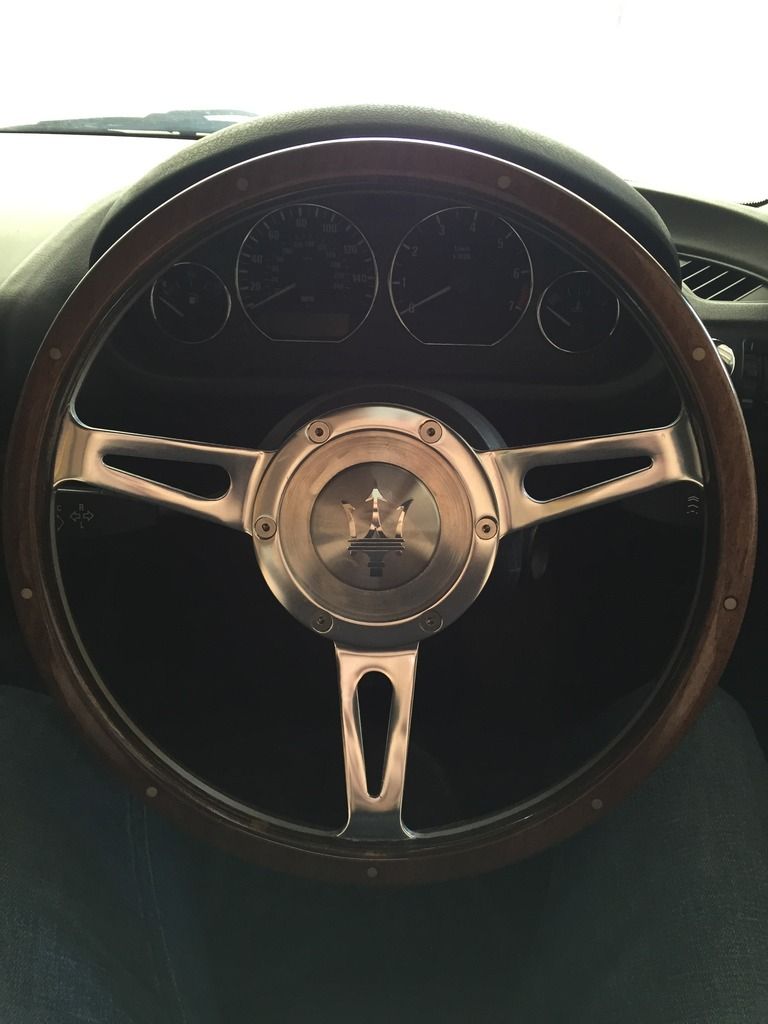
The day I collected the kit was the day my new steering wheel arrived in the post too!
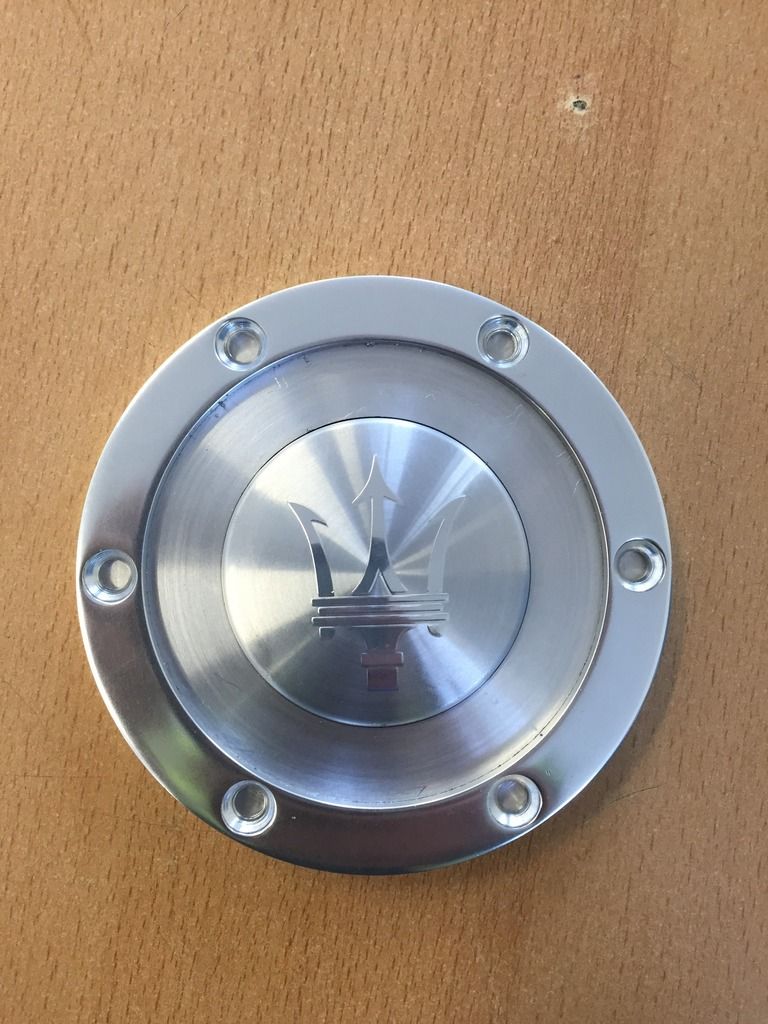
All it needed then was a piece of aluminium, a wheel centre cap and an hour or two on the lathe until it was ready to go in the car.
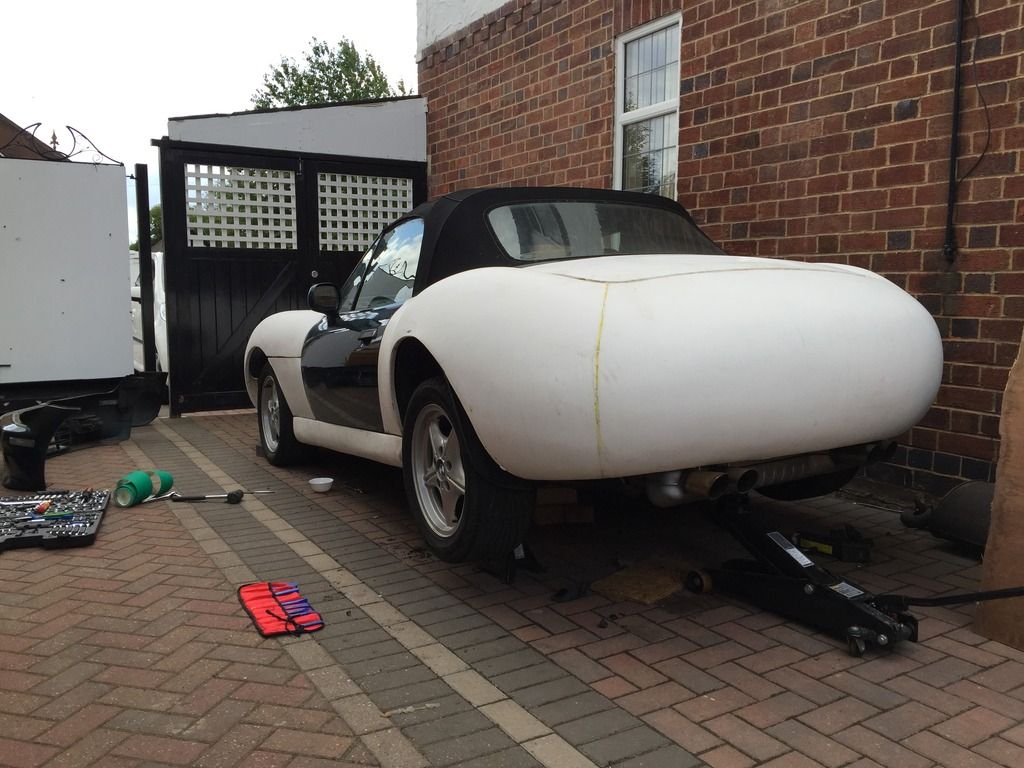
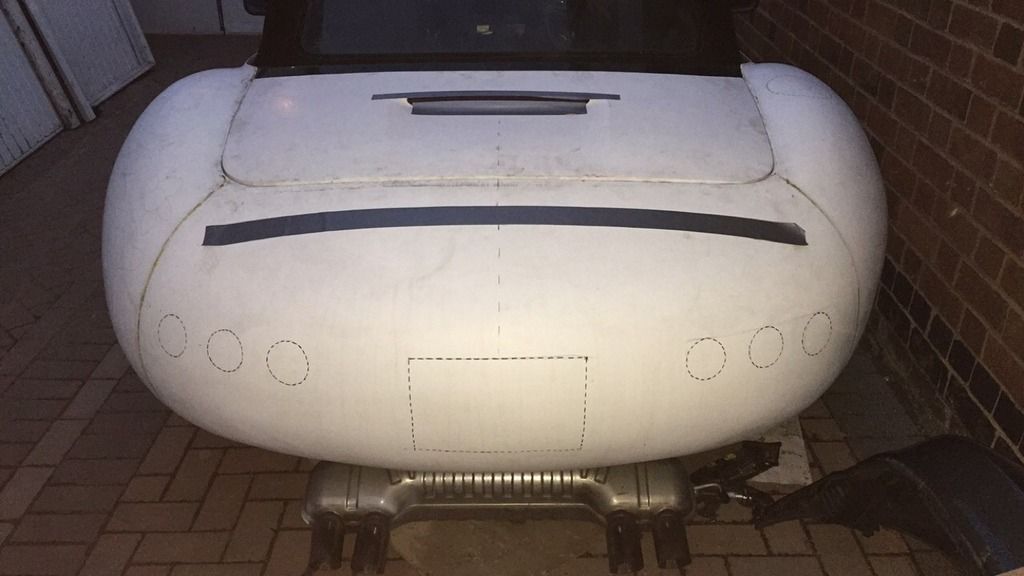
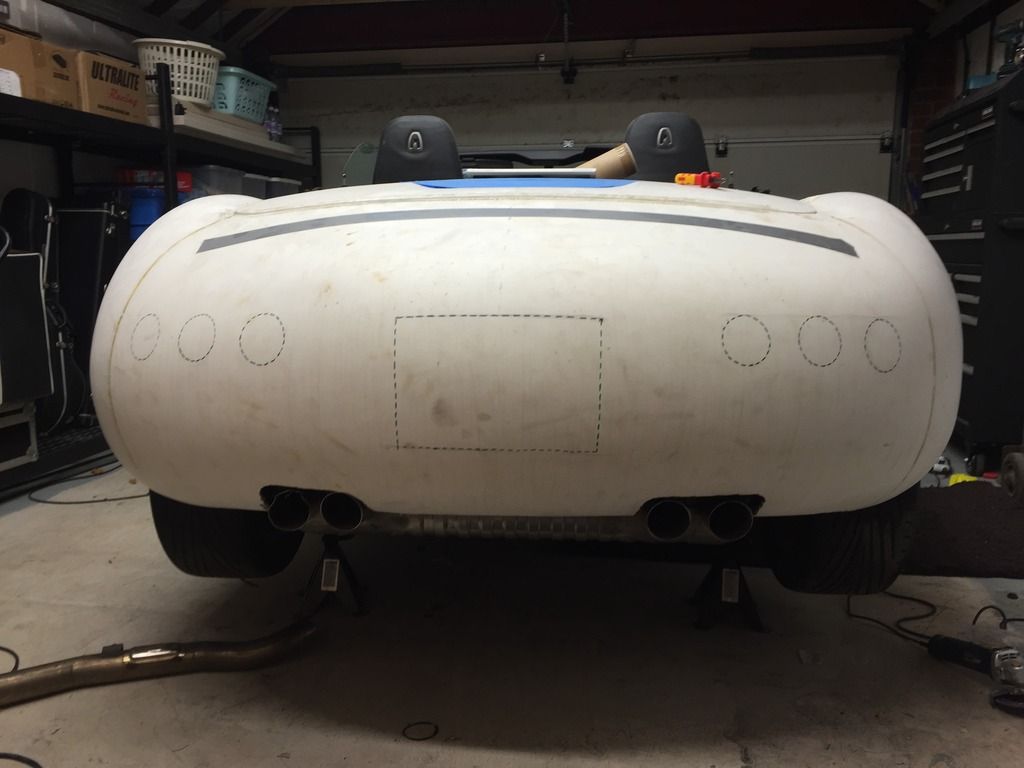
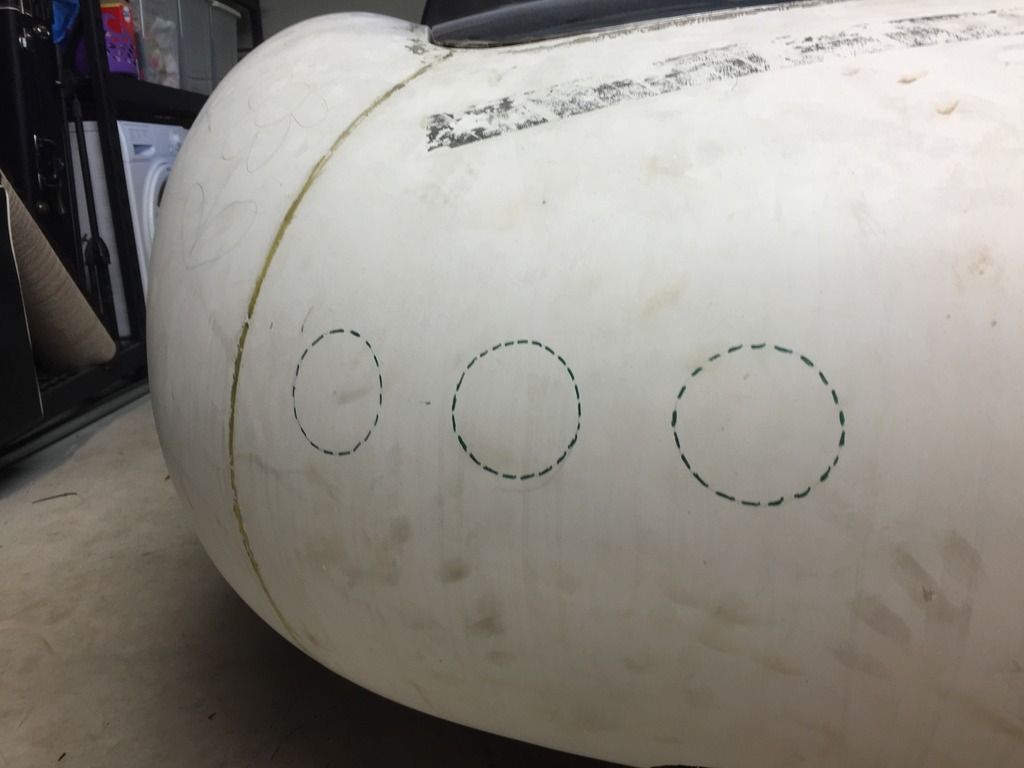
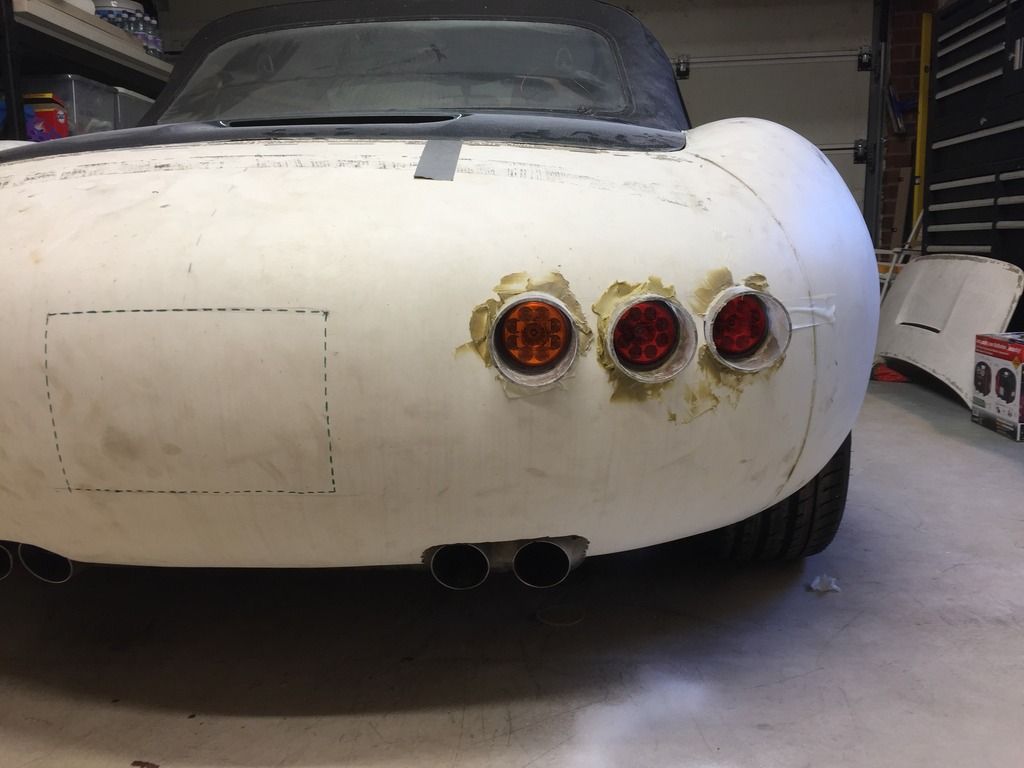
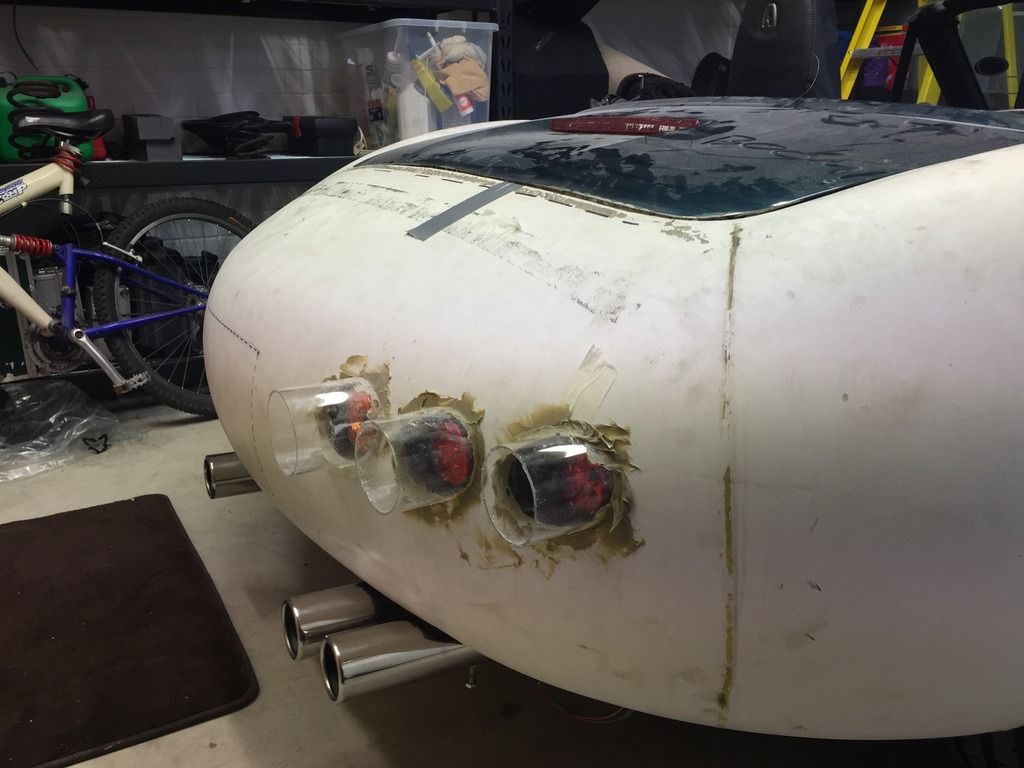
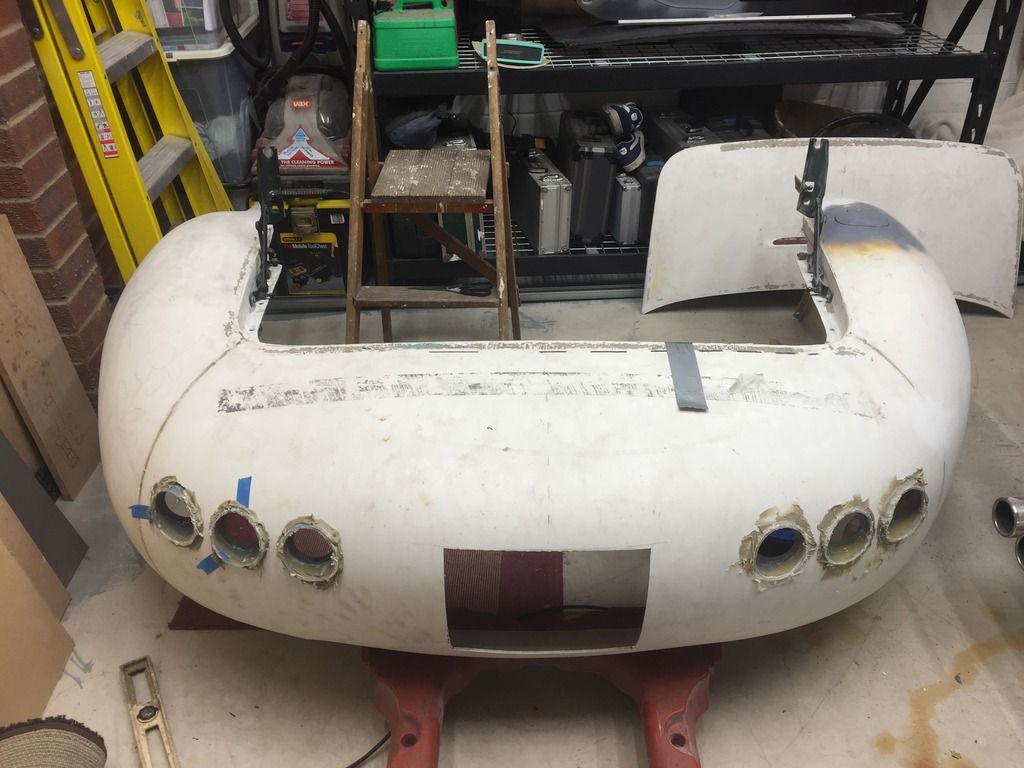
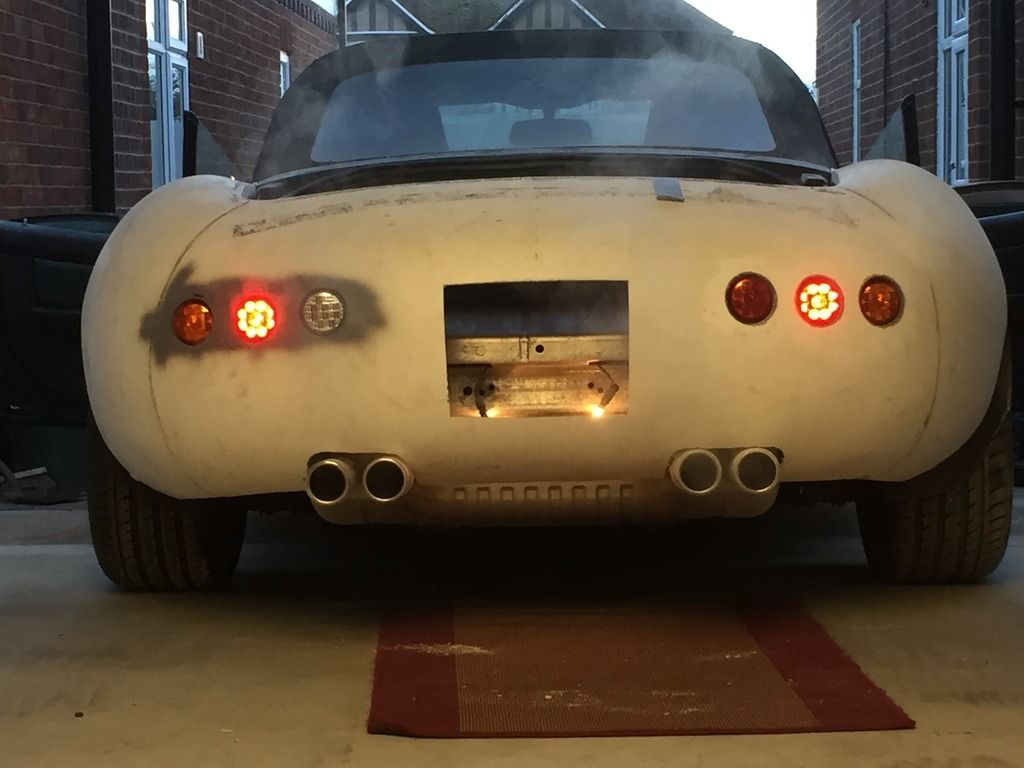
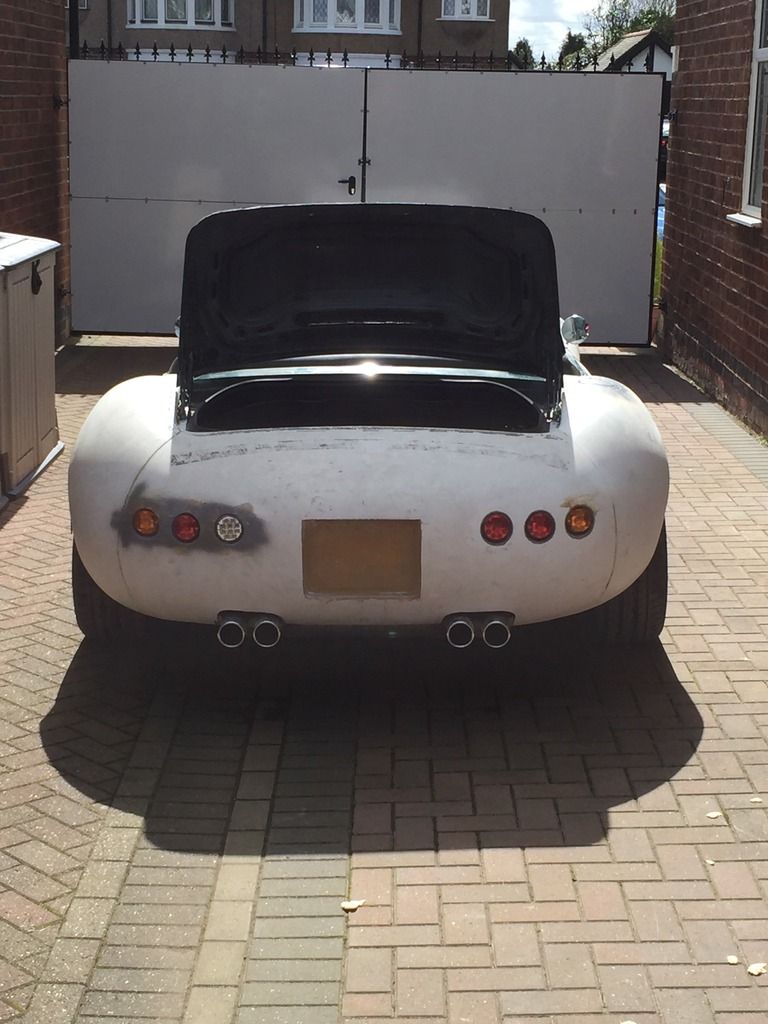
Once the panels were placed on the car I then went about deciding how I wanted the rear lights to be arranged and I also started mocking up how the exhaust would sit.
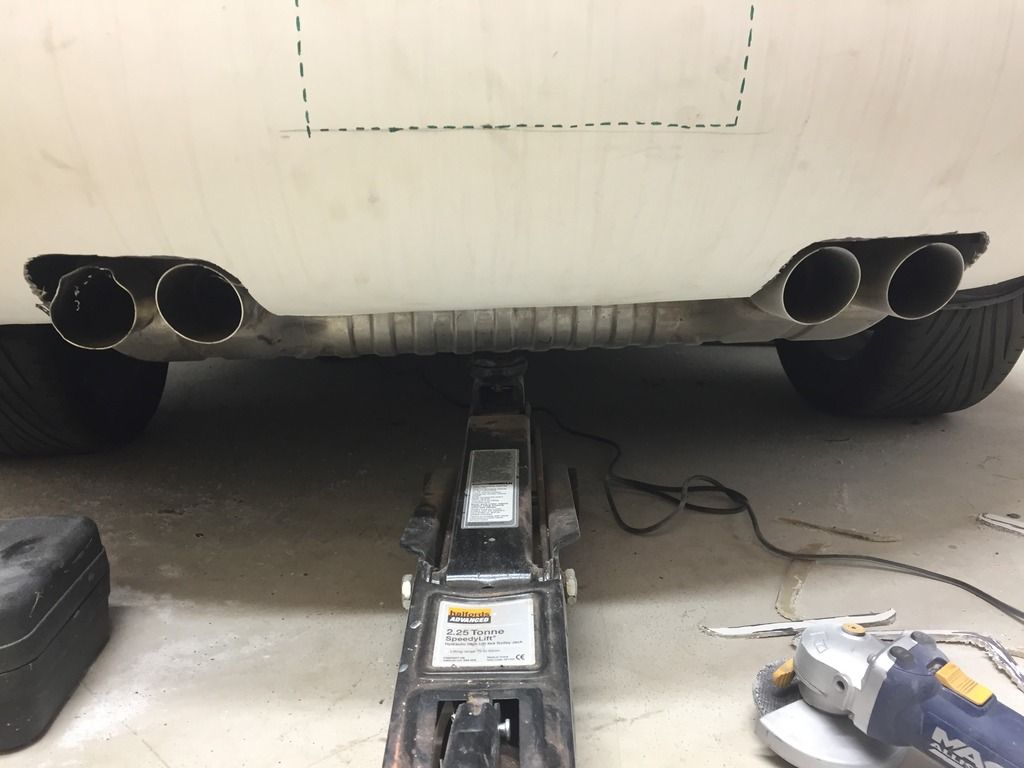
The exhaust is from a 2015 BMW M4 that had a small amount of damage to one of the tips. I will be changing the tips so this doesn't really matter to me.
The M4 exhaust has bypass valves built in so hopefully I can get these working with the car at some point in the future.
Welcome Joe,
Like the work so far on the car, some real nice touches in there, especially the work on the steering wheel. Great job so far, keep it up for the finish! Cheers Mark.
Thanks for the welcome guys!! There doesn't seem to be as many Z300S cars on here compared to the 250 SWB so I've spent quite some time looking at WCA's build for info. Thanks again WCA!
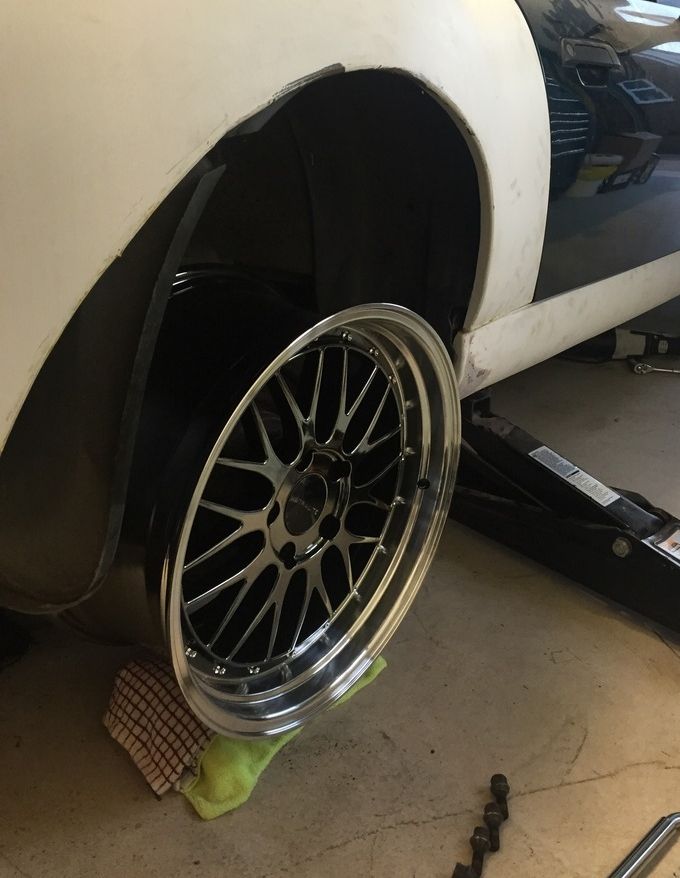
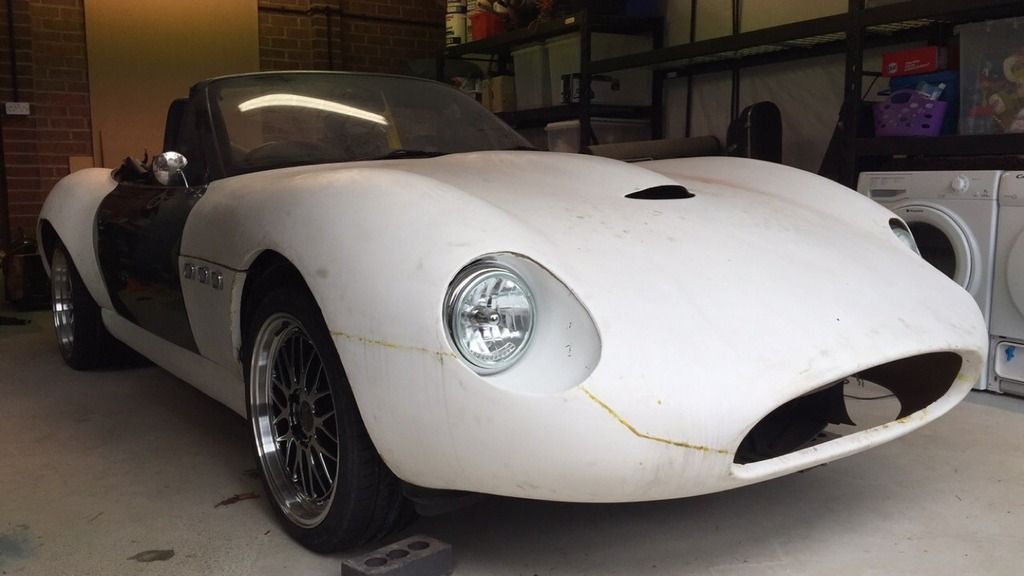
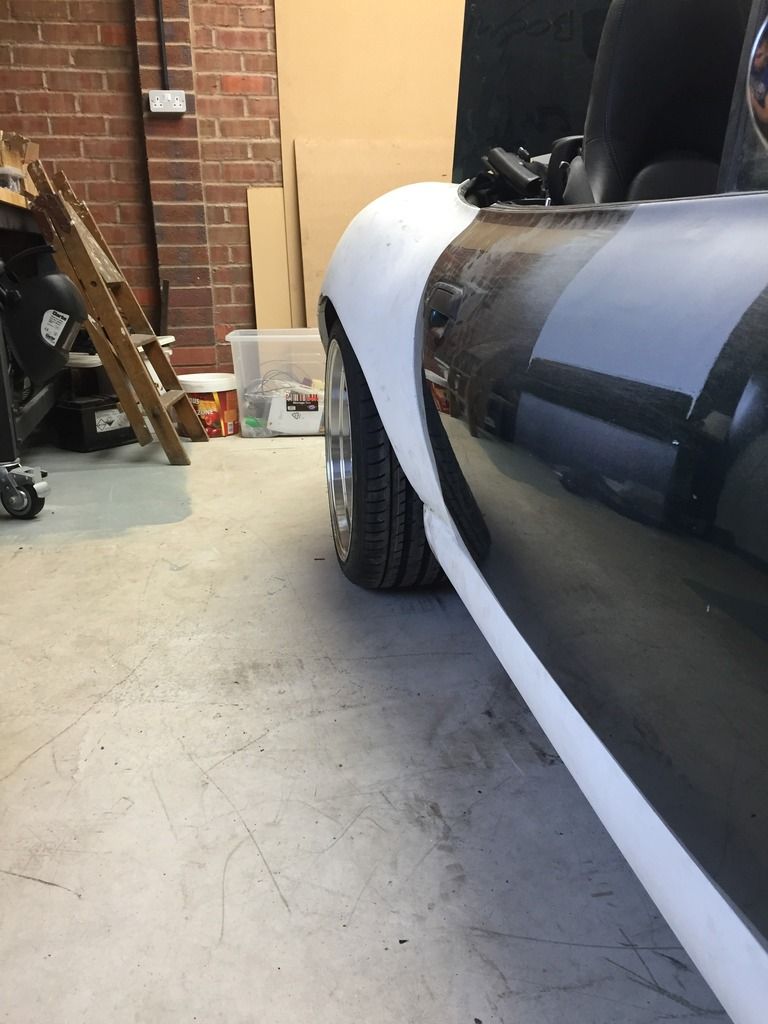
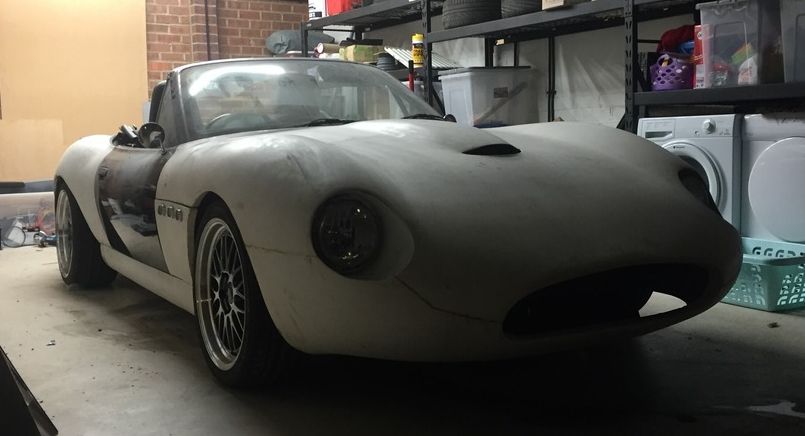
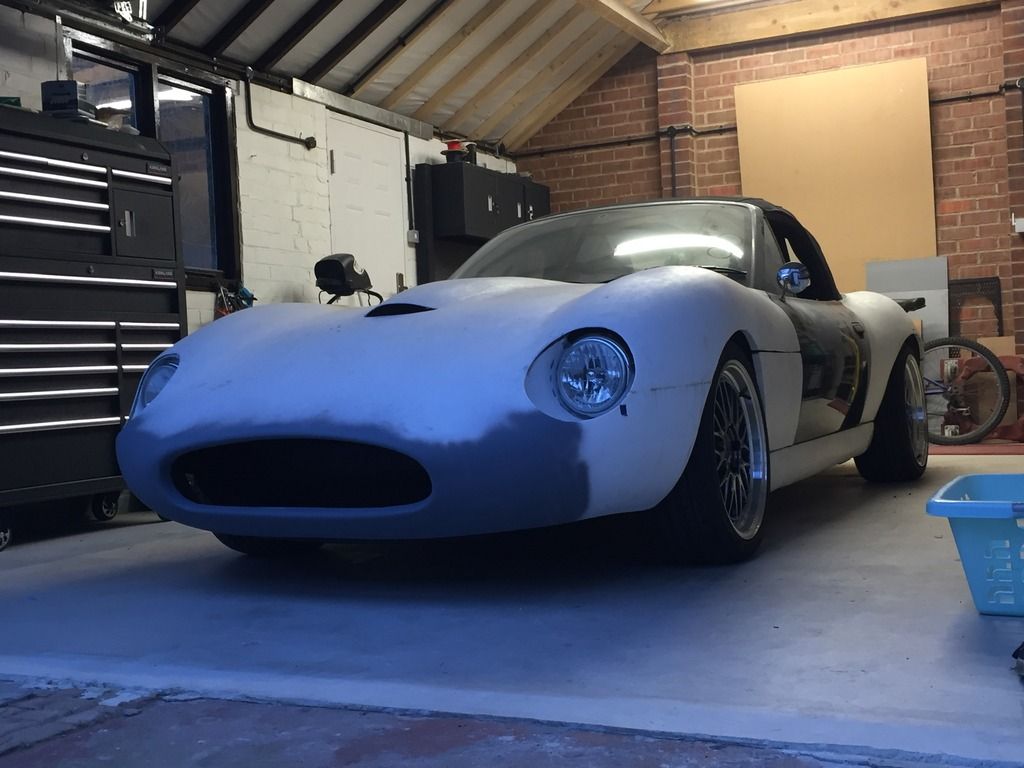
The next stage was some new wheels to better fill the wide arches on the Z300S!
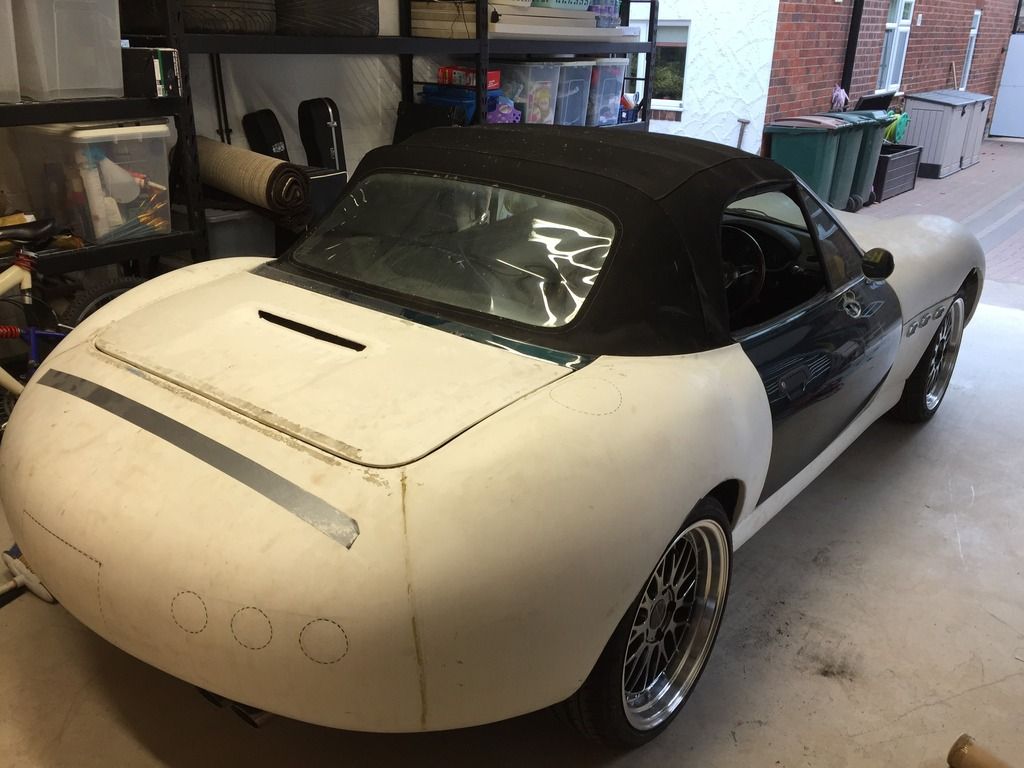
Looking a little better now!
The next few jobs were to sort out the number plate recess, fuel filler move to the rear wing and mounting the rear lights.
Testing some new exhaust tips too
Plus some coilovers to drop the height a little and some spacers...
From this...
To this...
I will put up some more progress when I get a chance.
I'm currently at the stage where I am prepping the car before paint *...
Welcome, Joe. Another Boston Green donor like mine. Not the best colour for disposal of the old body panels but they do go. The door shuts will need attention as well !!!
I won't be painting the car myself, I am sending it out to get done at a body shop once the majority of the work has been done.
The M4 exhaust was just a great deal at the time to be honest! I bought it on eBay for about 30 pounds as it was damaged! I have been coming up with a circuit design recently that will allow the bypass valves in the exhaust to open when you hit full throttle then return to normal after a set time period. Plus I will be able to use them in manual with a switch when the situation requires.
The car will be finished in a range rover colour called Carpathian Grey. Its a gun metal type colour and should hopefully be finished soon.
WCA I thought the garage was a bit messy at the moment actually! haha!
I think when I bought the kit from Nubodi about two years ago, Richard said that my kit was the 6th one produced. Number 6 or 7 will do! I like that the Z300S has very limited numbers!
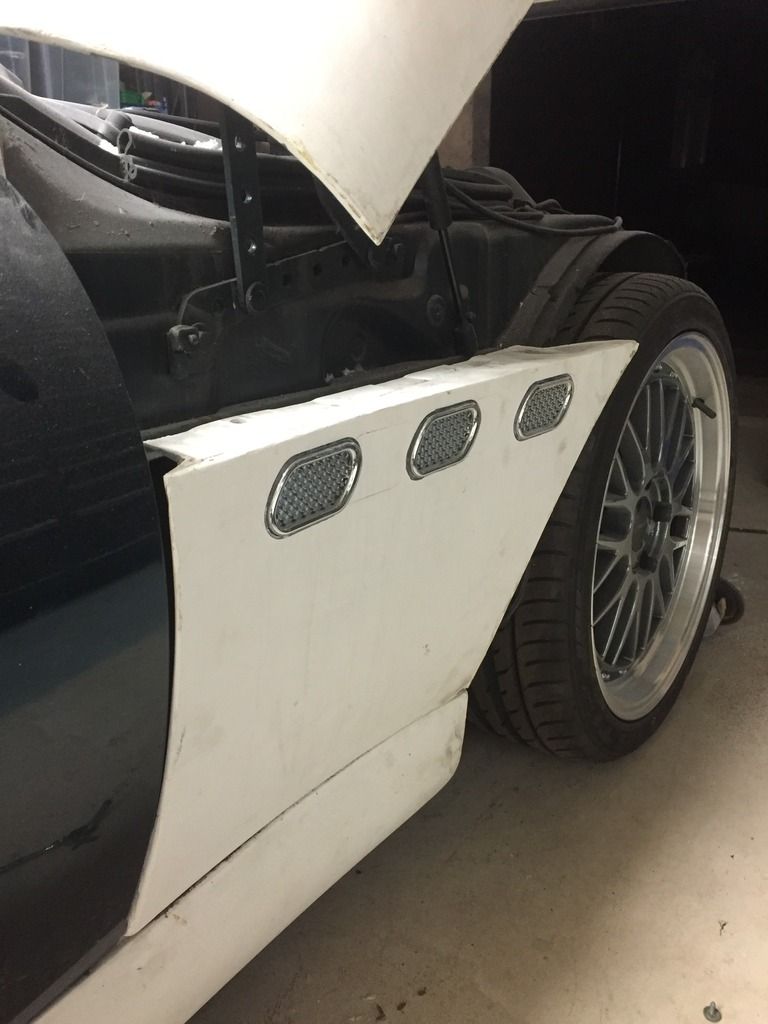
Some of you guys may have noticed in some previous photos that I had stuck the three grills on the front wings. I did this to gauge whether or not I liked the look of them there. After a while I decided I did like them but they needed to be correctly sunk in to the bodywork.
From this...
To this...
Some work has also taken place on the interior of the car...
Steering wheel in!
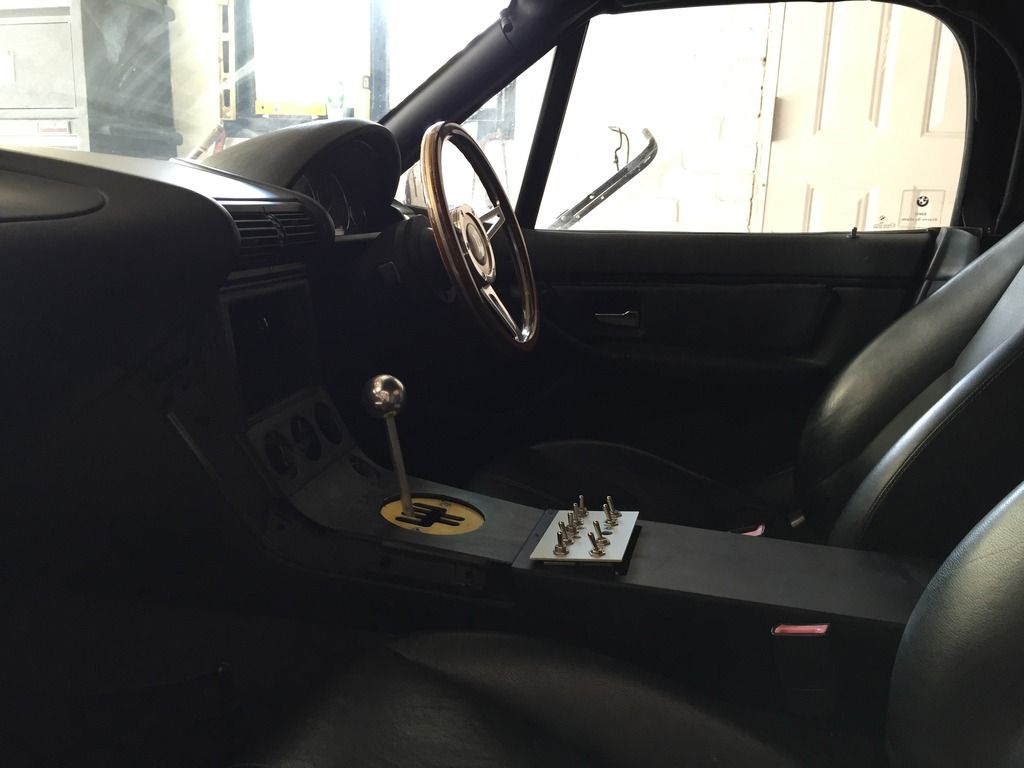
Interior switches have been rewired and converted to something a bit more suitable with some extra leds. Plus a conversion of the gear stick and surround to a H gate design.
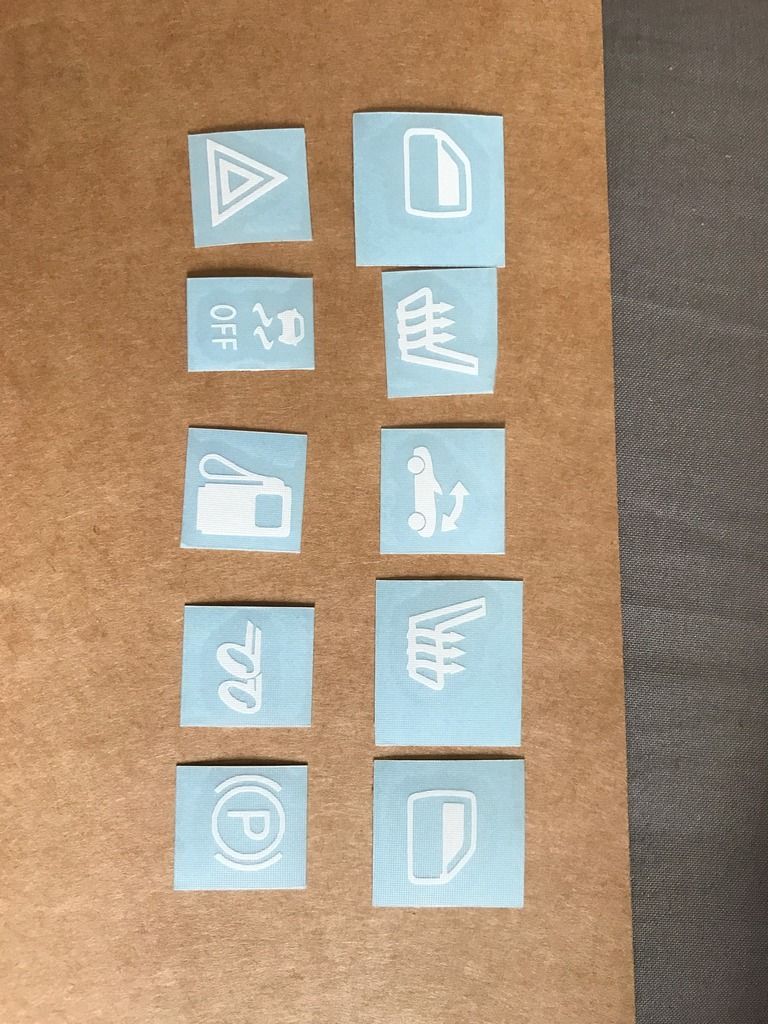
The switches will have some vinyl stickers applied eventually to show what does what.
Plus some new seats!
The interior is set to have more changes yet as I've had a delivery from tribute automotive. One of their new 250 SWB dash boards has arrived and I have been making a few changes to it to better suit the needs of my car. I will post another update of the dashboard build soon.
One question I do have, which is more directed at WCA and IanA is how have you guys went about latching the boot lid on the car? Are you still using the Z3 latch with the solenoid to 'pop' the boot lid?
I will have a look at all the notes I've got on the switches and put a post up soon.
Currently working on some new gauges too that will be for the tribute dashboard for the 250 swb.
A H gate could be made to fit the existing gear surround with a bit of time and patience. Measuring the angles of the gear stick through each motion was the hardest part.
#6 it is then. We wondered what had happened to that kit that went to Nubodi.
For my boot lock- I supplied, and Chris fitted a "Hex Nut 21mm Male Thread Mounted Security Panel Lock for Drawer Cabinet" off eBay. Its disadvantage is that there is no hole cover so it freezes in winter.
However I've seen this "Hex Nut 19mm Male Thread Mounted Security Panel Lock for Drawer Cabinet" which has a cover and have one to fit when I get a round tuit as well. A bit like the wood rim wheel and boss kit.
I will have a look at all the notes I've got on the switches and put a post up soon.
Currently working on some new gauges too that will be for the tribute dashboard for the 250 swb.
A H gate could be made to fit the existing gear surround with a bit of time and patience. Measuring the angles of the gear stick through each motion was the hardest part.
May I suggest some blue painters tape.
Place the gear lever in each gear and align a piece of tape next to it.
Carefully remove the tape and you will have a beginning pattern. Make it in cardboard and see if any modifications are needed. Transfer to whichever material you choose for the gate and Bob's your uncle.
Thanks for the photos WCA! I was hoping to set the latch up on mine something similar to yours although I was hoping to have the boot release on an electrical solenoid so I can still open the boot off the key fob. The solenoid would need to be located in the boot lid itself. The puzzling part is that there does not seem to be enough space in the fibreglass boot lid for the lock mechanism and the solenoid.
I may try and swap the positions of the lock and striker and make a frame to support the lock to see how I get on.
I think I still have a remote operated latch puller in the garage left over from a failed attempt to have no door handles.
Basically you press the button and it pulls a piston with a hook on it. You connect some cable to the hook and then route the cable to the latch. Press the button and the hook pulls the cable, the cable pulls the latch and the door pops open. This give you some flexibility on where the latch and stricker are placed
If you are interested I can try and find it and post some pictures.
I think I may try doing that then I might still be able to use a solenoid to trigger the lock.
I thought I would also put up some more progress on the dashboard that I have got done over the last few days.
Borrowing a photo from Geoff's build, this is what the dashboard looked like when it first arrived from tribute.
With the dash for my car I wanted to put vents in where the original factory vents sat to maintain the heater functionality in the car. I found some vents that would work that had a more classic look to suit the look of the car so I had to reshape the dash a little so they looked right. Once I had put the vents in I cut out the rest of the holes in the dash.
I also managed to get chance to work on the new dial faces ready for when I put the dials together.