This is a read-only archive of the old Madabout Kitcars forum. New posts and replies are no longer possible, but every thread is still here to browse and read.
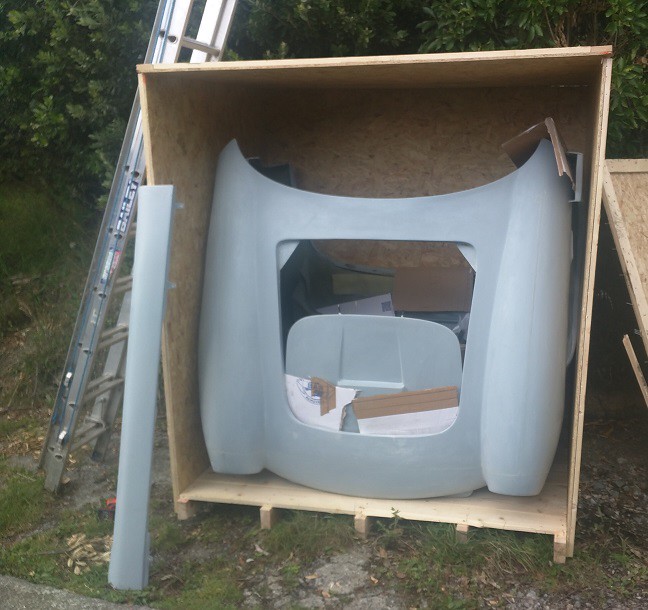
After reading the original article in KitCar magazine and lurking around here for a long time ordered and received my kit a few weeks ago...
This being New Zealand there are of course different rules but I should be able to build it without any formal certification just the standard Warrant of Fitness test to pass. To be able to do that had to find a 1998 (2.8 manual..) model that predates the front impact regulations here so as to be allowed to remove the front bumper. Also can't move the fuel filler and tires can only be 10% larger....
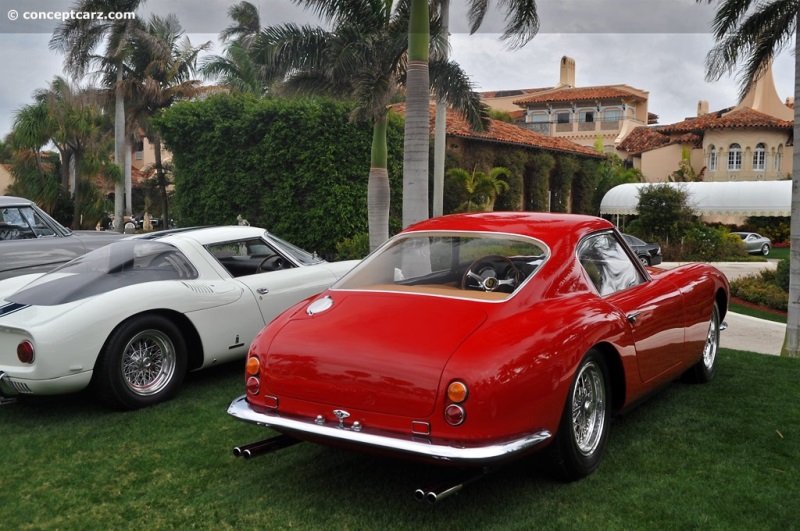
And since we don't have square number plates here I will take inspiration from the original 1959 show car 1539GT that had no indents...
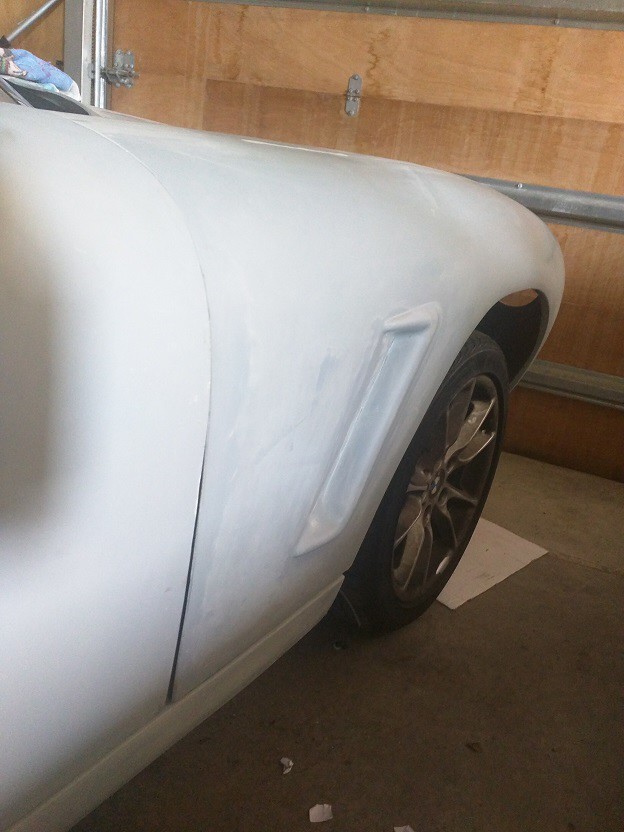
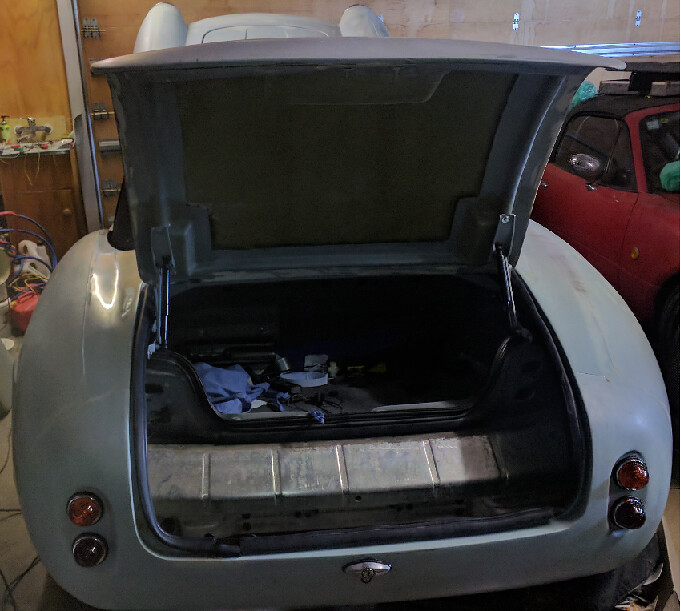
The stripping and building has started and happy to see that panel fit has been much improved.
No cuts required and the door looks to open without any issues. Little work at the top of the door panel to pull it in but most of that is the Velcro holding it in place...
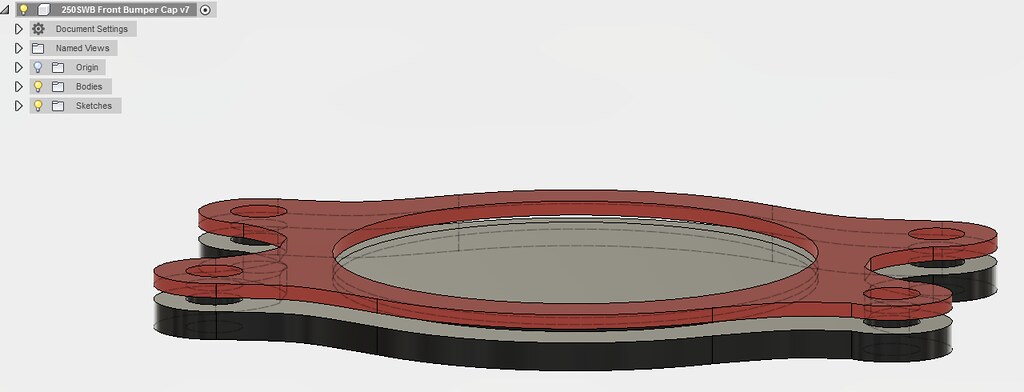
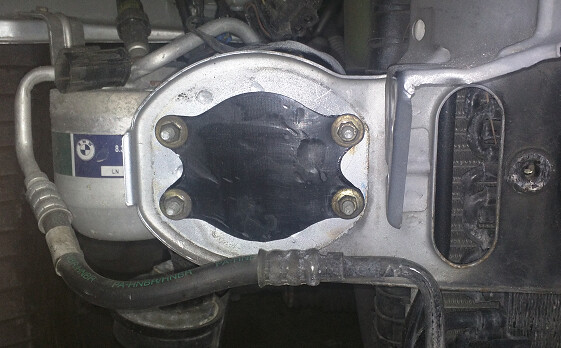
First addition was a cap on the hole in the chassis rail, quick trip to Fusion360
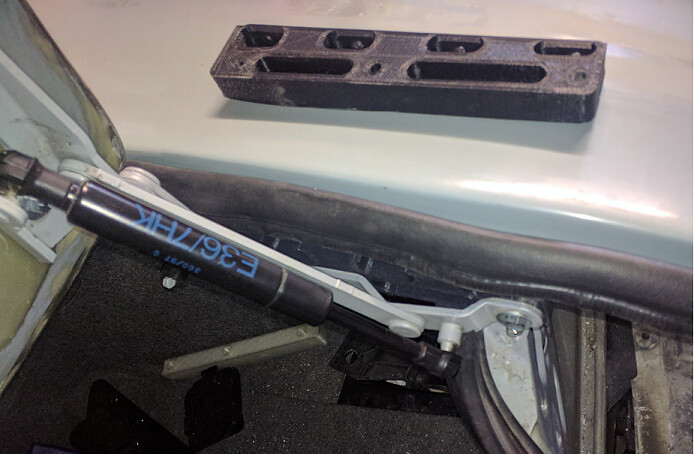
And the 3d printer produced a rubber seal and ABS cap.
Now just need to figure out how to fit the power steering cooler and the fan in front of the airco radiator....
Congratulations!
I have a 250 SWB shipping to the USA in about a week. Good luck with your build.
This forum has been very helpful, folks here are freely giving hints and tips for the builds. Most appreciated too.
Awesome NZIdol, look forward to seeing your progress. Love the idea of the number plate recess change, that will look very smart.
Hopefully one day we will be able to get your 250 and my 275 in the same picture! Good luck with all the challenges ahead.
Nice to see another build, keep the details common.
I closed my cassis legs off with an alloy plate and some silicone. I have since cut a replacement in 3mm steel, I'm intending to drill it and weld a nut to the inside so that the towing eye can be inserted. A rubber blanking plug will keep the moisture out.
Since I have a 98 Z3 and a cabrio kit no certification should be needed, you are allowed to change body panels and replace parts with generic OEM parts. For post 99 cars there is a front impact regulation that does not allow the removal of the front bumper but that does not apply to a 98... also can't move the petrol filler, tires can only be 10% larger and you need a third brake light....
When converting to a fixed roof there are requirements to add rubber around the bars running next to your head, the specified rubber only works with a racing helmet though (so clearly targeted at Targa cars with a Motorsport roll cage.) that cabrio roof also uses steel bars is apparently not an issue.
The first WOF will be interesting....
Ok interesting. So there may be problems with an mx250 hard top kit. The bumper covers need to be removed but the bumpers remain and the fuel filler needs to be moved a little. Hmmmm
Ok interesting. So there may be problems with an mx250 hard top kit. The bumper covers need to be removed but the bumpers remain and the fuel filler needs to be moved a little. Hmmmm
Don’t worry about LVV too much until you have engaged with certifier. These guys are realistic, passionate about the car “hobbyist” approach and can provide good advice and practical solutions. I have just started my journey but have got a good certifier who is interested in the concept and project.
I know LVV is another regulatory hoop to jump through, but with low level (I.e. level 1A/1B or possibly Level 2 required it is not too daunting. Also when doing the car to get items such as wire wheels/adaptors fitted/Fuel filler moved it is all part of the very important look so a bit of extra work shouldn’t put you off.
In a few weeks I will be at the point of heavily engaging with the initial stages of certification and what we can/can’t do so once the car is stripped so will post updates on my thread when I can. Cheers- good luck with your plans!
Thanks guys. I'm committed to doing a mx250 hard top . Just waiting for a delivery date. I'm about an hour north of Auckland. Maybe some time in the future there could be a little tribute gathering.
Thanks guys. I'm committed to doing a mx250 hard top . Just waiting for a delivery date. I'm about an hour north of Auckland. Maybe some time in the future there could be a little tribute gathering.
Definitely interested in that longer term. Be great to catch up with guys with likeminded interests in the classic style cars. A few meets/shows in NZ but few and far between compared with the UK scene. A while to go before I’ll be ready but look forward to it!
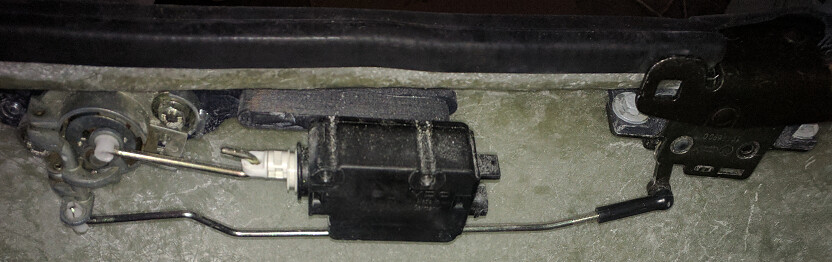
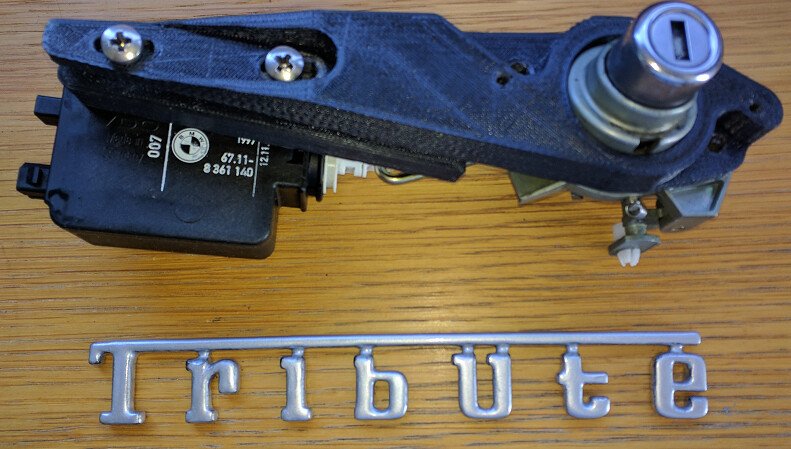
You'll probably notice the lock, it is the original BMW lock with some 3d-printed supports and cover, just need to figure out how to hook it onto the lid of to the side...