Scottie - Cheers.

I will now be able to look back at the bulkhead and see what chipping away can achieve.
The rest of this build will be an extension of that approach until the car is done.
The reality is there is so much left to do, that I don't really want to think about it.
But by sticking to the job in hand (no matter how small), I know I will get there in the end.
- - - - - - - - - - - - - - - - - - - - - - - - - - - - - - -
Well, I've been pretty good at focussing on "non car" activities recently.
But there is a little bit of process to report since my last update...
Wiring Loom - Part 1:
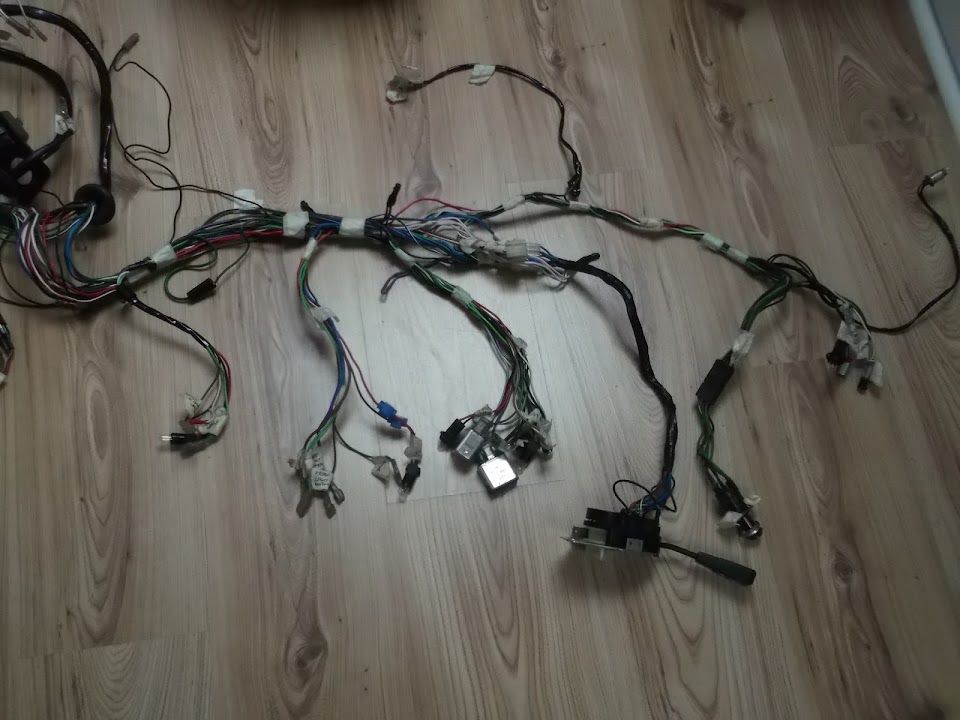
I brought my loom indoors to make checking where to adjust the wiring a bit easier to do.
This also meant I could chip away at it in the evenings when it was dark outside.
The only down side is that the quality of many of the indoor photos are pretty poor.

The original Spitfire 1500 had a separate side light & front indicator unit.
However, for my Cordite, I've got a headlight with a side light built in.
So I took this opportunity to re-route the original wires for these items and the two car horns.
This is the original cable routing before, with the headlight & side light as two separate cable runs.

The next photo is a bit more of a close up before I started unwrapped the wires.
Note: There is a collection of earth wires joined together in a little "siding" of their own.

This was my revised cable route:
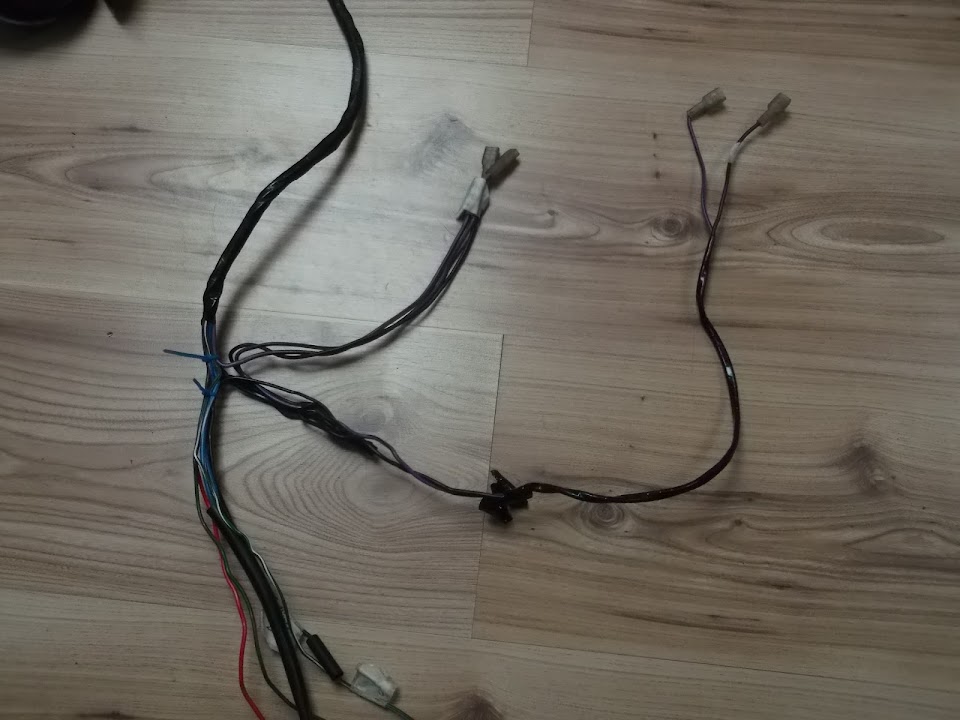
Notes:
- The bundles of wires at coming from the top of the photo will start at the bulkhead.
- The wires for the two horns exit to the right and point towards the top of the photo.
- All the other wires feeding the headlights, side lights & indicators run off at the bottom of the photo.
There is more work required on the lighting wires at the bottom, but, for now, I wrapped up the rest.

- - - - - - - - - - - - - - -
I knew that I had already removed all of the Spitfire heater wiring when I thinned out the loom.

Therefore I wasn't sure how hard it would be to add wiring back into the loom for the new heater fan speed switch.
So you can imagine how happy I was when I traced the wiring I needed to use and found this connecting block.

Which lead to my collection of spare wires where the original heater wire was just waiting for me.

This may not be the original Triumph set up, but it made the re-connection a piece of cake.
( There have been very few "easy" jobs on this build, so I'll take the small victories when I can! )

I still need to fit a wider blade connector on the other end, as the new switch is a different size.
But I will do that when I have measured just how long this wire needs to be.
Note:
I've already sorted out the other wire for this fan speed switch which runs from the micro heater itself.
- - - - - - - - - - - - - - -
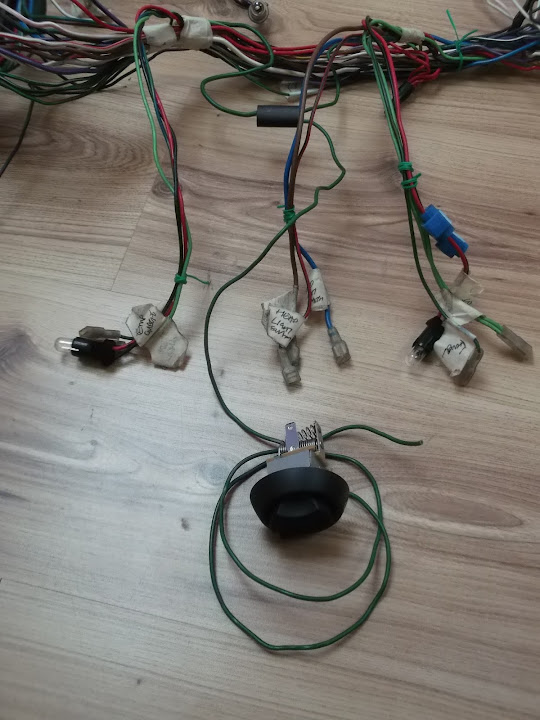
These big blue connectors had been used to connect the fuel gauge light to the heater switch lighting.

The heater wires were already gone, so I removed the connectors and re-joined the wires together.

This made the initial wrapping of the various wires behind the centre dash section easier.
( L-R = Water temp. gauge, headlight switch & fuel gauge. )

There will be one more run of wires coming from the main loom into this area.
- The fan speed switch wire (see unwrapped photo above).
- Plus an extra earth cable I am going run from the loom to the micro heater's earthing point.
- - - - - - - - - - - - - - -
As part of my general "tidying up" of the wiring, my donor came with some nice "trunking" for the headlight wires.

The only problem was finding a way of holding it in place next to the rubber grommet in the headlight shell.

I'd tried simply using electrical tape to keep it in place, but it just wouldn't hold, so I used some tiny zip ties.
( These came with my crimping tool set. )
One went on the cables.

Then another two went around the "trunking" on either side of the first zip tie and that seems to work.

I've started working on a couple of other sections of the loom, but I'll cover that when I have finished the work.