My available time today was split between a short session in the morning & a longer one in the afternoon...
Morning:
Rather than unwrap the car on the front drive, I picked a smaller job I could do in the back garden.
I ground down some of the gel coat and fresh fibreglass on the spare hump / extension work.
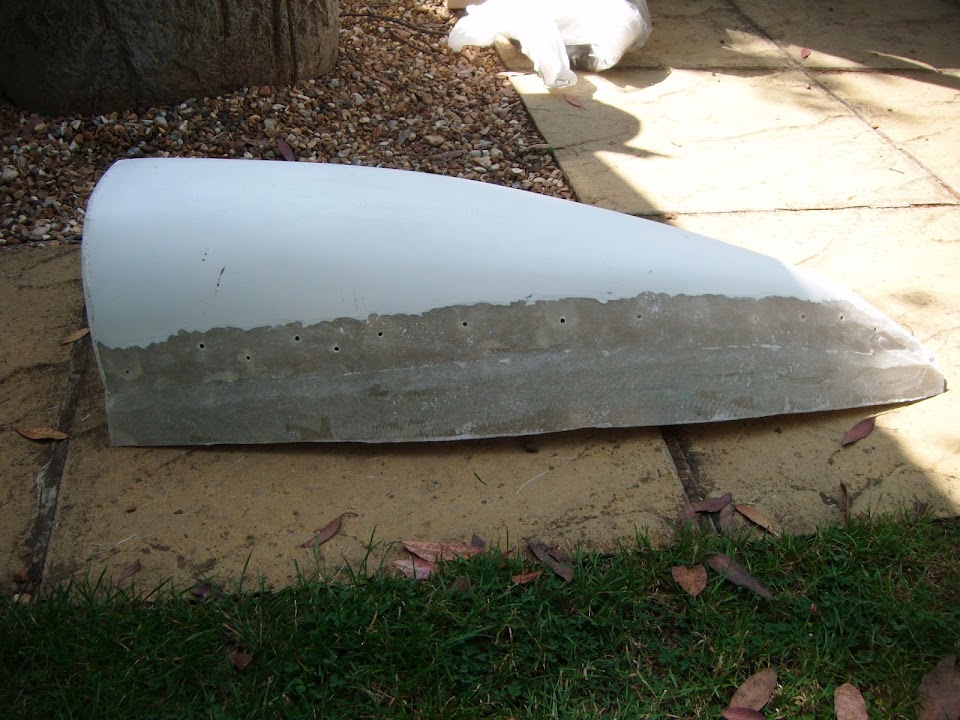
I then put a single layer of matting across the join between old & new, which also sealed the holes from the outside.
I will add some filler to the inside of these holes and then cover the filler in more matting.
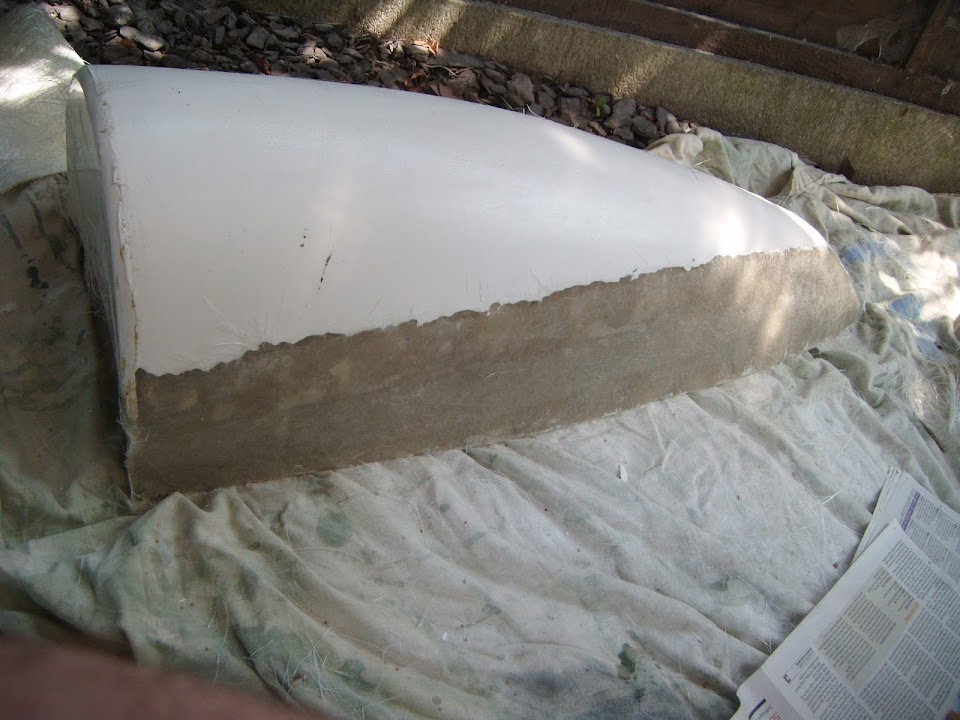
I decided to use up some of my "creased" matting on the inside of the hump, as it will not be visible there.

However, this was a real pain to work with and it took quite a bit of effort with my rollers to calm it all down.
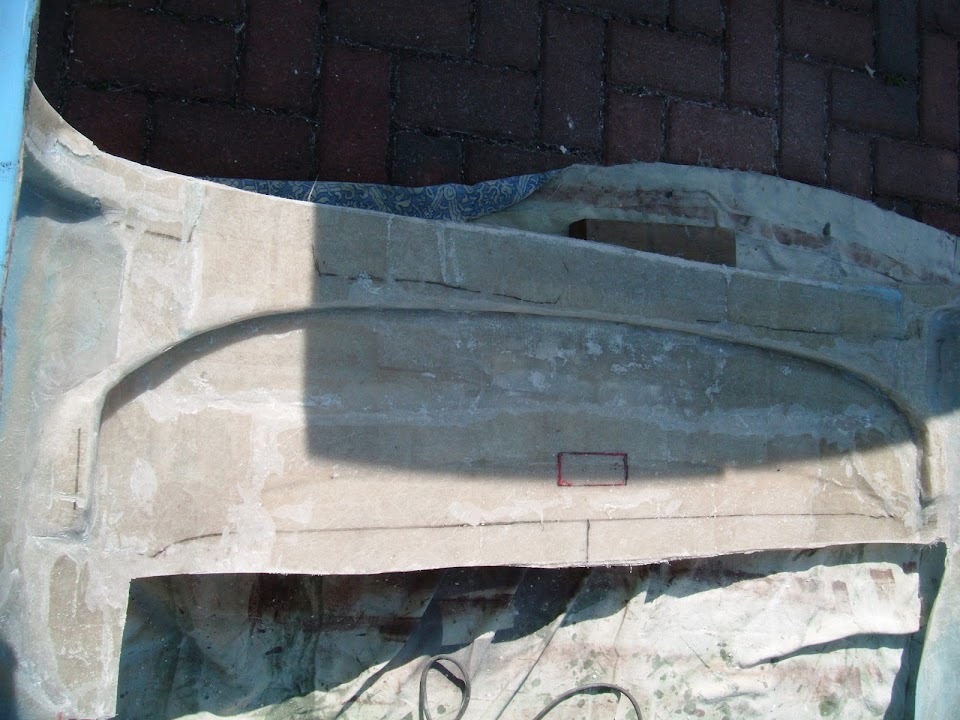
It is not very easy to tell in this photo, but I have covered the front face and the sides opposite the new extension.

Despite the initial "creases", when this had all been flattened out and set, the hump did feel a lot stiffer than it was before.
Compared to my work on the flash line yesterday, this was a lot of effort with very little to show for it.

- - - - - - - - - - - - - - - - - - - - - - - - - - - - - - -
Afternoon - Part 1:
This time I did unwrap the car and move my fibre glassing operation to the front drive.
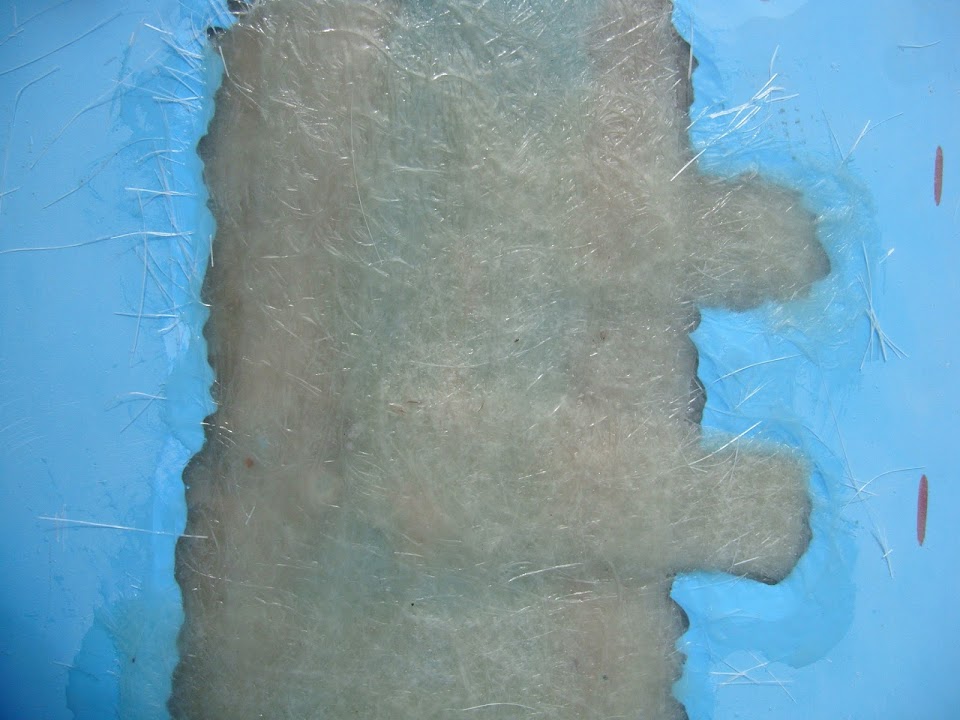
I laid out all the matting I needed to cover my gaping wound.

But the order got mixed up after the wind blew a section away and I only noticed after putting a section in the "wrong" place.

I included some extension strips to cover the bracket fixing holes.
( These holes were to one side, because the frame work was in the way on the other when I was fitting the brackets. )
I have left the top and bottom edges for now, as they will be done when I finished sealing up the remaining gaps.
I also added some extra matting to the passenger side of the scuttle.


As the curve on this side was not as complete as the driver's side, although I will still be adding filler all over for the final shaping.
Then I went back to the spare hump to add filler to the holes on the inside edge.

Unfortunately, the heat was reducing my working time, so before I could smooth all the surfaces they had already set!
( Plus I had mixed up / applied too much filler as well. )

At this point my wife was roped in to help me lift & move the body shell.
I noticed that the new scuttle was clearly rubbing against the fresh primer I'd put on.
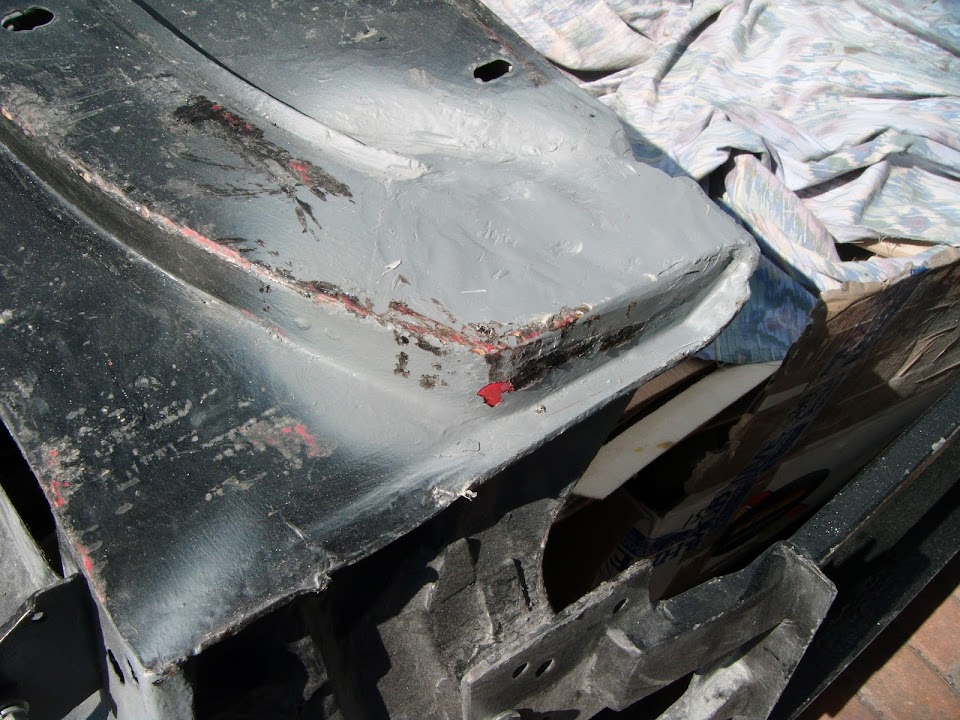
It has always been my intention to "tidy up" the underside of the scuttle and now seemed as good a time as any.
After a quick session with my angle grinder, there were no more rough edges.
But there were a few small voids given the number of steps I took to build up the scuttle in the first place.
So I added a bit of filler to fill these and give me a smooth edge.

Once this has been sanded down I can check the clearance of the scuttle to the Spitfire bulkhead.
My final bit of filler work for the day was on the fixing holes on the inside of the "wound".
Again I mixed up too much filler, but at least I worked a bit quicker and got it a bit smoother.

End of Part 1...