Hindsight:
I've now spent a lot of time & effort trying to get the original Cordite bonnet to fit/match the profile of my home made scuttle.
At this point, I think it is fair to say that making a mould of the entire scuttle was
not the most efficient way of achieving this.

Whilst I have done a lot of fibreglass work on this build, almost all of it has involved the use of formers, rather than moulds.
Although my initial problem was that I couldn't even think of a way to make a former to match the profile of the scuttle.
I certainly knew that the way the scuttle tapered at the corners meant that the new edge wouldn't be a perfect match.
But I didn't really think through the impact of extending the depth of the mould at the corners, which actually made this a lot worse.
So if I was doing this again, I would still use a mould for the centre section, as that has worked well.
However, even just covering some modelling mesh with parcel tape would provide a better initial shape for the corners.
- - - - - - - - - - - - - - - - - - - - - - - - - - - - - - -
Warts and all:
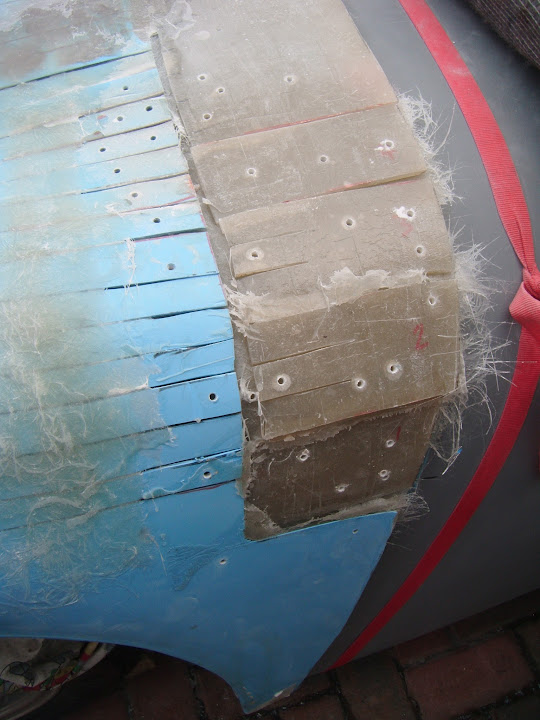
As hindsight was not available at the time, here is the current sorry state of the 'sunny side' of the passenger corner.
I actually couldn't face taking a photo of this yesterday as it was such a mess.
But given all the horrors of this build so far, what is another maimed section of fibreglass between friends?

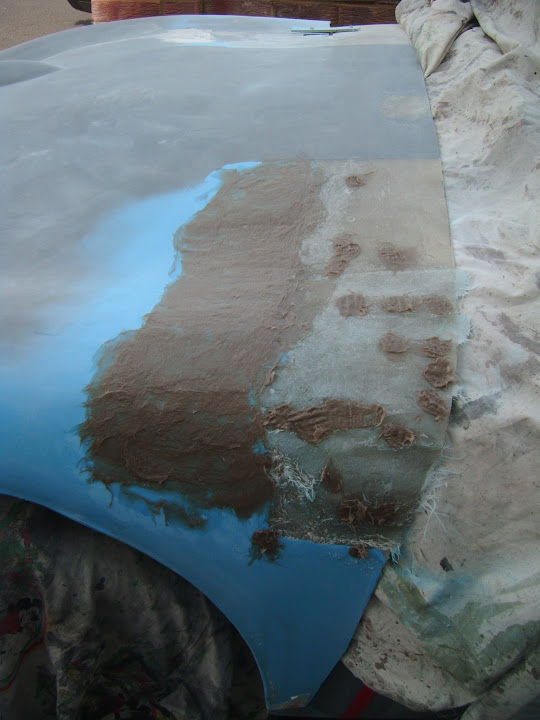
The first job was to grind away all the joins, high spots and the rough bits of fibreglass stuffed in the gaps.
( Which is just a temporary way of getting a better join on the other side. )

I also counter sunk the screw holes.
Then I added the first two thin layers of fibreglass matting into the joins.
I also added a patch to the centre of the bonnet, where I had ground out an air bubble earlier.

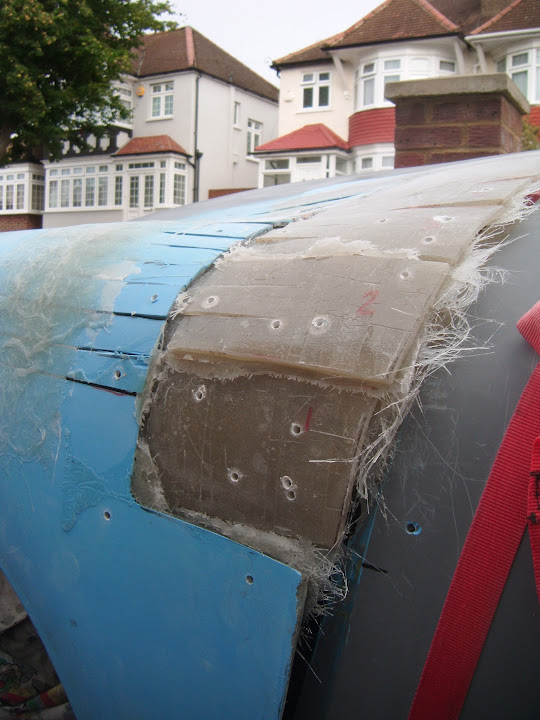
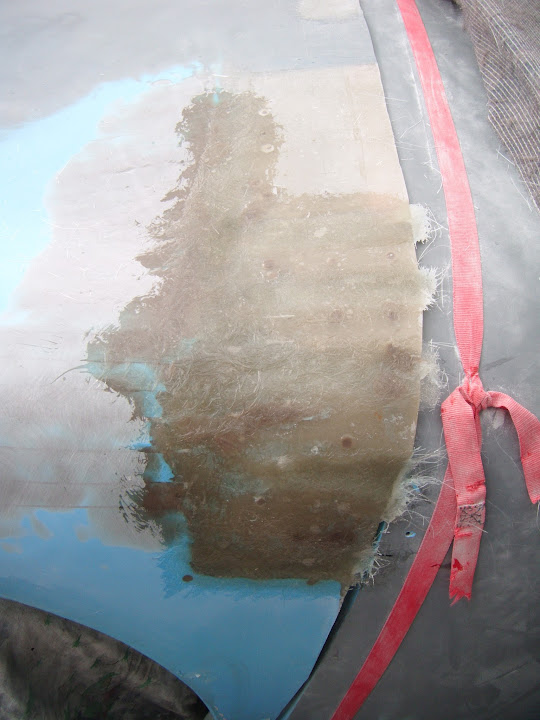
Once this was set, I then ground away the fibreglass matting I had added to the outside of the wheel arch to fit shape.

This allowed me to clean out the slits and apply fibreglass filler to these gaps and to the screw holes.
When this was set enough, I was able to sand the filler down to leave me with the basic contours.

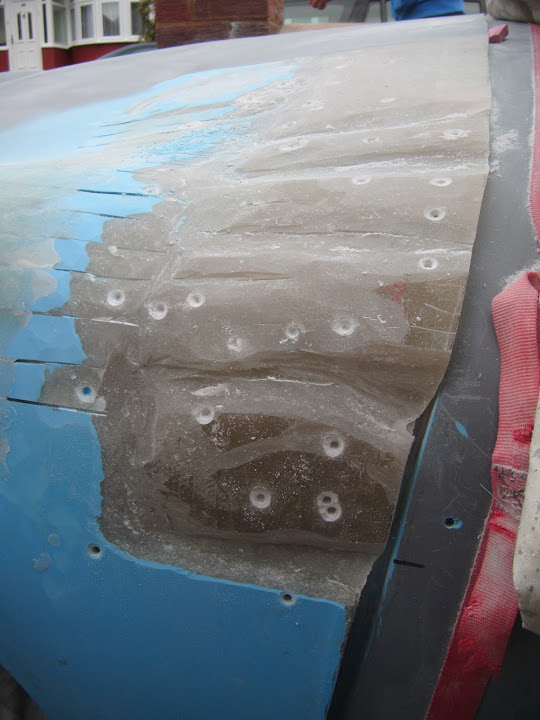
If you follow
Ed's (A Big Scary Monster) advice from the other day and squint, you can just about see the final shape developing.
( Well, at least on the passenger side. )

I then added a 3rd layer of matting along the joins.
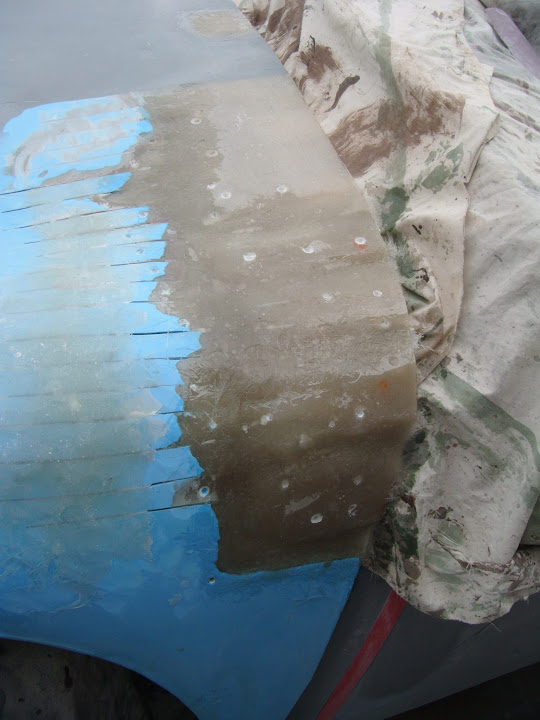
But no sooner had I taken the photo, when I felt a drop of rain.
So I added some blocks to the bonnet to keep the covers from touching the fibreglass.
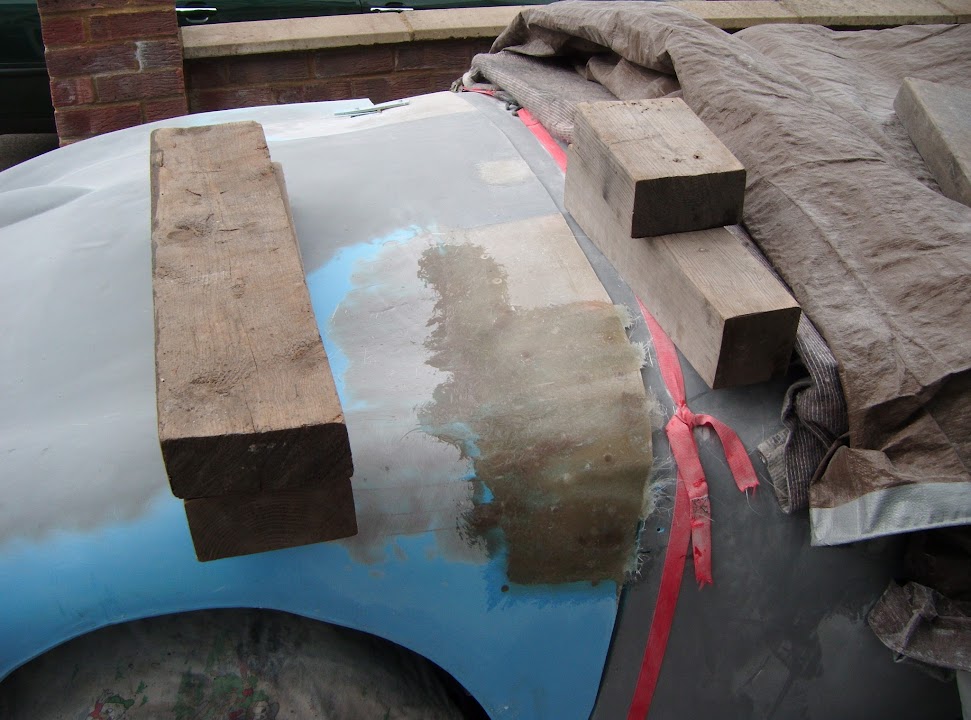

As it happens, I had too many other things to do today, so that was a handy place to stop.
Until next time, take care, Paul.
