It's Filler Time:
Started the day by applying fibreglass filler to the scuttle area
inside of the wind break lip.


Then I switched to "normal" body filler to cover the low spots on the other side of the scuttle & make a start on the lip.


Note: I really must learn to put less filler on when I'm supposed to be just giving it a skim.

While I had the normal filler on the go I also covered the "sealed" door gaps.


When the filler had gone off sufficiently, I started to sand it into shape.
This took two sessions, was hard work and extremely messy.
When I was done, I had to carry the body shell onto the road.

This gave me the space to tidy up the mess.
Note:
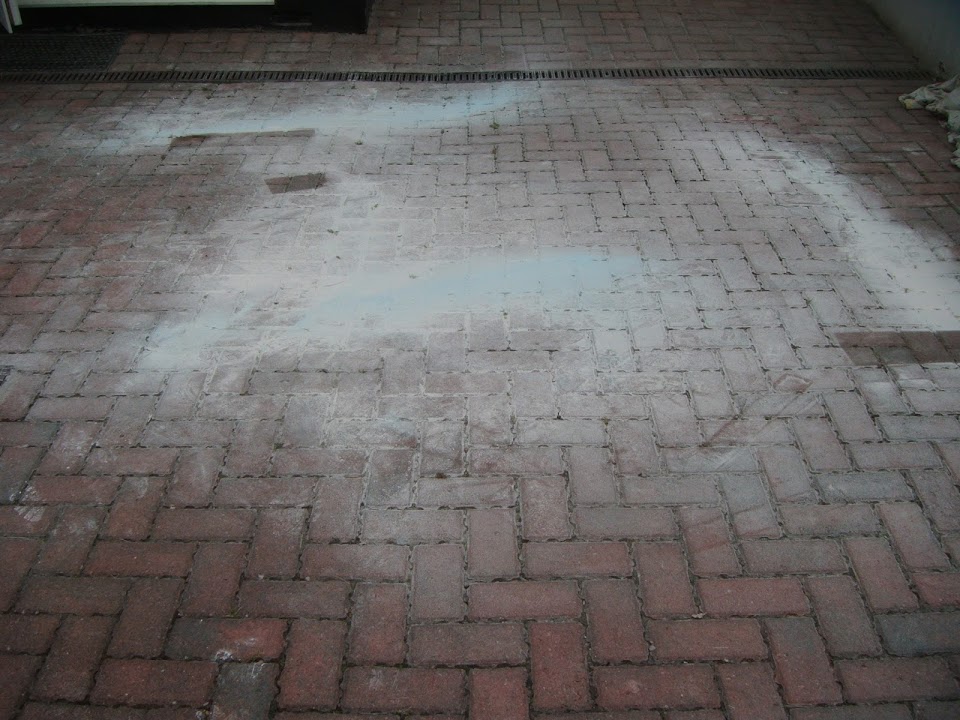
I also had to move the body while I was sanding, as the wind was blowing the dust onto next door's drive.

So I had to hose their drive down too while I was as it.
Anyway, this is what the various areas look like now.


End of Part 1...