Monday - Post Script:
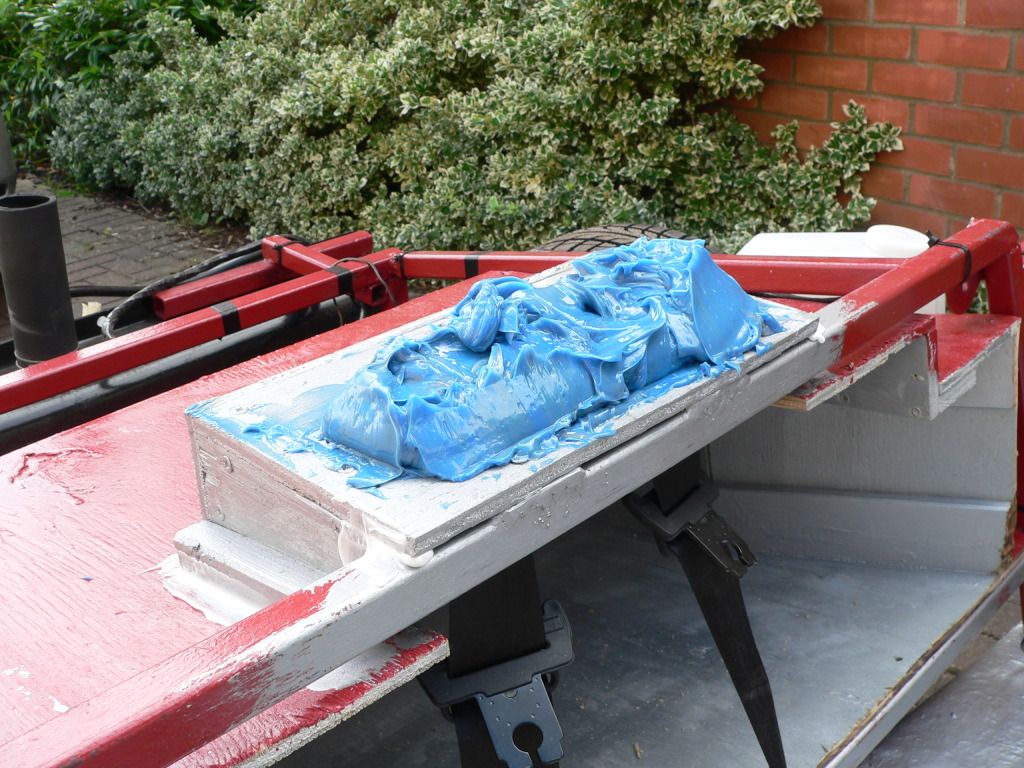
So much for worrying about the bonding paste setting too quickly, as it was still "wet" 2 hours later when I went to put the covers on.

In the end I had to use some bits of wood to "extend" the width of the body shell to ensure the tarpaulin didn't touch the paste before it had set properly.
But I was actually doing some more research on bonding last night (see below) and came across this great quote...
Quote:
Originally Posted by davecymru

... Bonding paste has come as somewhat of a revelation to me, it's wonderful stuff and while it does take about an entire day to fully dry it really does stick like the preverbal mucky brown stuff to a blanket!...
|
Sure enough, I have just been outside to check the paste this morning and although it is still a little "tacky", it has certainly set solid over night.

- - - - - - - - - - - - - - - - - - - - - - - - - - - - - - -
Bonding Research:
The various Sammio websites always included a "Getting Started" section and this
Moon Rover photo is taken from there.

Unfortunately, the websites never included any photos of where / how much bonding paste was applied to the framework.

Thankfully,
Mister Towed did include some photos showing the bonding paste blobs he applied on his build.
It is possible I might have missed it, but I think this is the
only build thread that showed this stage in any detail.
( Although there are lots of photos of body shells strapped into place
after bonding. )
The key thing for me is remembering that the bonding paste only played a small part in the joining process.
( After all, there is very little framework "surface area" to play with on the "Sammio" Moon Rover in the website photo above. )
Instead, it the fibreglass / panelling work done
after the bonding that really holds things together.
Note:
Clearly the bonding stage does determine the alignment of the body shell, so has to be done properly.
I've re-read a lot of build thread recently and
DaveCymru's Miglia actually skipped the bonding stage all together.
( He simply strapped the shell into position and then 'glassed it into place and added some alloy brackets too. )
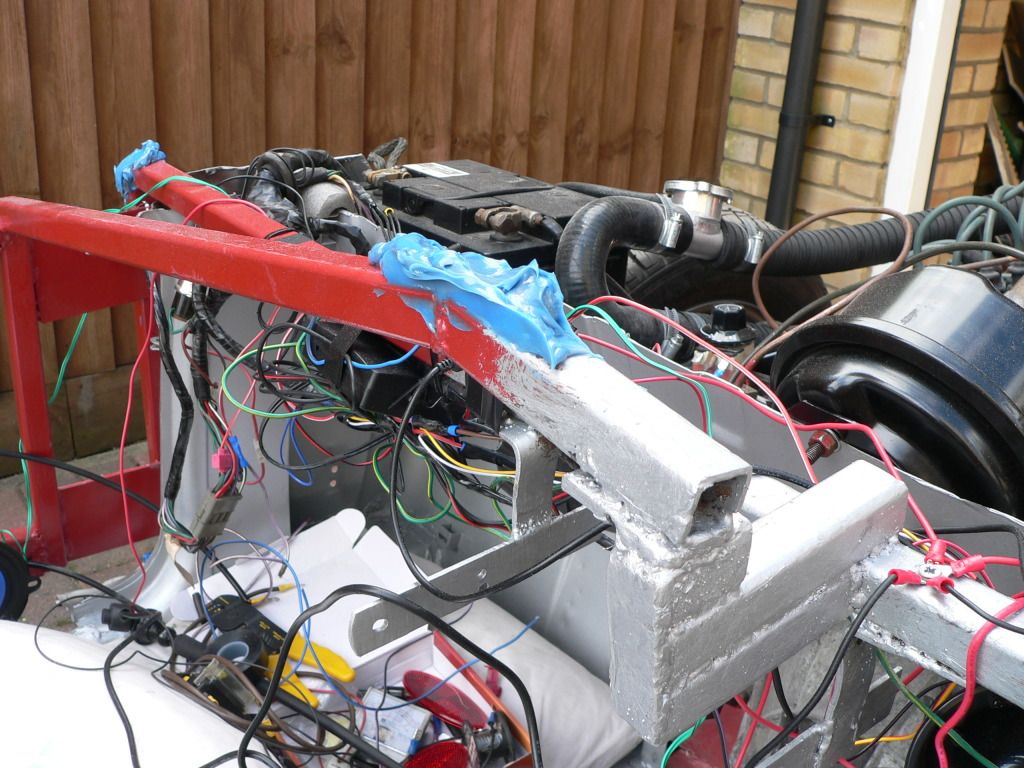
Whilst I will only have two points of contact between my
Moon Rover and the body shell, they have BIG surface areas.
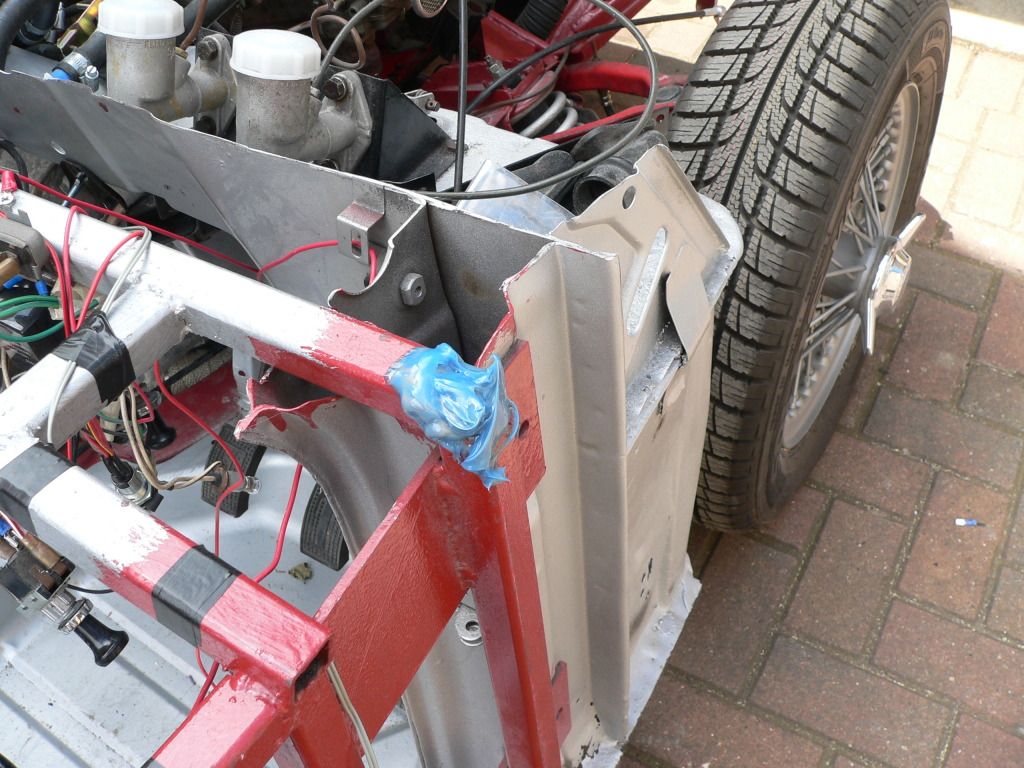
#1 - Top of bulkhead, which the body shell was moulded to fit over as part of my
Frankenstein build approach.
( Sorry, this was the first photo of the top of the bulkhead I could find.
)

#2 - Support panel between the humps.

This was yet another idea I stole from
Mr T, after first seeing his "Incredible Bonding Blob".
I think it was this photo that was making me worried yesterday about just how much bonding paste I would need to mix up.
However, I now realise my bulkhead will just need a thin(ish) skim and the rear panel will not need as much as
Mr T.
( As differences in the framework / body shell design mean the gap to fill is smaller on my car. )
- - - - - - - - - - - - - - - - - - - - - - - - - - - - - - -
Right, I'm off now to see how much closer I can actually get to the bonding stage today.

Cheers, Paul.
