There Is A Light...
... at the end of the tunnel and, for a refreshing change, this time, it is not an oncoming train!

My "final" version of the wind break lip design looked like this.

However, now I was about to trim the lip into shape, I wanted to try a "Final Version MkII" design first.

Rather than have a drop / cut away in the lip for the rear view mirror screen, I kept the whole lip the same height.
I made a low tech version of a marker guide I'd seen
Mac use to mark the top lip position relative to the scuttle.
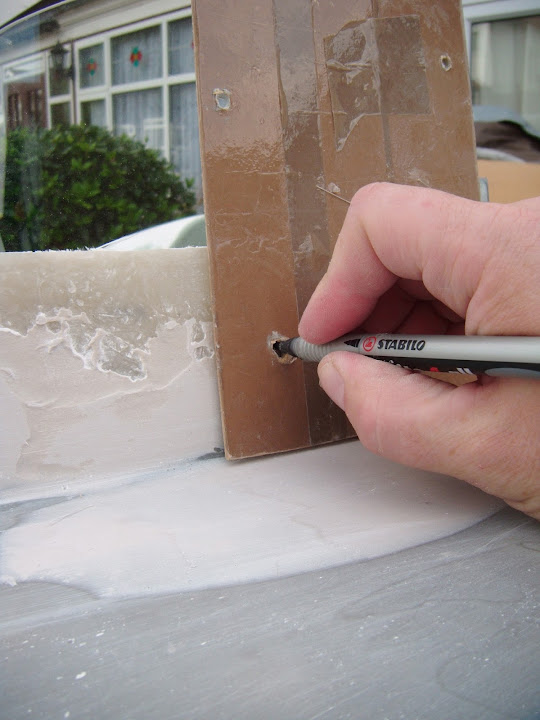

As it turned out, the bottom edge of the jigsaw gave a very similar height, so I just used that instead.

It still needs a final tidy up, but this is what I ended up with.


Then I used some plywood off cuts to prop up the driver's seat.
( To add the height provided by the spacers used when bolting the seat down. )


This way I could double check the view from the driving position and thankfully the lip is not in the way.

- - - - - - - - - - - - - - - - - - - - - - - - - - - - - - -
The next job was to cut out the rear view mirror screen some fresh perspex.

Then I clamped the screen temporarily into position as I don't want to start drilling the fixing holes until the filler work is complete.
( I will also shape the bottom edge of the perspex to match the scuttle contour. )

My theory is that by keeping the lip a constant height, this helps to disguise the different gaps between the mirror & the screens.

- - - - - - - - - - - - - - - - - - - - - - - - - - - - - - -
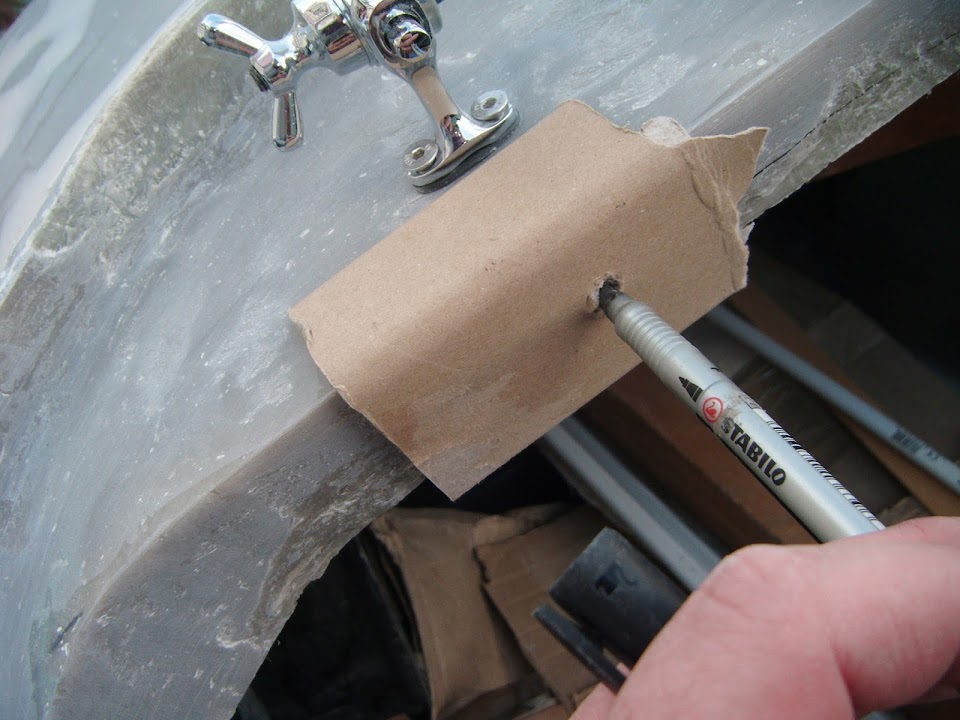
My next trimming job was on the scuttle lip, so I temporarily fitted the dash into position.

It was clear I needed to take a bit off the lip, so I made another low tech marker pen guide.

I left the lip a constant depth until it reached the corners, where I let it expand to blend into the cockpit sides.
( Depending on how deep the sides end up being I might come back and trim some more off. )
End of Part 1...